Back-Up Light Install - Technical Articles - Four Wheeler Magazine

Back-Up Light Install Ken Brubaker Senior Editor, Four Wheeler 129 0211 Light 06 Z Photo 9287624

The tail end of your truck is most likely the furthest point from the driver's seat, and thus it tends to be the most often overlooked area when it comes to nighttime lighting. Making sure that the trail ahead is properly illuminated is usually at the forefront of our thinking, but what about the hard-to-see obstacles that lurk behind your truck? Eventually you're going to have to back up, and as we all know, most stock back-up lights don't even come close to generating enough light to adequately illuminate sheetmetal-bending trees and rocks.

An easy and effective solution to this problem is the IPF Back-Up Light kit. This complete bolt-in kit includes a powerful, black steel-case light with a prism-cut hardened glass lens, a 55-watt halogen bulb, weatherproof connectors, a unique switch that allows for either manual or automatic control, and a complete snap-together wiring loom and relay.

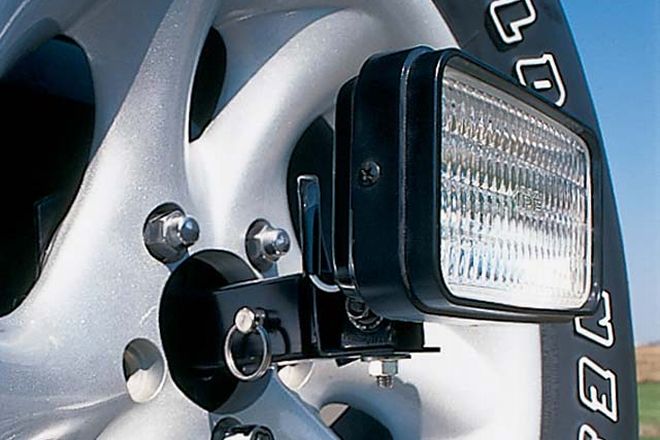
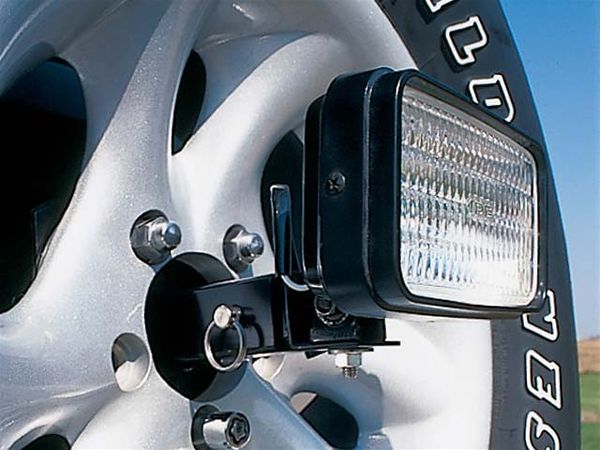
Where to mount the light is the next question. In our case, we soon found that the tail-end of our Wrangler didn't offer too many options. Fortunately, Sun Performance Products offers the neat Back-Up Light Mount, which mounts in the center of a rear-mounted spare tire. This simple yet effective device mounts the light high and out of the way in a receiver hitch-style mount that doesn't hinder removal of the spare tire.

The Back-Up Light Mount installed in a matter of minutes, while Matt at Attitude Performance in Elk Grove Village, Illinois, installed the IPF Back-Up Light kit in approximately two hours. Not only does the new light offer substantially improved lighting off-highway, but it also works great as a utility light to illuminate trailers and work areas.

PhotosView Slideshow 1: 2: Wiring the IPF Back-Up Light is easy. First, you install the relay in the engine bay with the supplied screw and washer, and then you mount the three-position switch somewhere convenient. This switch offers either off, on, or automatic settings. We mounted our switch near the stock headlamp switch. 3: Route the wiring to the rear of the vehicle, following the detailed instructions for grounding. We ran ours along existing factory wiring, which was tucked into the frame and out of the way of obstacles. Since the IPF light is designed to offer the option of illuminating when the back-up lights are on, you'll need to tap into the stock back-up lamp wire at one of the rear lights. The kit includes an Electro-Tap for this purpose. 4: We drilled a small hole in the taillight case to facilitate the wiring that runs to the back-up light. Don't forget to put a dab of silicone sealer around the wiring to keep moisture out of the taillight housing. Make sure you leave enough slack in the wiring so that the spare-tire mount or door can open without pulling on the wiring, and make sure the wiring is fastened securely so it doesn't get pinched. 5: The Sun Performance Back-Up Light Mount slides over the lugs of the spare-tire mount, and is held in place by the spare tire. The kit is designed to fit the Jeep TJ and YJ 5x41/2-inch wheel patterns, but will also fit the '86-and-older Jeep CJ 5x51/2-inch wheel patterns with some modifications. 6: You simply mount the IPF Back-Up Light onto the outer half of the Sun Performance Back-Up Light Mount, then slide it into the inner half of the assembly. It is held in place by a pin, just like on a receiver hitch. The IPF light features a waterproof connector in the wiring near the light, which allows for simple installation and removal of the light to access the spare tire.