Hummer H3 Lift Kit - Suspension Installation - Four Wheeler Magazine

Hummer H3 Lift Kit - Cruising Altitude Ken Brubaker Senior Editor, Four Wheeler hummer H3 Lift Kit snow Jump Photo 9208236

Rancho Suspension's reaction to the new Hummer H3 was fast and furious. Within just a short time of the H3's release, Rancho unveiled the industry's first suspension system for said vehicle. Shortly thereafter, the accolades began rolling in--not the least of which was the '05 SEMA award for Best New Off-Road/4-Wheel Drive Product. Naturally, we were eager to install the kit and see what all the hoopla was about.

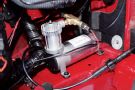
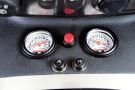
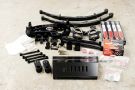
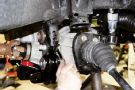
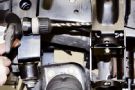
So we made arrangements to visit our friends at Attitude Performance in Arlington Heights, Illinois, while they installed the kit under a project vehicle belonging to Real Wheels Accessories. The install was eye opening--not to mention quicker than we expected. What follows is an overview of the major components and how they all fit like a glove.
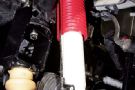
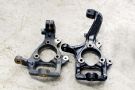
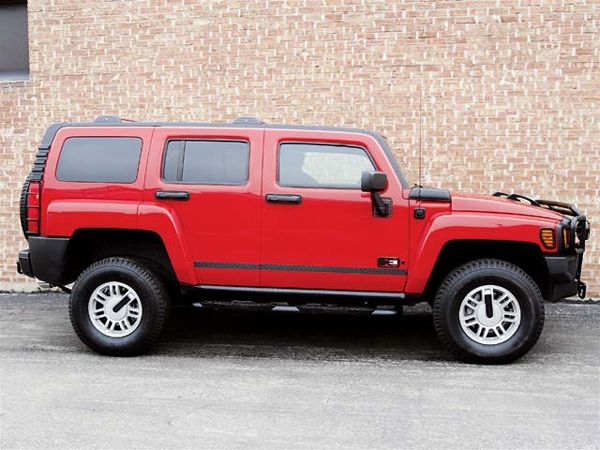
PhotosView Slideshow Here's all the parts contained in the H3 kit. You wouldn't know by looking at it, but there's some cool ideas lurking in that pile o' parts. Also shown are the RS 9000X shock absorbers and the RS 9000 RCX Remote Damping Control System that allows for in-cab control of the shocks. One of the neat things about this kit is that the front differential is relocated without having to remove it from the vehicle. Nor does it have to be cut, ground, or flambéed. This speeds the installation process significantly. The differential is lowered (and the pinion angle corrected) via three brackets. Shown here is the passenger-side drop bracket (which is the same part number as the driver-side bracket). Both left and right brackets attach to the frame and the front differential assembly. The second part to the front differential lowering (and pinion angle correction) procedure is to install a new rear crossmember in place of the stock rear crossmember. Directly in front of that, a new front crossmember (shown) is installed in the stock front lower control-arm mounts. In order to install the new front crossmember, both stock lower control-arm front mounts must have a small amount of material filed away. New bumpstop brackets compensate for the increase in front suspension height. They install to the bottom of the original frame brackets after the hole in the bottom of the original bumpstop bracket is enlarged and a new hole is drilled. The original bumpstops are then used in the brackets. Here you can see one of the new steering knuckles (on right) pictured next to the stock unit. The stock hub and bearing assemblies are simply transferred from the stock knuckle to the new knuckle. Rancho says that the new CNC-machined cast-ductile-iron knuckles are the industry's highest quality design. Because of the way they're designed, no modifications are necessary to the steering system with this kit. Rancho says that this not only eliminates installation steps, but also maintains the OE steering integrity. Here you can see the driver-side front suspension in its almost completed form. Notice how the lower A-arm attaches to the new crossmembers. Also visible is the new, longer sway-bar end link. PhotosView Slideshow This is the new passenger-side RS 9000X shock absorber. We opted for Rancho's RCX Remote Damping Control System, which offers in-cab control of shock damping. It accomplishes this via air pressure, hence the air line routed from the shock to the air compressor. As with most IFS suspension systems, the H3 kit includes a pair of aft braces to bolster the new bracketry. These attach to the new rear crossmember at the front and the transmission crossmember in the rear. To mount the aft braces, the transfer-case skidplate must undergo some minor trimming and one hole must be drilled. Here you can see what the skidplate looks like with the modifications completed. The secret to keeping the torsion bars level and tucked in close to the frame are the torsion-bar relocators. Each relocator simply inserts into the lower control arm where the torsion bar would normally mount. The upper end of each relocator is designed to accept the forward end of each torsion bar. Relocating the torsion bars in this fashion is far quicker than lowering the torsion-bar crossmember. In addition, this method doesn't sacrifice ground clearance. Rear lift is accomplished via new low-friction competition leaf-spring packs that simply bolt in place of the stock springs. Here you can see the completed rear suspension. In addition to the new leaf packs, the kit includes bumpstop brackets, sway-bar end links and brake-line extension brackets. Attitude Performance technician Jim Cryer installed the RCX Remote Damping Control System heavy-duty all-weather air compressor in an easy-to-access location in the engine bay on the driver side near the firewall. Cryer mounted the RCX Remote Damping Control System's gauges and controls in the center console of the H3. This location makes it easy to monitor and operate. hummer H3 Lift Kit before Photo 9208284 Before

Results
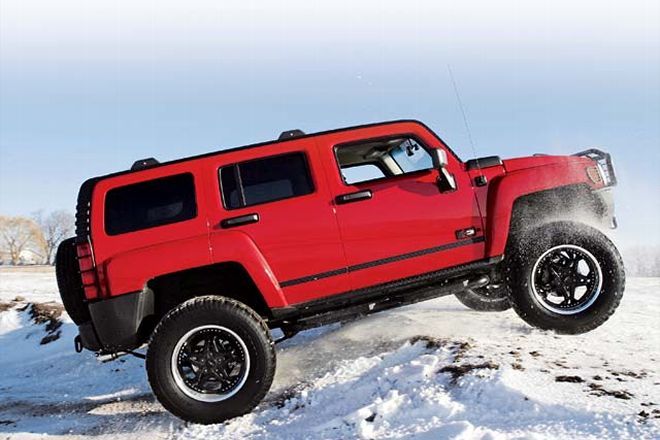
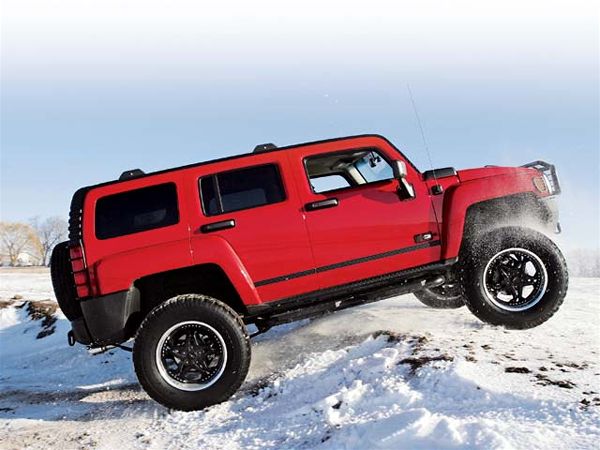
It wasn't that long ago when most IFS kits took 16 or more hours to install and required gobs of cutting and welding. Those days seem to be fading. This H3 kit took the guys at Attitude Performance less than six hours to install (not including professional alignment), and as you've already learned it required only a minute amount of cutting and absolutely no welding. Naturally, that time would've been even less if we hadn't slowed the process by convening numerous photo sessions. After we completed the installation we ran the H3 through maneuvers at our Secret Illinois Test Facility. As advertised, the Rancho kit provided ample room for a set of 37x12.50R20LT BFGoodrich All-Terrain T/A tires (in our case, mounted on black 20x8.5 Zyoxx ZX2 wheels).
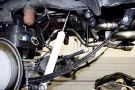
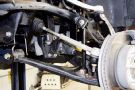
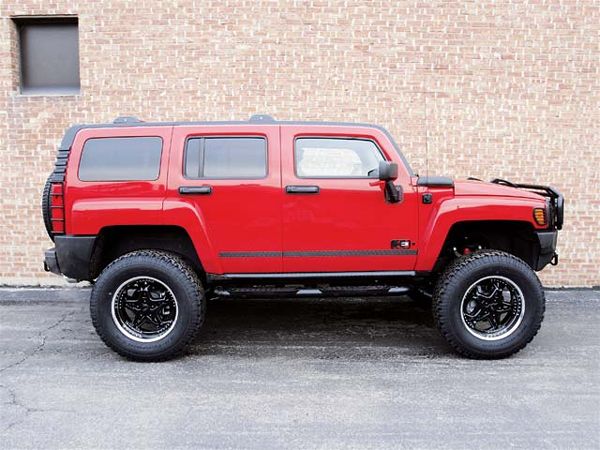
hummer H3 Lift Kit after Photo 9208290 After

During testing, no tire-to-body contact occurred in off-highway travel even though we didn't modify the front air dam, fascia, or inner fender as recommended. Both on- and off-highway it was no surprise that the overall ride of the H3 was stiffer than stock, yet it wasn't uncomfortable. By the same token, we dropped the front end off of some 12- to 15-inch ledges and the front suspension absorbed the impact quite well, which allowed smooth absorption of the vehicle's weight without an overly jarring impact. During testing we experienced no driveline vibrations, and the rack-and-pinion steering retained its excellent response and good overall feel.

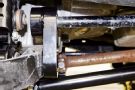
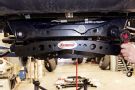
The kit provides an advertised 4 inches of lift, which improves the H3's already impressive approach and departure angles appreciably. Further, the Rancho/Realift torsion-bar relocation technology eliminates the low hanging torsion bars so often associated with IFS suspension lifts. Clearly, keeping the torsion bars tucked in close to the vehicle results in improved ramp-over as well as ground clearance.
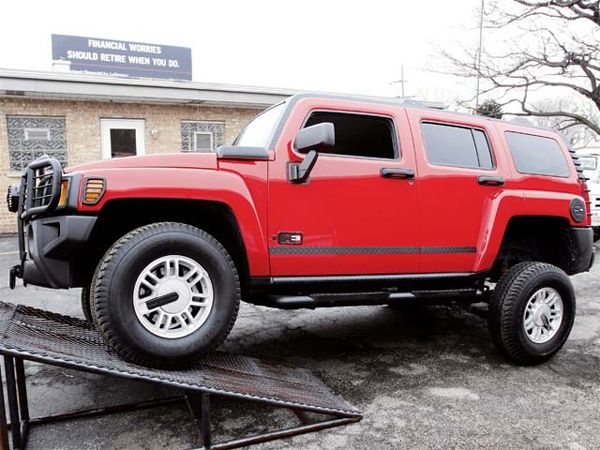
hummer H3 Lift Kit ramp Travel Before Photo 9172291 RTI Stock

In stock form, the 111.9-inch-wheelbase H3 traveled 50 inches up a 20-degree RTI ramp, logging a score of 447 points. After the installation of the kit, the H3 traveled 47 inches up the ramp, logging a score of 420 points. Naturally, this loss of travel raised some eyebrows. Rancho says this: "The leaf-spring package that we originally released for the H3 was not exactly what we were after given the extremely soft rate of the original equipment springs. At the time, it was the best available.
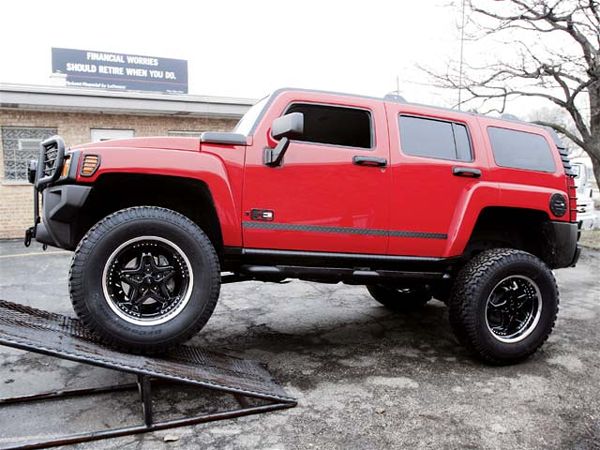
hummer H3 Lift Kit ramp Travel After Photo 9172294 RTI Modified

The reason for the difference in the RTI scores is primarily due to a higher-rate leaf-spring package along with excessive jounce bumper interference. We have since tweaked the rear spring design and included an updated jounce bumper bracket to correct for and maximize ramp travel (articulation)." They also noted that they would be happy to supply the updated components to any readers who are not completely satisfied with their Rancho H3 suspension system.

Wheel and Tire Specs for Rancho Suspensions H3 Kit (RS6588B)

Suggested tire diameter (in): 35
Maximum tire diameter (in): 37 (will require some trimming of the front air dam/fascia and inner fenderwell for clearance)
Maximum tire width (in): 12.5
Minimum wheel diameter (in): 16(this kit does not allow for reuse of the OEM wheels)
Maximum recommended wheel backspacing (in): 4.5 (16-, 17-, and 18-inch wheels); 5.0 (20 inches and above)