Today we're going to take a look over the shoulder of our very own tech center manager "Installation Jason" while he fills a fuel filler hole in a 1946 Chevrolet fender.
Before I get rollin', I have to take a moment to let you all know how great it is to be back on staff here at STREET RODDER. I've really missed both working with Brian and the gang and sharing my ramblings with you all as well.
That said, I'm going to get right back to work focusing in on some basic hands-on home-shop tech that in most cases can be handled during the course of a weekend out in the garage. Longtime readers will recall that I have a soft spot for blue-collar homebuilt hot rods as well as novice do-it-yourselfers, so for those who don't know me from Adam, be forewarned—some of what I cover may be old hat to you, but keep in mind there are thousands of fresh new hot rodders joining our ranks every day who need some simple tech to help 'em get into the groove.
1. Performing metal patching repairs is often a daunting challenge for the novice rod builder, but it's an inevitable chore for anyone building a steel-bodied street rod on a budget. There are just a few basic pointers to keep in mind when patching sheetmetal: Use patch material that's the same thickness as the metal you're patching, if you're repairing a hole caused by rust make sure you trim the edges back until you reach clean un-rusted metal, be sure to adjust your welder settings for thin-gauge material, and, finally, weld a small section at a time to keep heat warpage at a minimum.
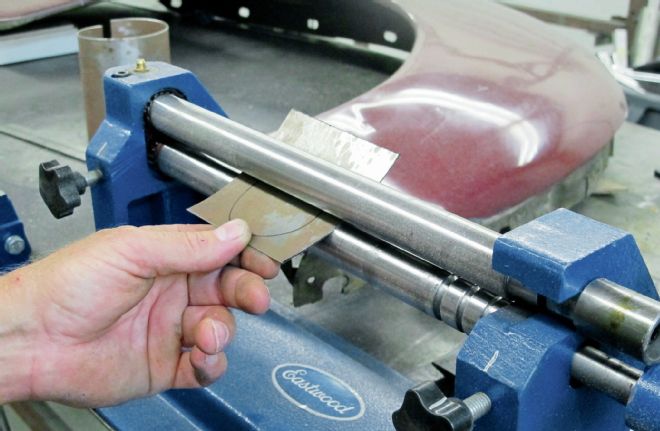
2. In this case Scudellari didn't have any rust to contend with so he started out by finding and trimming a piece of 20-gauge sheetmetal to size. You'll also notice that he's got a curve he has to contend with as well. Luckily for him one of the many pieces of equipment on hand in our Tech Center is an Eastwood 12-inch slip roll (a handy piece of equipment I'll focus on in a future "cool tools" story) that made quick work of forming the slight radius needed. For those of us without access to such tools, a simple curve like this can be achieved by hand bending the patch panel over any cylindrical object that may be handy—like the gas bottle for your welder. Speaking of which, you may find that bending the radius will be easier to form the larger the patch material is—so you may want to form your curve prior to trimming the patch to size.
3. Here you can see the correctly curved patch.
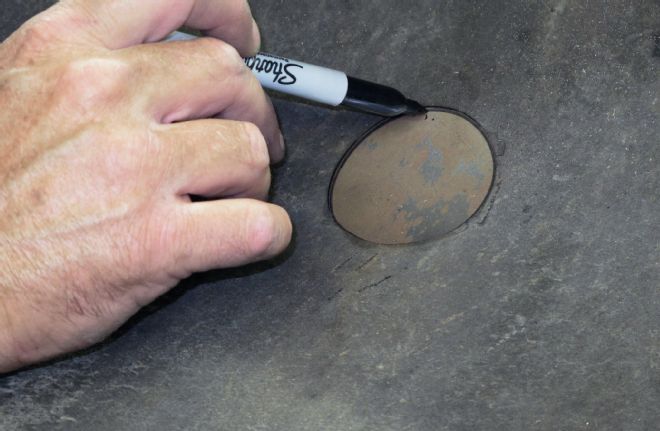
4. With the patch panel formed it was then laid over the fuel filler opening and the hole shape transferred onto the patch from behind using a permanent marker.
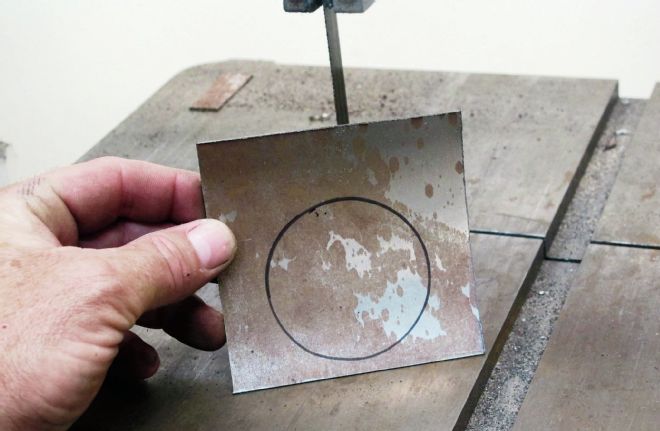
5. The patch can then be trimmed to size following the mark made in the previous step.
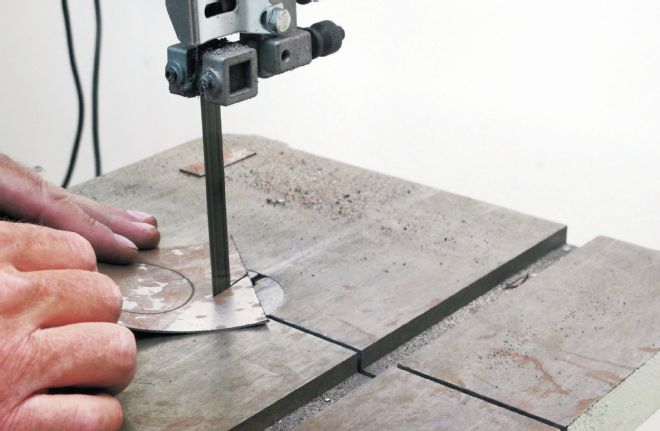
6. Scudellari used a bandsaw to trim the patch to size but a good pair of tin snips or a throatless shear (another handy tool for the home shop I'll pay some attention to in a future story) would work just as well.
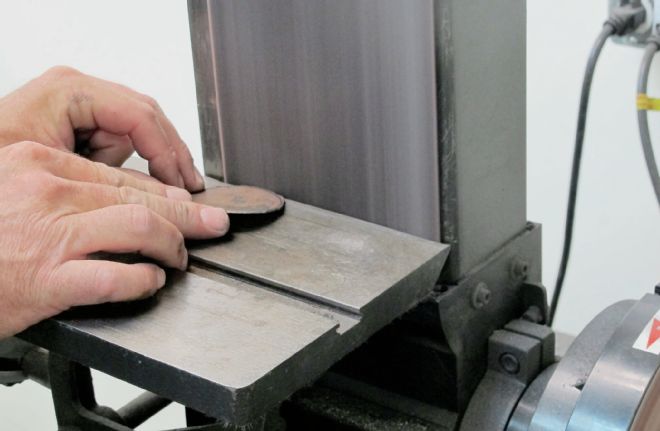
7. Even though a bandsaw was used to cut the patch it still needed a bit of sanding to size it to the tracing line. The patch needs to be trimmed so that it'll fit flush with the fender (called a butt weld) rather than having it overlap the hole and welded to the back side of the fender.
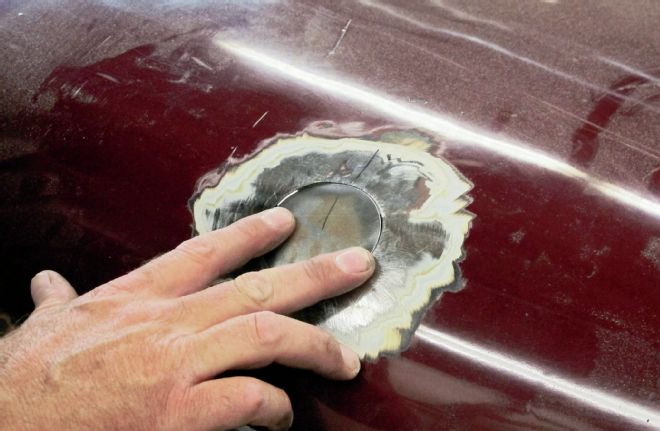
8. Once the trimming was complete the patch is test-fit into the opening. If you look closely you'll notice that the patch is just slightly smaller than the inside diameter of the hole. This is so there's a gap that can be filled with the weld and the patch fit perfectly flush with the panel being filled. This is where a good-size magnet comes in handy. A magnet is perfect for holding a patch flush with a panel freeing up both hands for welding. (Eastwood offers a couple of purpose-built magnetic welding backers in their tool catalog you might want to check out as well.)
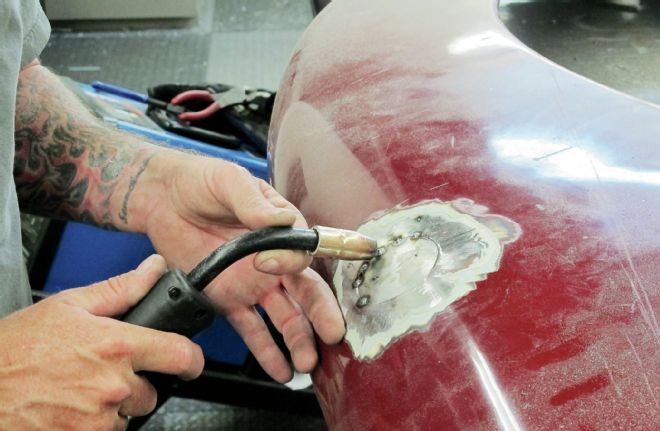

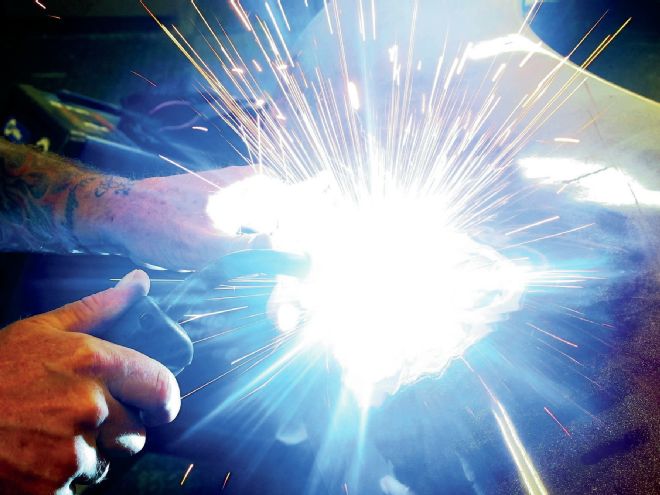
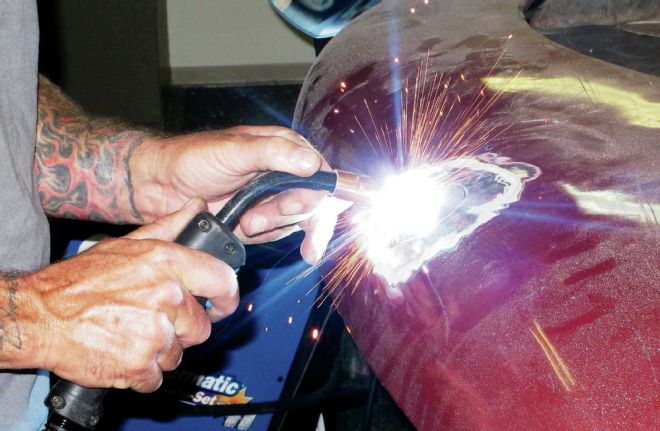
9. With the patch firmly held in place welding can begin. Remember to just spot-weld a section at a time, allowing the metal to cool between welds. Rushing the process by welding long sections will cause heat warpage that'll be a real pain to correct, costing you way more time and effort in the end.
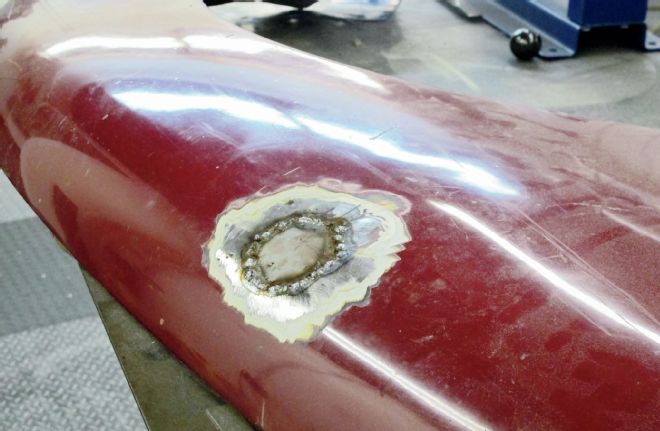
10. Here's the patch after it's been welded completely around its edges. As you can see, the weld is made up of multiple spot welds rather than continuous beads. Like I said, it's way better to take the time to let the repair cool between welds than it is to have to contend with repairing a heat-warped panel.
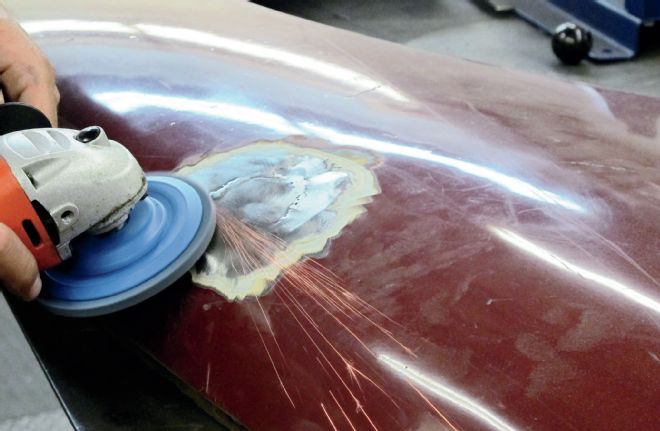
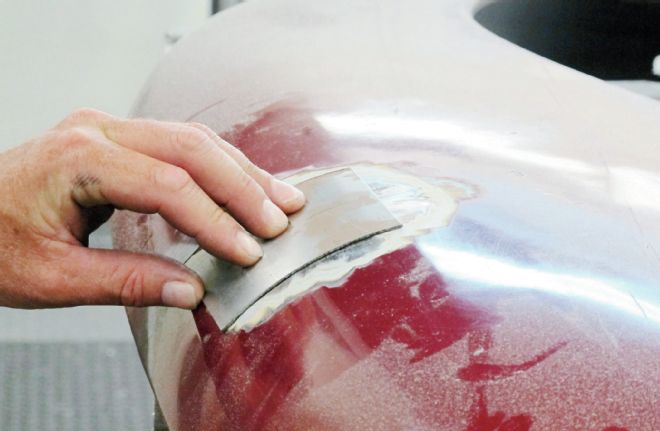
11. The final step in the metal repair is grinding the welds flush with the panel. This is another process where taking your time is better than rushing. MIG welds are notoriously hard and take a while to smooth out. Grinding those welds will generate a lot of heat in its own right and when working on sheetmetal the heat caused by continuous grinding is just as likely to produce enough heat to warp the panel as continuous welding will. So take your time in this phase too.
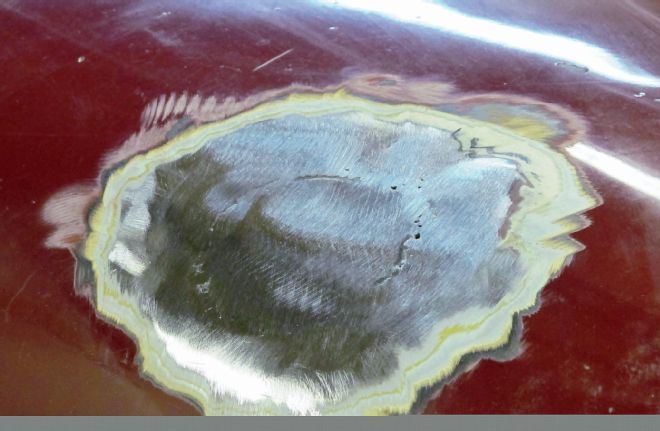
12. And here we have it. Aside from a couple of pi holes left to take care of the patching is complete and ready for a skim coat of filler and a bit of sandpaper work. See, it's not as hard as you might imagine, just take your time and remember that excessive heat is an enemy to a sheetmetal repair. Now get to work because I'll bet lots of you guys have more than just one patch needed on your way to a solid hot rod body.