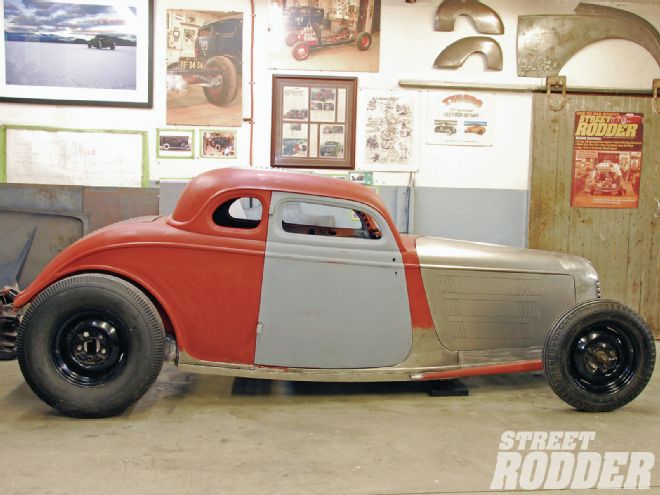
When involved in a build that encompasses an endless array of custom fabrication, many times the use of stock parts becomes impossible. Sure the originals can be cut, modified, and refitted and that’s a big part of infusing fresh new personality into an updated design. A perfect example is Dick DeLuna’s ’34 Ford coupe, which has appeared in many forms during its build right here on the pages of STREET RODDER. To achieve a radical post-war attitude its frontend alone has undergone a major metamorphosis at the Rolling Bones Hot Rod Shop in Greenfield Center, New York. Surgeries include having its cowl dropped, framerails reworked, a custom nose designed, and frame covers created. To wrap it all up the team completed the look by showing us just what it takes to construct a perfect four-piece hood to accent all the updates.
Getting started team member Keith Cornell first made sure to properly anchor the reworked Cockshutt nose, which included installing the cowl to radiator support rods in place. From there all hood and cowl welting was fitted to confirm the exact resting bases for panel fitment. A call was then placed to Rootlieb for one of their plain ’34 Ford stock steel replacement two-piece hood tops without the cutout for the radiator fill. With minimal fabrication, the hood tops were fitted to the Cockshutt nose while being able to maintain the factory hood top side spear. With that completed it was time to focus on the hood sides. Seeing all of the design changes the frontend had absorbed meant custom hood sides needed to be fabricated. Another call was placed to Rootlieb, this time for a pair of ’34 Ford sheet steel hood side blanks, which included the top hinge rod pockets. The hood side blanks would allow plenty of room to Cornell for shaping them to the new updated side dimensions. In order to create a suitable template that would be easy to trim and form, a simple sheet of standard cardboard was used. With the new hood top in place, Cornell and Ken Schmidt (of Rolling Bones) held the cardboard alongside the hood side opening to visualize initial dimensions. The cardboard stock was oversized to allow them plenty of freedom of movement in the design stage. With the cardboard held in place Cornell first began to trace out the front hood side area where it would meet the nose. It’s important to note that this area meets at three planes, including the nose, hood top, and frame cover, so approximate measurements are imperative. Using a black felt tip marker he traced out the required trimming and used a razor knife to complete the cut. From there he moved to inside the engine bay to mark the base line for where the hood side would meet the top of the front framerail cover. This area was then also trimmed with a razor knife. At this point the cardboard hood side was then taped in place using 2-inch masking tape to anchor it so as to evaluate the trimming required at the front of the cowl. To trace the graceful curve of where the hood side meets the cowl, Cornell used the back side of an open end wrench to create the impression. Note that for adjustment purposes he trimmed the line 3/8-inch wider than needed. After the cardboard was removed and trimmed, a 3/4-inch tapeline was laid down to establish the exact location of the rear of the hood side to the cowl front. This allowed for the rear to be accurately trimmed in order to fit the exact proportions needed. With the cardboard hood side now trimmed, finessed, and ready to go the dimensions were transferred to a section of Masonite for durability and added rigidity. This would be of great help when using a plasma cutter to trim the template from the new blank steel hood sides.
The passenger side top hood side was first removed and attached to the blank steel hood side using a hinge rod. This ensured proper fitment to the hood side as the Masonite template is marked to the hood side for trimming. At this point an additional 2 inches were added to the measurement of the hood side to allow for a mounting point to the top of the front framerail cover. Also, an additional 3/8-inch was added to the front of the hood side to allow it to be hemmed once trimmed. The side panel only was secured to a workbench with clamps, and while wearing safety glasses Cornell trimmed it using a plasma cutter. The edges were then deburred using a flat file. The hood side was then brought to the brake to have the 2-inch bend completed for where it will rest atop the front framerail cover. Schmidt then took over to complete the task of laying out the rows of 4-inch louvers for Louvers Unlimited to punch. With this step completed, the front hood side hemline was addressed using a body hammer to gradually and carefully set the hem. The procedure was repeated for the driver side and the completed hood was set in place to address any final finessing. To finish the job additional details were set in place for securing the hood, which included the use of 1/4-inch flat steel stock to fashion a pair of nose support braces, reinstallation of the cowl to radiator support rods, and installation of Dzus fasteners to hold and maintain the hood in place. The completed frontend evokes the looks of a Bonneville racer from the post-war era with plenty of allure to leave you breathless. It’s easy to see that the combination of design elements left a unique personal Rolling Bones–styled signature on the coupe.
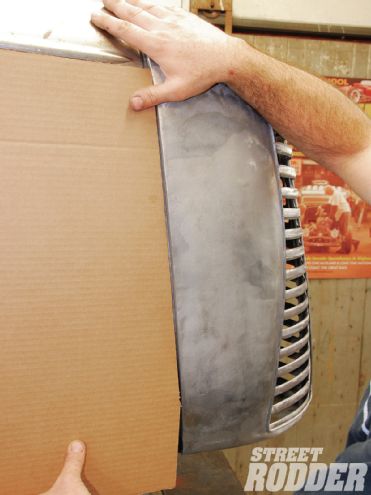
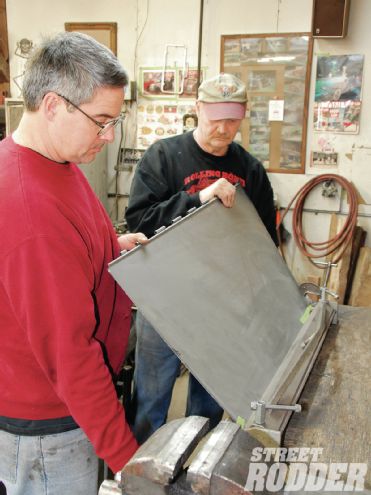
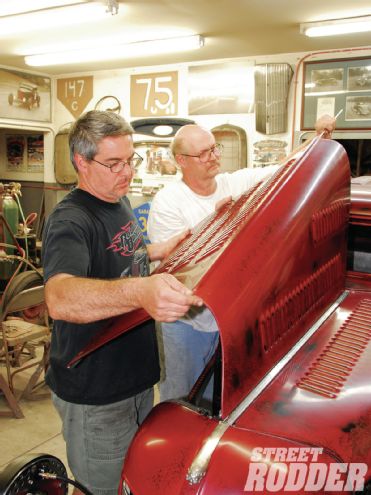
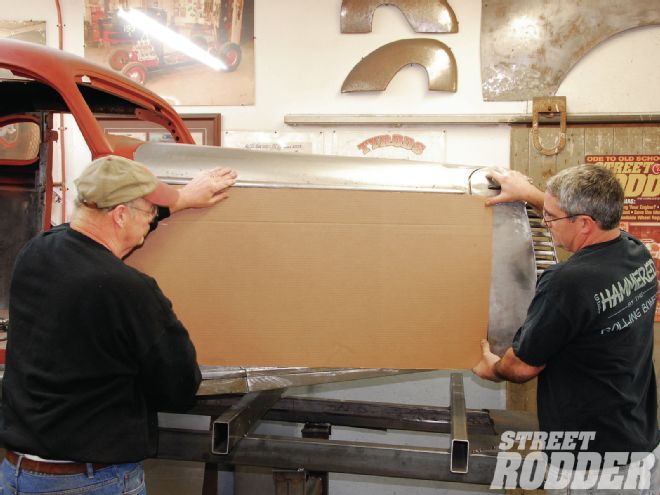 1| Rolling Bones team members Ken Schmidt (left) and Keith Cornell (right) hold a rectangular section of cardboard in place. This will act as an initial hood side template.
 2| The front section of the cardboard panel must intersect at the rear of the Cockshutt nose and front bottom corner of the hood and meet at the top of the side frame cover.
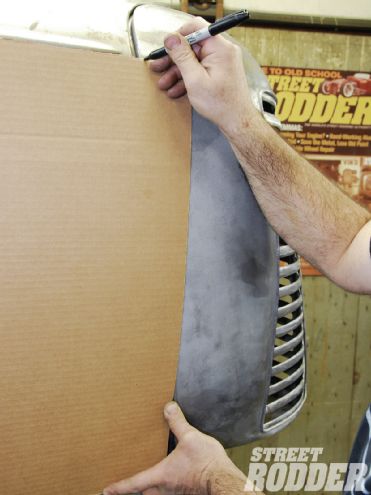
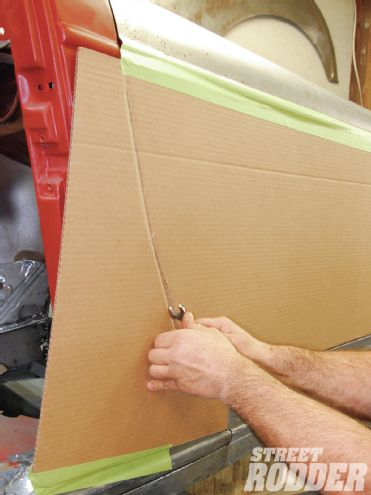
 3| Using a black felt tip marker this area was marked to illustrate the cut needed.
 4| The marked section was then carefully removed with a razor knife.
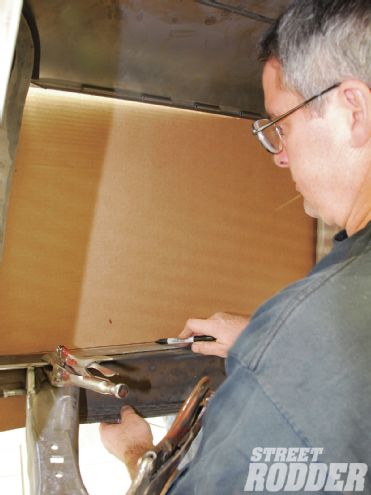 5| From inside the engine bay the cardboard template was then marked for trimming just above the framerail from left to right.
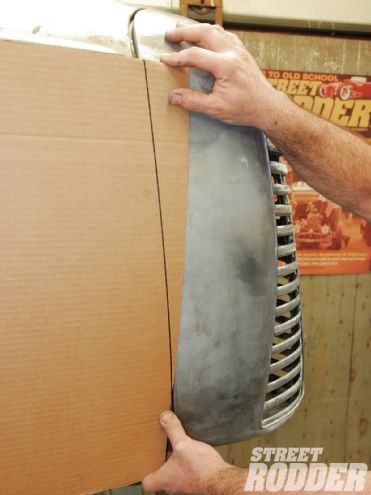
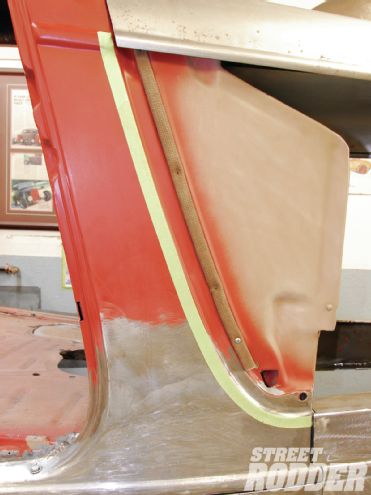
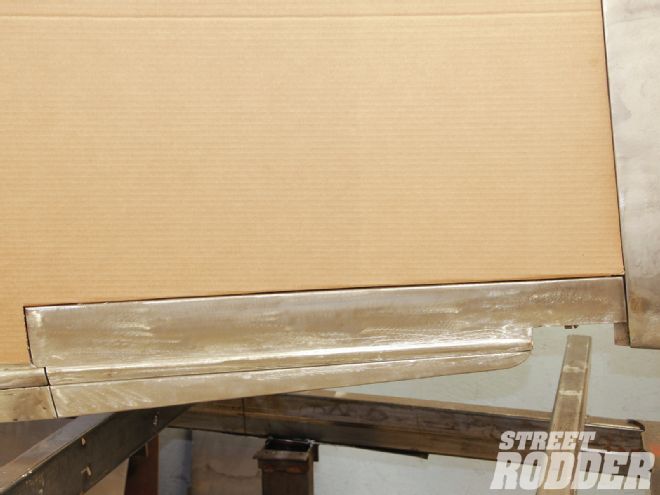 6| Here you can begin to see the crisp lines cut to accommodate the modified framerail cover and rear of the nose panel.
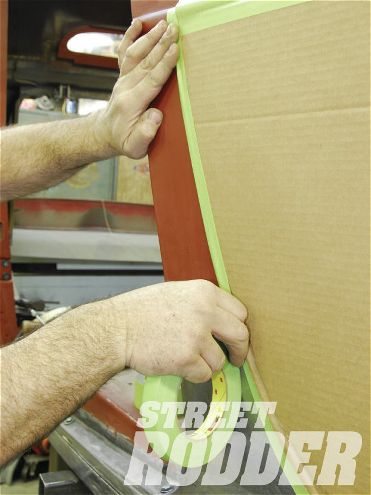
 7| Using 2-inch masking tape, the template was then secured in place to begin trimming the rear section.
 8| To trace the curve of the cowl, the backside of an open-end wrench was used to make the outline. It was then trimmed 3/8-inch wider for adjustment purposes.
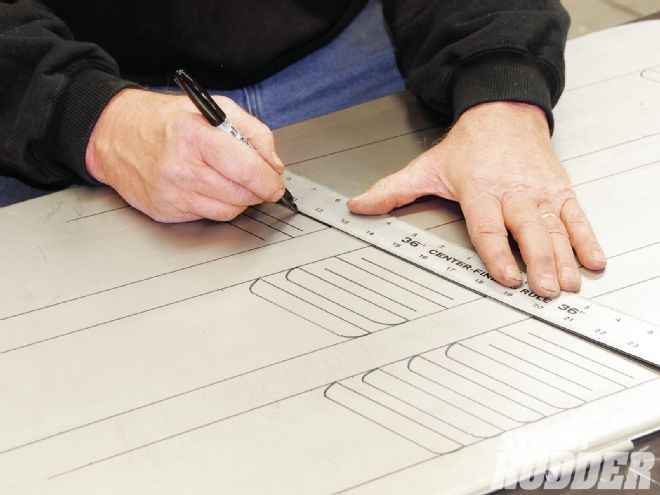
 9| A 3/4-inch tapeline was then set in place to establish the hood side’s exact placement to the cowl edge.
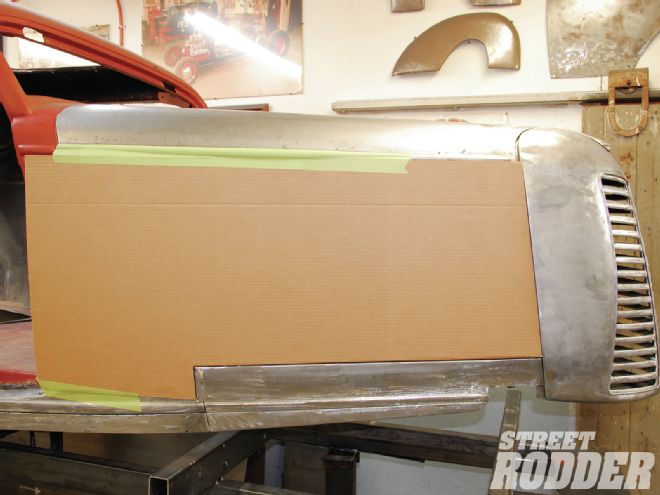
 10| The template was then set back in place with a matching 3/4-inch tapeline to confirm the trimming needed to the cowl side and to complete the template.
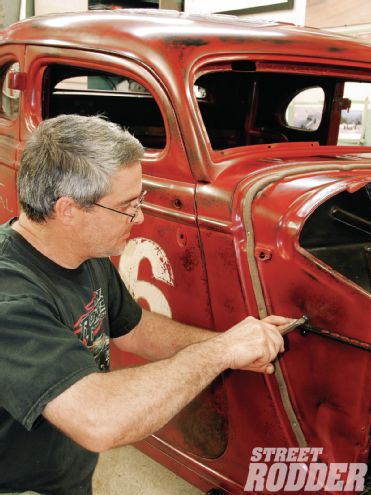
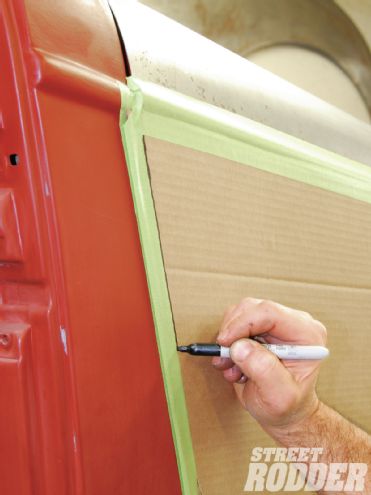 11| A black felt tip marker was then used to outline the final trimming required to the cowl side.
 12| The cardboard template was transferred to a piece of Masonite for added durability when cutting the pattern with a plasma cutter.
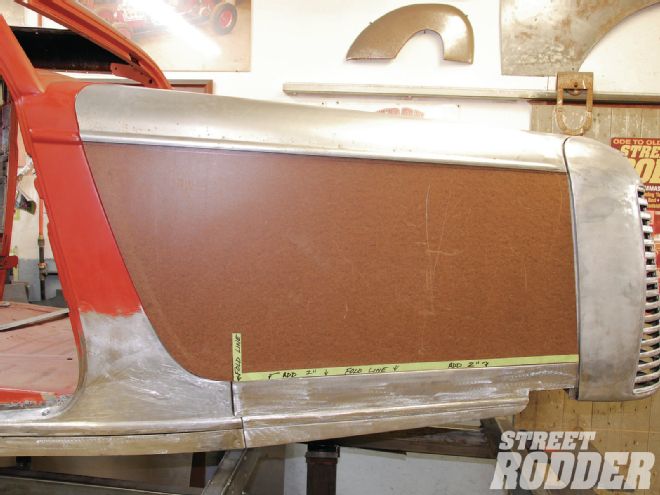
 13| In this image you can see the noted remarks for 2 inches of additional require stock to be allowed to properly fit the hood side to the car.
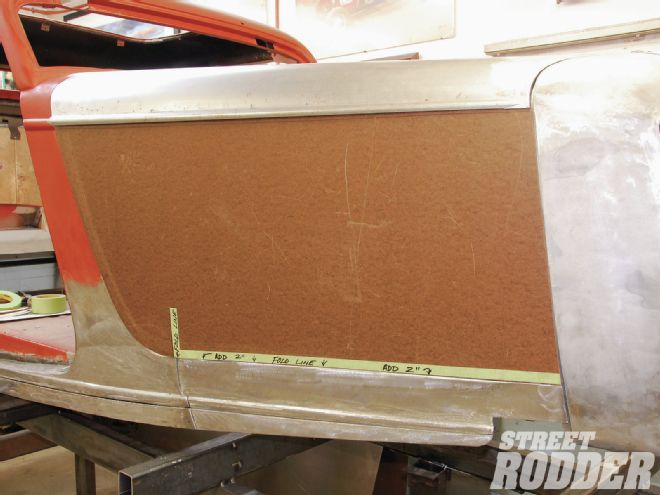 14| From an additional angle you can see just how well the Masonite hood side fits to the frontend sheetmetal.
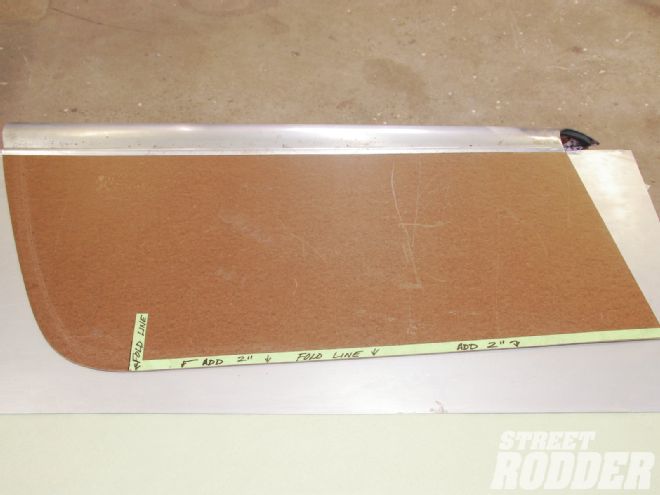 15| The Masonite template was then laid in place atop the blank Rootlieb hood side parallel to the top hood hinge pockets with the matching Rootlieb hood top in place.
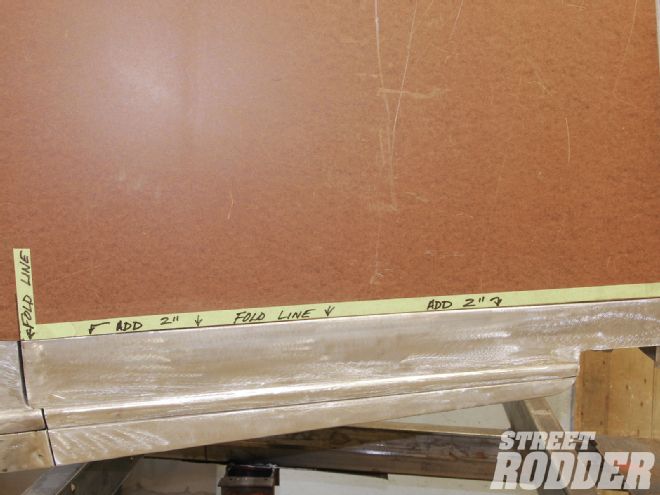
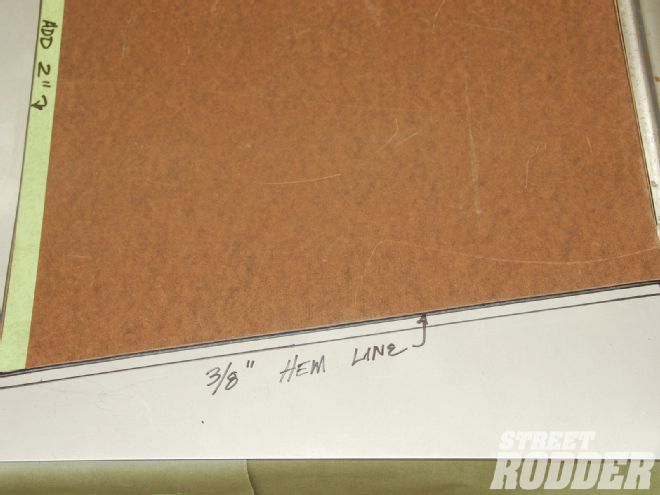 16| Here you can see the notation for adding an additional 3/8 inch for a hem line to the front of the hood side.
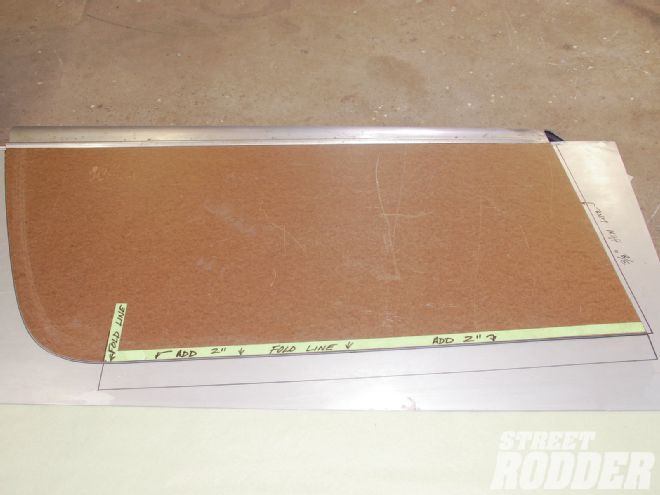 17| The additional 2 inches to the bottom of the hood side was then measured and noted, as it will serve as a mounting point to the top of the framerail.
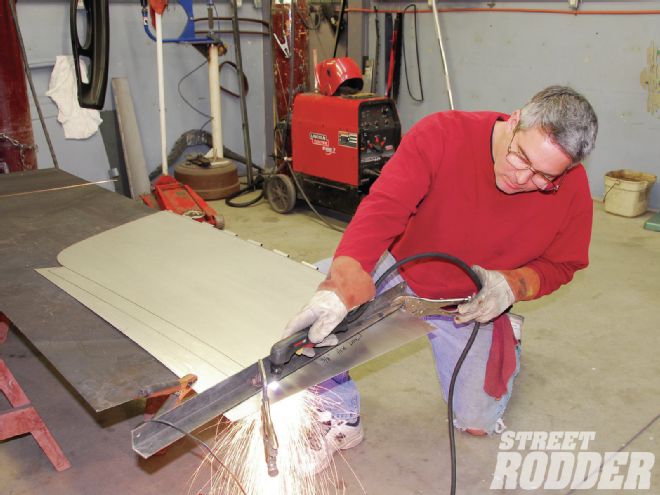
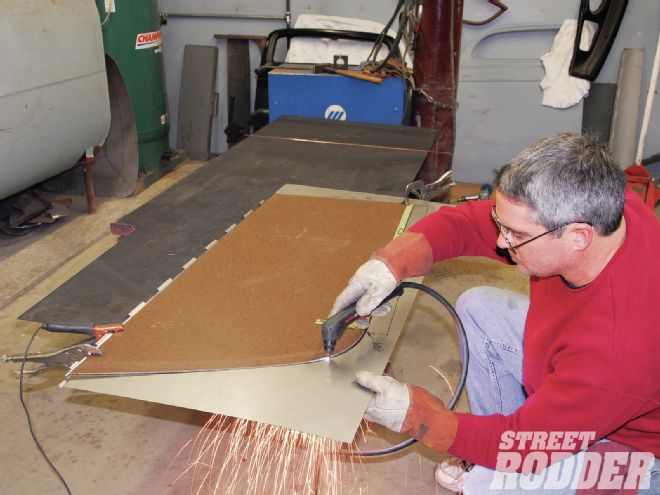 18| While wearing safety glasses, Cornell carefully makes the needed incisions using a plasma cutter while following along the Masonite template.
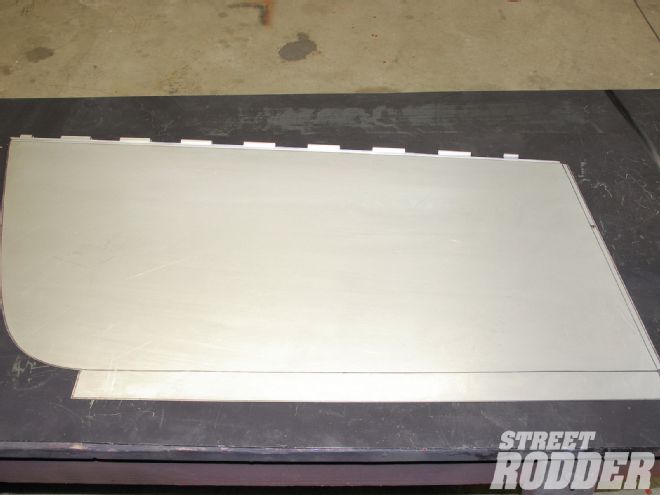 19| The hood side looks perfect after trimming. Its sharp edges were then deburred using a flat file.
 20| Cornell and Schmidt then used a sheetmetal brake to place the marked 2-inch bend in place at the bottom of the hood side, which will rest atop the framerail.
 21| With the hood side on the workbench, rows of 4-inch louvers were then marked and set in place to be punched.
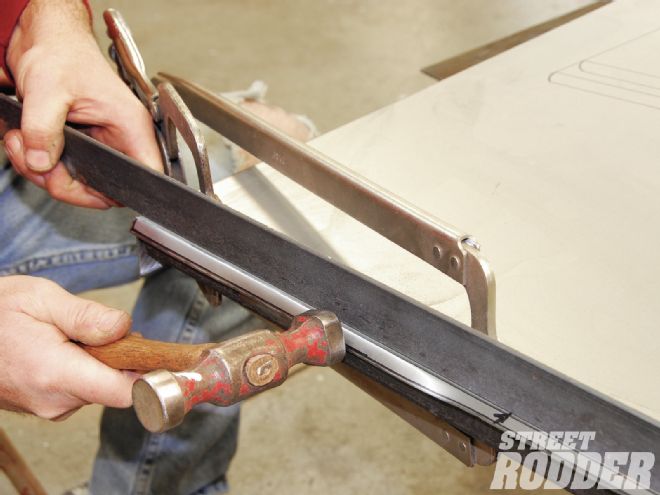 22| With the hood side clamped to the workbench a section of 2-inch steel stock and a body hammer were used to hem the front 3/8 inch of the hood panel.
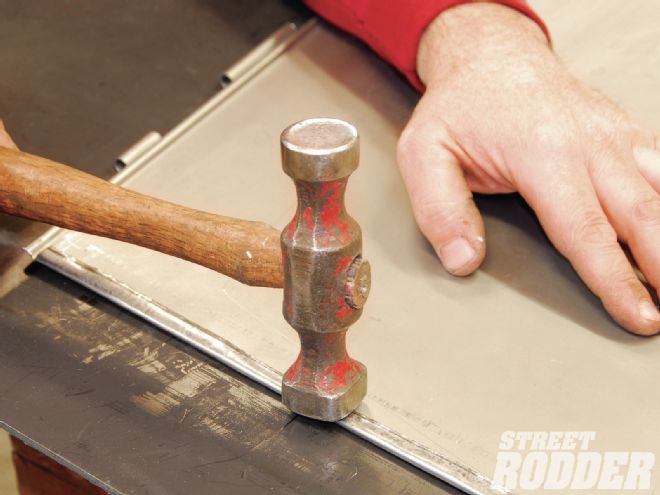 23| Once the hem was in place a body hammer was used to evenly complete the bend.
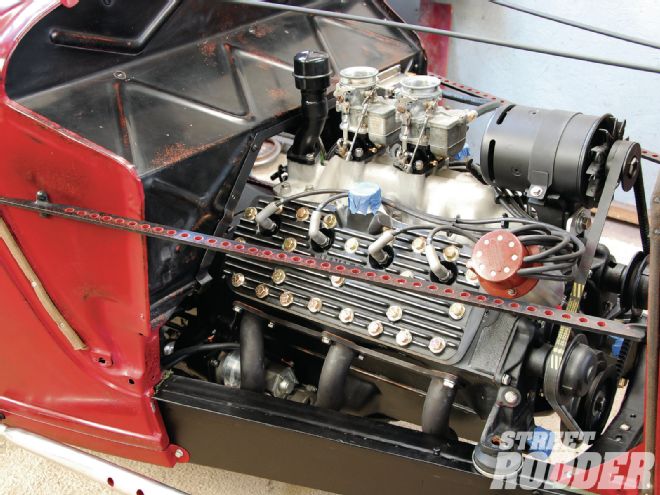
 24| In this overall image you can clearly see the hood top and side starting to take shape to complete the graceful flow of the sheetmetal.
 25| Cornell used 1/4-inch flat steel stock to fashion a pair of nose support braces filled with lightning holes.
 26| They are mounted in place with standard slotted hardware.
 27| Here you can see just how bitchin the nose support braces look when mounted in place.
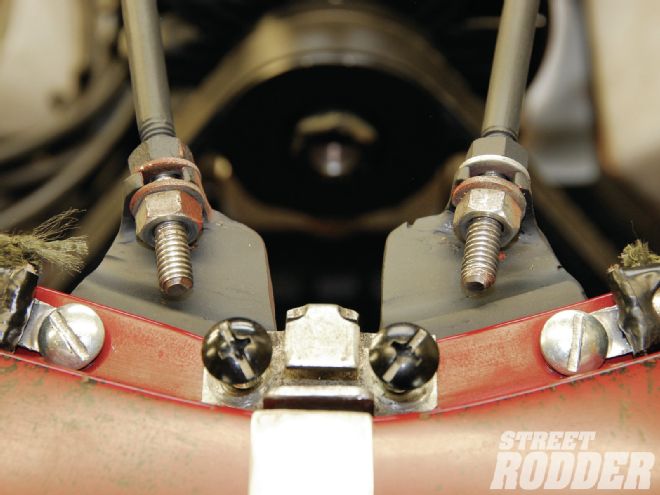 28| The cowl to radiator support rods were then secured into place.
 29| It’s always a good idea to test-fit the hood tops and side panels prior to securing them into their final positions.
 30| Securing the hood sides in place is a two-person job. Here Cornell supports the side and top as Schmidt sets the hinge rod in place.
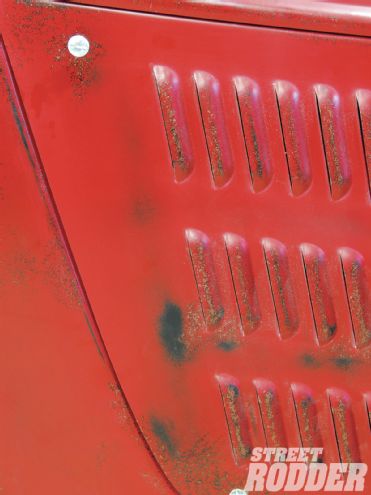
 31| With the hood side painted and in place, it gives you the opportunity to check out its final dimensions and crisp look.
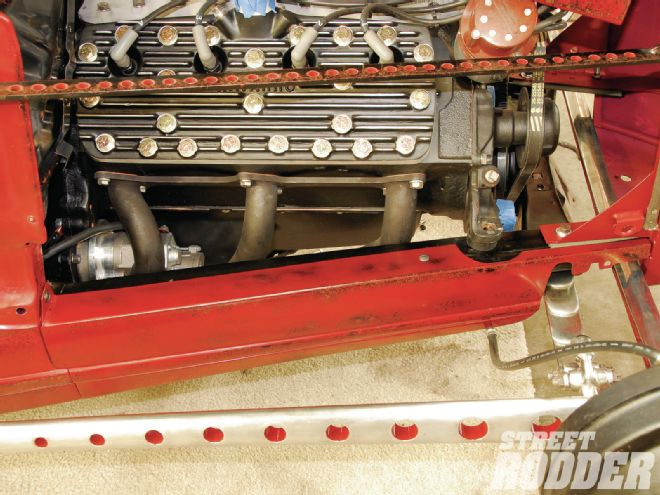 32| This image lets you see the nice attention to detail the front frame cover has in its final form and classic look it has positioned on the framerail.
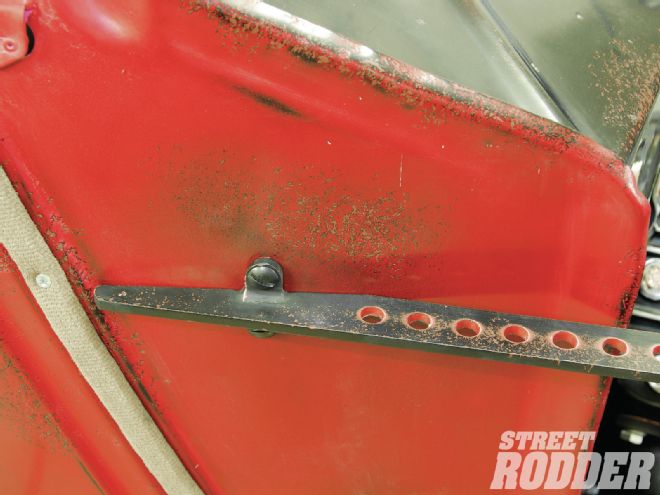
 33| To secure the hood sides in place Dzus fasteners were incorporated at four points, two in the front and two at the rear.
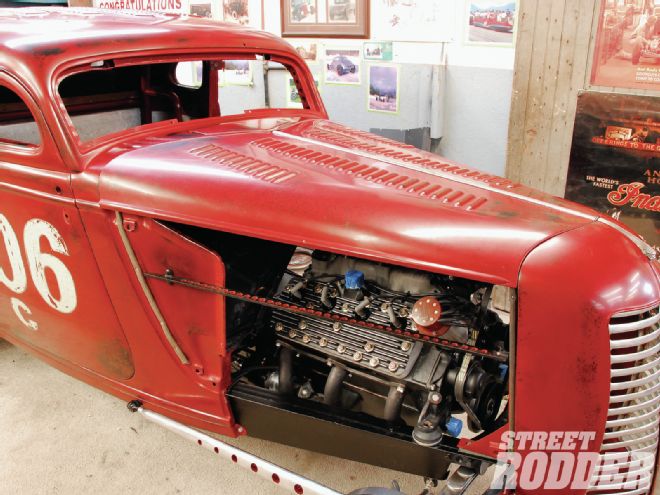
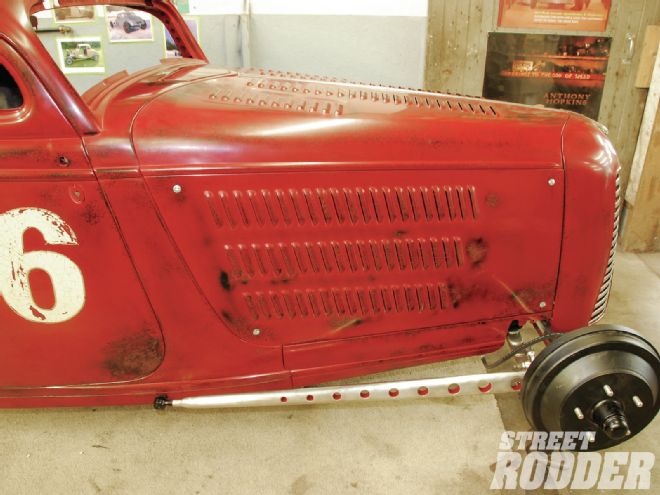 34| The completed frontend sheetmetal encompasses an amazing array of custom fabrication that gives the coupe a newfound sense of speed and style, evoking plenty of post-war elements.