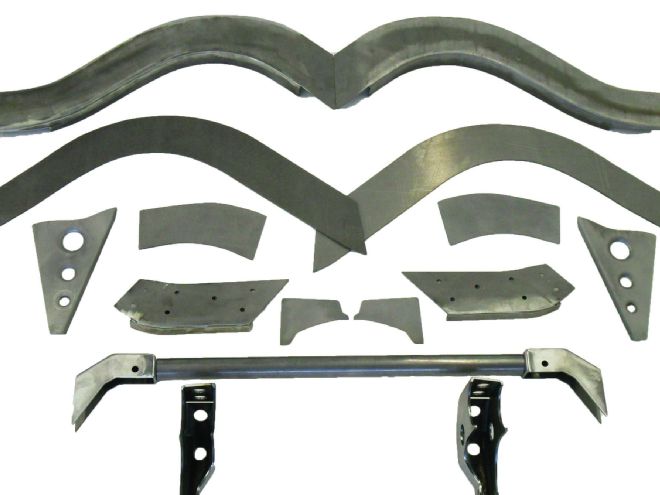
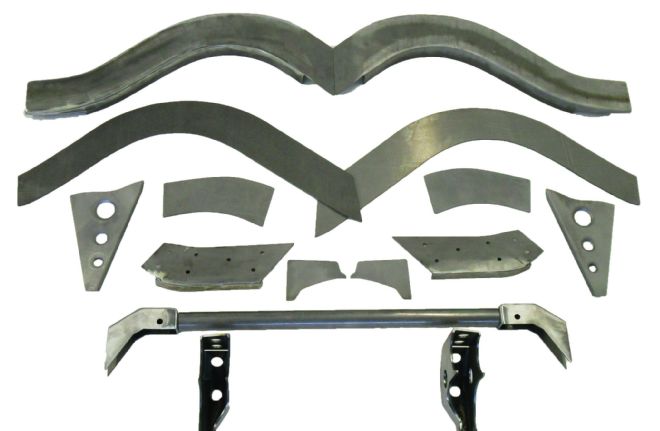
The ABC Performance GM A-body mini-tub kit includes CNC-laser-cut, steel-frame plates and a new tubular crossmember that serves as the upper mounts for Viking Performance coilovers, which are available separately. The mini-tub kit requires you to change to coilovers in the rear.
While it’s possible to do this install with the body raised just enough to cut and weld on the frame, the best way is to remove the body. Start by leveling the frame left-to-right and front-to-rear.
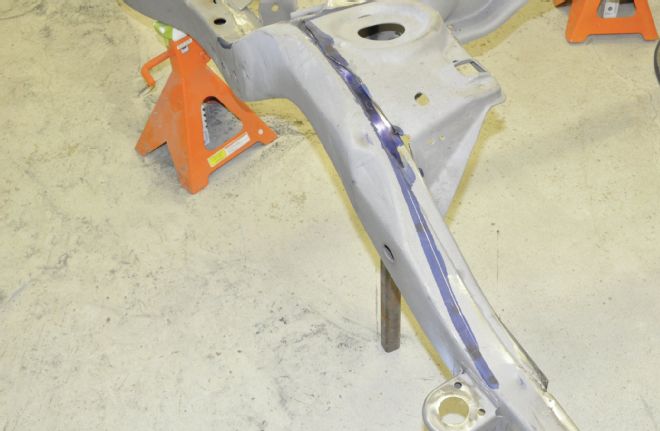
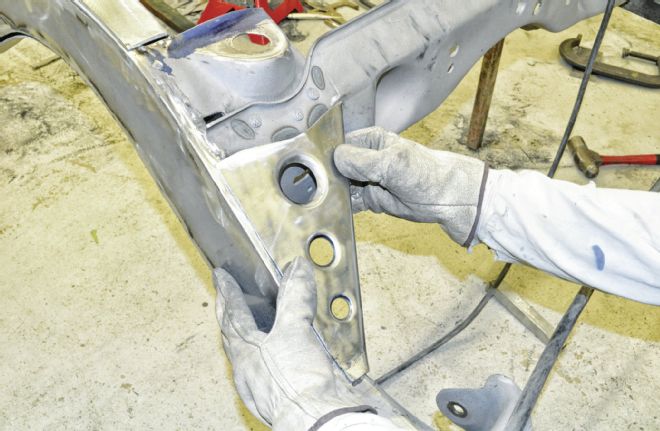
The upper control-arm crossmember and body mounts above the rear axle will remain in place, but the upper shock and spring mount will be cut out. Tony Grzelakowski of ABC Performance uses machinist’s dye to mark the rear framerails.
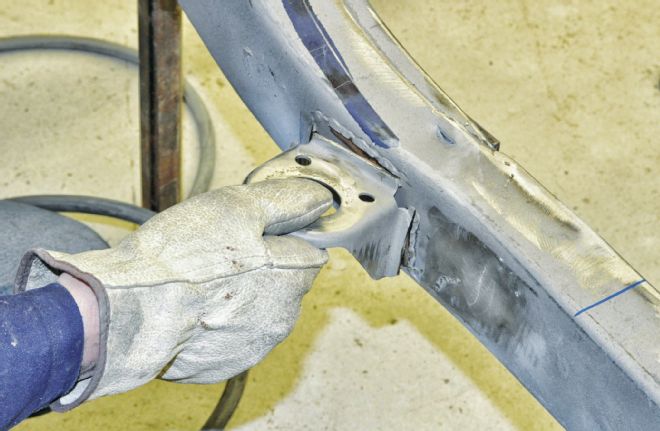
Using a cut-off wheel, carefully cut off the body mount behind the rear wheels of the frame. Try to keep as much of the mount intact as possible because you will be reusing it.
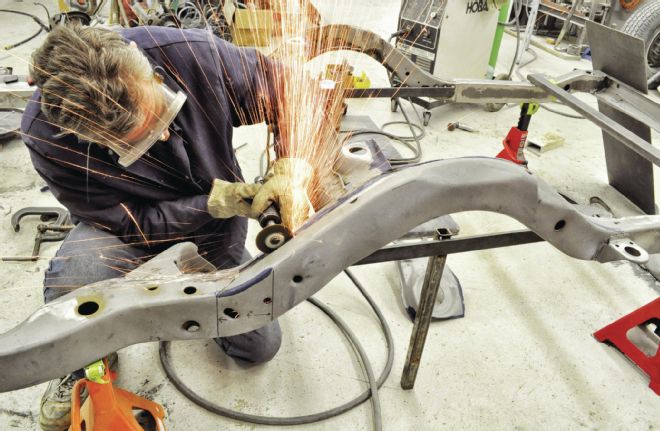
Weld a section of steel to the inside of the framerails to brace the upper trailing-arm crossmember and the rear brace. These will hold the frame steady as you remove sections. Using a cut-off wheel, slice the framerail along a line 21⁄8 inches from the outer rail.

With the outer section cut away, you can then cut the forward section of the original frame on the top and bottom approximately 3 inches. Use a large C-clamp to bend the metal toward the new position of the inner framerail. Trim it to meet the frame channel and weld it in place to form the new inner framerail in this area.
The laser-cut frame sections from ABC Performance have clean edges, but your frame’s edges will need grinding to make the new plates fit. Use tack welds every 6 inches to hold them and finish-weld the frame by alternating in 4-inch-long sections to minimize the heat you put into the chassis.
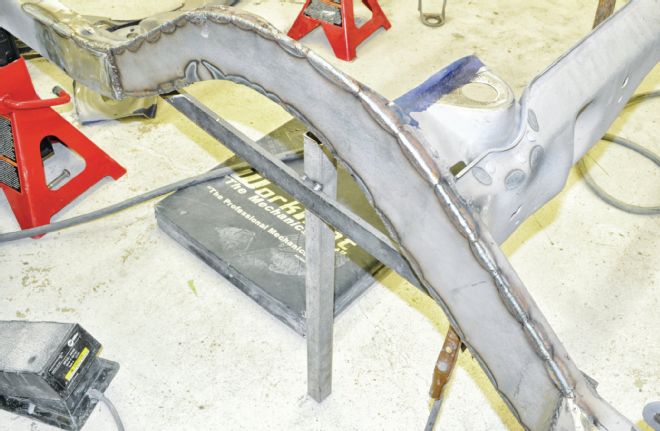
Grind down the welds and then fit the new inner C-channel over the framerail. You will likely need to grind or tweak the frame and the new C-channel a bit to get it to fit snugly. Use the same technique of tack welds and then finish welding as you did for the outer frame section.
Now that both sides of the frame are done, you can weld the gussets in place on the front side of the factory upper control-arm crossmember. These restore strength to the crossmember and rear of the car.
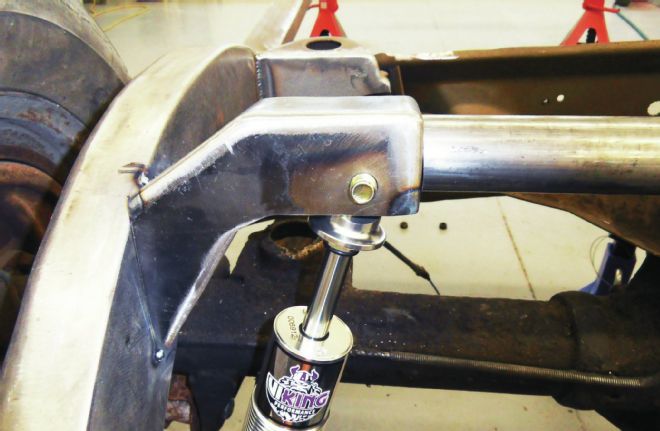
ABC Performance’s new crossmember (shown) has the upper coilover mounts integrated into the end bracket, allowing the use of coilovers with longer stroke to accommodate a range of ride heights while maintaining good suspension travel.
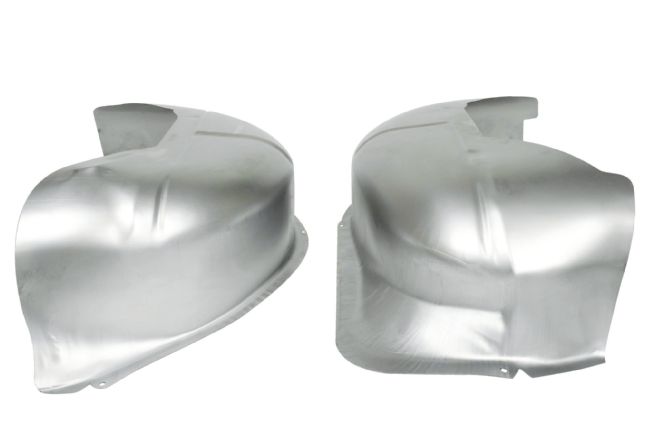
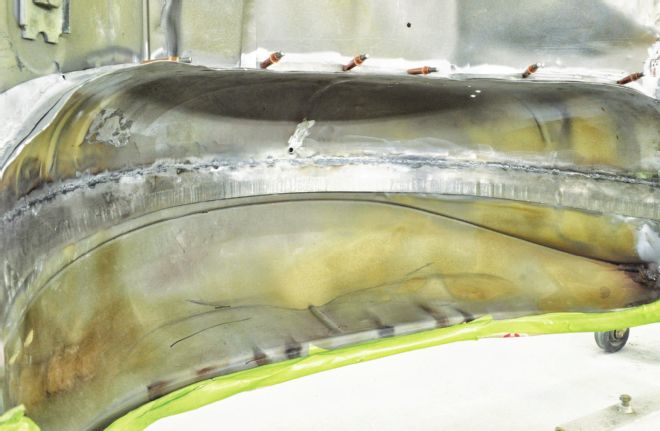
You also need to make room in the body for the wider meats. ABC Performance makes stamped-steel inner wheeltubs for ’64–’67 and ’68–’72 Chevelles. These are a pair of inner sections (left and right) that are 2 inches wider than factory.
To remove the rear body mounts from the car, drill through the spot welds. Treat the rusty area under the body mounts and grind the spot welds flat.
Reinstall the body mount 3 inches rearward on the body. Sit the body back on the frame and line up the frame and body sections of the mount, marking the position of both and then welding them in place.
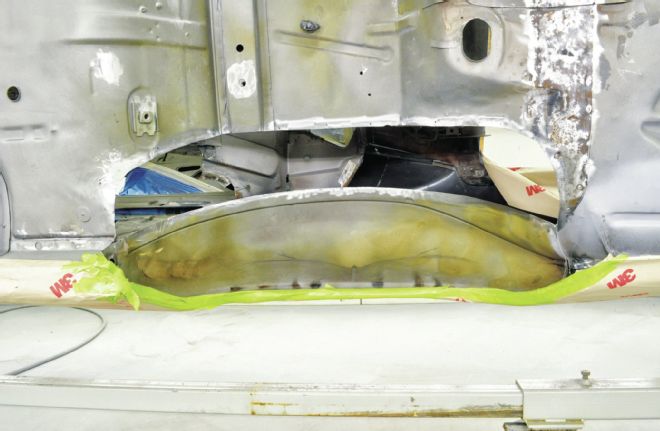
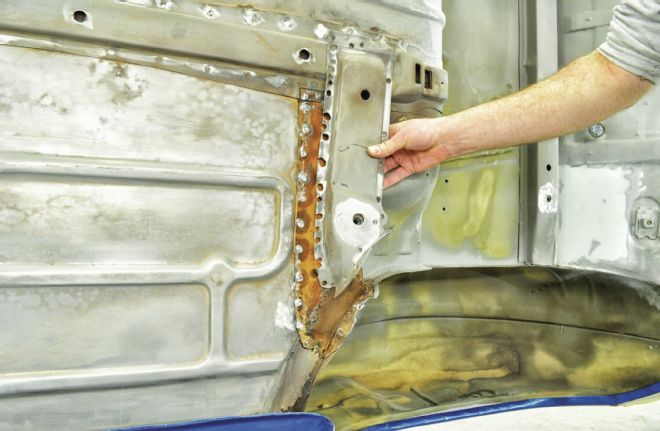
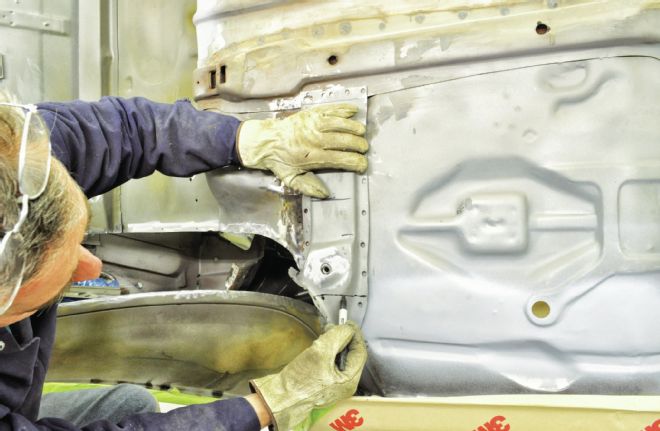
Widening the wheeltubs requires removing the trunk springs and mounts from the factory inner wheelwells. Cut out the original inner wheelwells and the 2 inches of flat sheetmetal around them.
Trim the trunk spring mounts to meet the wheeltubs and weld in place.
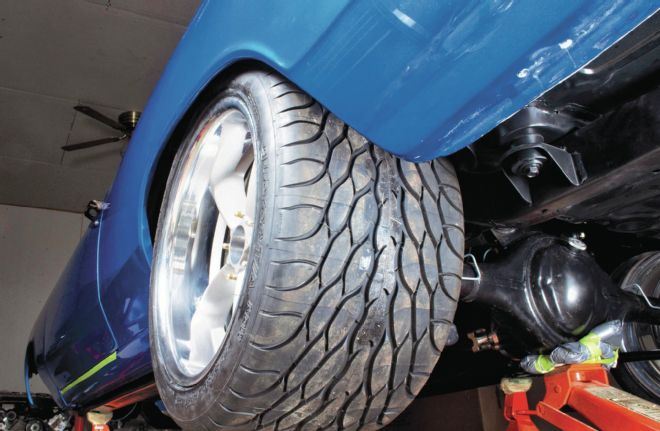
On a ’66–’72 A-body, use a 12-inch-wide wheel to mount 335/40ZR18 tires. Optimum backspacing will depend on axle and brake combination. For this ’66 Chevelle with a Moser 9-inch (factory Chevelle width) and Baer rear disc brakes, 7.50-inch backspacing was perfect.