How often do you walk through a swap meet gazing at immeasurable piles of vintage parts trying to imagine a perfect fit for something you are currently working on? The Rolling Bones Hot Rod Shop in Greenfield Center, New York, is well known for reworking vintage Ford parts into their builds to bring new life to old, long-forgotten bits originally born at Henry’s factory.
 To create a shelf for the frame cover and hood side to attach to, a section of 1-1/2x1-1/2-inch angle iron was trimmed to 32-3/4 inches in length and secured to the framerail top.
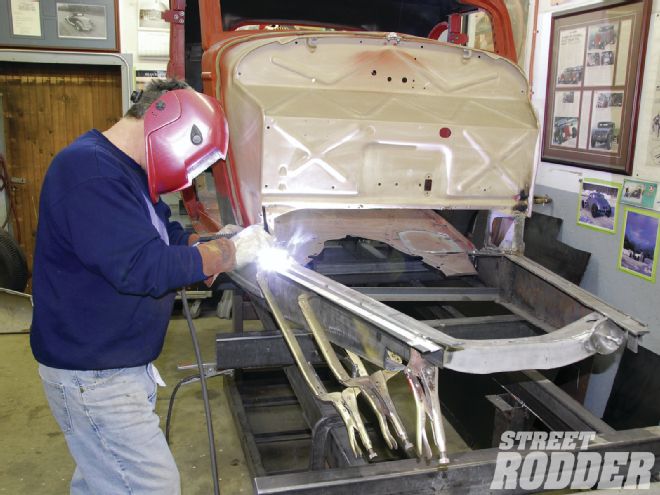
In a past issue of STREET RODDER, readers were treated to an article on creating sleek frame side covers for the ’33-34 Ford. Today we’ll show you how to complete the look by reusing an old swap meet special ’32 Ford hood top that was given up for dead due to its condition, and turning it into a sleek front framerail cover.
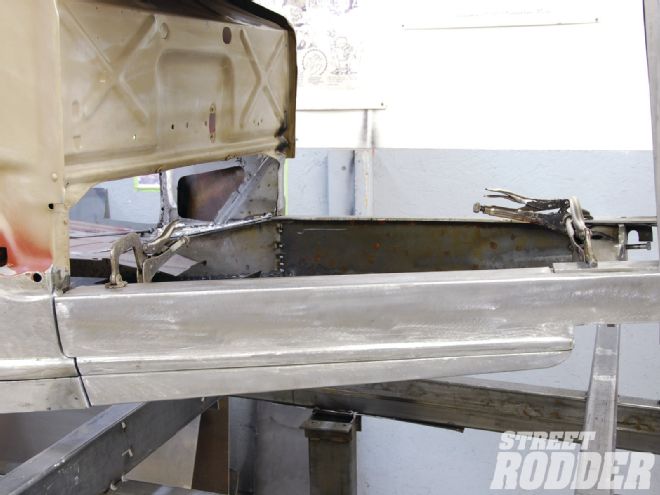
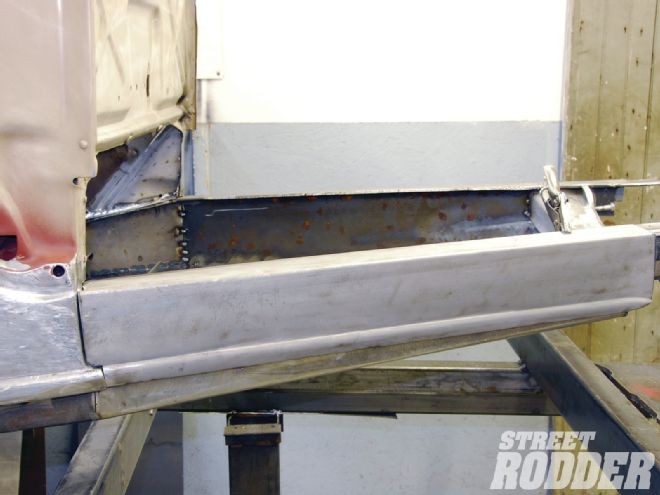
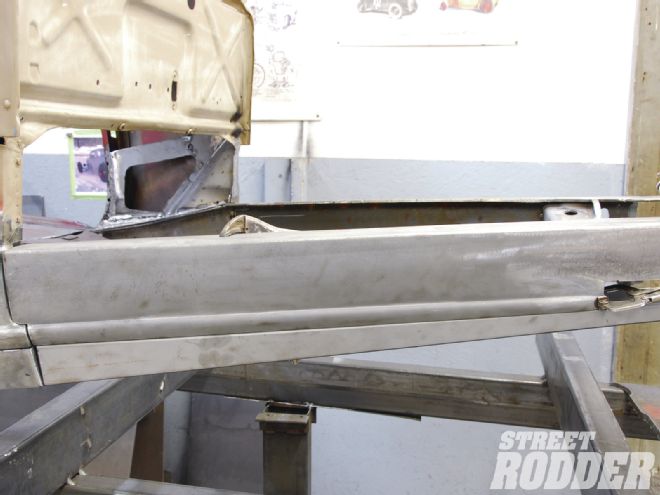
Getting started, team member Keith Cornell first needed to create a suitable shelf to support both the hood side and new framerail cover in place. This would allow him to establish both parts with a rock-solid base once they were finally assembled. A section of 1-1/2x1-1/2-inch, 1/8-inch-thick angle iron was selected, measured, and cut (using a cutoff wheel) from the cowl forward to the framerail end at 32-3/4 inches. Note that this measurement will vary depending on your own personal application. The section was then clamped in place to the topside outer face of the framerail using a number of C-clamp–style Vise-Grips.
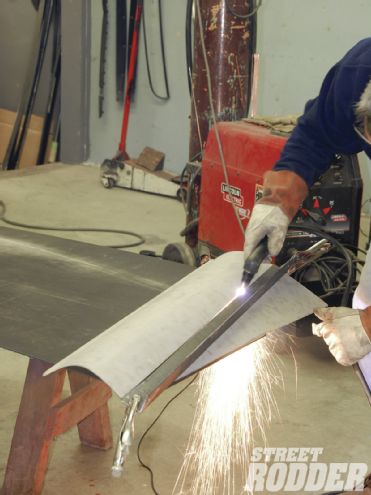
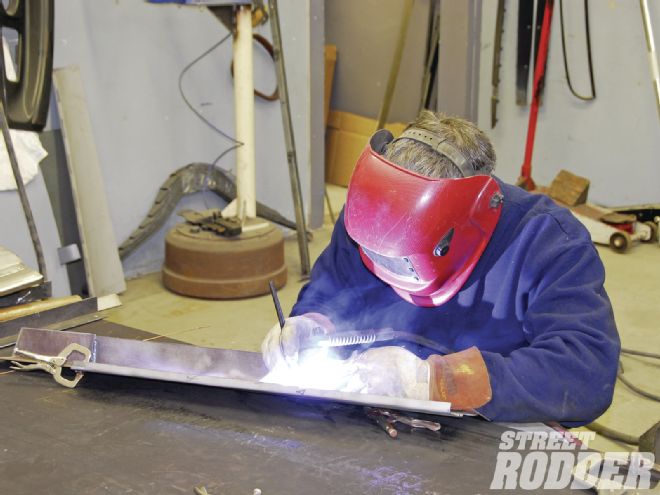
 The section was TIG tacked in place. A plasma cutter was then used to trim a graduated outer shelf line of 7/8 inch at the cowl base to 1/4 inch at the front of the framerail.
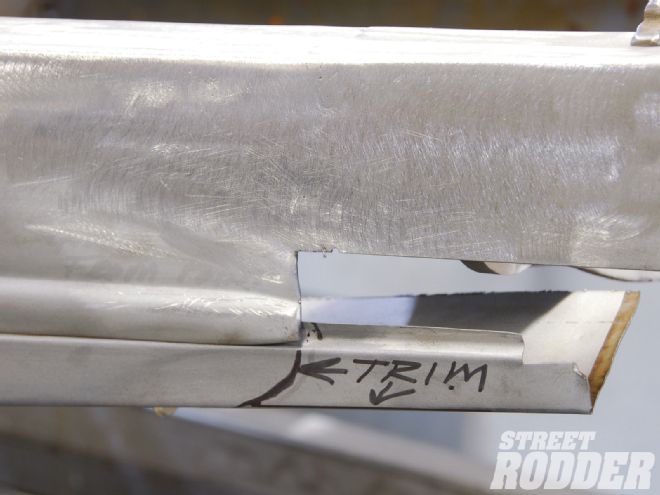
To establish the amount of trimming needed to the shelf, the nose was mocked into place allowing Cornell the opportunity to visualize the hood side panel sweep from front to back. Here the measurement started at 1/4 inch at the rear plane of the nose to 7/8 inch at the cowl base from the framerail side out. A section of 3/4-inch masking tape was then laid down to illustrate the required trim. The shelf was then TIG tacked in place and a piece of straight steel stock was clamped in place to act as a guide. A plasma cutter was then used to make the noted trim followed by an air-driven grinder topped with a 50-grit disc to deburr the area.
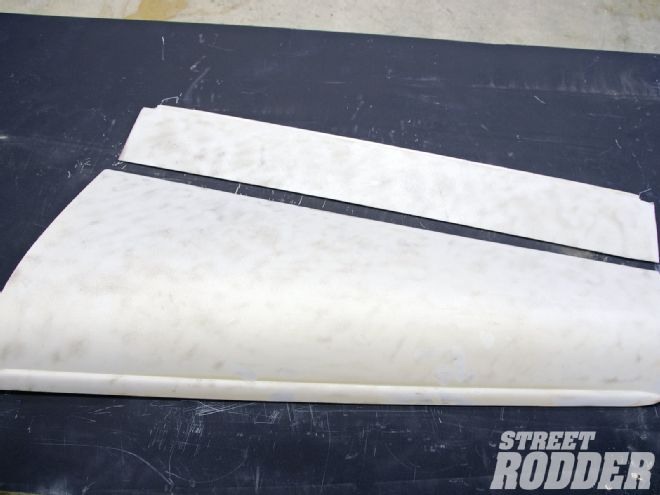
The vintage hood was then blasted clean, removing years of paint and debris from its surface. It was then reviewed for the best way to incorporate its classic side spear into the coupe’s existing lower body line. The hood top’s center hinge area contained a perfect recess, which acts as an ideal support shelf for the upper framerail cover. Thus, 4-1/2 inches were marked from the hood center hinge area inboard, from front to rear, allowing for plenty of room to trim and fit. The cuts were made with a plasma cutter and then deburred with a disc grinder. Inside the hood top on the reverse side of the spear were seven hinge pockets that required removal so the area would be able to act as a complementing support shelf when finally mounted. To address the hinge pockets, a cutoff wheel was used to carefully remove them; be sure to wear safety glasses. In order to complete the overall dimension of the panel graduated, 8 inches was marked for trimming from the cowl side forward, which would give it a rectangular shape.
 An original ’32 Ford hood top was used to create the framerail cover and the spear will carry the coupe’s lower body line forward.
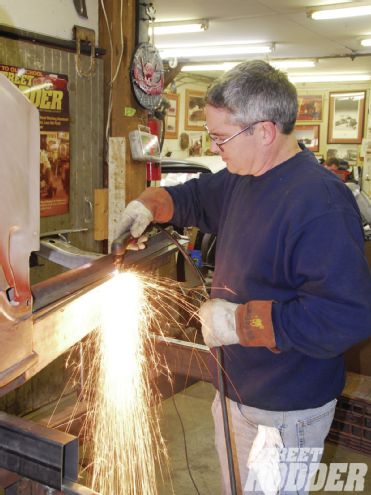
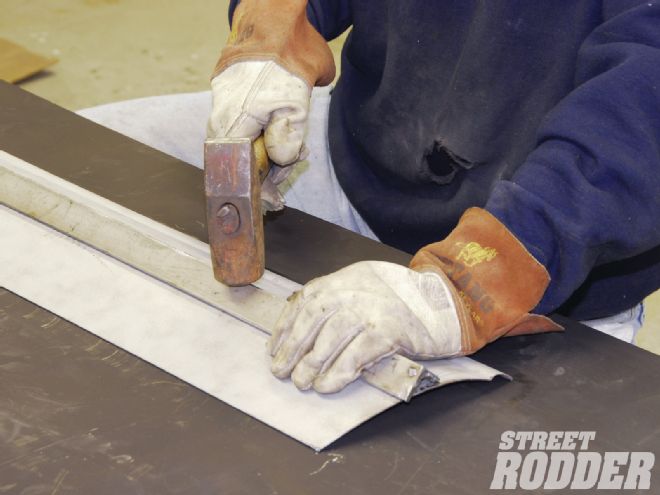
A section of angle iron was clamped in place on top to act as a guide and the area was removed using a plasma cutter and then deburred with a circular grinder. The stock hood side incorporated a noticeable curve, which was relaxed using a section of angle iron and a baby sledgehammer on a workbench. The area was worked from front to rear and side-to-side slowly and carefully until almost all of the curvature was removed. This step takes a bit of time to gradually alter the panel, which was originally built back in 1932.
 The top 4-1/2 inches was cut from the hood top and will act as both a lower frame cover and shelf to support the upper cover in place.
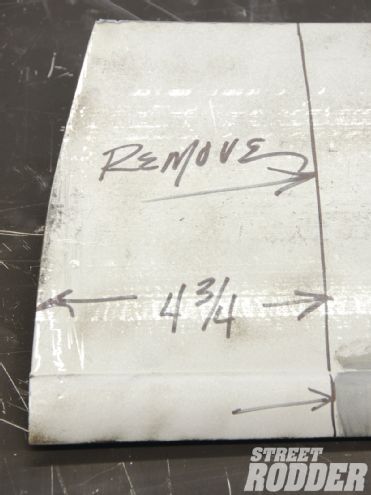
The section was then mocked in place and marked for trimming to fit, noting that 4-3/4 inches to the cowl side and a slight vertical cut adjacent to the front spear needed removal. This was again done with a plasma cutter and a straightedge. Proper panel fitment takes time with every bit of finessing, making an impact on the final product. A 3/4-inch notch was then marked to the upper framerail cover at the base of where it contacts the cowl to allow for a nice, clean transition. Using a cutoff wheel, the notch was made, followed by deburring and final fitment using a combination half-round and flat file. The section was then marked from the inboard side of the framerail for a 90-degree bend to wrap the top of the framerail. Cornell then placed the bend to the panel using a Brute tabletop sheetmetal brake, followed by test-fitting it to the framerail for accuracy.
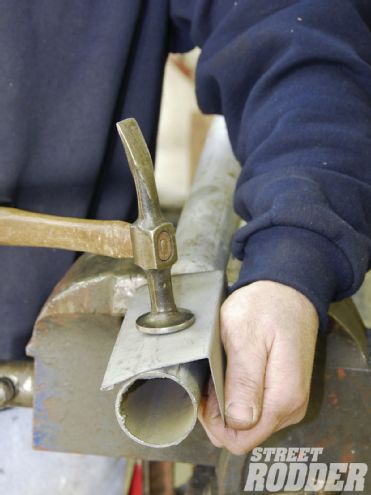
To extend the upper cover to the end of the framerail (just past the tip of the spear) in true Rolling Bones fashion, another section of the original hood was trimmed to fit and reused. The transitional piece was given a matching 90-degree bend in the sheetmetal brake. To create a matching contour Cornell used a section of 2-inch steel pipe anchored in a bench vise along with a body hammer to give it an equal look. Take your time at this point and work the contour in gradually. The two sections were then TIG-welded together, making sure to adequately cool the welds with a blowgun so as not to warp any of the panels. From there the welds were smoothed out with a flat file. So as to ensure ample front spring clearance, a small portion of the front spear was marked, trimmed, and bent back to form a nice, clean contour to the tip. This was completed using a cutoff wheel and flat file. With the upper cover nearly complete, Cornell addressed the lower cover section by clamping it in place to the bottom of the framerail and marking a graduated line from the cowl side to the rail tip. The panel then received a 90-degree bend in the tabletop sheetmetal brake and was mocked back in place to note any required trimming. At the front of the framerail a small section was removed using a cutoff wheel and artistically contoured to create a perfect transition to the spear tip. Both upper and lower sections were then clamped together and finally TIG-welded together on the workbench. For an added bit of allure (and to echo the bottom of the frame side covers) team member Ken Schmidt laid out a tasty row of 2-inch louvers to a steel extension panel for the bottom of the cover. A cowl tab and framerail mounting points were completed to finish the piece. Standing back and checking out the framerail cover it’s easy to see the style infused into the side lines of the coupe, especially where it transitions into the side framerail covers—and to us that’s just plain bitchin’.
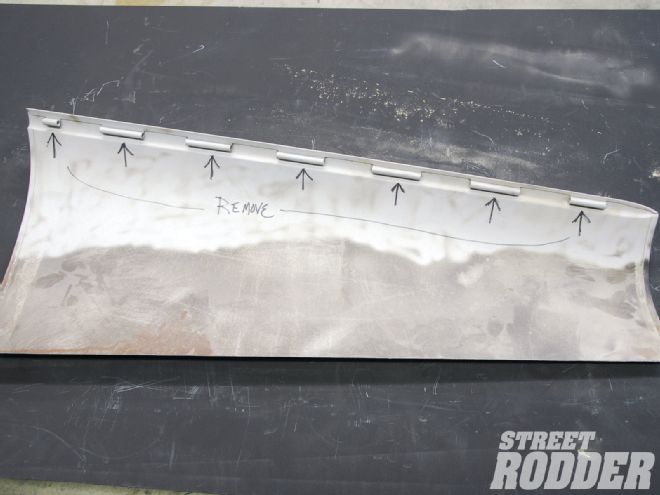 In order to clean up the inner hood area to function as a support shelf, seven hinge pockets need to be removed.
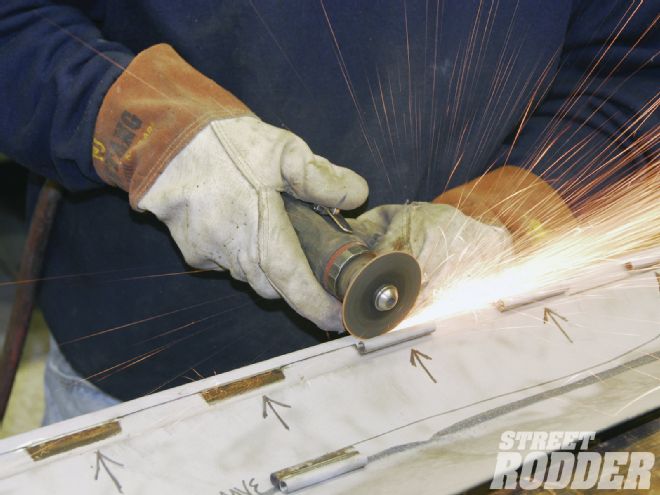
While wearing safety glasses, the hinge pockets were carefully removed using an air-driven cutoff wheel.
Using a clamped on section of angle iron as a guide, a plasma cutter was used to trim a graduated 8 inches from the rear forward on the hood for an even panel.
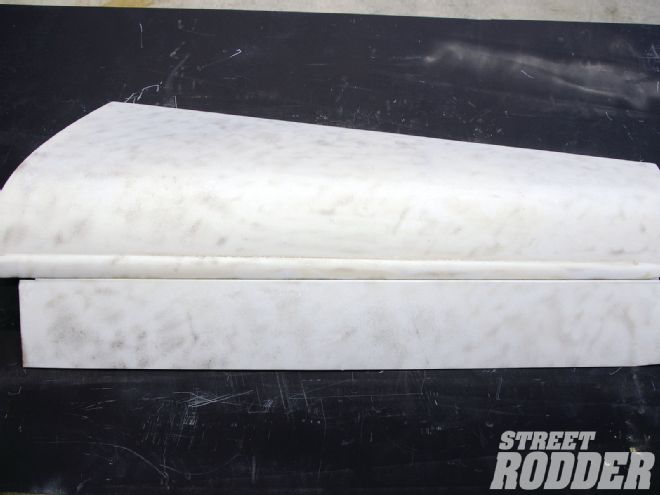
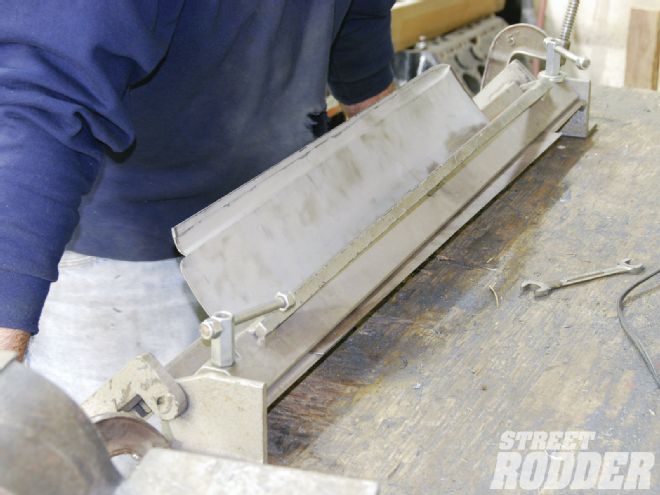
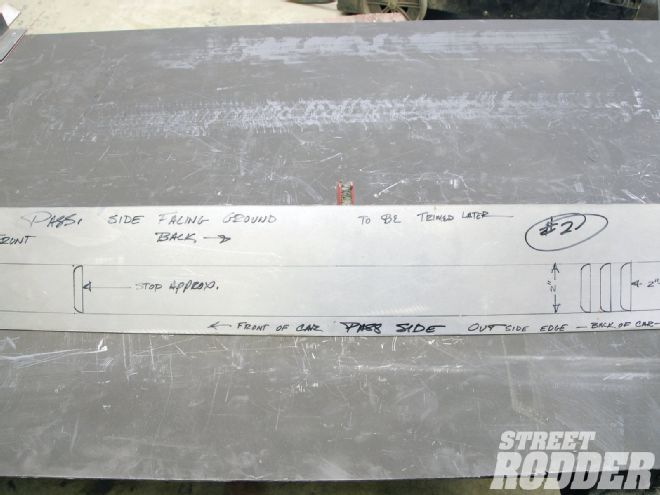
To remove most (if not all) of the curvature from the hood top, a section of angle iron was used.

On a workbench, team member Keith Cornell used a baby sledgehammer to slowly and carefully work the angle iron across the panel to significantly reduce its curvature.
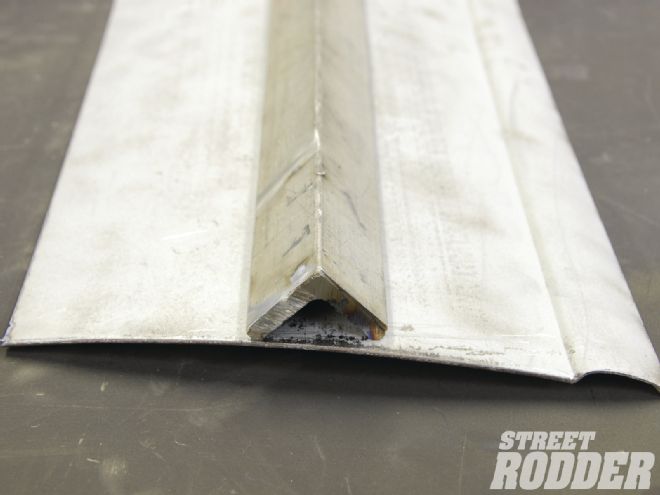
Here you can see the panel with just a hint of curvature left once the reworking was completed.
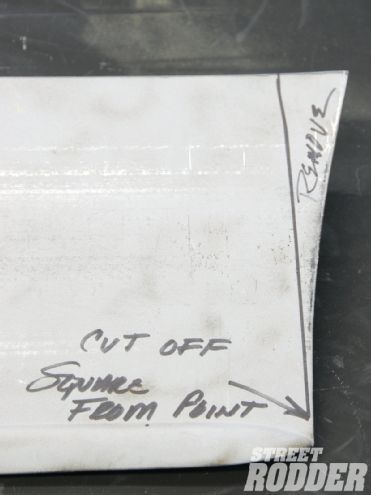
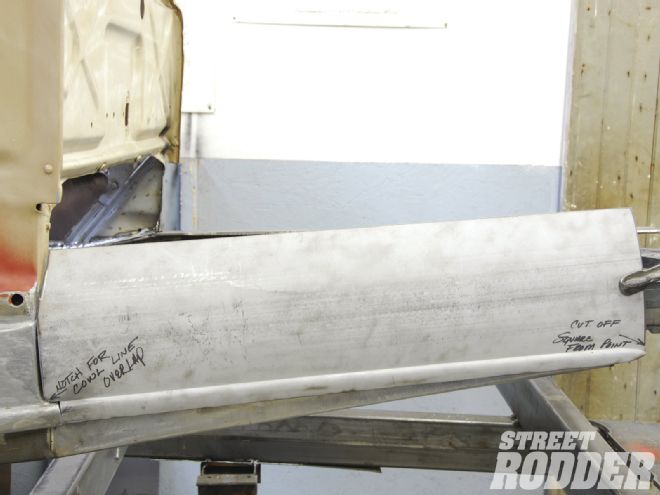
The panel was then marked for trimming of 4-3/4 inches from the back and a slight vertical trim at the front tip of the spear to square off the section.
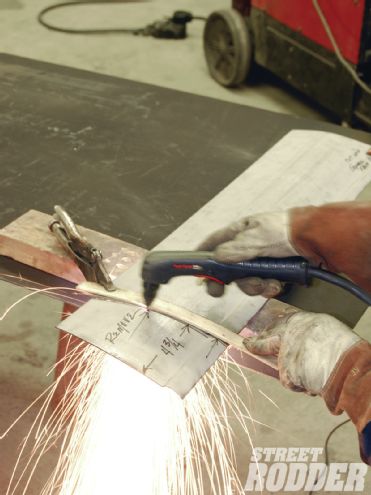
With a small section of metal strapping as a guide, the areas were trimmed with a plasma cutter. They were then deburred with a grinder topped with a 50-grit disc.
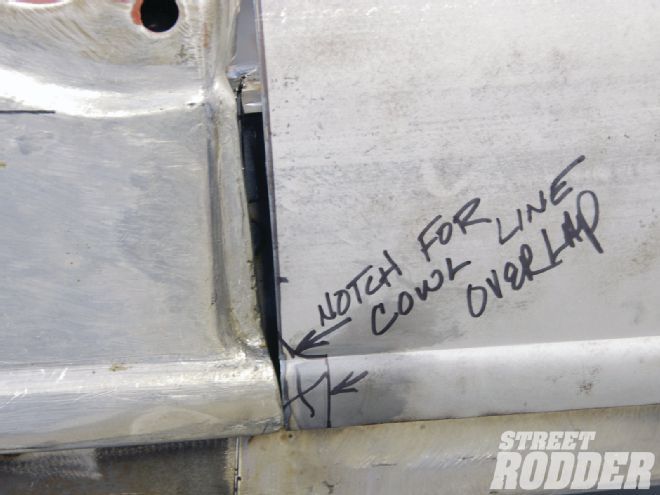
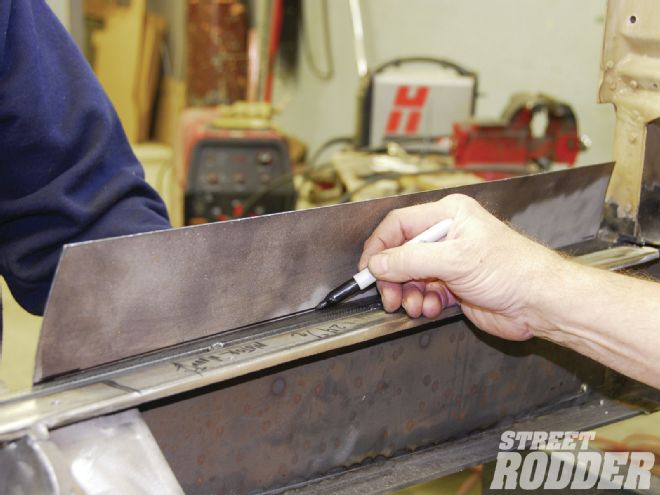
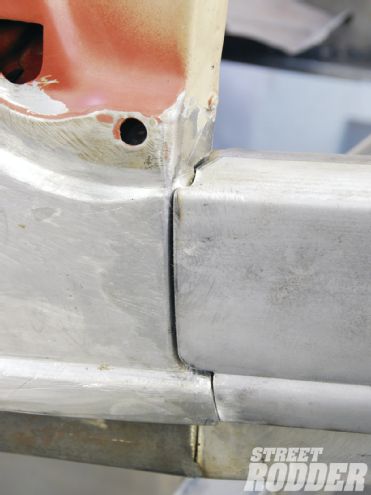
The bottom rear corner of the frame cover was then marked for a 3/4-inch notch to gracefully meet the cowl line.
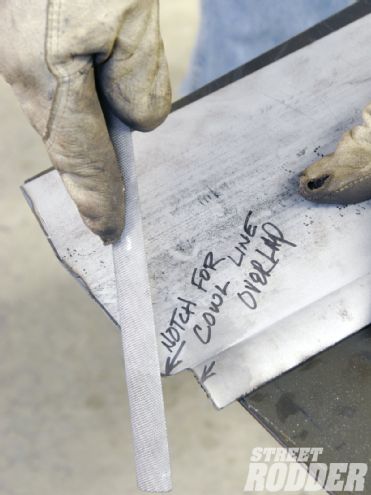
The notch was removed with a cutoff wheel and deburred using a combination half-round and flat file.
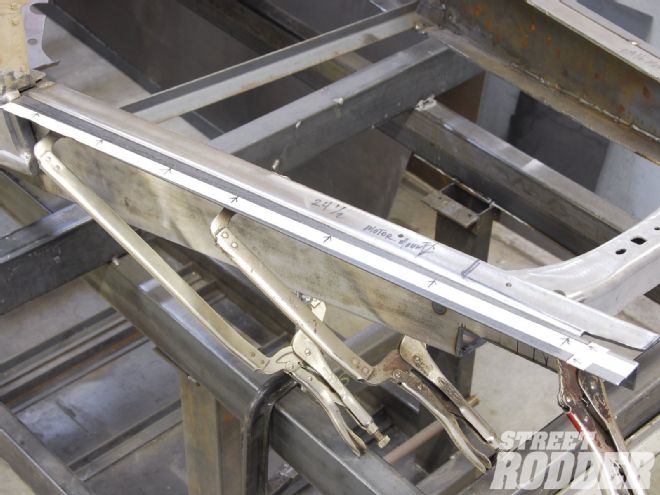
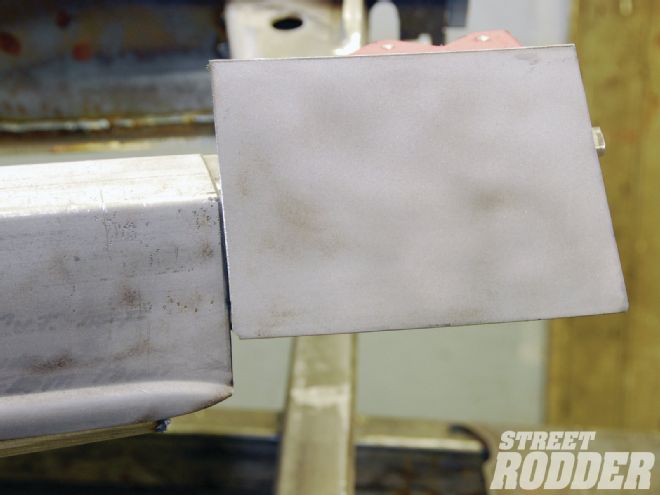
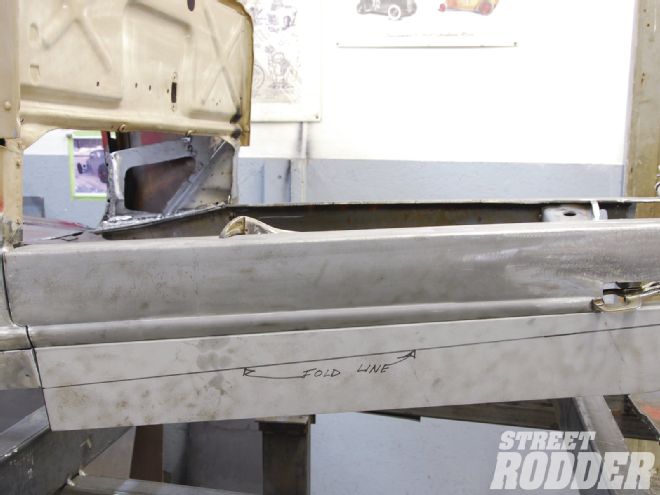
The panel was then held in place to the outer framerail and marked inside for the upcoming 90-degree bend to wrap the framerail top.
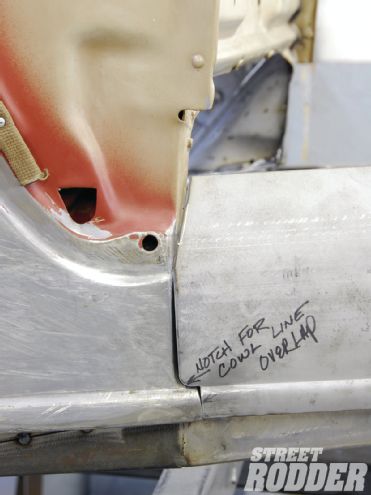
This image lets you see the panel clamped in place prior to bending. Note it was trimmed slightly to fit at the cowl line.
The transition notch between frame cover and cowl will carry the lower body line perfectly.
Using a Brute tabletop sheetmetal brake, a 90-degree bend was added to the panel.
The panel was then trimmed to fit the top of the framerail using a plasma cutter, and deburred with a 50-grit disc.
Panel lines were finessed with a combination file where it met the front of the cowl, further enhancing the body line progression.
Next, it was time to extend the front panel ahead of the spear to the end of the framerail.
Another small section of the original ’32 Ford hood was trimmed off using a cutoff wheel and mocked in place for the transition piece.
It then received a 90-degree bend to fit.

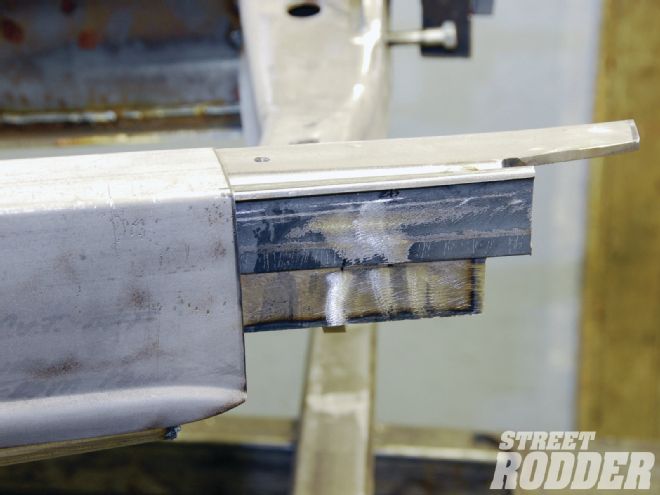
Cornell used a 2-inch steel pipe secured in a bench vise along with a body hammer to add a slight curve to the section, matching the base panel.
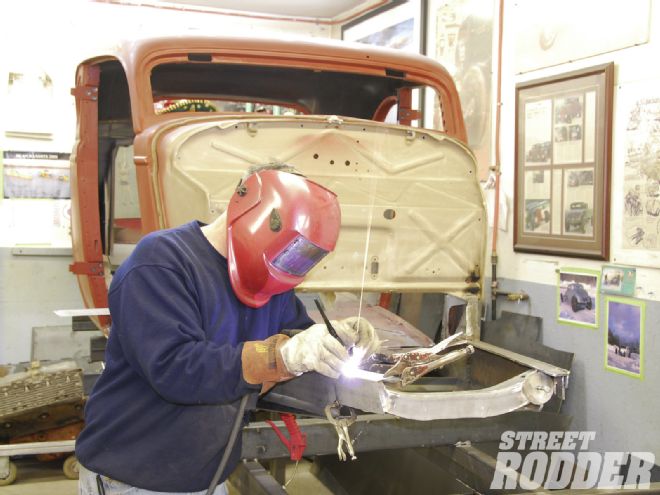
The panel extension was then TIG-welded in place using a Lincoln Electric Precision TIG welder, model 225.
To complete the panel’s proportions and allow for ample front leaf spring clearance, the tip of the cover spear was marked and trimmed.

The remaining previously cut hood panel was then set in place for the lower framerail cover and marked for a 90-degree bend.
The bend was done on the tabletop brake and mocked in place.
The lower panel end was then marked for trimming with a cutoff wheel to accentuate the lower spear and give it a nice curve for completion.
The cover was then removed and set on a workbench to complete all final TIG welding.
Here you can see a shot of the detail to be worked into the bottom of the panel extension where team member Ken Schmidt laid out a row of 2-inch louvers for added vibe.
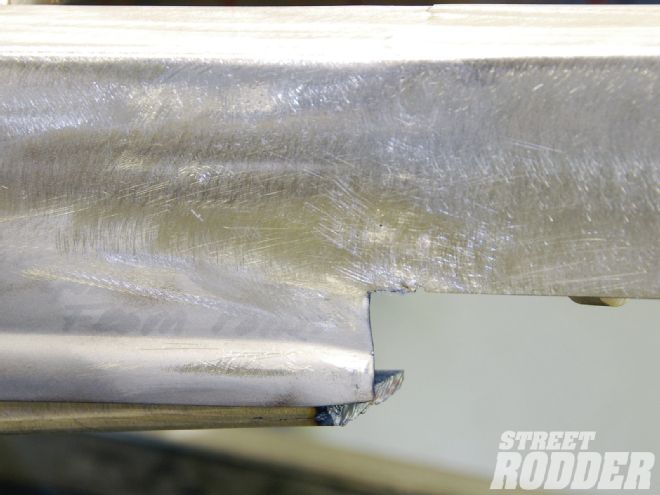
These images sum it up quite nicely where the transitions between both frame covers meet to create a dramatic transition between the panels.
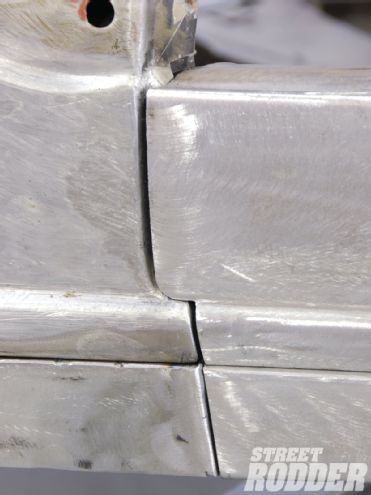
The overall effect of the covers not only gives the coupe a finished look, but also adds plenty of style to the mix.