It’s funny when I get feed back from some of my friends that work on their own vehicles. They say things like, “Why does it look so easy when you read it in the magazine but when you go to install it is more difficult?” Well for one, we have to put tons of details into a small amount of text or page count. One particular case comes to mind when preparing/installing a custom IFS. What most editors, such as myself, leave out of print is what you are left with on your own. Well, hopefully, I can shed some light on the finer details of what usually gets left out before installing the IFS suspension.

I first started by removing the front sheet metal clip and I had previously removed the tired inline 6- and 4-speed transmission. This made working around the front of the truck much easier and I could sit down where the motor usually sits. My ’58-59 Chevy Apache frame is the same as the ’55-57 Chevy frames, so if you have one of these trucks this story will apply to those years, plus, just about every frame modification on your classic. The next thing to think about is which motor and transmission your truck is going to be using. If you are going to use the stock transmission, then skip the step about cutting your transmission crossmember out. Most likely, a small-block Chevy 350 or LS based motor is being retrofitted to your pickup. In this case, follow along because this story will prepare your front end for the retro fit.
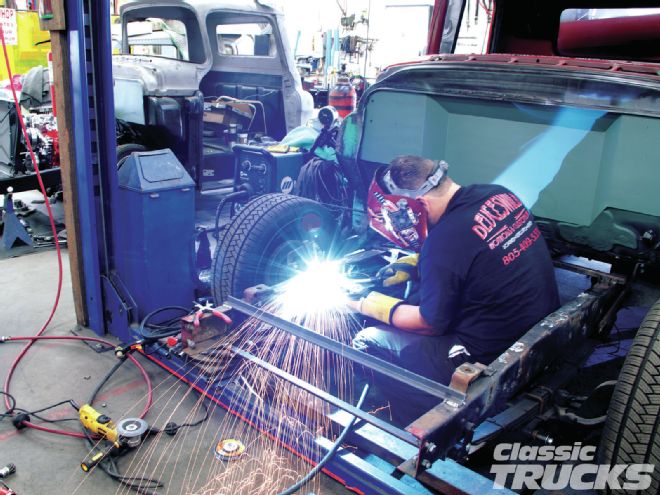
On the front of the frame you will have two ears that have a sliding nut, these ears hold the front crossmember bolts and are about the only things that stay. Almost everything gets cut off at some point. But before you start hacking at your frame you need to brace things up a bit. I used some rather thick angle iron bars to hold the top and bottom of the framerails and to keep them from twisting and moving when cutting out the crossmembers, and two temporary crossbars up front, and one towards the rear just for safe measure. Also, leaving the cab securely bolted down to the frame will help prevent twisting and flexing that welding can cause if the frame doesn’t have anything holding it together. Remember, welding causes the metal to expand and contract so use plenty of time in between welding and use bracing.
The next few things that are needed are some tools. You can get by with an oxy/acetylene torch but one of my perfered methods is using a plasma cutter. It just so happens that another co-worker of mine picked up a new Miller plasma cutter that he let me borrow. I also used a Snap-on air hammer, punches, Mig welder, oxy/acetylene torch, grinder/sander, 60-, 80-, and 120-grit sanding discs from Eastwood and Harbor Freight. CT