“Budget friendly” horsepower. What does that mean? What’s budget friendly for some can be budget breaking for others. Rarely in the performance world do you come across a universally budget friendly part that can significantly increase horsepower and torque. Not quite a unicorn or capturing a leprechaun and his pot of gold, more like fishing and trying to catch “the big one” to show off to your friends. Thanks to Heatshield Products, owners of LS-powered cars and trucks just set the hook on the big one!
Heatshield Products leads the industry in developing thermal barriers for a variety of areas on a car, truck or motorcycle. Their product lineup includes turbo shields, exhaust system thermal barriers and a variety of other products including the I-M Shield. This specially designed thermal barrier shields the underside of the intake from heat that comes from the top of the engine. This heat “soaks” the intake manifold, and that heat is then transferred to the air running through the intake while the engine is running. Hotter air means less density, and less air going into the combustion chamber. Bottom line: less power.
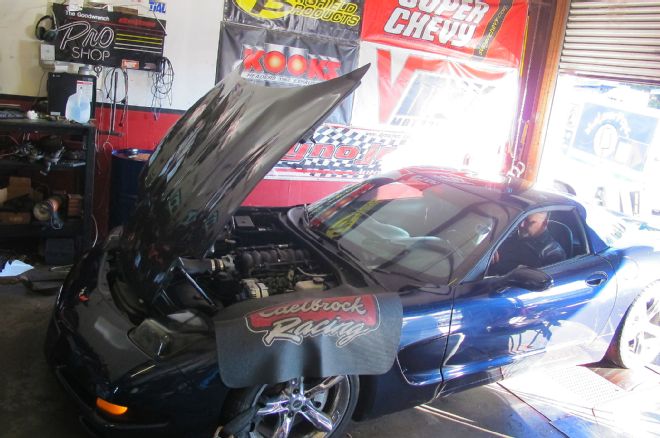
At first we were skeptical about the effectiveness of the I-M Shield and its claims. So, we grabbed an LS1-powered C5, with only some modest mods that wouldn’t skew our results, and went to AntiVenom Performance in Seffner, Florida, to do an honest test. Our method was to baseline the car both cold and hot, install the I-M Shield and retest in the same method, cold then hot. Read on to see what we found.
01. An easy horsepower gain is an elusive thing, especially a ridiculously budget friendly horsepower gain like Heatshield Products’ I-M Shield

02. Our test subject for the story was a four-speed 2000 Corvette with cold-air kit, Lingenfelter GT2-3 camshaft, LS6 intake, Kooks 1-7/8-inch diameter long-tube headers, aftermarket exhaust and performance tune by AntiVenom Performance. The LS1 baselined on the Dynojet chassis dyno at 364 horsepower and 350 lb-ft of torque.
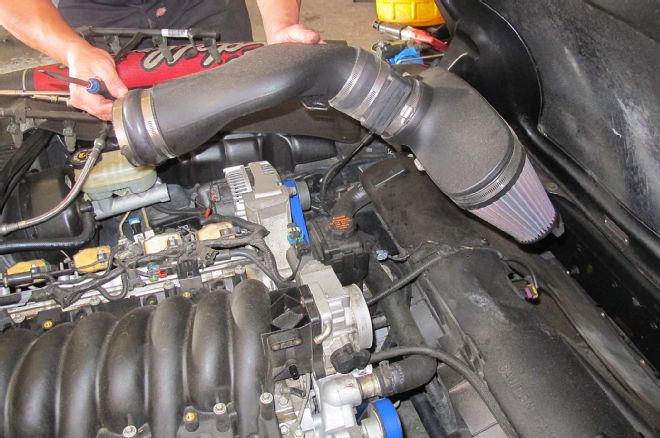
03. After the baseline run, we started by removing the air intake and throttle body, along with the fuel injector rail assembly.
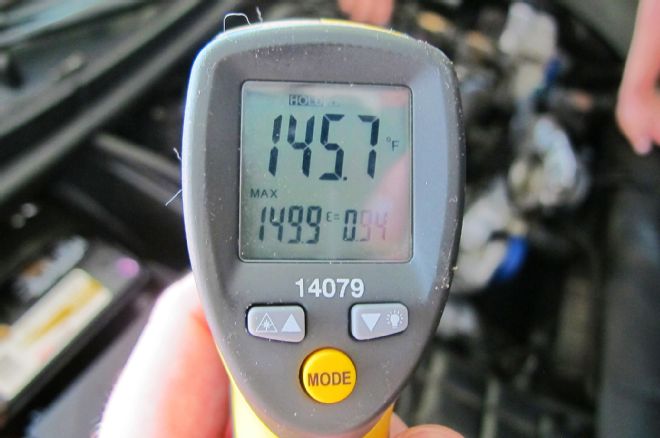
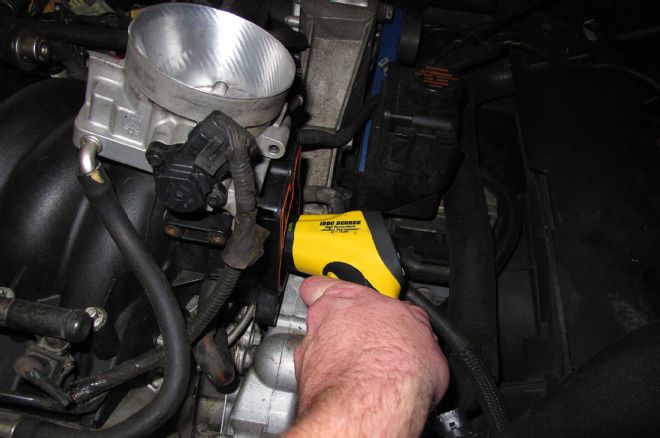
04. We started disassembly right after the baseline so the engine was still hot. We used our heat gun to take a reading inside the intake manifold, specifically of the intake floor. It read 145.7 degrees F.
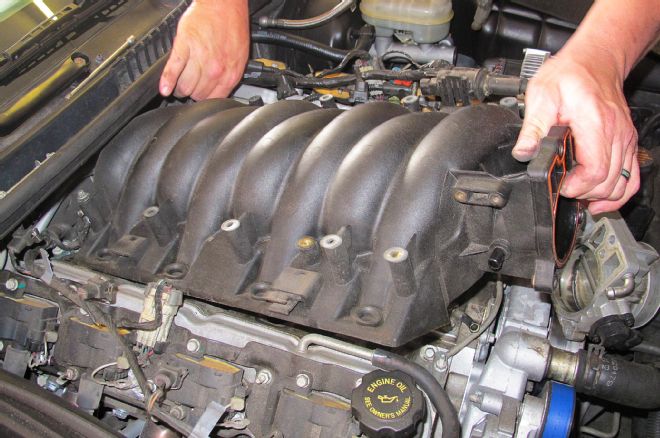
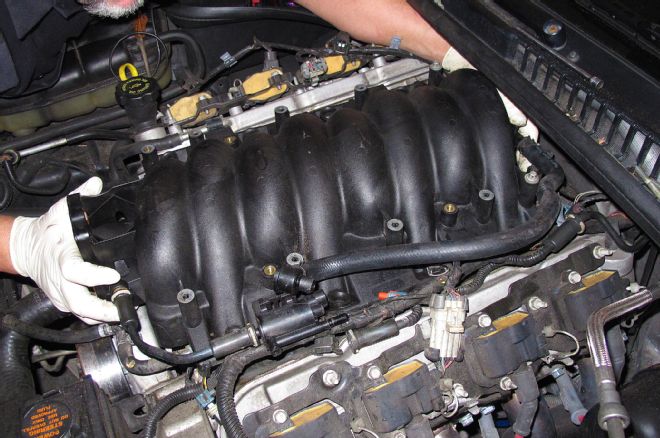
05. And off comes the intake!

06. With the intake removed, we took a temp reading of the valley cover on the engine. This is what the floor of the intake is sitting right next to.
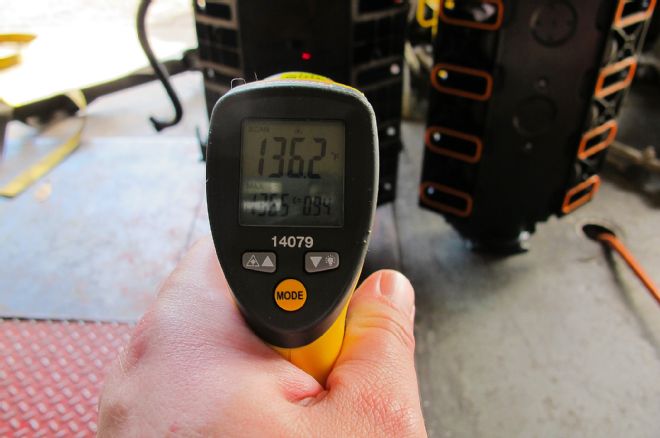
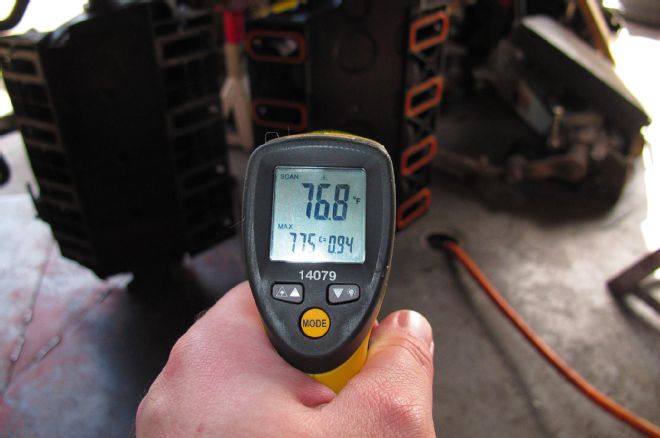
07-08. Think you can’t heatsoak plastic? Think about this, when you microwave something in a plastic bowl, is the bowl hot when you pull it out? Does it stay hot for a while? The same thing can happen to the composite intake on an LS engine. Half an hour after being removed from the engine, the bottom of our intake measured 136.2 degrees F. We took a reading on the same place on an intake that was sitting at room temp; it read 76.8° F.
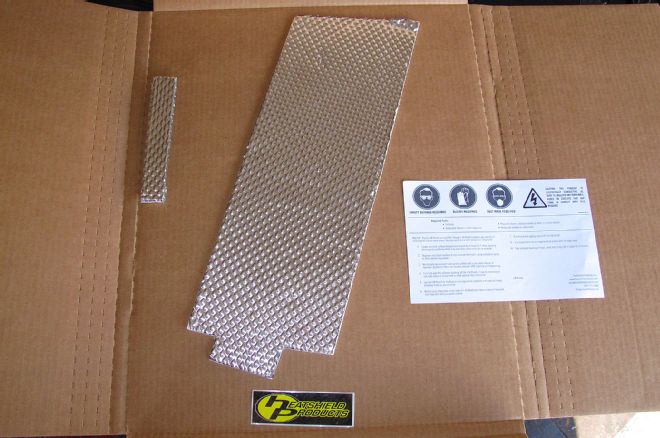
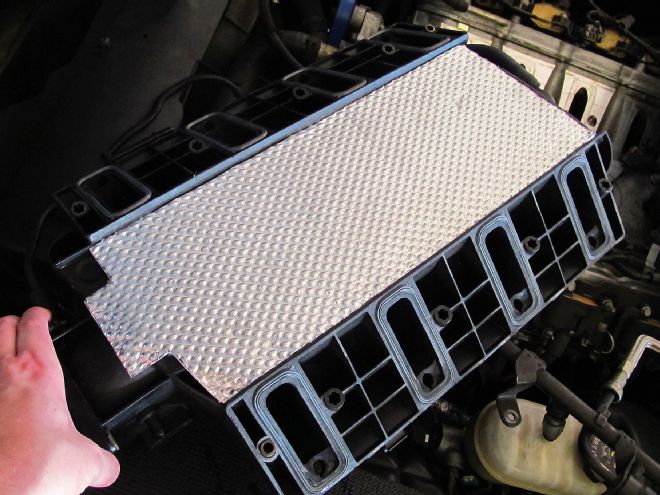
09. Heatshield Products I-M Shield is a specially designed thermal barrier that adheres to the underside of the intake manifold and shields it from the heat emanations from the top of the engine. Specific to our application was PN 140020 that fits LS1/LS2/LS6 intake manifolds. There are also specific I-M Shields for LS3 and LS7 intakes. You can purchase them from Summit Racing for about $55. Heatshield Products also has a DIY I-M Shield kit (PN 140004) for intakes they don’t have a specific application for.
10. Before installation, we cleaned the bottom of the intake of any possible oil residue and dirt, and scraped away as much of the factory foam insulation as possible. The I-M Shields needs a clean surface to adhere to.
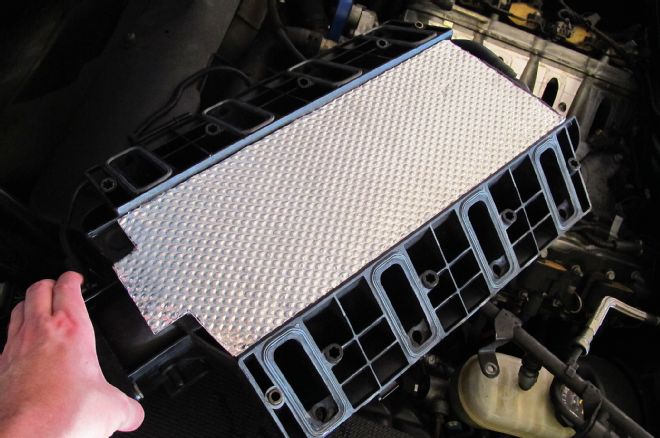
11. Once the underside of the intake is clean of crud and any oil residue, you can peel the cover off the I-M Shield’s adhesive backing and stick it to the underside of the intake. It’s that easy. Because our intake gaskets were looking a bit tired, we went ahead and replaced those too.
12. With the I-M Shield installed it’s a simple matter of reinstalling everything in reverse order.
13. With everything hooked up, we ran the C5 again on the dyno, both before and after the engine got up to temperature. The LS1 cranked out 382 horsepower and 370 lb-ft of torque. That’s a gain of 18 and 20, respectively.
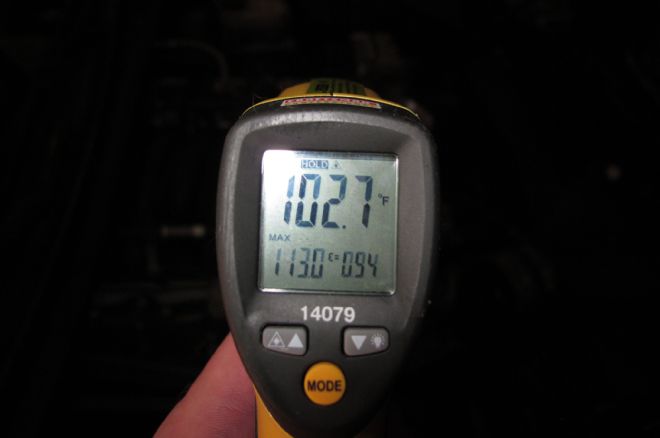
14-15. Taking similar readings to what we did at the start after running our post install test. The floor of the intake was reading 102.7 degrees F. That’s a drop of 43 degrees. This decrease in temp translates into lower air intake temps, because there is less heat for the intake manifold to transfer to the air going through the intake.
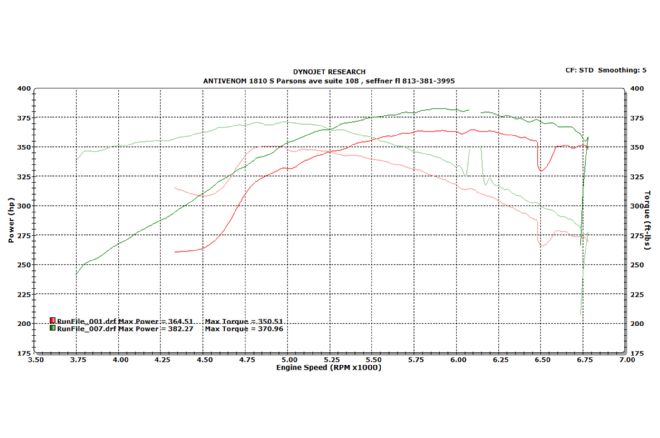
16. And here’s the breakdown on the dyno. Our gains weren’t just at peak power, but steady across the entire powerband. That much of a gain in the bottom end, mid-range, and top end translates to serious performance gains. All from something that costs less than $60, and takes about an hour to install. You can’t beat that!