As hot rodders, our goal for doing anything to our cars falls into two categories: The first are things that makes it look better, and the second are projects that help our Chevys perform better.
Now, “looks better” is a very subjective term. The LS engines from GM suffer from a bad case of clutter, so removing even a little bit of it makes the engine look cleaner and less aesthetically challenged. A good example of this is the factory intake manifold on the LS3. It’s fairly busy, and while the noise-insulating cover is great for creating an ultra-quiet driving experience, it just doesn’t look all that great. It also looks stock, which isn’t what most of us is going for.
Performance isn’t subjective at all. It’s math and physics – all the things we can measure and quantify. That’s where the FAST intake manifold comes in. This polymer piece is optimized to flow a lot of air, and air is power. Even over the LS3 intake, known to be a solid performer, it’s shown to bring around 14 horsepower and 11 lb-ft of torque to the party. On a bigger-cubed stroker, the gains would only improve since more displacement means an increased appetite for atmosphere.
And while looks are a matter of taste, I think we can all agree that the FAST intake and fuel logs are just better looking compared to the stock stuff. The nice part is that it’s a simple swap that only requires the most basic of tools.
1. The stock GM LS3 intake, which came on our Chevrolet Performance crate engine, is a very well-designed part. In fact, of all the various LS intakes this one is hard to beat in terms of performance. Still, there’s a bit of power available by going aftermarket. The stocker is also not the best-looking option out there.
2. The stock intake also has the stock fuel rail. Again, it’s not a bad part but not as easy to run –AN lines for fuel. Also, it’s not the most attractive part that can be used.
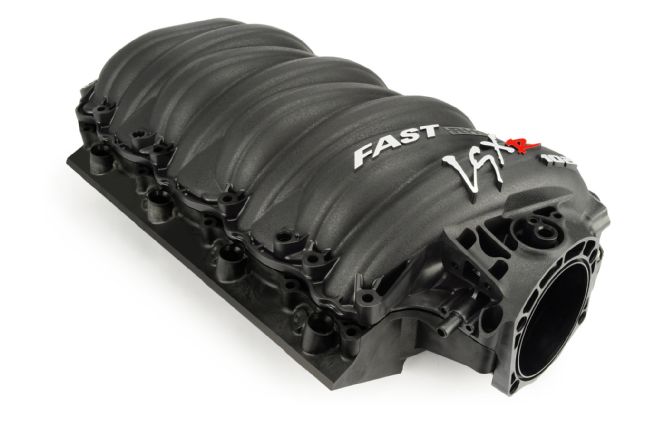
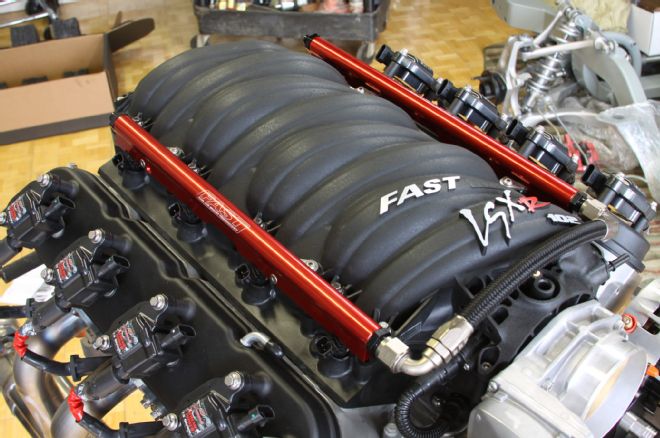
3. We opted to run the FAST LSXR 102mm intake (PN 146102B). This polymer intake is reported to be worth 14 horsepower on a stock LS3, and the modular design makes it perfect if you want to do any porting. For the more hardcore enthusiast, it has integrated nitrous bungs. It’s also 50-state CARB-legal for many late-model GM vehicles. We also like the new black color over the old gray version.
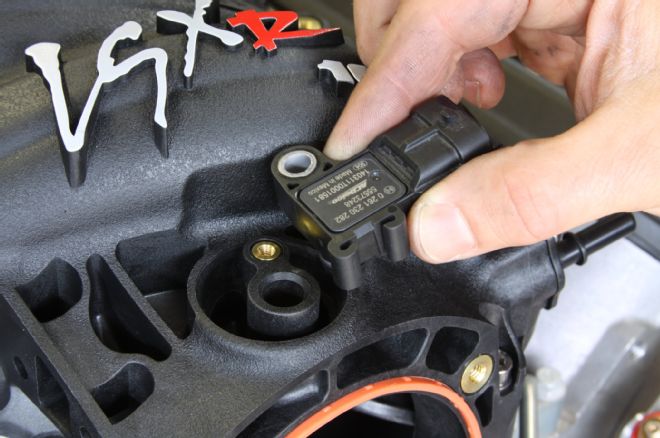
4. The FAST intake has two locations that can be used to mount the MAP (manifold absolute pressure) sensor. One is up top, just behind the throttle body, and the other is at the rear of the intake. Choose the one that’ll work best for your application.
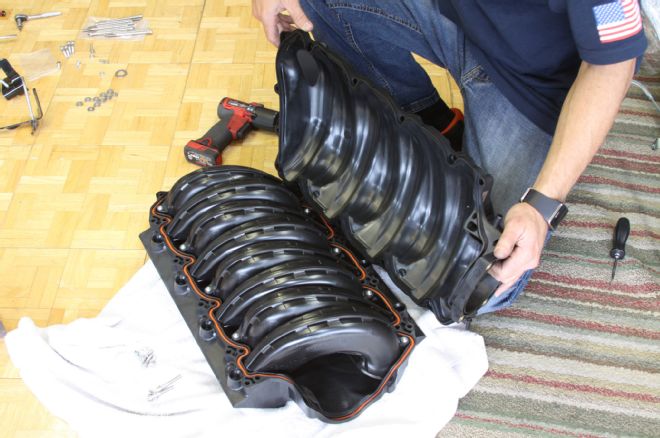
5. Whichever location you choose for the MAP sensor you will have to do some drilling. The easiest way to keep all the plastic shavings out of the intake is to take it apart off the engine. The two halves are held together with five Allen-head fasteners; two in the front and three on the rear of the intake. You can also see the eight individual runners inside the intake.

6. We chose the rear mounting location and used a 15/32-inch drill bit to open up the passage. If our MAP sensor had been the grommet style (instead of the O-ring style we had) then we would have used a 3/8-inch bit. A small bolt was included to hold the MAP sensor in place once installed. It’s also easier to clean up if you pulled the last runner out (T20 Torx bit).
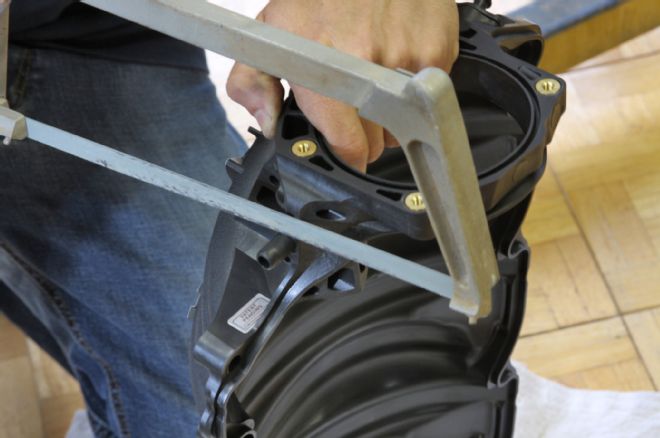
7. The vacuum port that comes with the intake is perfect if you want to use a hose and hose clamp. But if you want to run the factory-style “clip on” hose, then you’ll need to do some modifications. The first step was cutting off the smooth nipple.
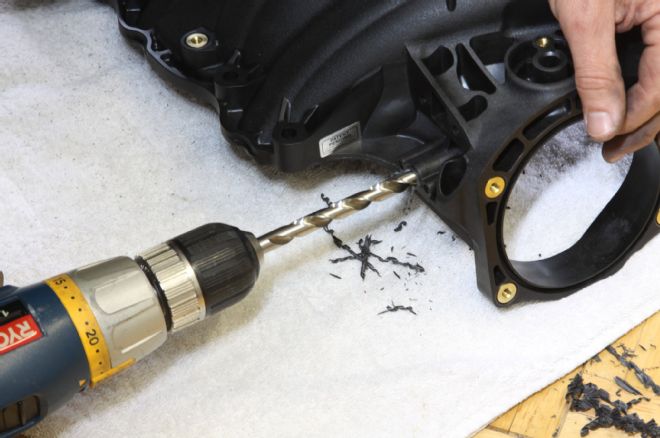
8. You’ll then need to drill out the hole using progressively larger drill bits (5/16-, followed by 3/8-, 7/16-, and finally 31/64-inch). The O-ringed factory-style vacuum nipple is installed using the two self-tapping Phillips head screws included in the kit.
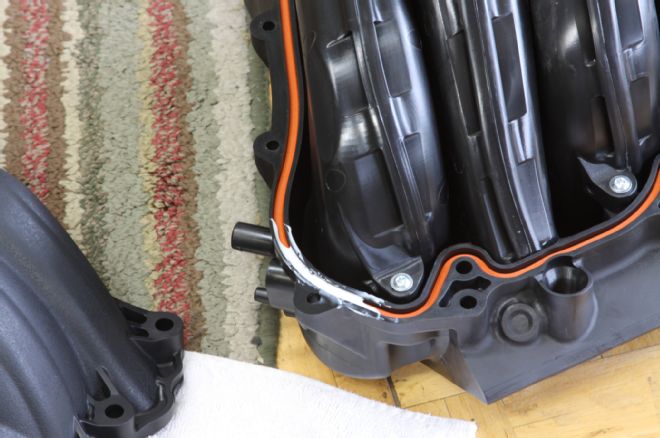
9. With the drilling done, it was time to reassemble the intake. A small amount of RTV is needed in the back corner of the intake to ensure an airtight seal. When installing the shell on the base, make sure the two halves seat together correctly. Failure to do this can end up cracking your intake. Install the five fasteners and tighten them (with blue thread locker) to 70-89 in-lb. Once done, flip the intake upside down and install the three self-adhesive rubber bumpers inside the three circles.
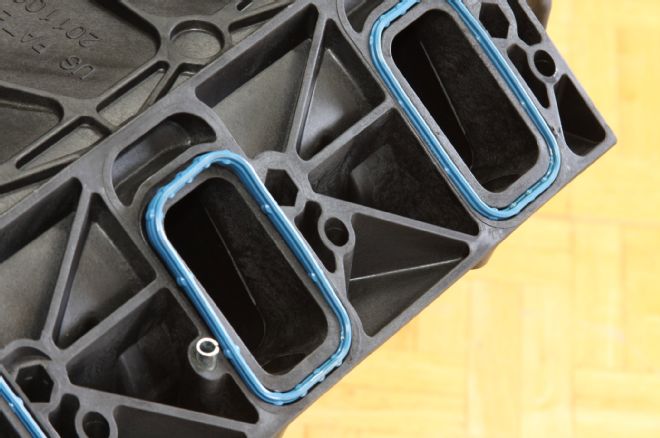
10. The FAST LS3 intake doesn’t include intake gaskets, so you’ll need to steal them from the stock LS3 intake or buy some replacements from GM (PN 19256623 and just over $40 from Improved Racing).
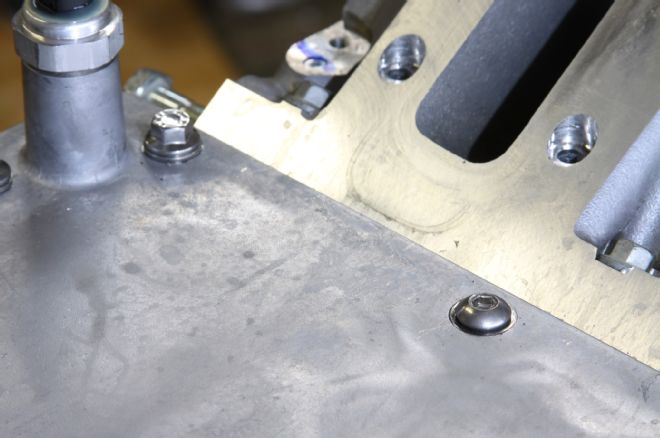
11. The 10 valley cover bolts need to be replaced with the button-head cap screws provided with the FAST intake. If you want to use a few nicer-looking bolts, like those from ARP, then there are three locations where they won’t cause interference with the intake: each side of the rear oil pressure tower and front corner. You may also need to modify (fancy word for bend it a bit) your coolant crossover tube or replace it with GM part number 12602544.
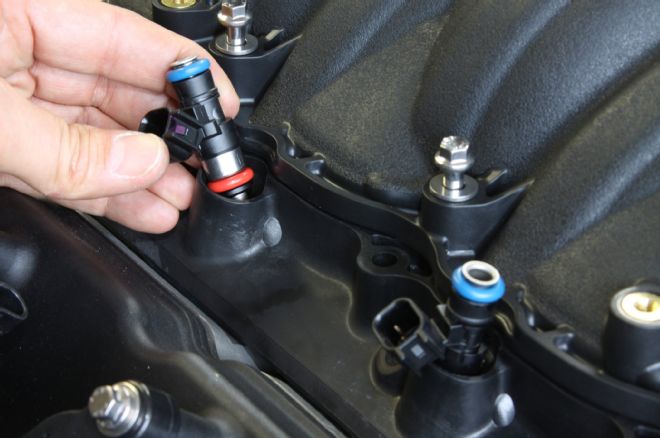
12. We then gave the O-rings on the LS3 fuel injectors a very light rub of oil and slid them into the FAST intake. If you want to use the factory fuel rail, you’ll need the adapter kit (PN 146025-KIT) from FAST.
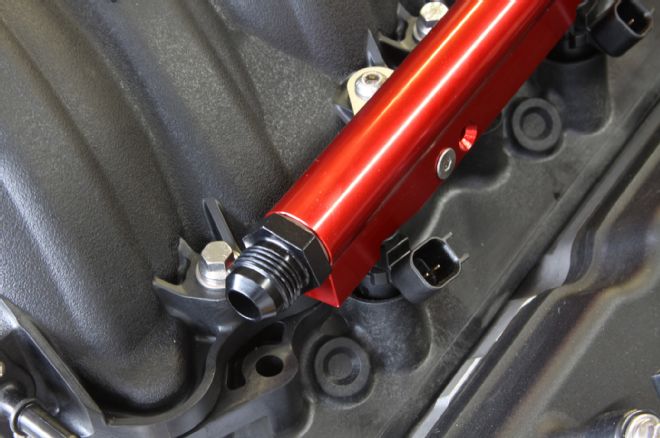
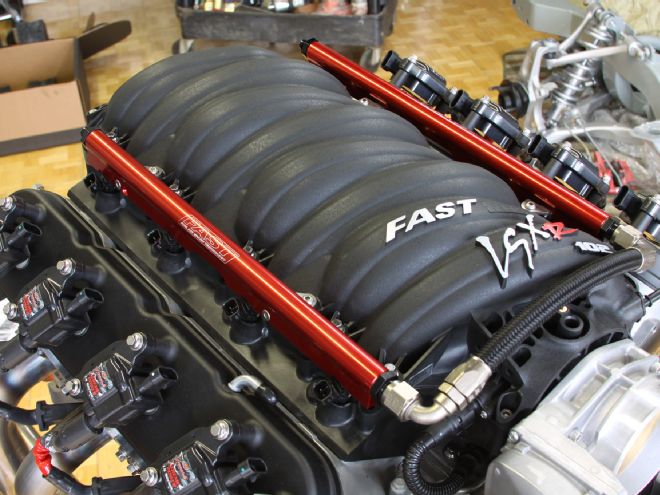
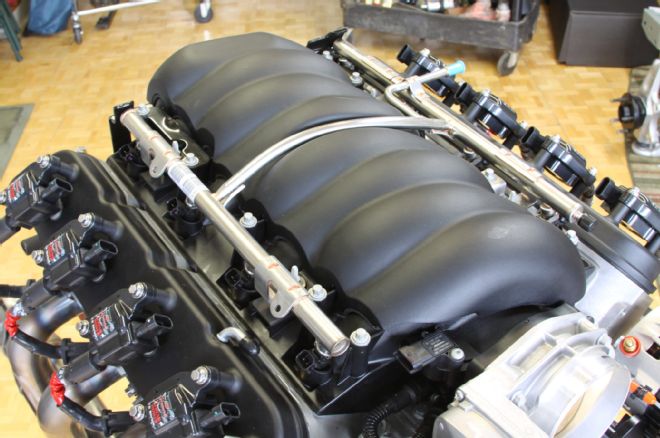
13. We opted for FAST’s billet fuel log kit (PN 146027-KIT), which came with the right –AN fittings for all four ends. The fuel logs are also available in black (PN 146027B-KIT).
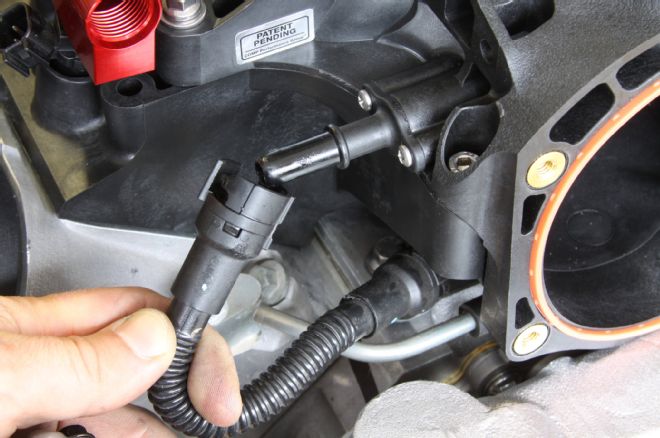
14. Remember that nipple bung we drilled out earlier? Well, with the intake installed we could then clip on our GM vacuum hose.
15. And just like that we were done. It certainly looks better, and we won’t mind the few extra horsepower that will be freed up.