I know what you're thinking: "Geez, here they go with another small-block Chevy! Stupid Chevy Craft. I'm canceling my subscription again!" Not so fast, Jack. Take a deep breath, find your inner peace, and give us a chance to make our case for this Vortec 350 build. We just made 320 hp and 398 lb-ft for about $500, with no expensive parts and a tiny cam—all from a disgusting-looking, high-mileage engine we should have run screaming from. Honestly, we were surprised by the power this engine made. In all the guessing made while the engine was being assembled, none of us at Car Craft thought we would see more than 300 hp out of this combination. Follow along and see what you think, and if you have a better cost-per-horsepower alternative, please let us know.
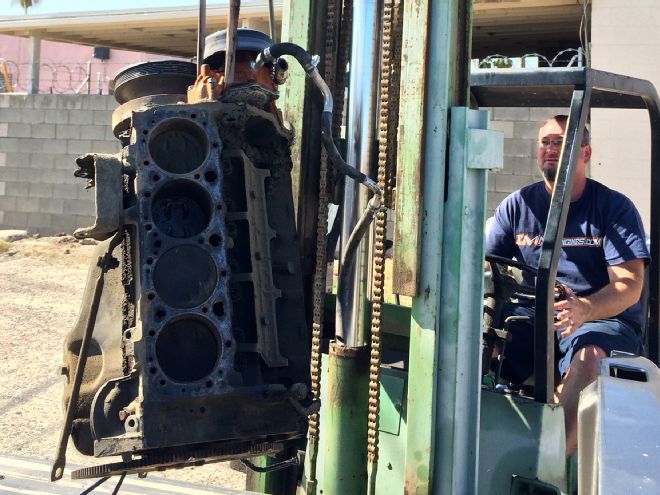
Here's the short-block Car Craft started with, and it's one of those engines any self-respecting magazine would tell you to avoid. Scope out the sludge in the lifter valley and rust in the cylinders. Up to the challenge (or maybe just self-loathing people), we grabbed the engine, a Vortec 350 that came out of a 1998 Chevrolet 1500 pickup from Desert Truck and Auto Parts in Coachella, California. We traded them parts we had for this core engine. Hey, they even let us keep the seatbelt we used to lift the engine into our truck.
Back at IMM Engines in Indio, California, we tore the engine apart, not exactly sure what to expect. We were pleasantly surprised, however. All that built-up sludge was hiding an engine with very little wear.
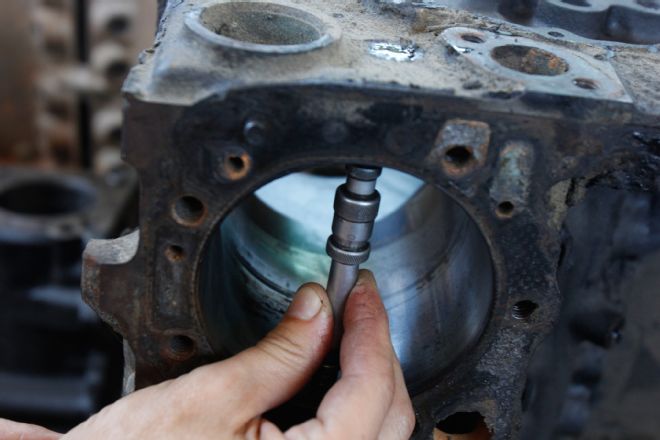
We measured the bore sizes, and all showed minimal wear. The average was 4.002-inch (new engines should have a 4.00-inch bore). Measure the cylinders with an inside micrometer (shown here) or a dial bore gauge. Don't rely on telescoping gauges (snap gauges), because they aren't accurate enough.
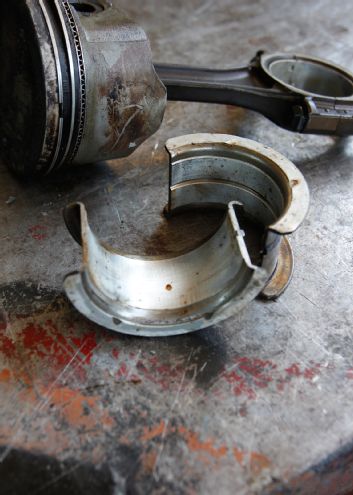
There was no damage or wear to any of the piston skirts, and the rod and main bearings all looked good, with no signs of detonation. We measured the journals to find them all within specifications, too.
We also checked the thrust surface of the crankshaft, which can be a high-wear area. It was fine, as was the sealing surface on the crank for the rear main seal, which is a one-piece design for all Vortec engines.
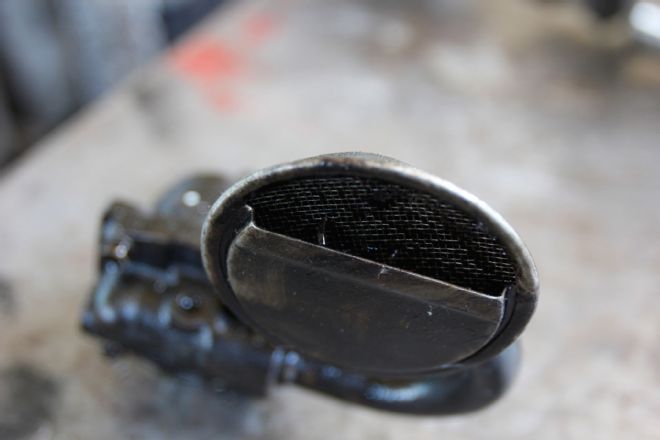
Another area we paid close attention to was the oil pump and pickup. We checked the screen for any scary bits of metal or other alarming material like blobs of silicone (which could indicate a previous shoddy rebuild). Though it looked like hell, the oil pump was in good shape.
We decided to use some of our budget to have all the parts we planned on reusing cleaned in the hot tank. Yes, you can clean everything yourself with degreasers, but that is a huge time commitment—we've done it before. You also need to be aware of local environmental regulations. Some regions of the country may not allow you to clean oil-contaminated parts without some sort of reclamation system for the runoff. Often, you'll be better off paying a machine shop to clean the parts for you.
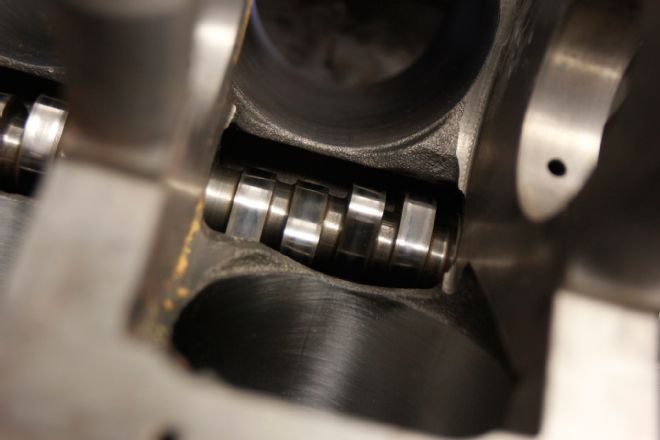
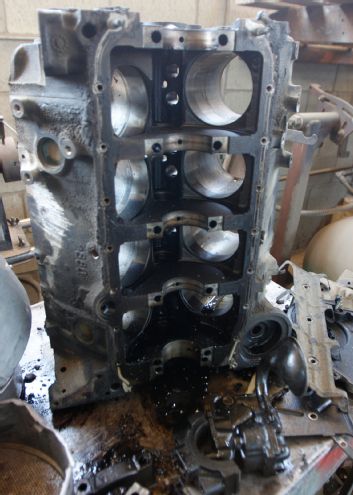
Fresh from the hot tank, our crusty Vortec block looked really good. Look at the crosshatch from the factory hone, which is good from top to bottom in all cylinders. There was rust damage in a couple holes, but we ultimately decided to put the engine back together without running a brush hone through it like we had originally planned. The cam we installed is used; it's Chevrolet Performance's hydraulic roller with 196/206 degrees duration at 0.050, 0.431/0.451-inch lift, and a 109-degree lobe-separation angle. Brian Hafliger of IMM Engines bought it from a customer who upgraded to a bigger cam in his HT383 crate engine.
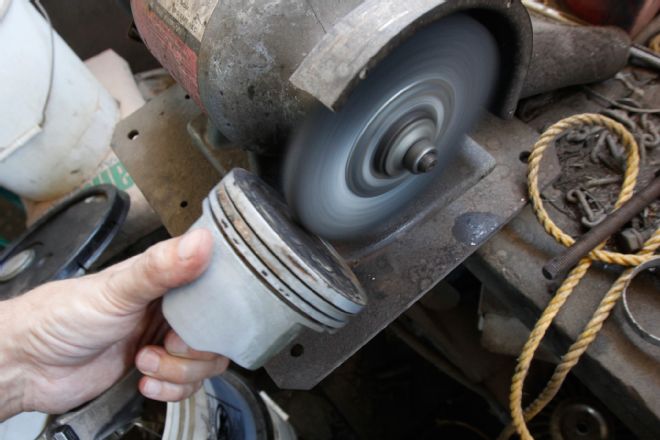
We cleaned the piston tops with a wire wheel and rooted the carbon buildup out of the ring lands with one of the old rings from the engine.
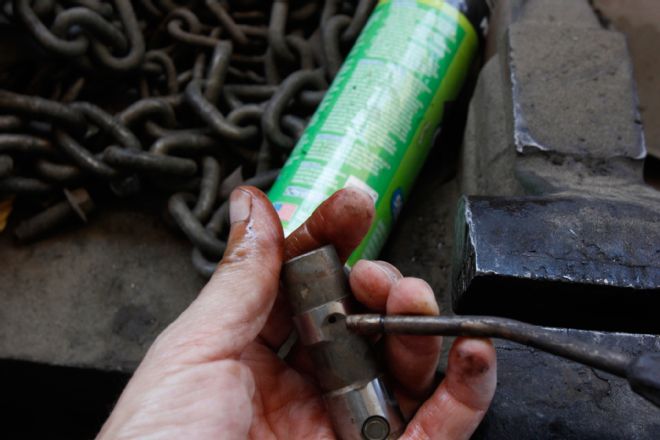
Because they were submerged in sludge for years, the lifters were especially difficult to clean. We soaked them for hours in solvent, blew them out, and soaked them again. Note the oil residue exiting the top of the lifter as we blew compressed air into the oiling hole on the side of the lifter.
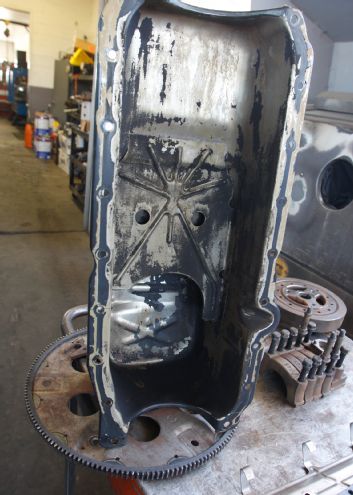
The paint on our oil pan didn't agree with the solvent in the hot tank, which left it peeling and flaking off. You don't want this in our oil, obviously, so we sandblasted the pan, hot-tanked it again, and flushed it with a ton of water. If you're working from home, soaking the pan with lacquer thinner will get rid of this paint, too.
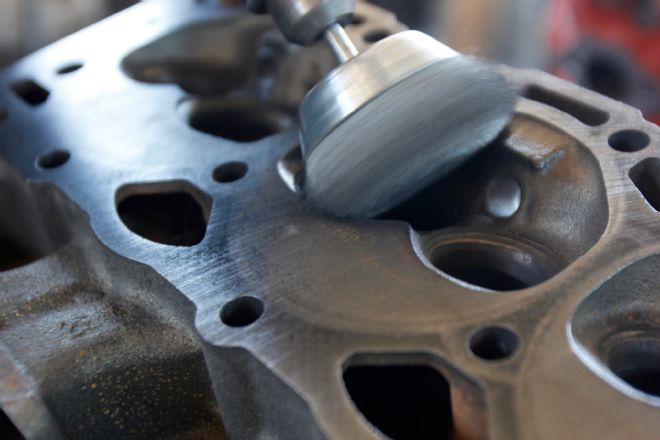
After disassembling the cylinder heads and running them through the hot tank, we cleaned the deck surface with a wire brush and checked them and the engine block with a straightedge. An 0.002-inch feeler gauge wouldn't fit between the straightedge and any part we checked.
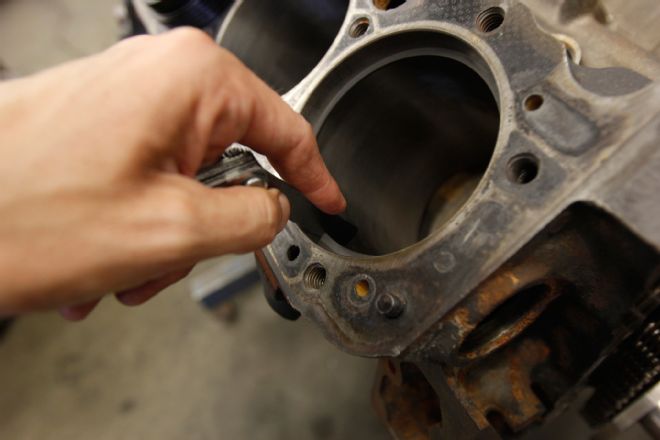
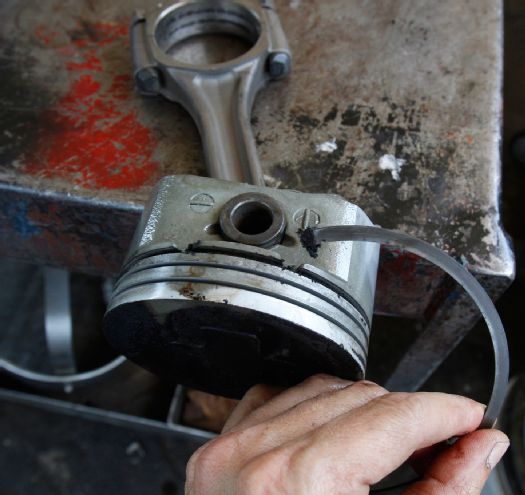
We checked the gaps of the new piston rings: we recorded 0.020- and 0.022-inch on the top and second ring.
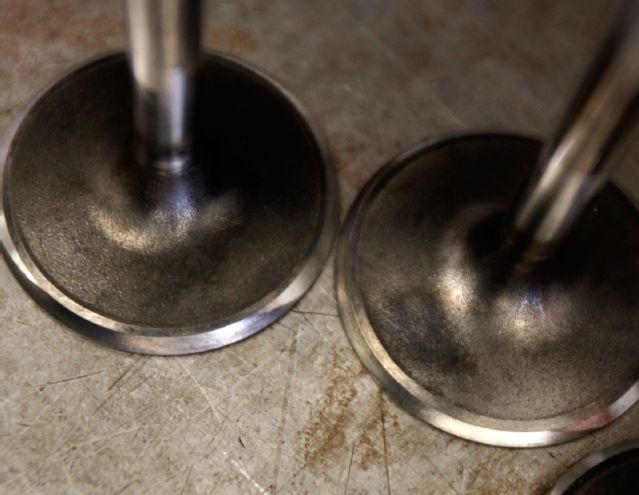
Discovering three bent intake valves was surprising. After cleaning the valves in the hot tank and removing built-up carbon with a wire brush, we checked the integrity of the heads by putting the valves back in the head and pouring water in the intake and exhaust ports. Water leaking past the valves indicated a problem. To verify, Brian checked the questionable valves in a machine. Note that the shiny area of the seat doesn't form a continuous ring around the valve. These valves don't seal completely. We replaced them with three old valves Brian found in a used-parts bin.
The main and rod bearings were replaced with stock-style replacements. We also reused the main and rod bolts; these are not torque-to-yield bolts, so it is OK to use them again.
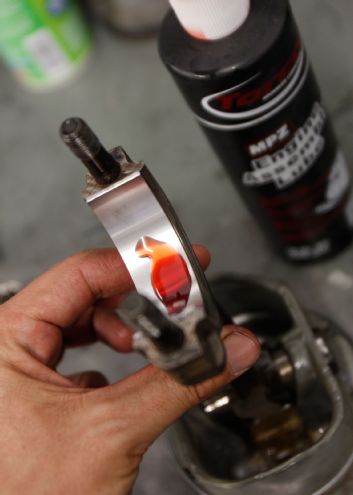
We also reused the head bolts, valvesprings, spring retainers, and keepers. Note the use of a shim under each valvespring. Brian checked the spring rate and installed height and determined he could shim up the stock springs a little bit without going into coil bind based on lift numbers from our new-to-us camshaft. Though the Vortec cylinder heads are among the best production heads from the factory, their tall valve-guide bosses really limit the amount of valve lift possible before the spring retainer crashes into the valve seal and guide. You can machine the guide bosses down to free up room for more lift, but that would have put us past our target budget, so we will save that expense for a later version of this build.
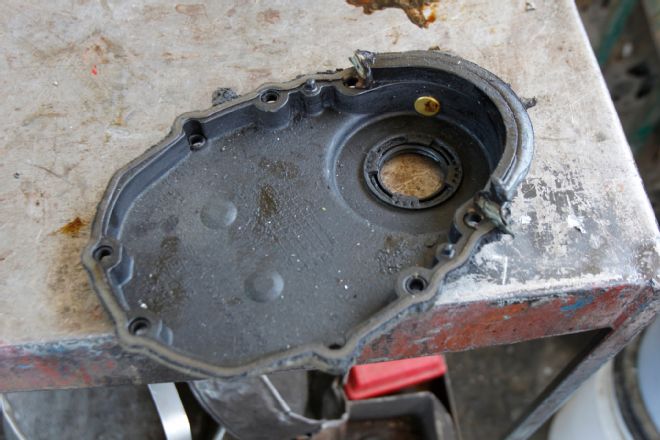
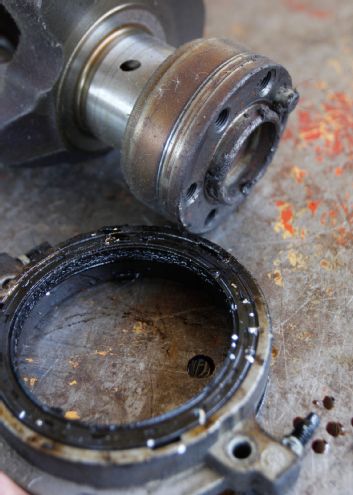
The stock timing cover is something we probably should have replaced, but didn't; it was the only thing that leaked once we had the engine running on the dyno. The cover is made from molded plastic with a rubber O-ring-type seal around the outer edge and a neoprene crank seal. GM recommends replacing the cover, and in fact, the rubber seals aren't available separately from the timing cover. Because the crank seal felt good, we decided to reuse the cover and added some RTV sealant to the outer seal, but it wasn't enough to prevent a steady oil leak through one of the timing cover bolts. You can use a Gen I stamped steel timing cover, but two of the upper bolts are missing from the Vortec block, so be sure to use extra sealant in those areas.
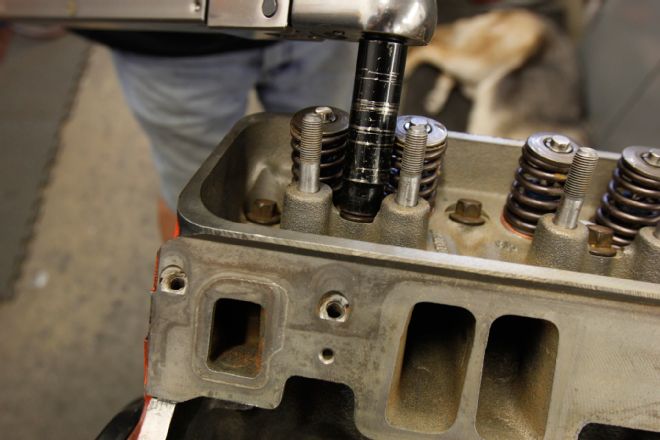
After adjusting the valves and filling the crankcase with oil, we primed the engine and were pleased to see a steady 60 psi of oil pressure. Yes, we reused the stock pushrods and rocker arms, too.
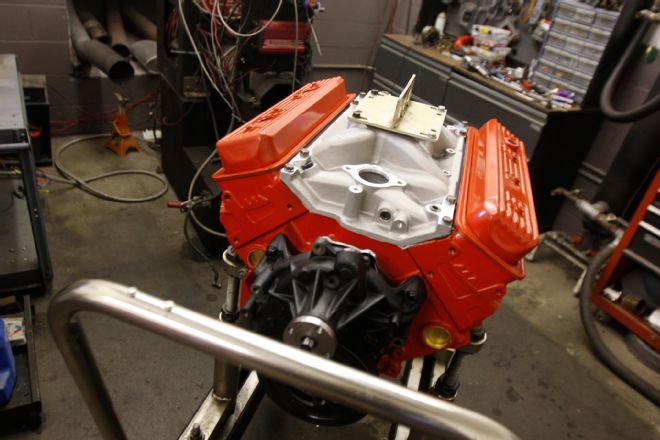
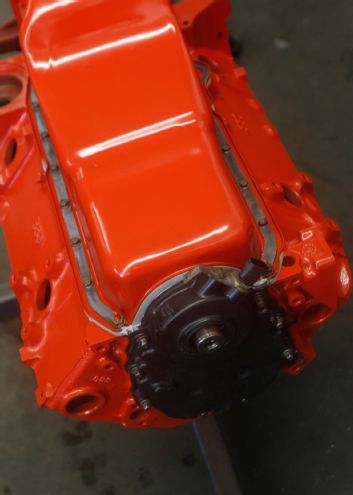
Nearly ready to run, we bolted on Summit Racing's dual-plane intake manifold, a stock-replacement water pump, and the stock valve covers, then loaded the engine on the dyno cart.
On the Dyno
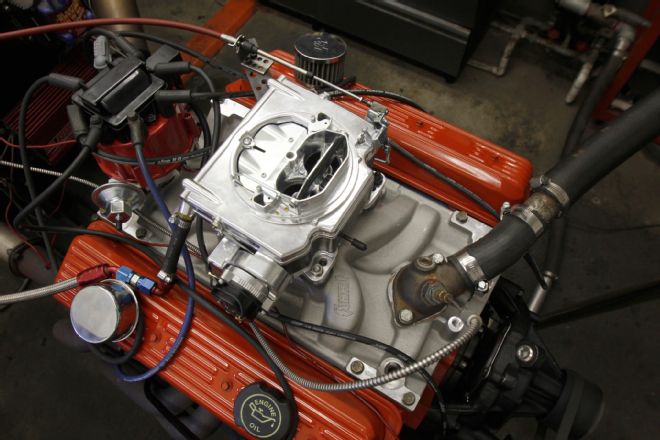
Once hooked to IMM's DTS engine dynamometer, we installed an MSD HEI distributor, which came with a cam gear compatible with our roller cam, and Holley's 750-cfm Street Demon carburetor. The engine fired on the first revolution of the starter, and we ran the engine at 2,500 rpm for about 10 minutes to let the rings break in. All power pulls were made with the oil temperature at 160 degrees Fahrenheit and water temperature at 140 degrees. The carburetor was installed out-of-the-box with no adjustments at all. The engine made best power with 32 degrees of total timing and we ran the distributor out-of-the-box as well, making no changes to the mechanical advance. The headers were a crusty pair of Hedman Hedders Brian Hafliger of IMM Engine & Dyno keeps for dyno testing. They have 1-5/8-inch primary tubes and 3-inch collectors, and we installed race bullet mufflers to the collectors. The engine idled quietly at 800 rpm and was done making power at 5,000 rpm, at which point we feel we were limited by the cam, because we know these Vortec heads can support more than 400 hp. A cam with more duration and lift would take better advantage of the flow potential of the Vortec heads, but would also require machining the valve guides, which is something we will do at a later date when we have a higher budget to work with. Overall, we like the idea of using a Vortec engine as the basis for a budget small-block Chevy build. The Vortec's factory roller cam will ultimately save you money, because conversion roller lifters in an older engine are expensive (assuming you would eventually want to use a roller cam). Having a one-piece rear main seal and one-piece oil pan gaskets drastically cut down on oil leaks, compared to older small-blocks. The engines received quality machining from the factory, and even high-mileage engines like ours still exhibit very little wear. The rotating assembly will stand up to some abuse, too, and we are seriously toying with the idea of putting a turbocharger or two on this engine and see how it holds up. Otherwise, this would be a great build for a daily driver. It starts instantly, will never overheat, and makes decent power and great torque. Plus, it will last for years because we reused what we safely could and replaced the wear items with good parts. This engine is ready for another 100,000 miles of usable life.
RPMHPLB-FT 3,000220385 3,200241395 3,400258399 3,600273399 3,800285394 4,000300394 4,200311389 4,400319381 4,600321366 4,800320350 5,000318334
Parts List
Though we were able to wheel and deal with Desert Truck to get this engine, prices for a long-block at our local pick-your-part junkyards are about $179.99. Many offer half-price days (usually on holiday weekends), so smart shopping can land you an engine similar to ours for less than $100. Our MSD distributor cost $150 from the local O'Reilly's Auto Parts, and Holley's Street Demon carburetors retail for about $350 from Summit Racing. We didn't include those costs in our parts breakdown, because you may already have a carb and distributor or you could purchase used ones. If you are starting with nothing at all, this configuration can be built carb-to-pan for just over $1,000, and for that money, you'd have a torquey, reliable engine you can drive anywhere for years to come.
DescriptionPNSourcePrice Engine Reman KitCallIMM Engines$179.00 Chevrolet Performance camshaft14097395IMM Engines80.00 (used) Intake manifoldSUM-226018Summit Racing143.97 Hot tank & cam bearingsNAIMM Engines100 Total: $502.97