
These days, recycling is all the rage. Airplanes get ground up and turned into beer cans, which eventually get melted down and formed into some other widget we just can’t live without. In a way, hot rodding is one of the “greenest” hobbies out there. We take old, worn-out junk and rebuild it into functioning stuff. This is especially true of engines. Sometimes it’s an old crank that’s cleaned up and put to use again, or maybe it’s a discarded engine block left to gather dust in the back of a shop. Whatever it is, the whole concept of turning trash into treasure is what drives our hobby.
The nexus for this story was a ’68 SS Camaro with a very tired 350. It was just worn out and gutless. Our first idea was to yank out the engine, but the owner didn’t want to rebuild it since it was numbers-matching to the car. Fair enough, but he soon found out that finding a decent early block is harder than it seems. The first one he bought off of Craigslist looked decent, but when we popped off the heads we found it was already 0.060 over. The next one had a cracked cylinder. Strike two. At that point he decided to rebuild his existing engine, but bad luck struck again. It had been rebuilt at some point and was already 0.030- over. Compound that with the fact that at some point water had leaked into the cylinder and pitted the walls pretty bad. Strike three. Our machine shop took pity on us and found a block we could go 0.040 on, and with that, we were back on track. In hindsight, we would have been better off buying a remanufactured block through Summit for around $700. Hey, at least we had a sizeable supply of stock cranks and rods to pick from.
We also wanted to try out Summit’s new line of affordable aluminum heads. The cost of cylinder heads can quickly consume the lion’s share of any engine building budget, so finding some affordable choices, which still make good power, really helps to keep the costs down. Also, keep in mind that you could build this engine less expensively if you opted to not use new ARP fasteners and “unnecessary” bits like a new oil pan. But those items only totaled a few hundred bucks and we think they add both to the aesthetics of the engine and its durability. To make sure we did it right we hauled all the parts over to Don Lee Auto, in Rancho Cucamonga, California.
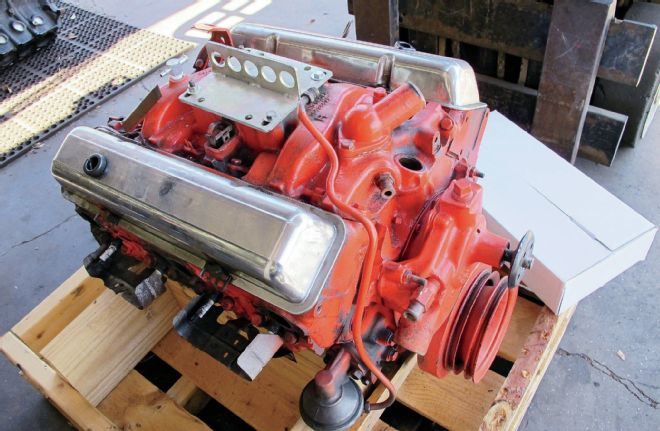
01. Here’s the venerable but tired old Chevy engine. This is one of the three engines from which we tried to get a reworkable block.

02. This one ended up already being bored 0.060 over, so it was only good for scrap metal or possibly a fashionable coffee table. Of the other two, one had a crack and the other water corrosion. In hindsight, we would have been better off buying one of Summit’s ready-to-go remanufactured blocks. Lesson learned.
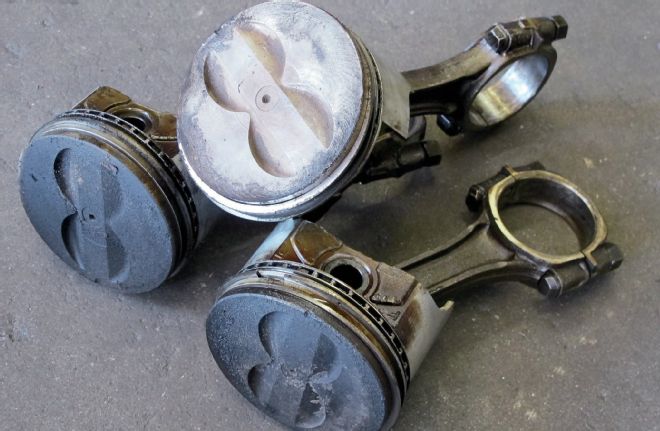
03. The good news was we were able to put together a nice set of stock rods that only needed minimal machine work.
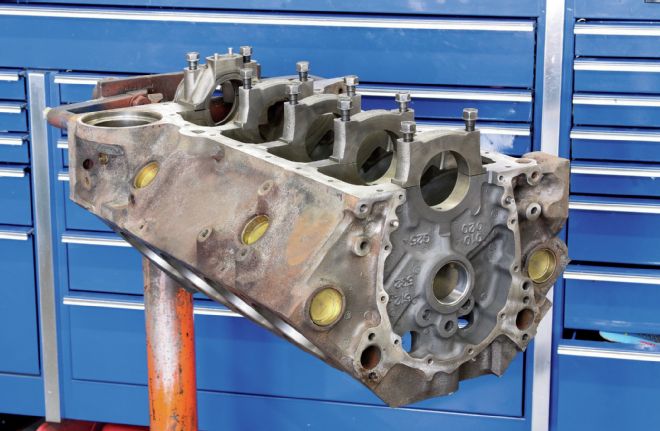
04. Our machine shop, Rancho Machine, found a block “out back” that we were able to work over. It only cost us $50 for the core and we spent another $500 on all the machine work, such as line honing, cleaning, and taking the cylinders out to 4.040-inch. Given our modest power goals, the two-bolt mains will be more than sufficient.
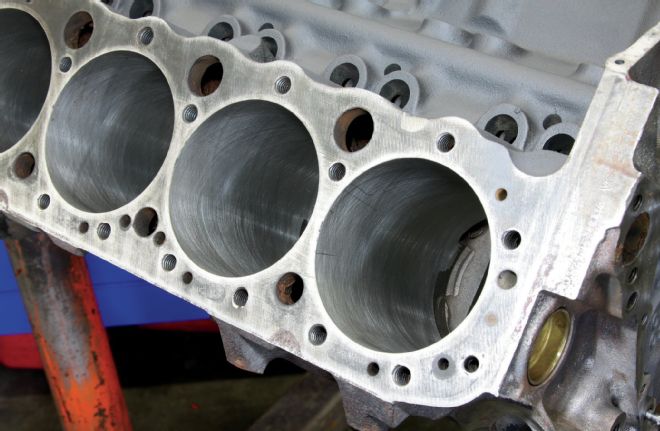
05. We would’ve preferred to go 0.030 over, but 0.040 isn’t bad since it still lets us go to 0.060 if we ever need to do a rebuild down the line. The machine shop bill also included installing the cam bearings and freeze plugs from the Summit rebuild kit (PN SUM-SBCKIT1-411, $240). The rebuild kit is a great way to get a lot of parts, up to and including pistons, in one affordable package.
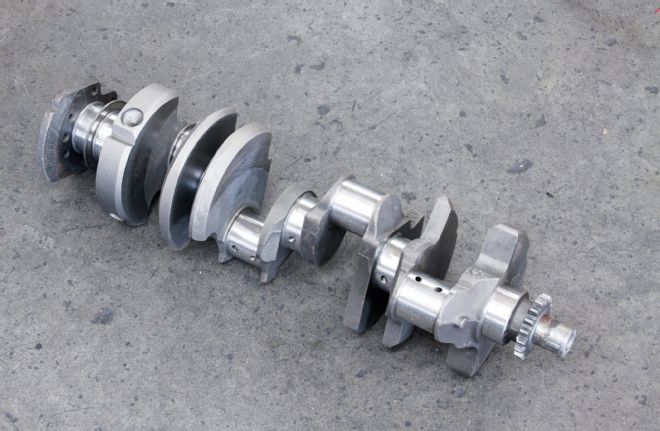
06. We picked the best of the three Chevy cranks and had it massaged by Rancho Machine prior to them balancing the assembly with the new hypereutectic Summit pistons. Machine shop rates vary quite a bit, so shop around.
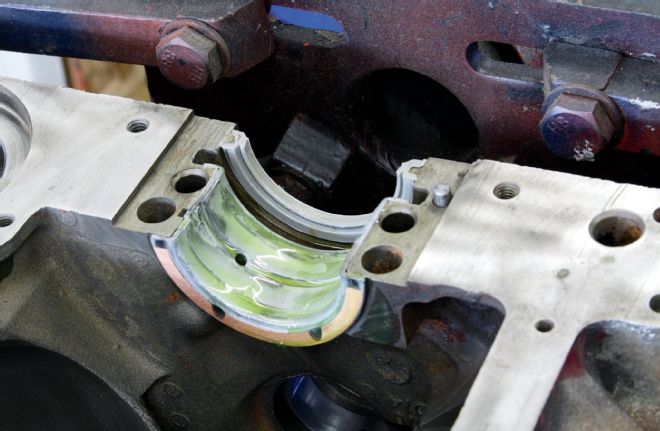
07. We then installed the 0.010-inch undersized main bearings from the Summit kit and slathered them in the included assembly lube.
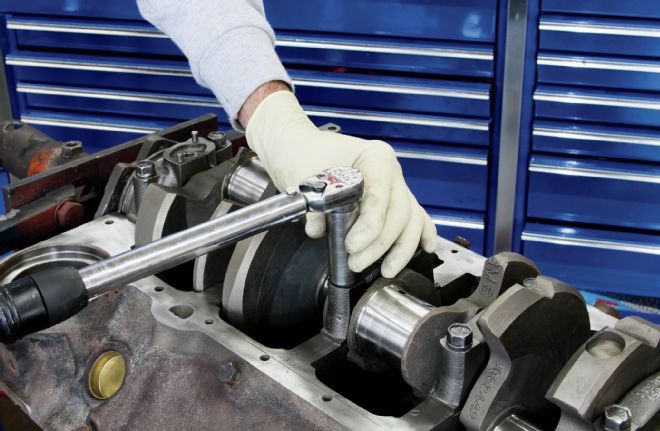
08. The reworked crank was then set in place and the factory bolts were torqued to 75 ft-lb.
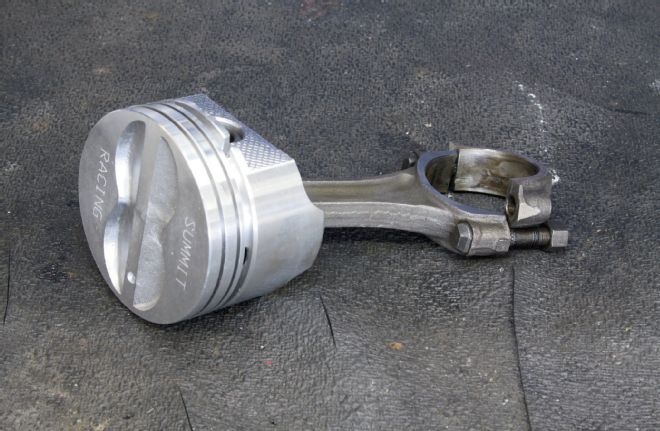
09. The T5 heat-treated 0.040-over hypereutectic aluminum flat-top pistons, with valve reliefs, were mated to the GM rods by Rancho Machine. It only cost a few bucks for them to do this and it saved us a lot of hassle since the pins are press fit.
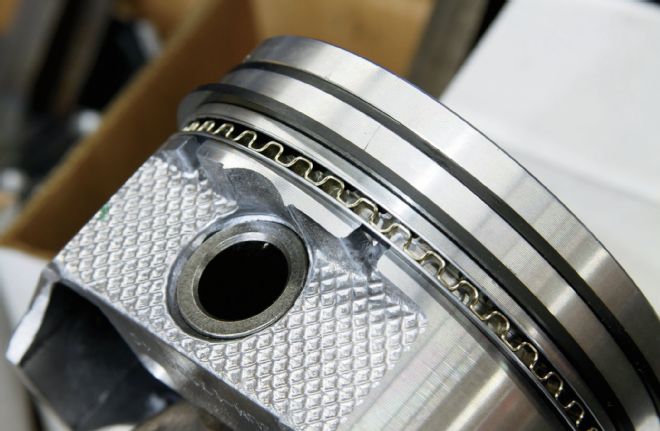
10. The Summit rebuild kit also included a full set of cast-iron 0.040-inch rings. We file fit them to size and installed them on the aluminum slugs.
11. After oiling the cylinders, we carefully slid the piston/rod assemblies into place. There’s a small dot on each piston to indicate which side faces the front of the engine.
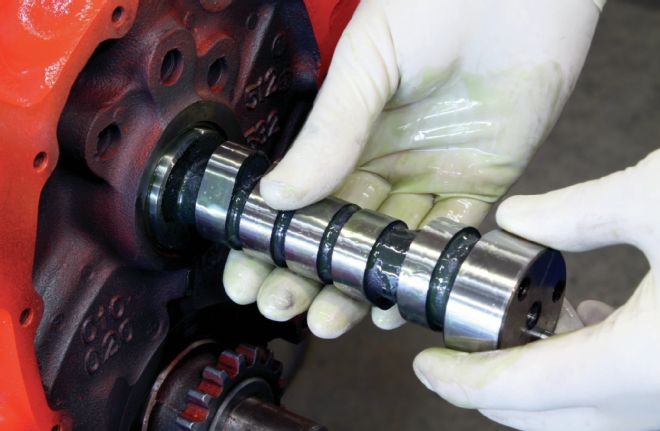
12. Given the sorry state of modern oils, we ditched the idea of flat tappet and decided to opt for the reliability of a full roller. To make the transition easy on our non-roller block we ordered a hydraulic roller retrofit cam kit (PN SK12-412-8, $692). In the package was a set of Comp link-bar roller lifters, new 2100 timing set, and a hydraulic roller camshaft. This engine is destined for a lot of street time, so the specs were kept mild at 212/218 duration (@ 0.050), 110 LSA, and lift of 0.487/0.495.
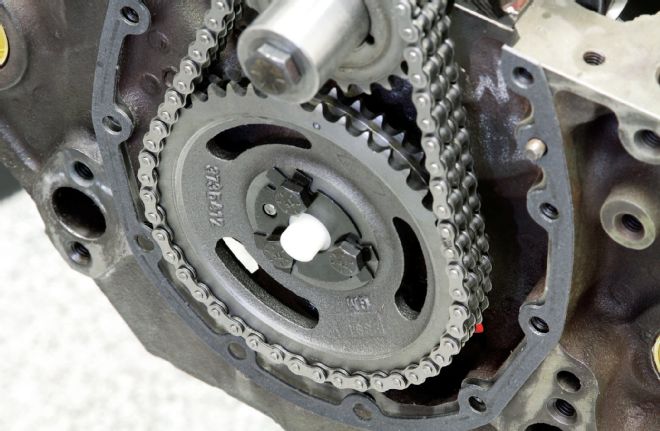
13. The Comp retrofit kit from Summit came with a Delron button (PN 202), but we had to scrounge around the shop for a retaining plate. Also, due to the face design of our GM timing cover, we had had to shave a bit off the button to get the perfect fit.
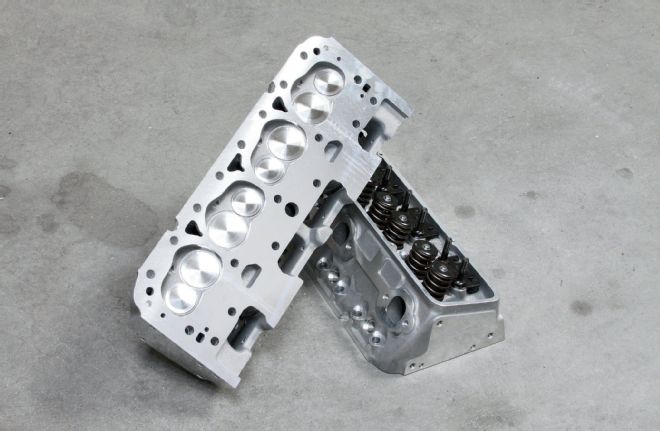
14. For heads, we opted to go with Summit Racing’s 200cc street/strip aluminum heads (PN 162112, $1,050 pair). These feature 64cc chambers that dropped our compression to around 9.8:1, allowing us to run much less expensive 87-octane gas if we choose. The heads also featured 2.02-inch intake and 1.60-inch exhaust valves along with chromoly steel retainers and dual valvesprings. For just over a grand it’s a lot of head for the money.
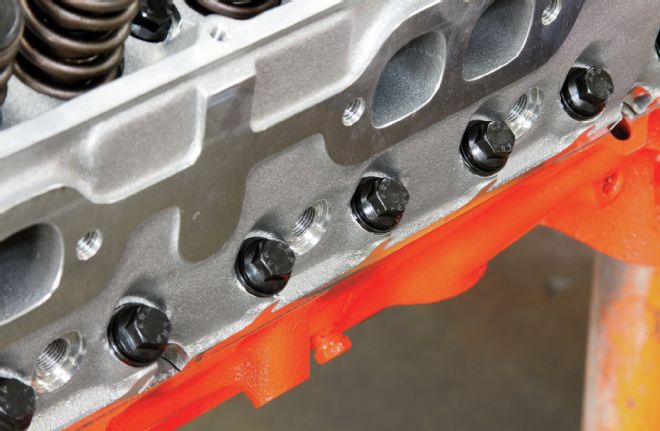
15. The point of this build wasn’t to do it the absolutely cheapest way possible, but instead to build a good looking, reliable engine that wouldn’t put us in the poor house. To that end we opted for a few bits that fell more in the appearance or “peace of mind” categories. One line item in the latter category was a set of ARP head bolts (PN ARP-134-3601, $85). Sure, we could have cleaned up the stock bolts, but these fasteners are stronger and wouldn’t wreck our budget.
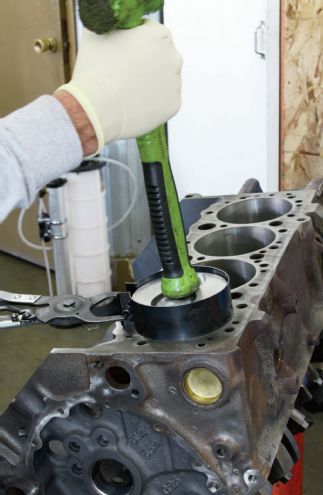
16. We then installed the high-volume, standard-pressure oil pump (SUM-121155) included in the Summit rebuild kit. Before installation, we tapped the pickup (MEL-55-S1) into the pump and tack welded them together.
17. The Summit rebuild kit included all of the needed gaskets, including the four-piece oil pan gasket. After getting them all placed we dabbed the four corners with extra RTV sealant.
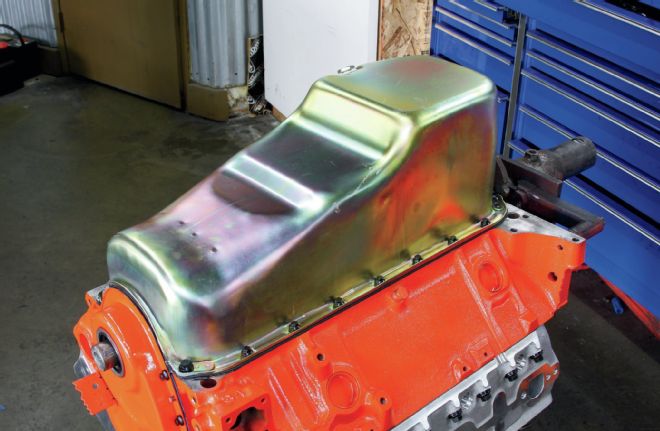
18. To be honest, we really didn’t need a new oil pan, but the ones we had were a bit dented up so we decided to go new. The good news is that this gold-zinc coated five-quart pan from Summit (SUM-G3531) only set us back $40. We bolted it in place with fasteners from our ARP accessory fastener kit (PN ARP-534-9801, $108).
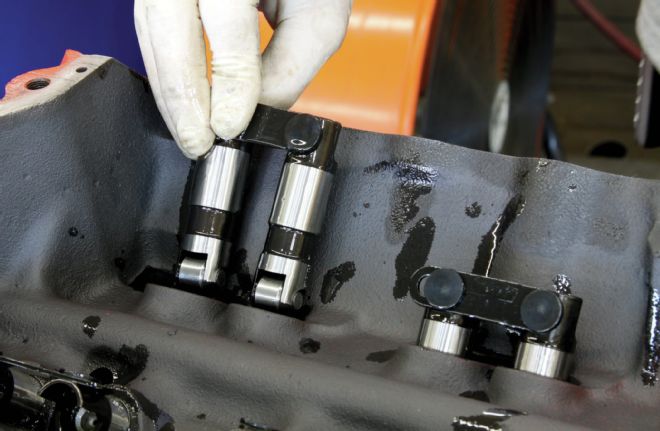
19. Our early block wasn’t designed for a roller valvetrain, but thankfully the aftermarket had us covered. In the Comp retrofit kit we were supplied with a full set of these vertical link-bar lifters (PN CCA-853-16).
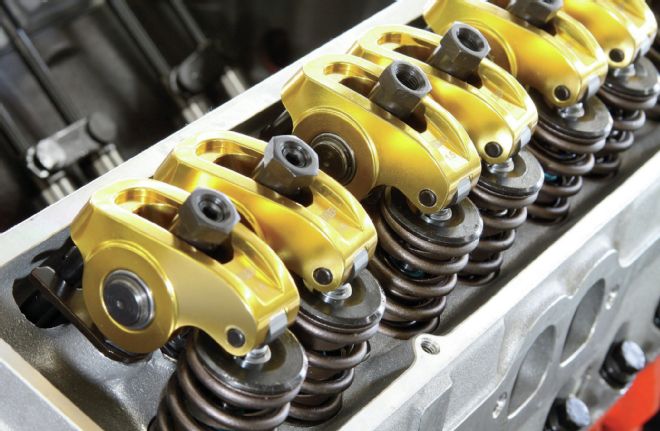
20. For rockers, we decided to roll with a set of Comp Ultra-Golds (PN CCA-19001-14, $291) that would fit our 3/8-inch studs. On this engine we could have gotten away with a lesser rocker but the Ultra-Golds are rock solid, and being full-roller, they will free up a bit of power. For pushrods, we ordered a set of 7.300-inch Comp Magnum pushrods (PN CCA-7609-16, $105).
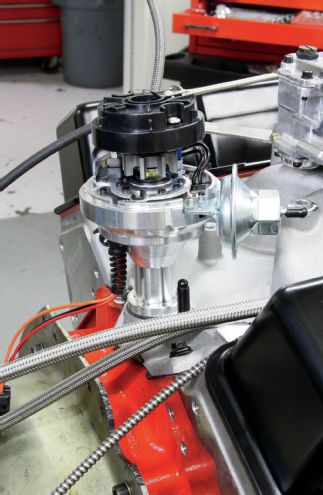
21. To fire our small-block we chose a Summit Street & Strip Ready-to-Run billet distributor (PN SUM-850205, $206). It has both vacuum and mechanical advance and the magnetic trigger is reliable throughout the rpm range.
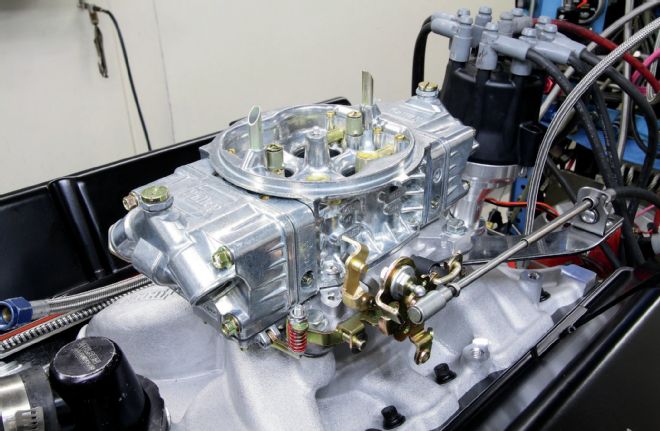
22. To top off our engine, we went with Holley’s Street Avenger carburetor (PN HLY-0-81670, $400) from Summit. At 670 cfm, it’s sized just right for our mill and the choke will make it easy to live with on the street. The carb features ultra-lightweight aluminum construction along with external float adjustments and center-hung floats. It’s also easy to adjust and change the spring for the vacuum actuated secondaries. For an intake we chose a midrise Summit piece (PN SUM-226010, $185).
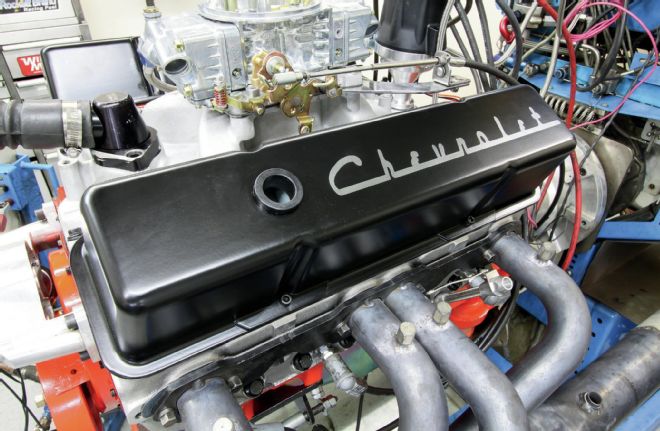
23. The larger Comp Ultra-Gold rockers meant we couldn’t use our stock valve covers, which was fine since they were ugly. Instead, we called up Eddie Motorsports and got a set of their black powdercoated covers and had a retro Chevrolet logo laser etched on them.

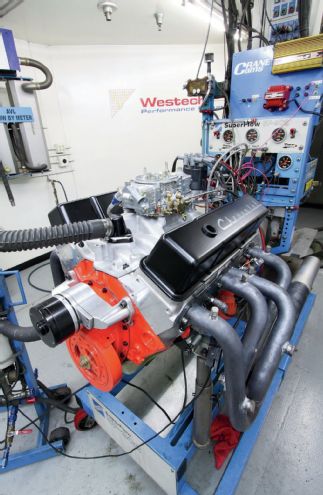
24. At Westech Performance we strapped the newly revitalized 355to the Superflow dyno, filled the tank with pump gas, and fired it up. Once properly broken in, Westech’s carb-guru, Steve Brule, started making pulls and performing adjustments. Over the course of a dozen pulls, he slowly added timing, up to 37 degrees on the last pull, and swapped the jets around.
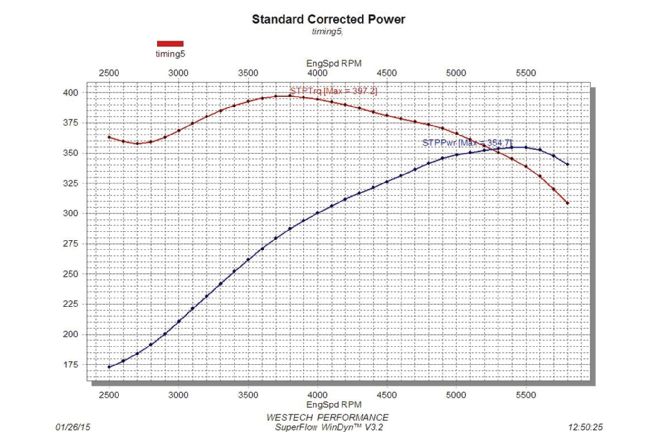
25. On pull six, we were rewarded with our best corrected numbers of 355 hp and 397 lb-ft of torque. The best part is the 355 lb-ft of twist way down at 2,700 rpm. Low-end grunt like that is what makes a street cruiser fun. Best of all, we can run this mill on the cheap gas and it idles smooth and silky.