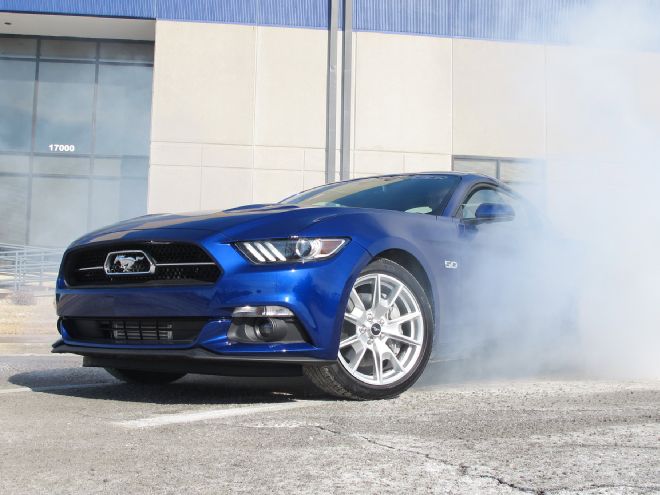
While the 5.0 Coyote in the all-new 2015 Ford Mustang makes an already solid 435 hp, we knew it wouldn’t be long before supercharger companies had complete packages ready to bolt on and blow off the doors. ProCharger is already there with a new air-to-air intercooled supercharger system for the 2015 Ford Mustang GT, available in not one but two trim levels.
The HO Intercooled Systems are based on the company’s proven P-1SC-1 supercharger. Combined with ProCharger’s specific tuning calibrations on the handheld programmer, it delivers 45-50 percent more power over stock. That’s on just 8 psi of boost and pump gas. Higher boost levels and horsepower gains of 50 percent and beyond are possible with an Intercooled Tuner Kit and custom tuning—and even higher with modified motors.
If you’re ready to get serious and plan on going racing, ProCharger also offers a Stage II system. The kit specs are similar to the HO, but the Stage II gets a dedicated drive system and a larger air-to-air intercooler. Gains of at least 55 percent are the norm here with the P-1SC-1, but the power levels can go stratospheric with head unit upgrades available all the way to the mighty 1,225hp-capable F-1R. You better come with a seriously built engine at this point.
What’s even more exciting is that ProCharger claims that this is the easiest to install of any Mustang supercharger system to date. That’s saying quite a bit, but with a suggested installation time of only 5-6 hours with common handtools, you could feasibly be done and driving after a morning of wrenching. Happen to have a leased car? No worries. Both the HO and Stage II systems are 100 percent reversible, with no trimming or cutting to any factory OEM plastics or hardware. To see just how easy the install is, we headed over to ProCharger for a Stage II kit.
System Specs
HO Intercooled System
45%-50% gain with P-1SC-1 complete system on 8 psi, quality pump gas.
50% or more gain with P-1SC-1 tuner kit and custom tuning.
Even higher gains possible with modified motors.
Belts can be changed without removing supercharger.
3 supercharger and bracket finish options: polished, satin, or black.
Pulleys can be changed without removing supercharger.
No cutting of radiator hoses or trimming of factory coolant fan.
100% reversible.
Handheld tuner available.
Retains the factory brake cooling ducts.
Stage II System
9 psi, 230-plus hp.
55% or more gain with P-1SC-1 on 9 psi, quality pump gas.
Dedicated 8-rib drive system.
Upgradable to 1,225hp F-1R head unit.
Larger and thicker air-to-air intercooler.
Self-contained oiling head unit, with CNC billet gear case and impeller.
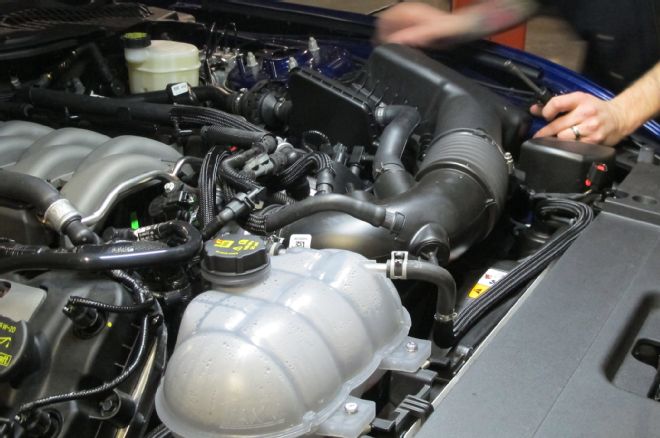
1. If your 2015 happens to have a strut tower brace, that’s the first thing you’ll need to remove, followed by popping off the engine cover. Otherwise go straight for the airbox and intake tubing. There are several small hoses clipped to the intake tube, including the cabin sound tube, which will be removed. One 10mm bolt is all that holds the airbox to the body.
2. Just a few pushpins hold the radiator cover in place. A flat screwdriver will make quick work of these.
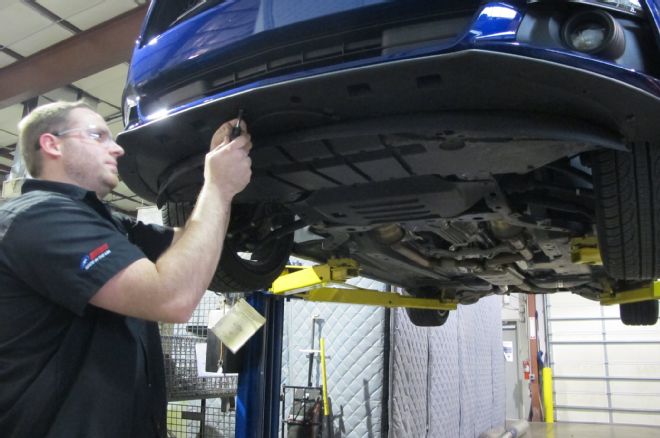
3. The underbody cladding, which must be pulled, also uses a few of these pushpins plus some screws. With it removed, unclip the foglight and turn signal connectors.
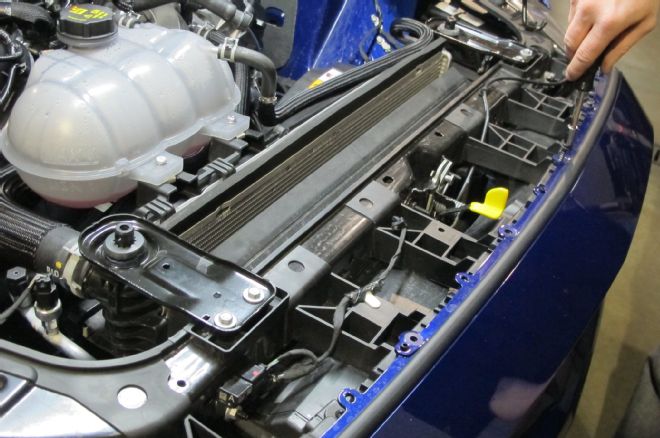
4. Time to pull off the nose! Underneath the radiator cover, six 8mm bolts, and two 5.5mm bolts hiding under the weather seal, hold the top of the front fascia to the core support. Behind it, two plastic radiator shrouds will need to be removed via pushpins. If you have a Track Pack car, there is an extra brace to be unbolted.

5. More air needs more fuel, so the ProCharger kit includes upgraded injectors. The fuel rails need to be pulled for injector access, so the fuel system needs to be depressurized. Gas may still leak; a towel underneath is recommended to prevent spillage.
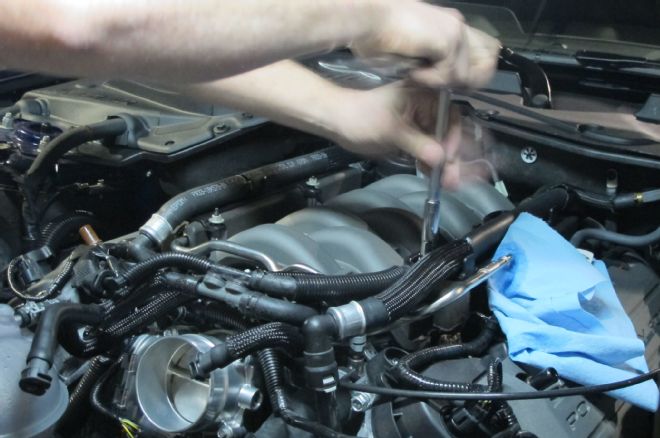
6. Four 10mm nuts secure the plastic fuel rail insulation bracket. These and the foam insulators have to come out before the four 10mm bolts and fuel rail spacers holding the injector rails can be accessed. Make sure to keep the injector electrical connectors in order as you pull them.
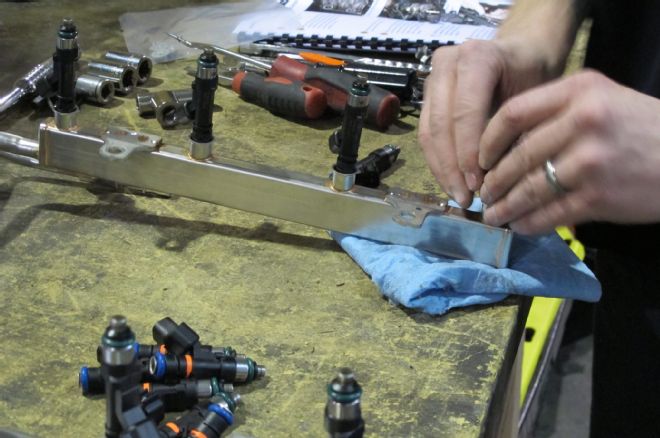
7. To release the factory injectors, spread the retainer clips. Before installing the new injectors, lube the new O-ring seal with clean engine oil. Make sure to face the injector electrical connections outwards so they line up with the harness.

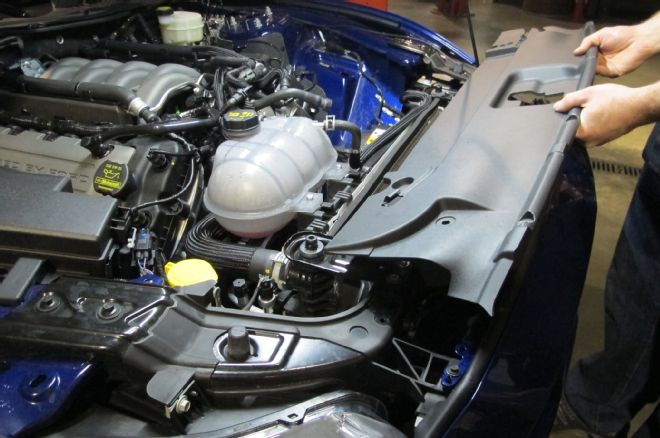
8. We need a bit more clearance down below to make room for the engine plate, so the straight fitting on the thermostat housing gets pulled. The cooling system needs to be drained, of course, but use a clean bucket and you can reuse it.
9. In its place goes this aluminum 90-degree unit using the original 8mm hardware.
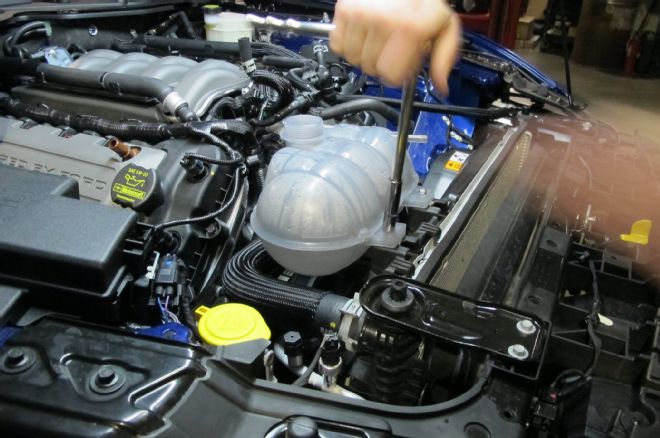
10. Keep the coolant aside for a while because the cooling reservoir is next to come off to make room for us to work on the front of the engine. Two 10mm bolts hold it in place.
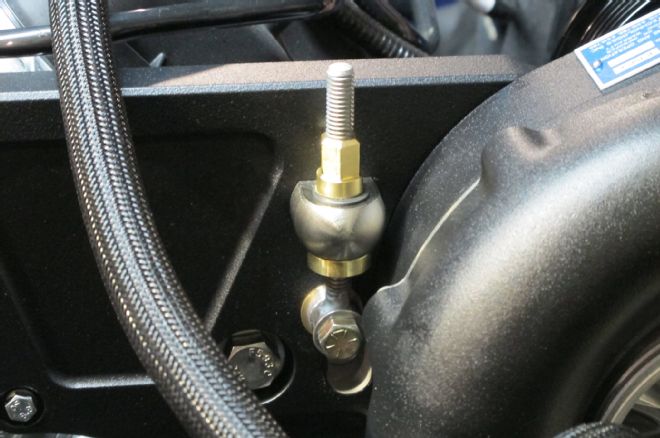
11. We don’t know the torque spec, but to pull the factory crankshaft bolt you’ll need an 18mm socket and a pretty lengthy breaker bar. The frame mounts for the front sway bar may need to be unbolted so the bar can shift forward and make room.

12. Since this is a Stage II kit, it gets a dedicated drive pulley; cam locks are used to lock it to the balancer pulley. Make note of the three pairs of studs, since these will straddle the balancer’s webs when rotated and will lock it in place. A new 19mm bolt will be used to tighten the balancer back.
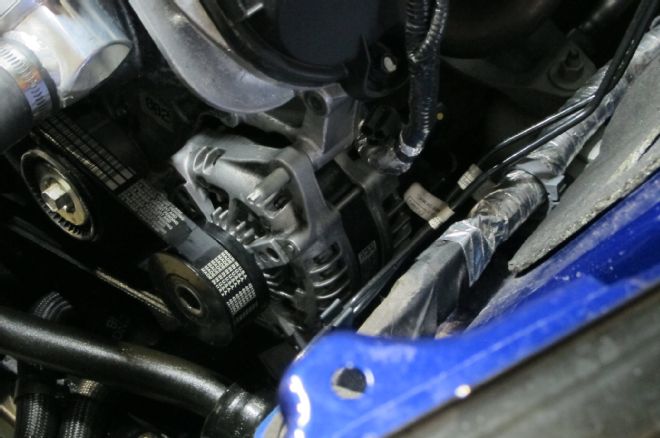
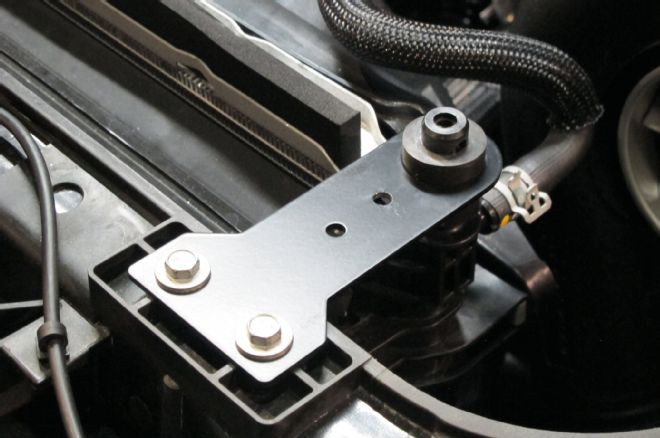
13. Now it’s time to start prepping for the engine plate! First, two timing cover bolts and the alternator nut are pulled.
14. The small L-shaped bracket and this hex standoff will make mounting points for the engine plate. The idler pulley seen below will also get an adapter shaft and a second idler pulley.
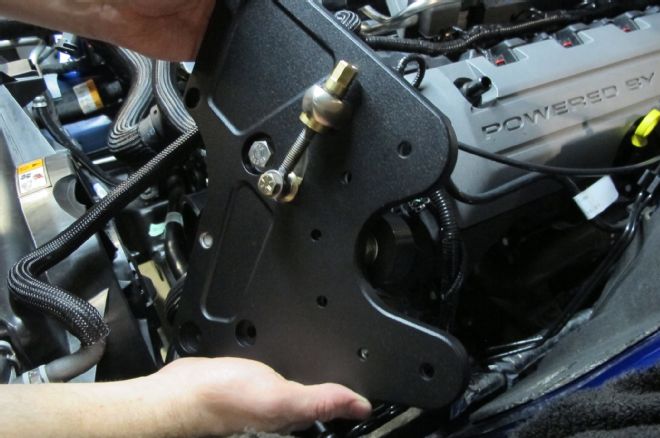
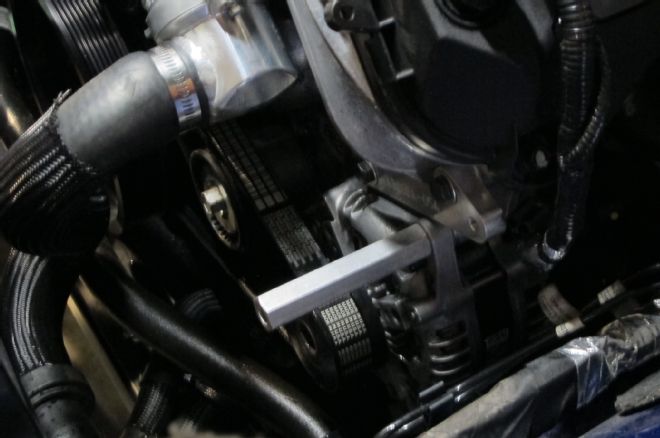
15. We love the rough matte black finish on the engine plate; it’ll blend in perfectly with the stock engine bay. On the back is the tensioner and grooved idler pulley that will keep the blower belt engaged.
16. A few bolts and a cam position sensor harness need to be moved out of the way, but otherwise the plate will bolt right in with the supplied spacers, hex standoffs, and hardware.
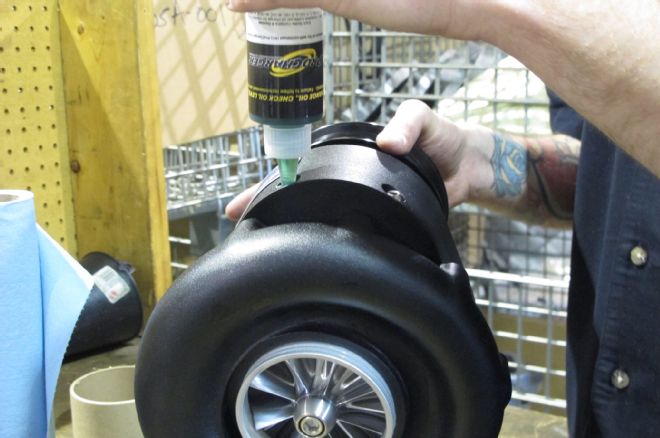
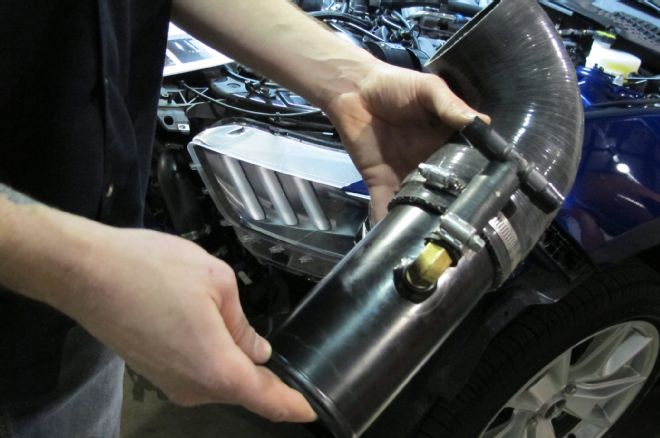
17. With such high speeds on the impeller, good oil is critical. Prior to being bolted into place, the P-1SC-1 is filled with ProCharger’s specific gear oil. There is a choice of polished, satin, or black finish for both the brackets and the head unit.
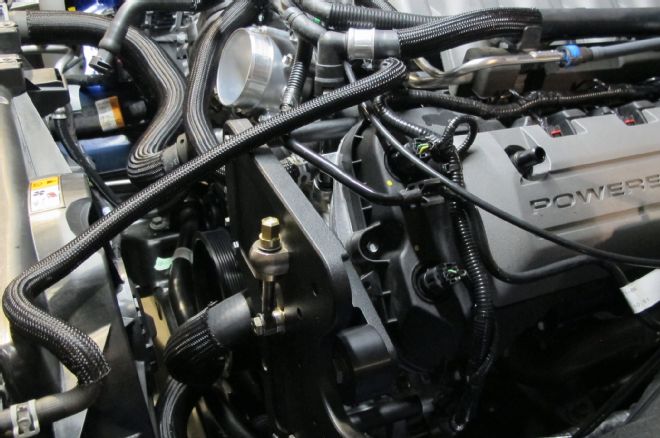
18. Four 5/16 and two 3/8 SHCS hold the head unit to the engine plate. With the head unit mounted, the oil drain line gets routed behind the driver-side headlight.
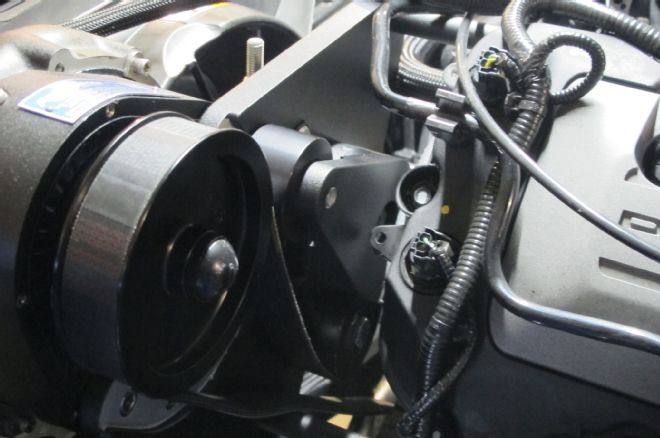
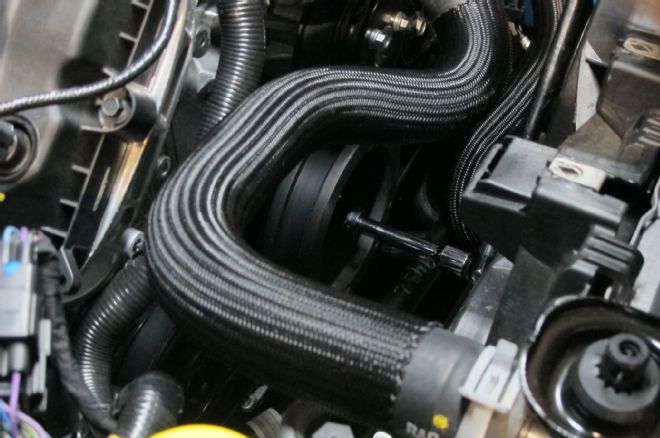
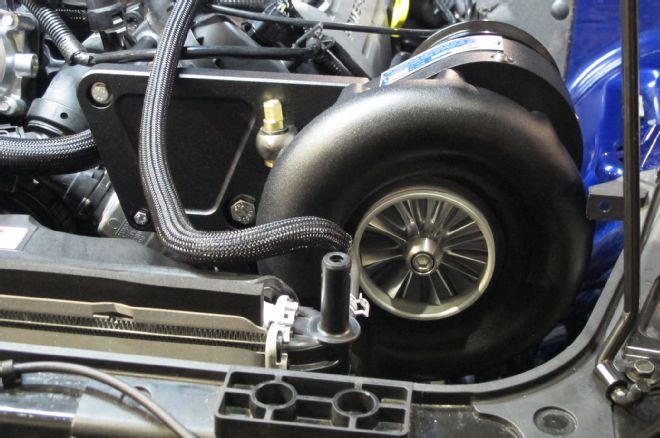
19. With the head unit tightened into place, the belt gets routed through the various idler pulleys down to the crank pulley.
20. After routing the belt, the pivot bolt and jackscrew are used to set the tension. There is a specific order of steps to be followed to ensure that the system can maintain proper tension.
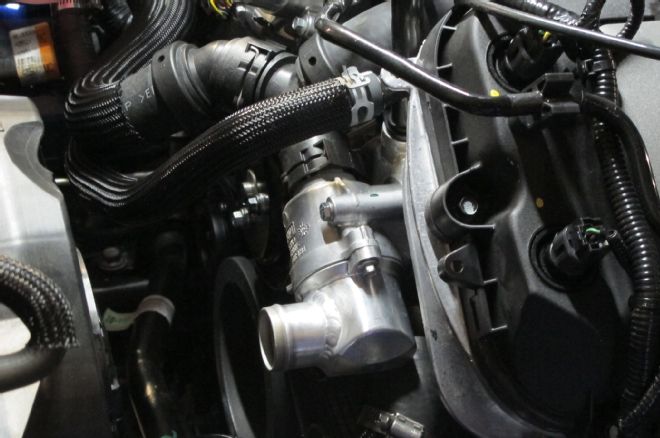
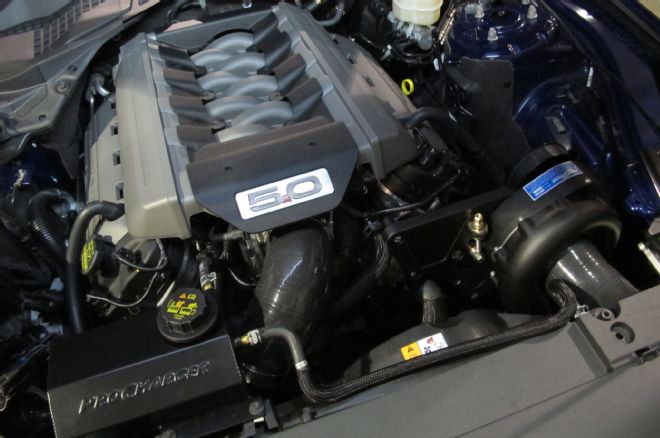
21. The Stage II system is intercooled, so part of making room for the associated parts is swapping out the factory radiator brackets for these flat ones. The horns will also get relocated a few inches lower. There are multiple intercooler sizes to best fit increased power levels.
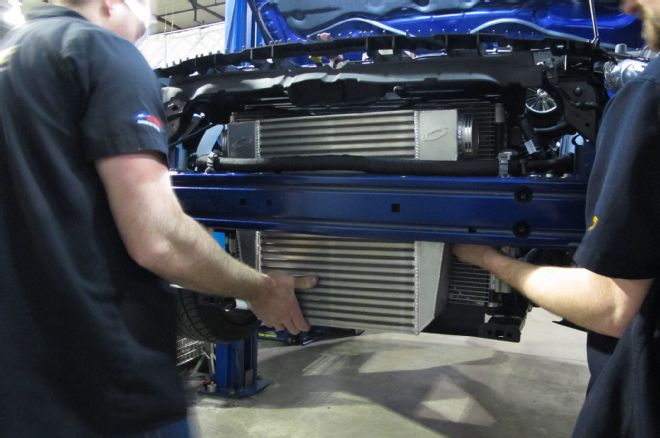
22. The wiring harness behind the bumper will need to be unclipped and relocated to the top, but otherwise the intercooler will slide right in between the bumper and condenser. The side mount brackets will use the factory bumper-to-frame mount and bolts. The MAF will insert into the plenum on the passenger side and reconnect with an extension harness.

23. A few lengths of rubber and silicone hose need to be trimmed and fitted to connect the supercharger to the intercooler, most of which have 90-degree elbows. Make sure there are no kinks when installing them.
24. This tube that connects to the supercharger inlet gets a brass fitting and a plastic T-connection for the PCV. The valve cover vents will connect here via 5/8 hose. The IMRC diaphragm vent will also be T’d into the driver-side vent hose.
25. The conical air cleaner then slides onto the inlet tube. Just behind it is the ProFlow surge valve attached via a 1 1/2-inch hose to the T’d inlet tube for the intercooler.
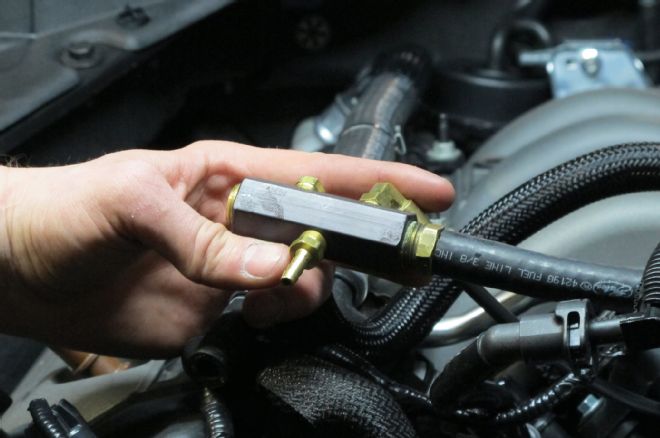
26. The factory vacuum tree will be swapped out for this assembly, which provides ports for a boost gauge.
27. Rather than reusing the original plastic reservoir, a new fabricated one from ProCharger is installed using the factory hardware. We glossed over a bunch of minutia, of course, but that’s the gist of the install. Pretty simple.
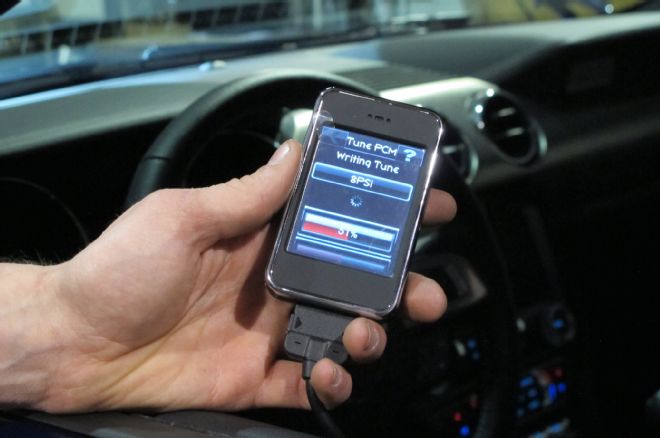
28. After the factory tune is saved, the handheld tuner is used to load the tune for our first dyno run. On our baseline before the install, the GT put down 379 hp at 6,050 and 364 lb-ft at 4,250 rpm.
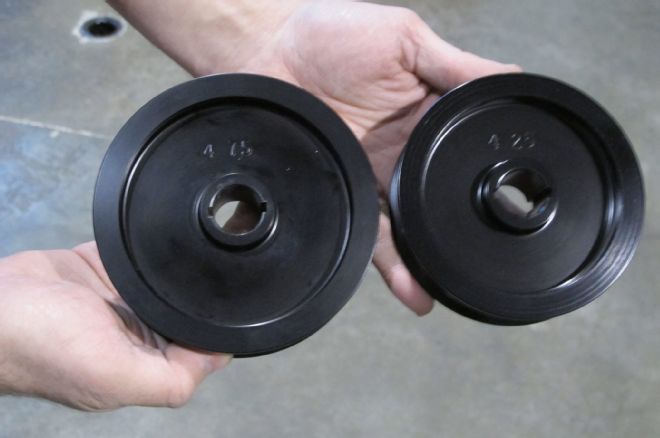
29. Rather than 8 psi, our first run was at 10 psi and delivered a stout 577 hp at 7,200 rpm and 446 lb-ft and 6,400 rpm. Afterward we went with a pulley swap from 4.74 to 4.25 and added high-octane race fuel to go for 13 psi.
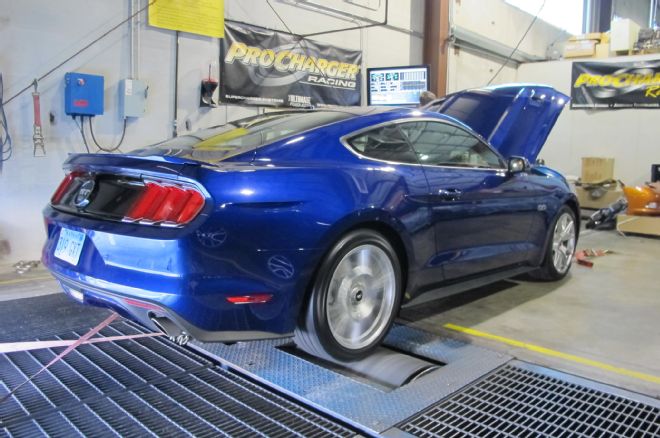
30. That big boost rewarded us with 643 hp at 7,200 rpm and 503 lb-ft at 6,500 rpm. So, in a few hours of work, we’ve added 264 hp and 138 lb-ft to the tires. Once again, this was accomplished with a factory stock S550—no exhaust modifications or headers, brought into the facility as it left the sales lot.
Latest Milestones With ProCharger Supercharged S550 Mustangs Location HP System Amazon Tuning Solutions 700 HO Blow by Racing 700.00 HO Coastal Chassis Dyno 712.00 Stage II Evolution Performance 600 HO