You know how a simple upgrade project can snowball and suddenly you have half the car in pieces and a maxed-out credit card? This '40 Chevy was in serious danger of becoming just such an example when the owner wanted to upgrade to power steering and A/C on the B&M-blown 355ci Chevy small-block under the hood of this sedan, which was built back in the '80s using a '69 Camaro front chassis clip with a quick-ratio manual steering box.
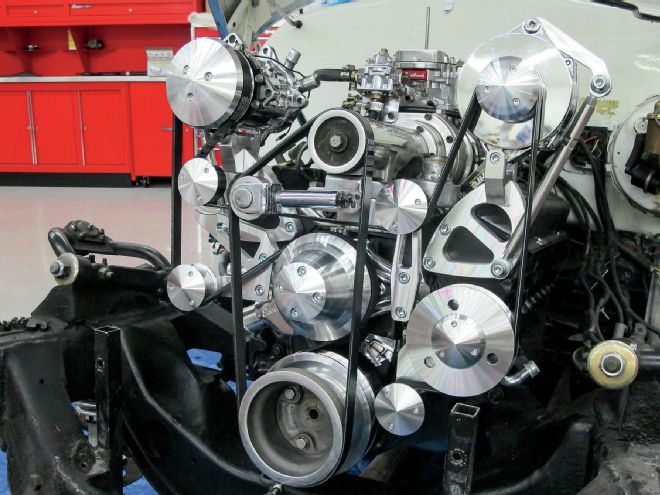
For starters, the whole front sheetmetal clip had to come off for access, plus the fact the radiator was going to be changed too. The decision was made to switch to a serpentine belt system rather than continue with V-belts, and a serpentine kit was ordered from March Performance to suit, complete with bracketry for A/C compressor, alternator, and power steering pump. This would offer sufficient clearance for the blower snout and drive belt.
Then it was discovered that the early heads on the old small-block had no tapped holes for accessory brackets, so new heads were purchased and installed before the conversion could begin. Talk about one step forward and two back! It all worked out in the end though, and the sedan now runs cool, steers beautifully, and works as it should.
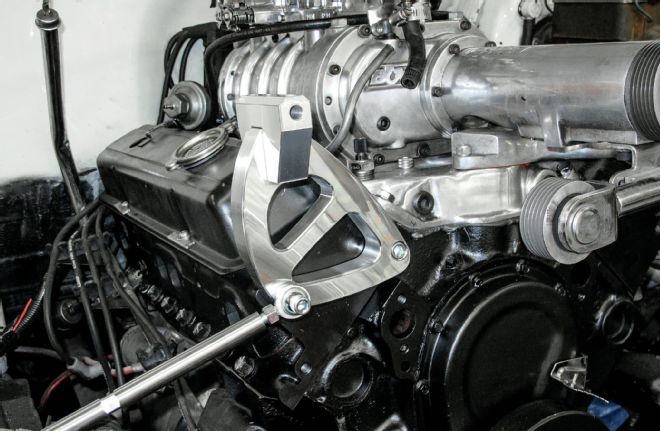
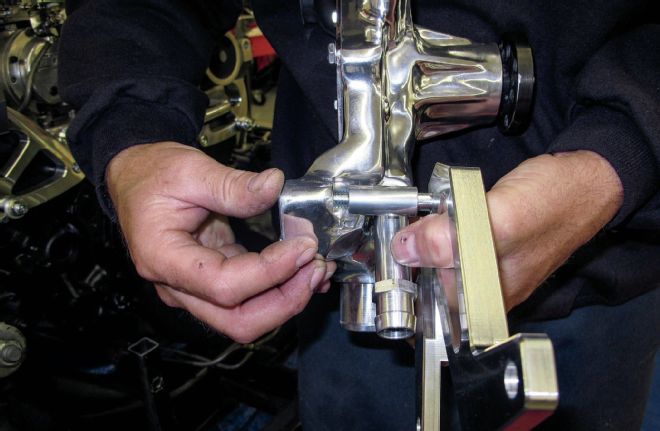
1-2. The A/C compressor and alternator brackets were bolted to the heads first. It should be mentioned that SBC heads made prior to 1969 do not have the holes for accessory brackets. This was the case with "our" heads, which meant ordering a later pair prior to the installation.
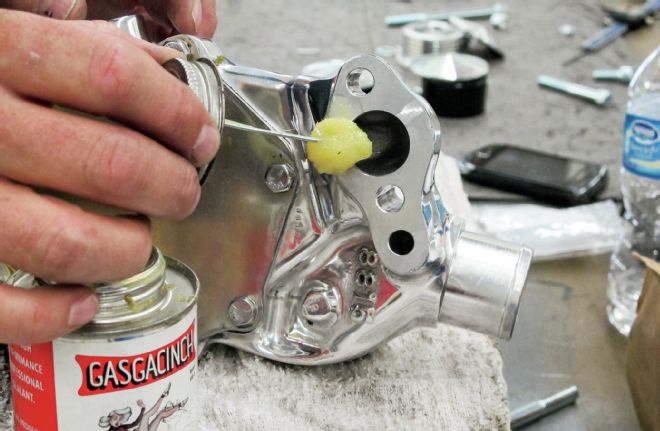
3. The way the belt runs in a serpentine system invariably means a reverse rotation water pump is required. We sourced ours from Edelbrock, PN 8825.
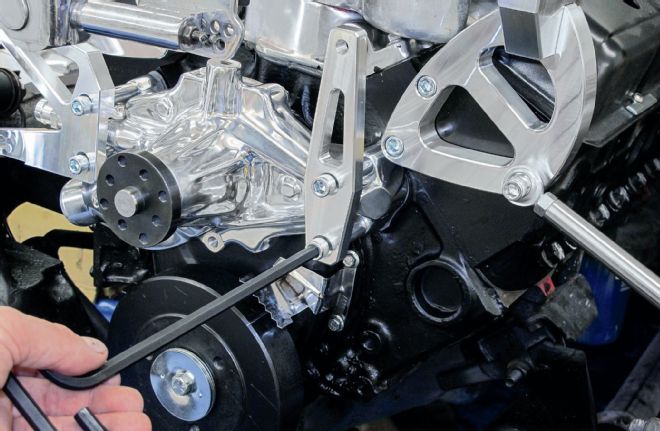
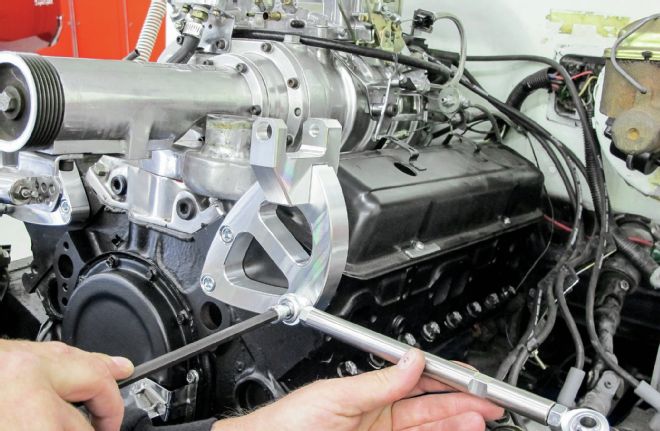
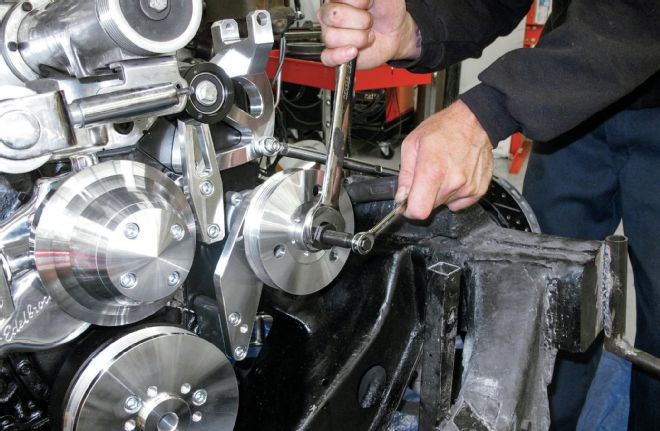
4-5. These idler brackets use the water pump bolts as mounts, with spacers, and have to be fitted at the same time as the pump.

6. Note how the heater outlet from the water pump clears the brackets. Nevertheless, it's simpler to install it prior to fitting the pump.

7. The March Performance kit includes new crank and water pump pulleys, as well as this cover for the latter.
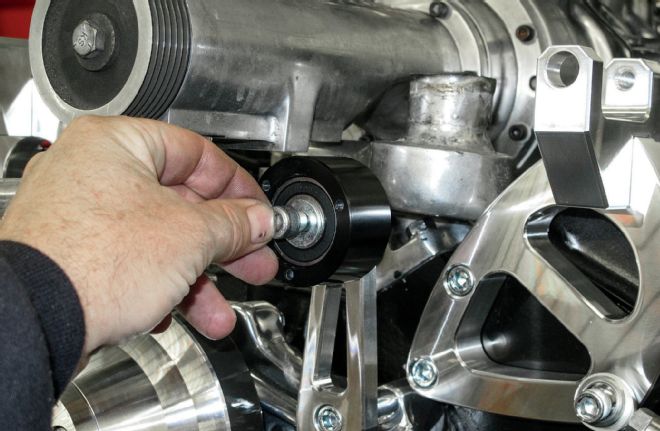
8. The idler pulleys were installed next.
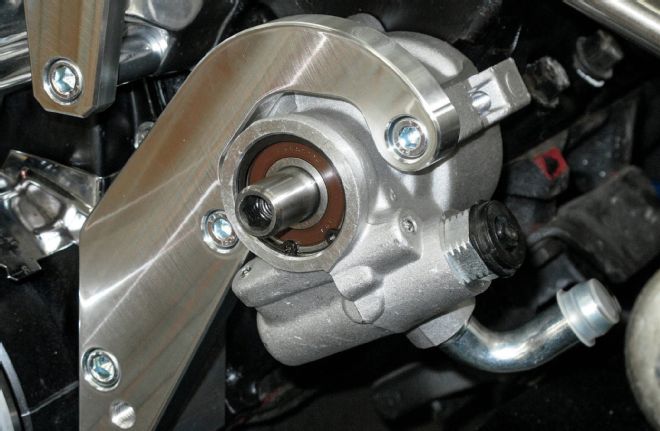
9. We sourced a new power steering pump from Tuff Stuff Performance (PN 6175-5), replacing the worn version that had been on the car since it was first modified.
10. The matching pulley could now be installed on the power steering pump.
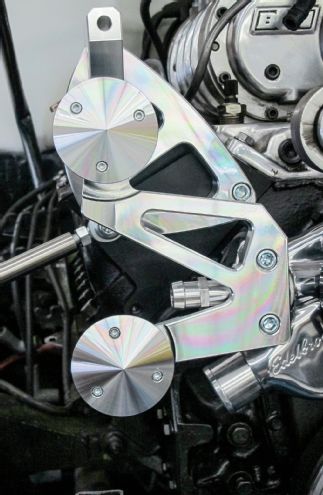
11. More idler pullies being installed. The passenger side of the engine has two.
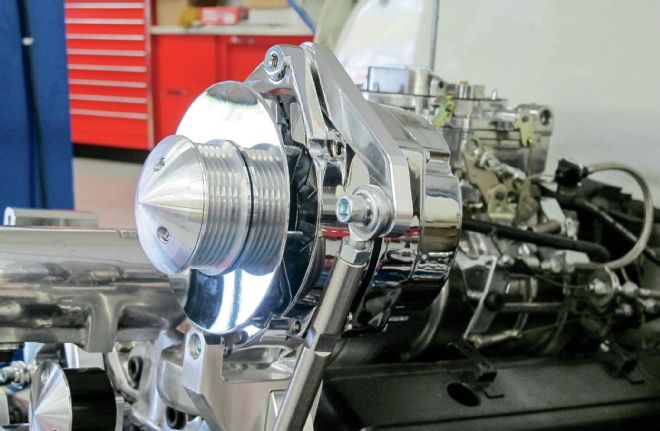
12. We used a chrome alternator, also from Tuff Stuff, PN 7127NC6G, and a Sanden A/C compressor (PN 5-132) from Classic Auto Air.
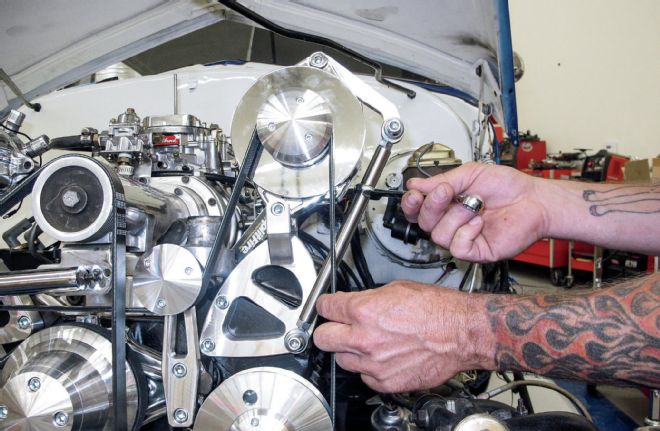
13. With all ancillaries mounted, the belt was installed and tensioned using the adjuster rods on the compressor and alternator.
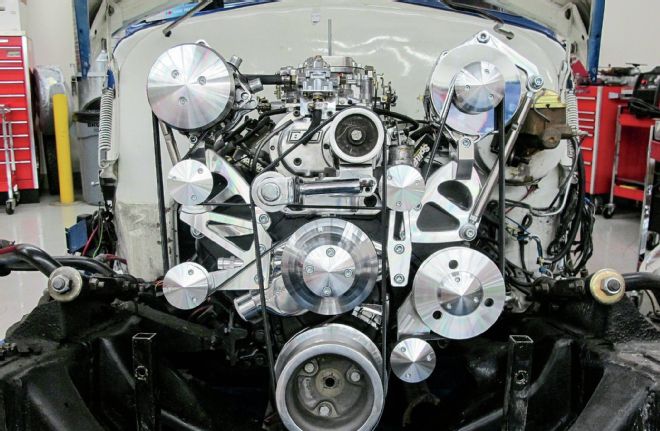
14. The completed install, awaiting a new radiator and fans from Derale.