One of the tricks of mounting engines is having the right mount bolted to it. I have always shied away from ones that had a stud sticking down or the old biscuit, front mount-style that the small-block Chevys ran. The biscuit style would be OK now, if that was the period look I was going for, but the ones with the studs always end up creating a big boxy-looking mount coming from the frame.
I was taught that you should use a motor mount that allowed the use of a long bolt to secure each side. It is the simplest and cleanest way. These types of mounts are available for most engines. I have mounted all the small- and big-block Fords and Chevys and have always found mounts for them that allowed the use of a single bolt on each side.
The one I like to use the most is the small-block Chevy, non-locking type, motor mount. It was used on the '60s small-blocks and is very adaptable. The shape of its mounting points makes it easy to move around or remount. I have made plates in the past to offset the mount as it is bolted to the engine and move the engine forward. When the LS motors first came out, I used these mounts to bolt to the adapter plates I made to bolt to the LS engine. Now, thanks to Classic Performance Products, the average guy can install his LS just like a pro with their new Adjustable LS Motor Mount Plates.
Classic Performance has been filling its shelves with real cool stuff like these mounts for years. They have come up with quite a huge selection of chassis-related items for your build. Trucks and cars are covered, but trucks are where it started.
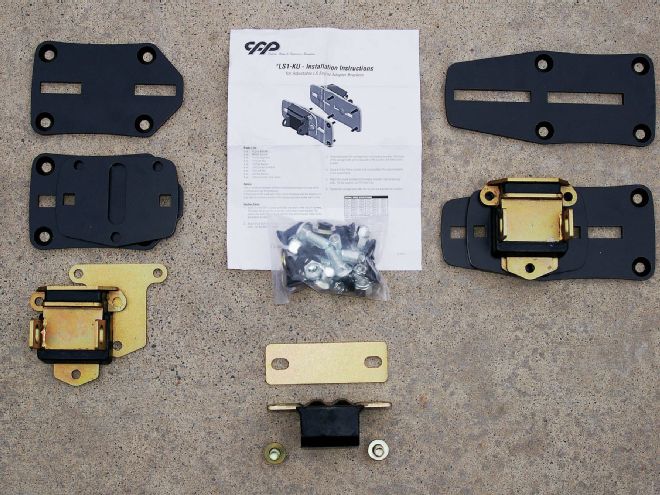
1. Classic Performance Products’ new Chevy LS motor mount kit. Now you can mount an LS engine in just about anything with the versatility afforded by these adjustable motor mount plates. They are available as just the plates, with rubber motor mounts or with the better poly mounts. The kits include everything to get you bolted up and ready to mount.

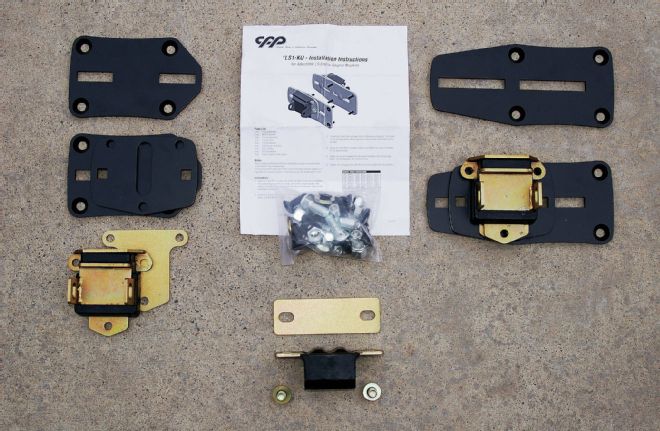
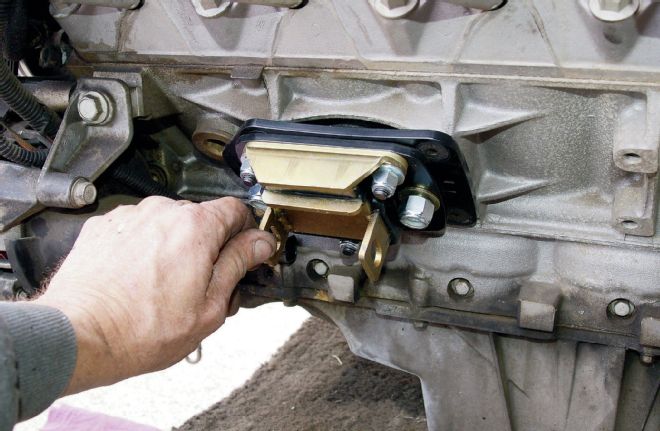
2. There are two lengths of adapter plates available. Since I’m going to use the shorter ones, I’ll bolt the longer ones on to show the difference and adjustability possibilities.

3. These two pictures show the length to which you can move the mounts on the longer adapter plates. With this kind of adjustment, you should be able to mount this engine in just about anything. Being able to move the placement of the mounts can help with steering clearance, header tube/collector issues on the driver side, and A/C compressors and starters on the passenger side.
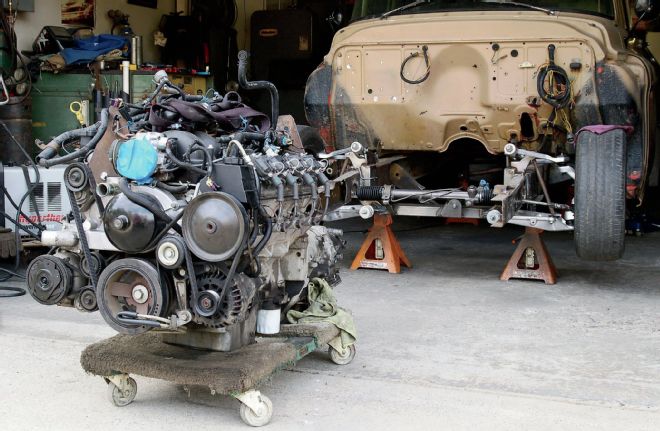
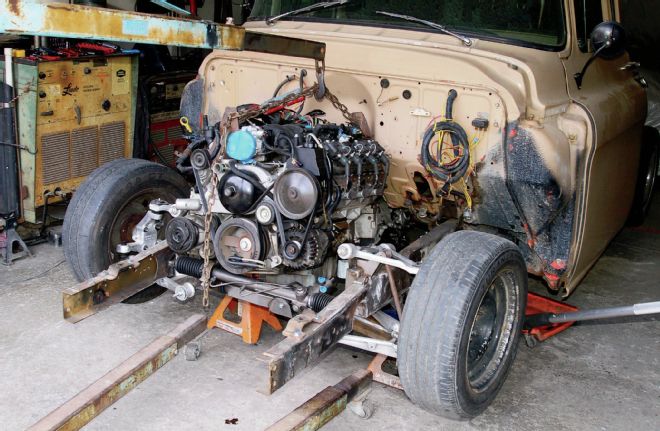
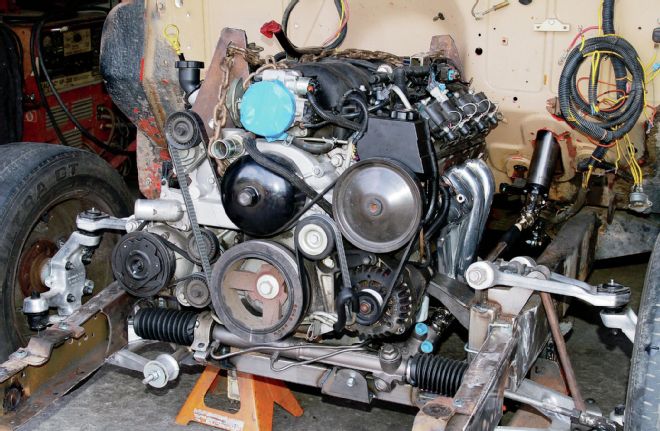
4. To show you just how well these new motor mounts work, I just happen to have a '57 Chevy pickup that needs an LS engine. By the end of the day that engine and transmission will reside within those framerails, thanks to CPP's new LS motor mount kit and poly transmission mount. This beauty is out of a 2000 Firebird and came with the ideal oil pan. What luck!
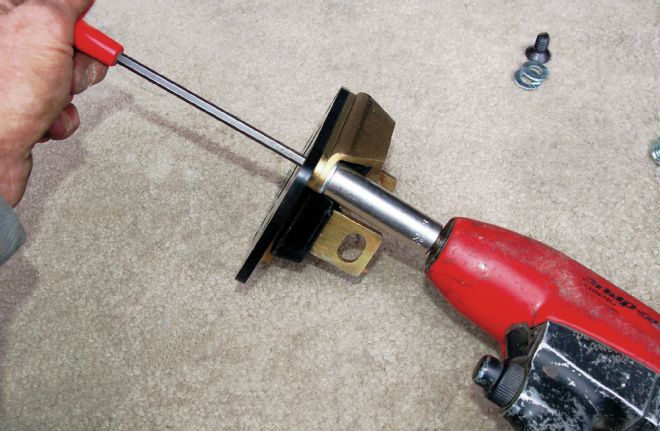
5. This kit came with the polyurethane motor mount option so I assembled the mounts to the plates that can slide.
6. Then I slid the 1⁄2-inch carriage bolts through the slots in the mounting plate and bolted it to the side of the engine in the stock motor mount bolt holes. Now I have positioned the sliding plate and mount, and secured it with the 1⁄2-inch Nylock nuts. The range of adjustability is shorter with this smaller version mounting plate, but I'm just trying to hit a crossmember that is pretty close to start with.
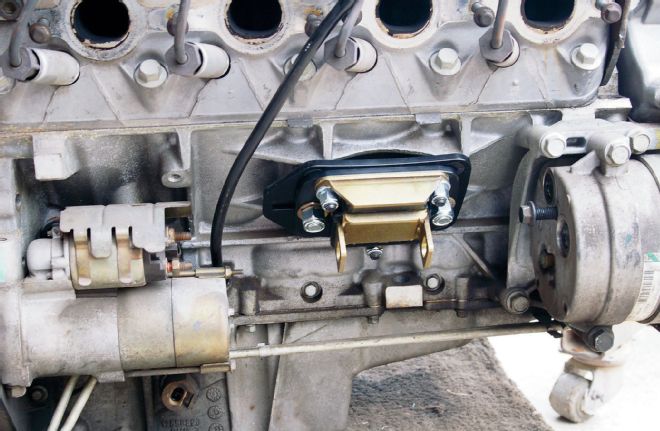
7. The ability to move the passenger side motor mount to the rear will help with future connections to the A/C compressor.
The popularity of Chevy's LS engine can't be denied. That aluminum beauty is one smooth-running powerhouse just waiting to be tapped. You see them transplanted in everything from hot rods to helicopters, sandrails to one-off customs. What's even better is that they are all aluminum, block and heads. What would you have given 25 years ago for an all-aluminum small-block at an affordable price that could be show polished if you wanted?
Installing Chevy's LS engines couldn't be any easier now that Classic Performance has come up with their new adjustable LS engine mounts. These beauties bolt on to the stock four-bolt position and offer the option of moving the rubber/poly mount forward or back. Two mounting plates are offered for the maximum in placement options. Now you can move the mount itself to better line up with a crossmember or tube to make the needed fabbed mount easier, and usually better looking.
With the popularity of the LS engines, these should be big sellers. They will also fit the iron-blocked Vortec LS engines that come in the pickups. Same engine basically, except the blocks are iron instead of the aluminum like the LS ones. They still have the aluminum heads and can run the LS intake manifold kits available or even a stock LS intake. It will need the LS's fuel rail also.
The Vortecs are a bit cheaper too. I know guys who are buying Vortec-equipped pickups at auction, pulling the engine and trans, parting out the rest, and getting their engine and trans for free, and usually making a couple of bucks as well. They're a viable option if you have the room and desire to mess with it. Follow along to see how well Classic Performance Products new LS motor mount kits work.
8. With the engine in the chassis, I start positioning it for the best fit. The oil pan fit the crossmember perfectly. The trans mount ended up an easy install as well.
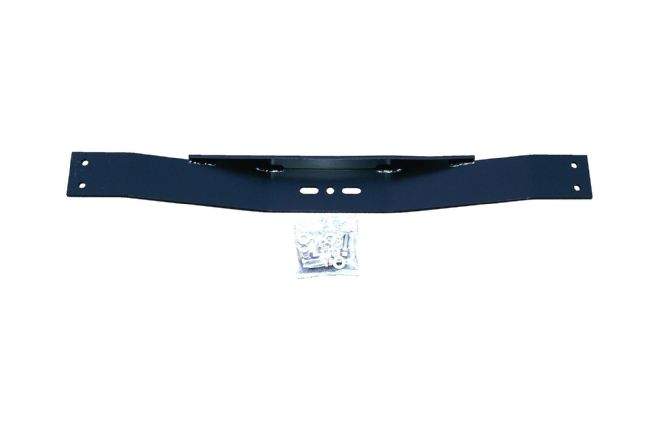
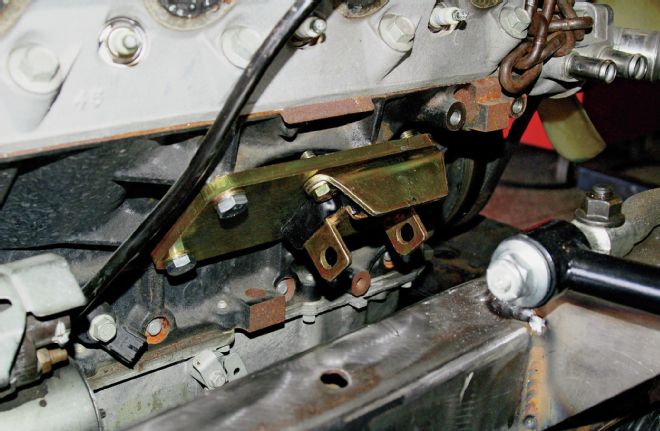
9. Any time I mount an engine and transmission I always start with the trans mount, then do the motor mounts. It has always made sense to mount the trans first to keep everything where you want it, then come up, double check the engine's position, and make up the required mounts for it. Shown here is the trans crossmember from CPP that I have always used. Part number 4136, it's easy to mount and it doesn't take up a lot of space. It is drilled for a center trans bolt like Fords and GMs and for the two that GM trans mounts have.
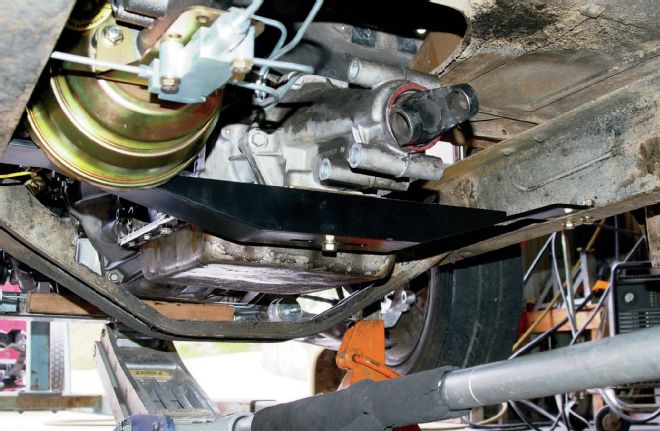
10. Here we have the CPP trans crossmember in place. For this install, the back edge of the trans crossmember is right up against the brake booster mount. For the transmission itself, this was just rough placement to see where the engine and trans would fit. When it was finally finished, I had added a 1-inch square tube spacer between the poly trans mount and the transmission to get the pinion angle correct with the rearend and had offset the engine and trans 1 inch to the passenger side for exhaust/steering clearance.
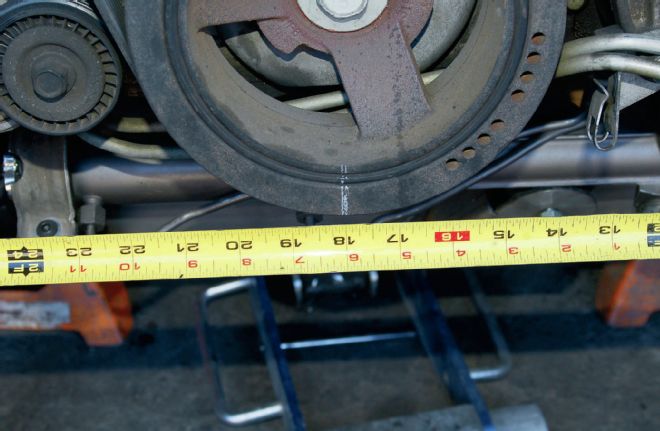
11. I started out with the engine and trans centered at 17 inches, but after some fitting and moving it forward and back, I decided to offset it 1 inch for the clearance I needed at the steering shaft/exhaust.
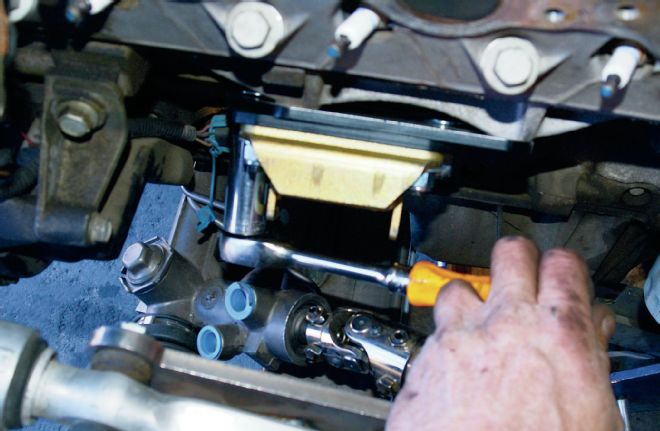
12. After all the moving around was done and I had the engine where I wanted it, I lined the driver side motor mount with the crossmember and tightened 1⁄2-inch the nuts to secure the mount. Time to fab up some mounts.
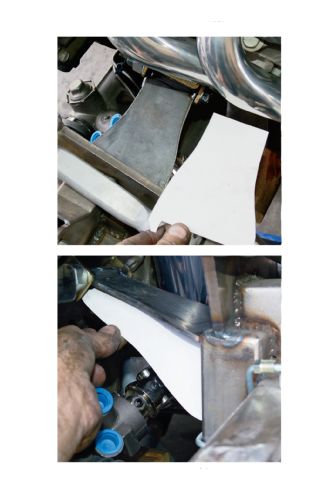
13. I cut two pieces of 3⁄4-inch tubing, with a 7⁄16-inch inside diameter, 21⁄2 inches long and secured them to the engine mounts with 31⁄2-inch long 7⁄16-inch bolts. Next I cut up some cardstock into the shape of a motor mount and transferred it to some 3⁄16-inch steel plate to make a top. With the top piece made and tacked in place, I cut up some more cardstock into the shape of a gusset for the underside, again making it out of 3⁄16-inch plate. The passenger side is done the same. With the offset engine, it is a bit shorter.
14. After all the fitting and moving around, this is where I decided it will live. My fabbed mounts are tacked solid and the engine and trans are ready to come out for the final welding.
15. As it happened, I got to mount a Vortec engine a few weeks later using Energy Suspensions LS engine mount kit. These aren't adjustable like CPP's, but they worked quite well and are very beefy. The Vortec mounting holes for the motor mount is the same as the LS engines.