With last month's completion of all the initial prep work on our LS327, it's finally time to start bolting up the TorqStorm centrifugal supercharger setup. We've been working with the guys over at TorqStorm for about six months now, bouncing ideas back and forth and communicating what we need and where we need it. As it turns out, our project varied a bit from the muscle car and late-model applications that they'd already developed kits for, so we were able to be involved with the R&D side of things, which is something we don't always get to do. The end result was that we got to keep all our accessories, power steering and air conditioning included, and in the location that we required. It was one of those rare times where we got to be involved from the ground up on a new product and it was pretty cool to see what goes into developing such a kit.
The first task when dealing with a kit like this is to lay everything out to identify all the major components. This was fairly simple thanks to the fact that the three major brackets were labeled during the machining process. The hardware as well as the spacers came shrink wrapped and labeled so it was an easy task to identify what was needed throughout the installation process.
To keep with our vintage-esque aesthetic, we ordered the blower in black anodize as well as all the brackets, pulleys, and spacers. Since we had to remove the Eddie Motorsports S-Drive kit from the LS in order to install the blower setup, we opted to reuse the A/C compressor, pulley, and billet hose manifold as well as the power steering pump and pulley from that kit. The old-style one-wire alternator, however, needed to be swapped out for a 2000-2006 truck style, which we were able to source from Powermaster Performance. This presented the opportunity to up the capacity of the alternator from just over 100 amps to a true 227 amps, enough power to ensure that our electrical system can stand anything we throw at it.
One thing we haven't discussed yet is anticipated boost. With a 3.25-inch blower pulley, the guys at TorqStorm tell us we should expect boost levels between 6-8 psi. This of course all depends on engine speed, inlet air temperature, volumetric efficiency, and a number of other variables. For example, if we coupled the supercharger to the throttle body with as little ducting as possible, the volume between the throttle body blade and supercharger impeller is less than if we ran the inlet piping through an intercooler. The larger volume of the latter scenario would yield a lower boost rating when compared with a smaller volumetric setup, but the fact that the inlet temperature is lower, thanks to the use of the intercooler, things start to go back the other way. We'll get into this a bit more next month when we cover the inlet routing and intercooler install, but in general, without knowing all the specifics of every setup, it's impossible to quote an exact boost level for every application, hence the estimate. That said, TorqStorm has arranged a variety of supercharger pulleys so that the boost level can be fine-tuned to suit each application, with the ability to handle over 500 horsepower. That leaves plenty of room to dial in any street-driven engine, whether the desire be more boost or a more modest, streetable setup.
The neatest thing about this entire scenario is the fact that we've taken a fairly docile truck engine and turned it into a fire-breathing hot rod motor (actual numbers pending!). With the modern internals of today's LS engines, this is possible with nearly any late-model GM engine. Bolt on 100 horsepower in an afternoon?! Sounds pretty good to me!
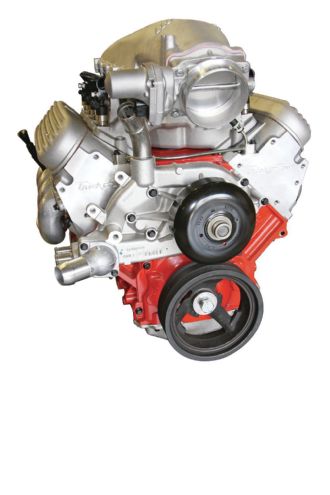 1. Here’s our LS327 where we left off last month. It’s finally time to start bolting on the blower setup from TorqStorm.
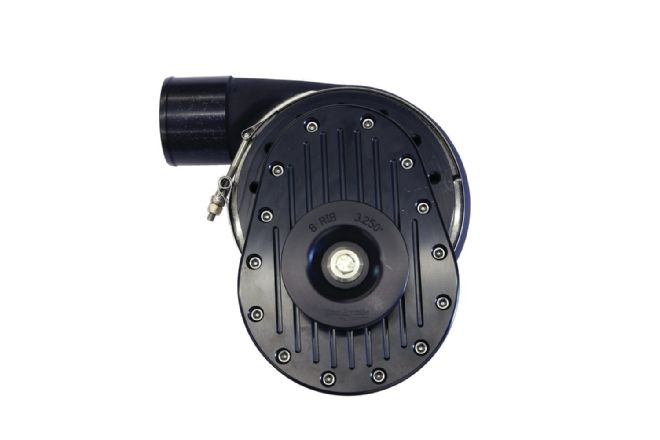 2. The pièce de résistance in our supercharger setup is TorqStorm’s billet aluminum centrifugal blower. Finished in a durable black anodize, the unique V-band compressor-to-housing clamp allows the scroll to be indexed to suit each individual install. A proprietary ceramic bearing system coupled with specially coated internal components yield superior temperature and wear control, while a self-contained oil supply eliminates the need for external oil lines. The CNC-machined billet impeller flows enough air to support over 500 horsepower and the interchangeable pulley can be swapped to suit different boost ratings.
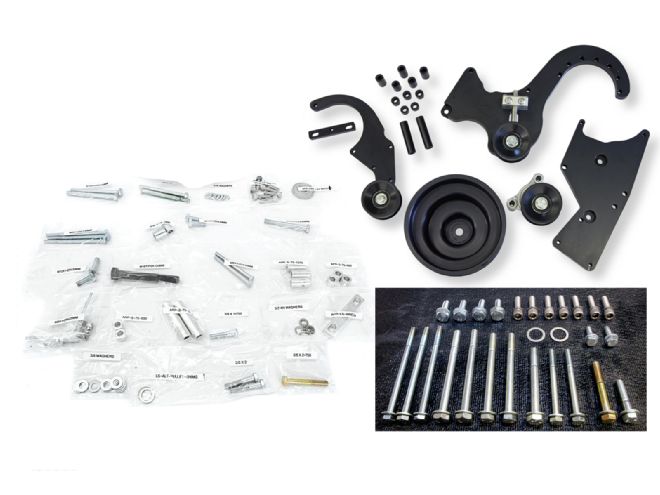 3. In addition to the blower itself, our kit came with all the brackets and hardware necessary to bolt on the accessories, all labeled and complemented by a set of detailed instructions.
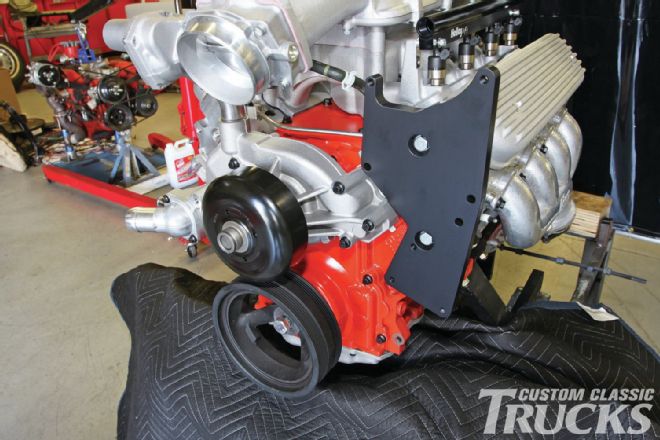 4. Installing the driver’s head bracket is the first bit of kit to be bolted on the engine. This bracket is inscribed with its part number, ARP-GM10023, and bolts up to the Trick Flow head using the provided 10mm fasteners.
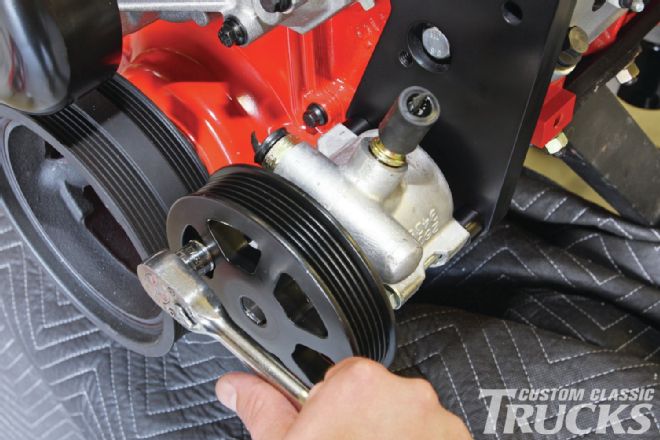
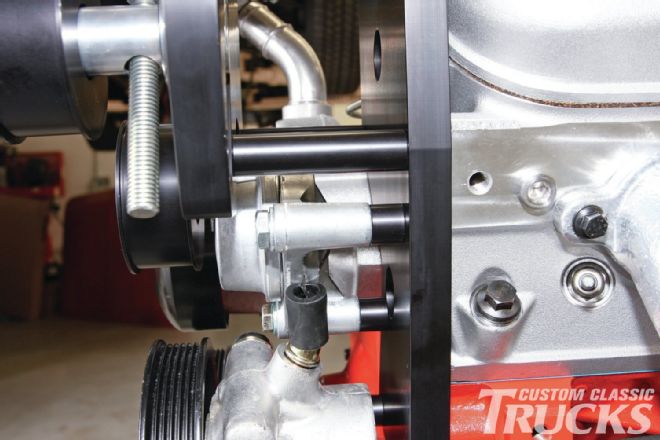
 5. Next, the power steering pump from our aforementioned Eddie Motorsports S-Drive kit is bolted to the bracket using a pair of 8mm bolts and ARP-S-75-0600 spacers.
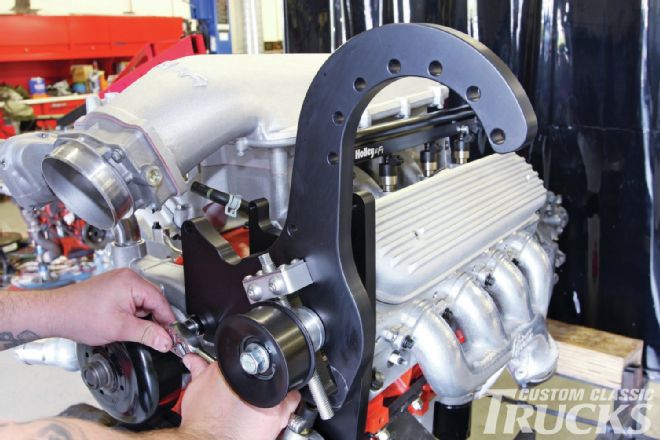 6. The supercharger bracket (ARP-GM10022) with its integrated belt adjuster is then attached using two 10mm bolts and ARP-75-3000 spacers.
 7. There are a handful of spacers used throughout the kit and the fact that they’re all assigned and labeled with a part number really makes the installation a breeze.
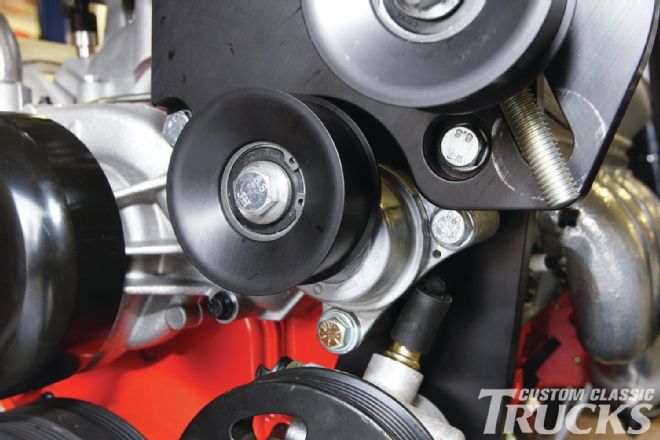 8. The main belt tensioner is installed next using a 3⁄8-inch fastener in the hole closest to the water pump and a 10mm bolt on the upper mounting point.
 9. A pair of spacers (ARP-S-75-500) are used between the bracket and the tensioner assembly.
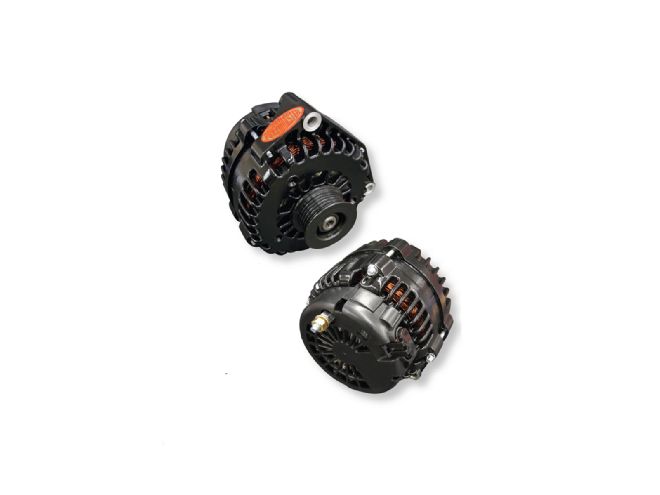 10. TorqStorm’s kit requires the use of a late-model (2000-2006) GM truck alternator, which I didn’t have at the time. When I contacted Powermaster Performance to see if they offered anything to suit our project, Brady Basner told me that not only did they make a one-wire alternator to fit our application, he could set it up with an output in excess of 225 amps. With all the electronic gadgetry we have planned for the C10, I thought the extra power couldn’t hurt and liked the idea of having an alternator that could keep up with any system additions in the future.
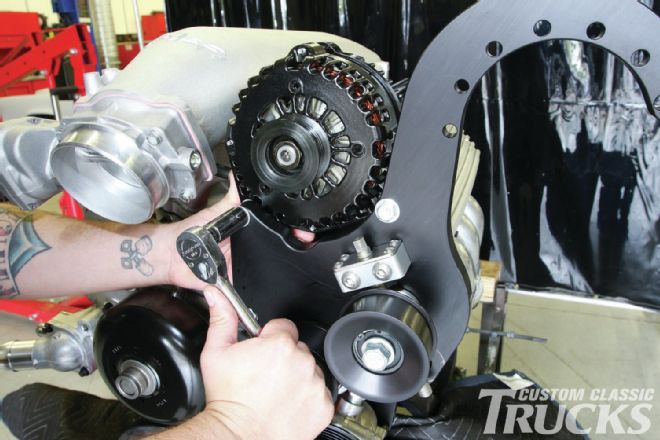
 11. The new Powermaster alternator bolts up to the supercharger and head bracket using a pair of 3⁄8-inch bolts and ARP-S-75-1000 spacers.
 12. Mounting the supercharger is simple, with seven 3⁄8-inch stainless steel socket head cap screws to hold it in place.
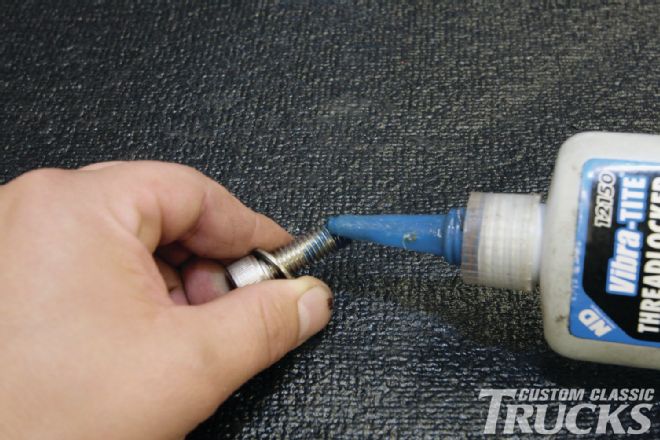 13. Blue threadlocker was used on the seven socket head cap screws to ensure the blower doesn’t wiggle free of the bracket.
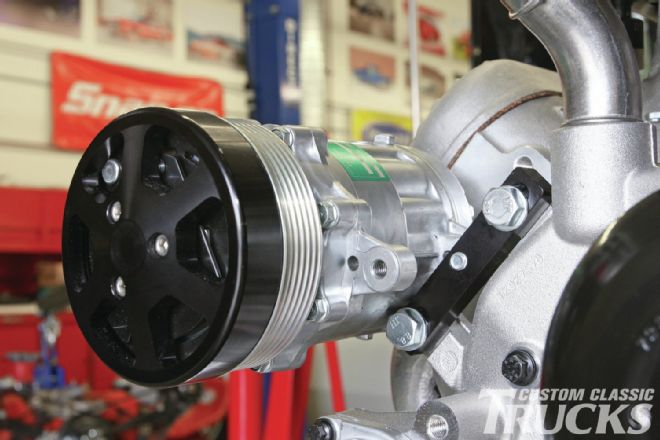
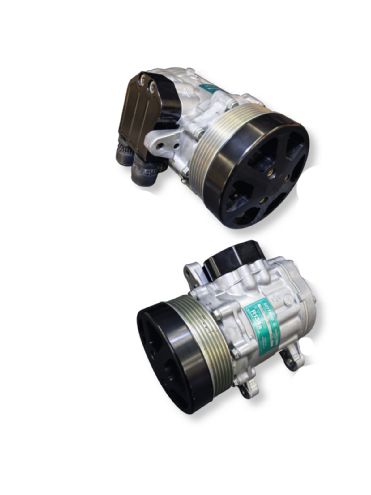 14. A Sanden SD7B10 7176 A/C compressor is another hold over from the S-Drive install that we’ll be using on our TorqStorm setup.
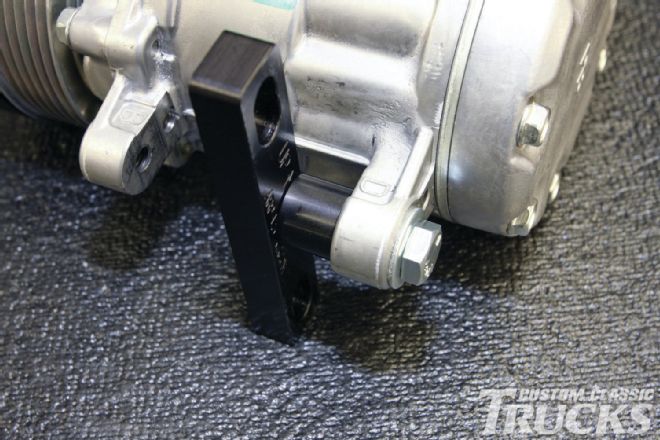 15. Before the A/C compressor can be bolted in place, bracket #ARP-LS-AIRCON needs to be fastened to the rear mounting ear along with the corresponding spacer.
 16. This assembly is then attached to the GM water pump using the provided 10mm bolts.
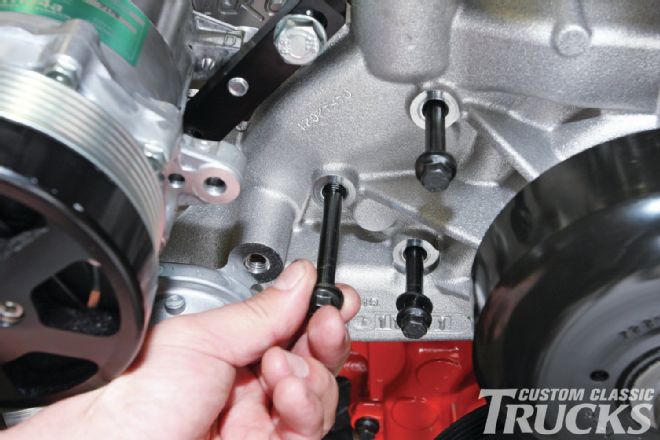 17. Next, the three stock 8mm water pump bolts are removed from the passenger side…
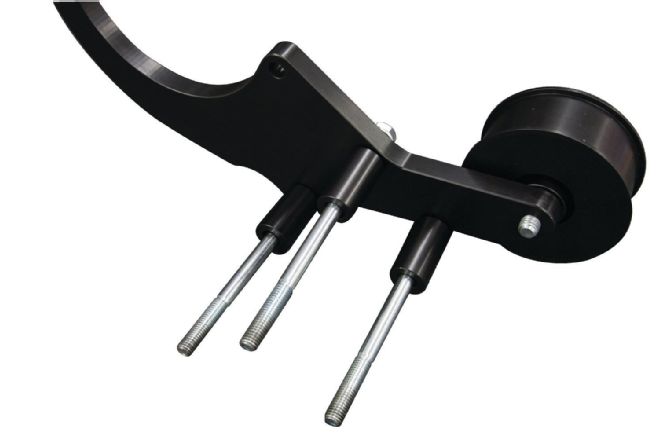 18. …and replaced with the ARP-GM-10024 bracket using three 8x130mm bolts and ARP-1370 spacers.
 19. The A/C compressor can now be swung into place and attached to the A/C bracket using two 8mm bolts.
 20. Note that the A/C bracket also incorporates an idler pulley.
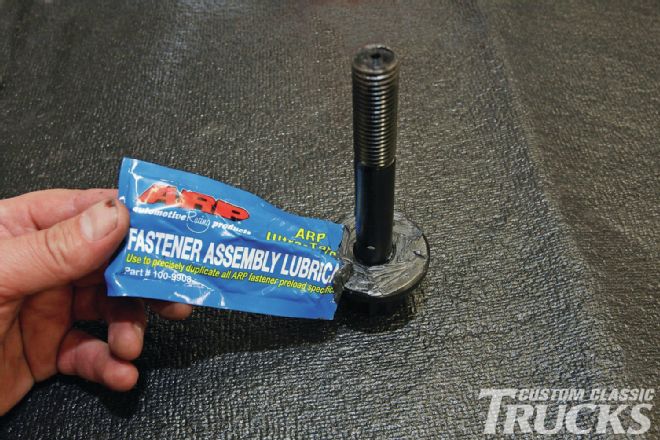 21. The TorqStorm kit uses the stock truck crank pulley/damper in addition to a separate eight-rib pulley (GM68015) for the blower belt. Therefore, it’s necessary to swap out the stock LS crank bolt with the provided 8mm fastener as well as the CRK-LS1 washer when installing the new blower pulley. ARP fastener assembly lube applied to the base of the washer ensures an accurate torque reading when the bolt is tightened down the final time.
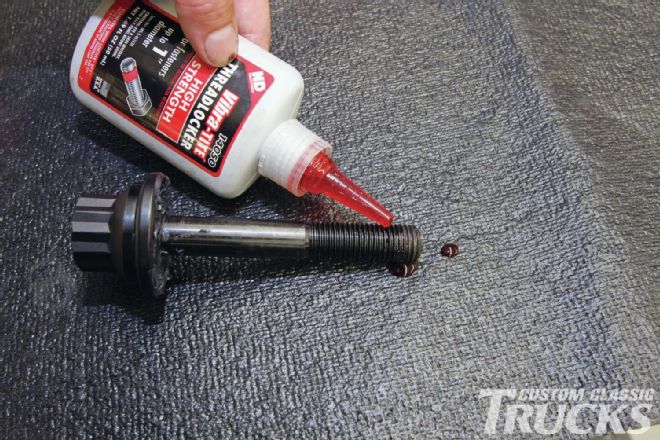 22. It’s also recommended to hit the threads with red Loctite to ensure the bolt doesn’t break free of the crank. Follow the stock GM procedure to tighten the original pulley if it’s been removed, then install the new TorqStorm blower pulley followed by the fastener. Torque the new bolt to 37 pounds and then rotate another 140 degrees for final installation.
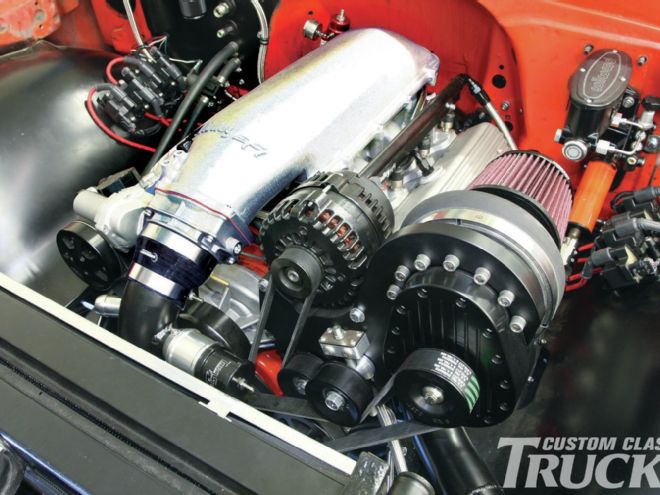
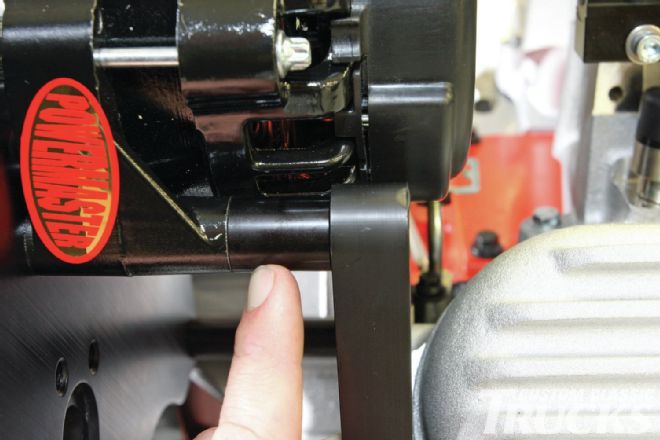
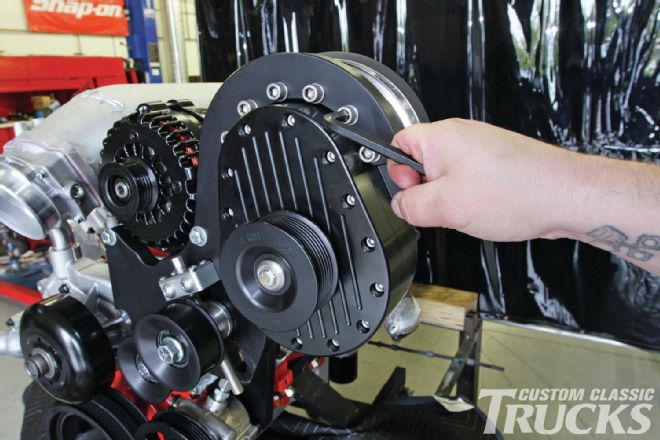
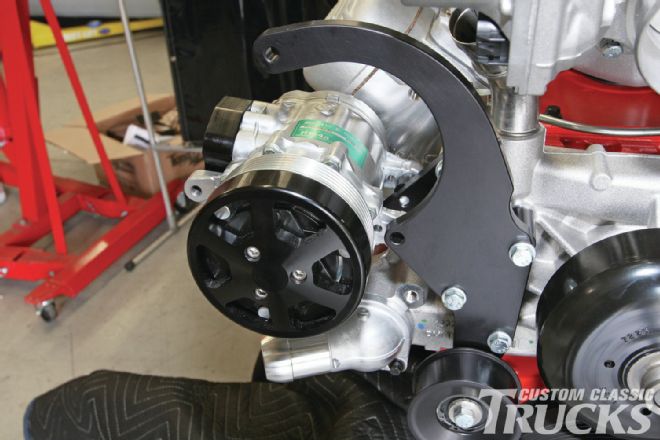
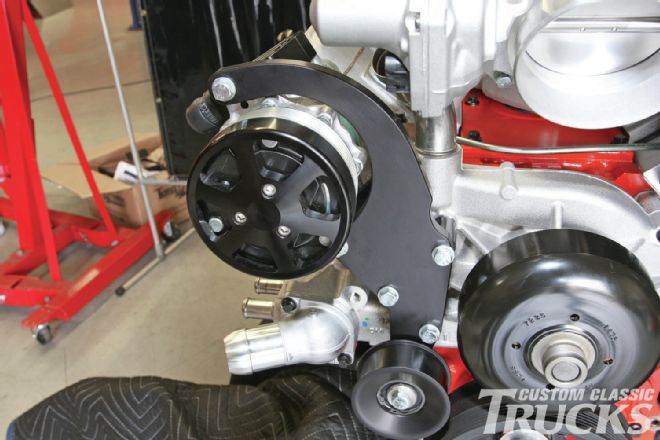
 23. With everything in place, we were able to install both serpentine belts that TorqStorm included in their kit to make sure it was truly a done deal. We’ll have to pull the A/C compressor and the alternator off to bolt on the engine hoist leveler when we drop the motor in the truck, which is why the main belt in this shot is missing. The blower belt is tensioned using an ingenious design that incorporates a 19mm bolt attached to their custom tensioner.