Armed with the information from last month's Blower Basics story, it's time to tear into our LS engine, prepping it to accept the Torq Storm centrifugal supercharger that we showed you last month. But before we can start bolting on the front drive components, bracketry, and blower, there are a handful of things that need to be addressed first.
One of those is the installation of a set of knock sensors. Originally, we had planned to use a carburetor on our LS and so the knock sensors were not necessary. But with the addition of the Holley Dominator ECU to control our engine, it became necessary to install a pair of knock sensors as well as the related wiring pigtail, all available from GM, so that the computer could detect any possible internal problem and react to it before anything went "boom." Since our truck LS327 uses the valley pan-mounted knock sensors, it's necessary to sort out the parts needed and install them before the intake goes on.
Another item that came up once we got started was related to the steam vent piping. On the LS327, the steam vent piping was a one-piece affair that connected the front and rear water jacket on each head. Unfortunately, the Holley Mid-Rise intake sits closer to the valley pan than the piping allowed, so it's necessary to replace it with two plugs at the rear and a simple crossover at the front which will tie into the water inlet at the radiator.
Something else that we did in preparation for the blower install, and something that should be done as standard on any high-performance LS engine, is what's known as "pinning" the crank. This is done to prevent the damper/pulley assembly from turning on the surface of the crank snout, which is possible in stock applications due to the fact that most LS crank assemblies do not incorporate a woodruff key or some other sort of deterrence to prevent this from happening. A drill jig is installed on the end of the crank and a hole is drilled through the damper/pulley and crank snout. A roll pin is then installed, effectively preventing the hub from spinning on the crank snout. This is very important in our situation since the blower will be driven off the crank, putting an added strain on the pressed relationship between the crank and pulley.
There are a handful of other items that we'll cover this month before diving into the fun stuff in January; bolting all the components on. To be honest, I was a little overwhelmed by all the little things that we had not thought about before the time came to start putting all the components together. Hopefully, we'll save you guy's some heartache when it comes time to doing yours!
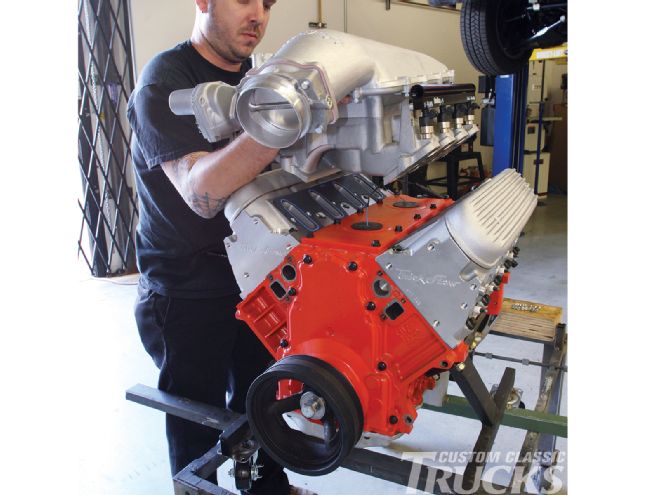
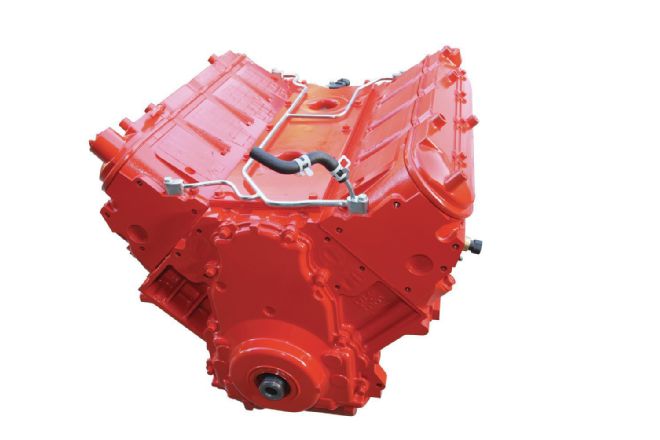
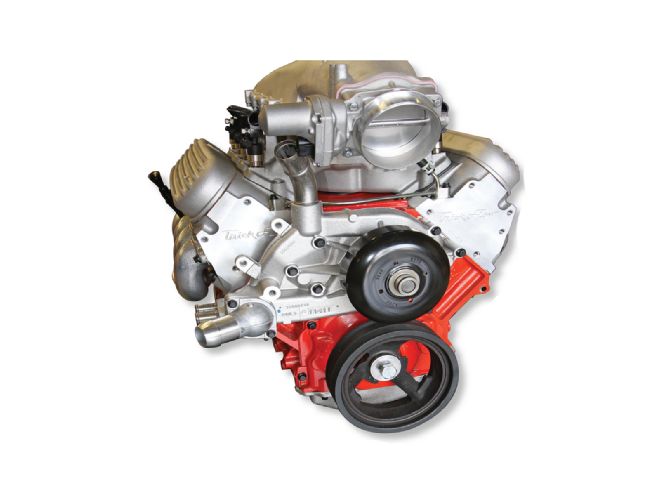
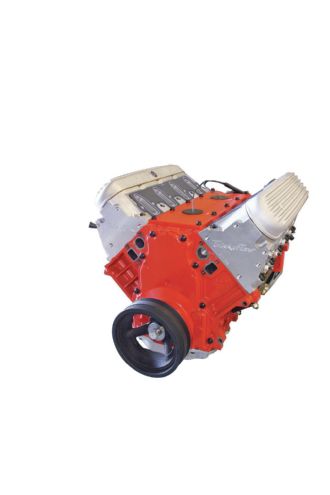 1. Here’s our little LS327 as it sits after we installed the Trick Flow heads and Comp Cams valvetrain components last month. Before we get started on the induction system, there are a few things worth pointing out.
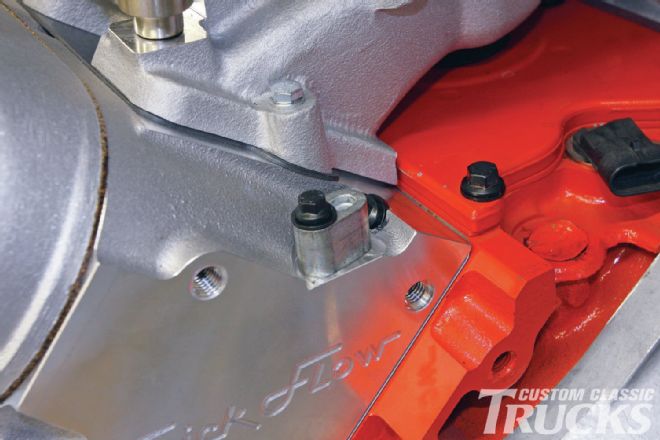
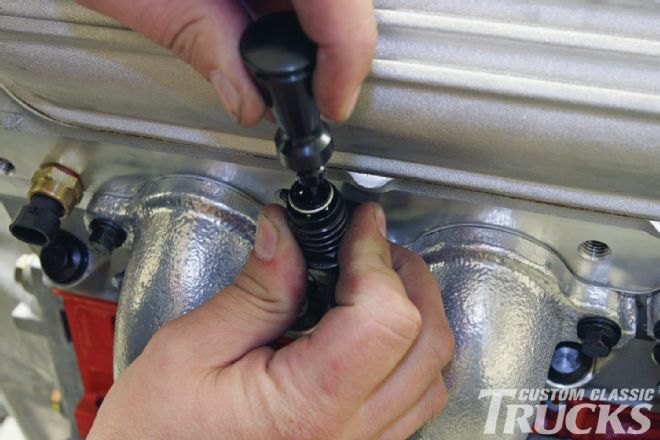
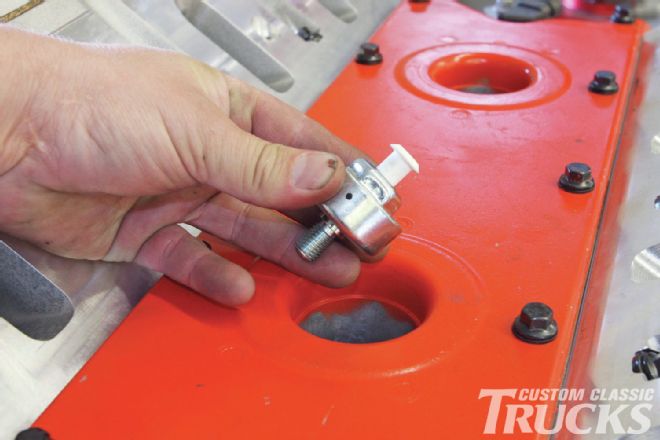 2. First off, since we’re using Holley’s Dominator ECU to control the engine, it’s beneficial to utilize a pair of knock sensors in the valley pan just like GM uses (part number 12589867). These can provide important information to the ECU about the engine’s state that just may save us from grenading it down the road.
 3. Each knock sensor is torqued to 15 lb-ft before the knock sensor wiring harness is attached (part number 12601822). We get all our GM parts through our local dealer, Guaranty Chevy in Santa Ana, California.
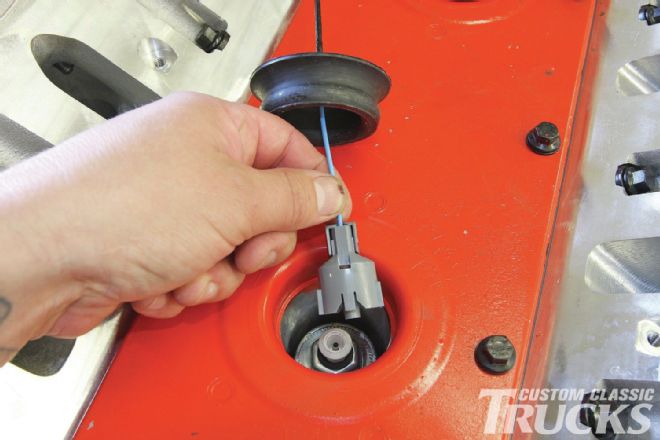
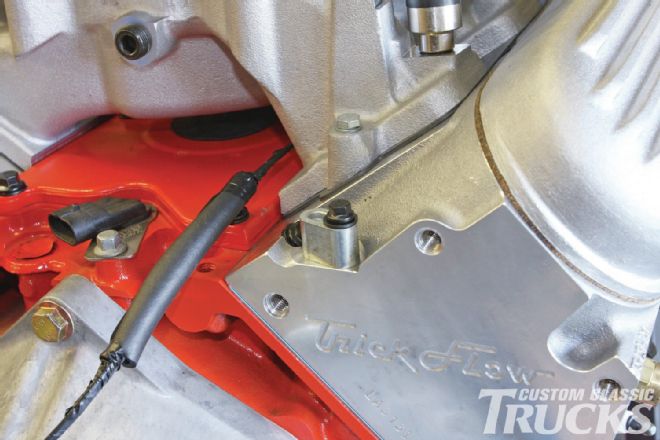
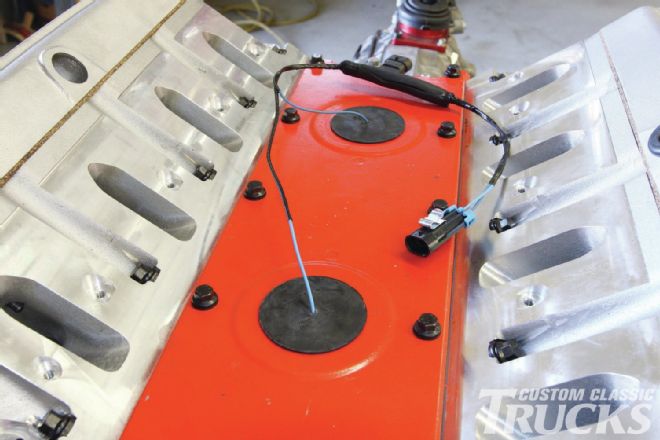 4. Here’s the knock sensors all wired up and ready to be covered by the Holley intake. The plug will exit at the rear of the block and will be plugged into Holley’s harness when it comes time to wire the truck.
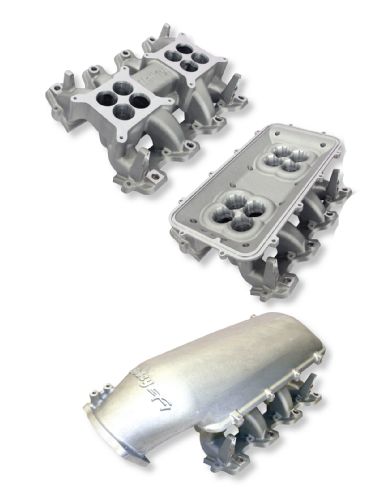 5. Holley just released a mid-rise version of their popular high-rise modular intake manifold for LS engines and it’s perfect for our smaller-displacement supercharged application. The shorter runners make power lower in the rpm range (1,500-6,500), and its shorter height (10.44 inches total) makes it perfect for a street-driven truck.
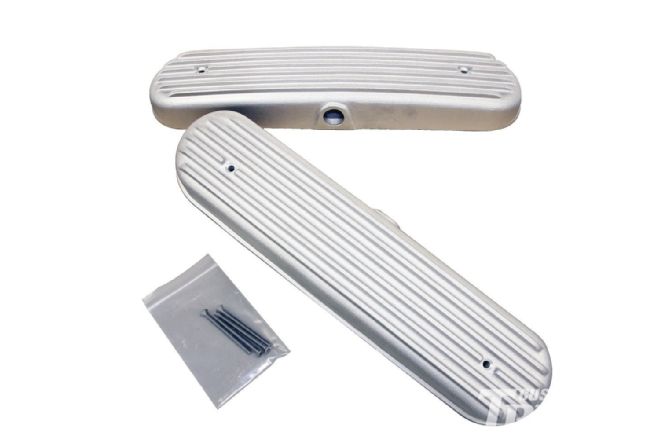 6. Another change we made from stock is the addition of these finned valve covers available from Speedway Motors (part number 5721012). They feature a baffled breather hole at the top that we’ll be running to an air/oil catch can to keep the pressure down inside the engine. We’ll cover that setup in an upcoming issue.
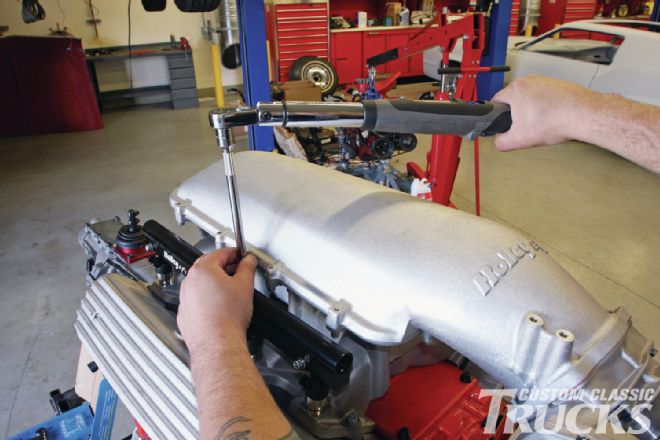 7. With the intake in place, complete with Holley’s fuel rails and injectors, the fasteners are tightened to 89 inch-pounds following the factory sequence.
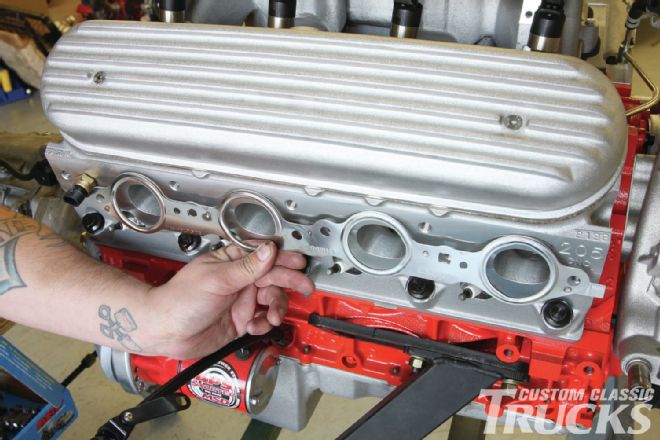
 8. Another item that came up that had us ringing the guys at Guaranty Chevy are the steam vent pipes at either end of the block. On our stock LS327 engine, the front and rear steam vent pipes are connected as one unit. Unfortunately, the new Holley intake fouls on the lateral pipes so we’ll have to replace the whole assembly.
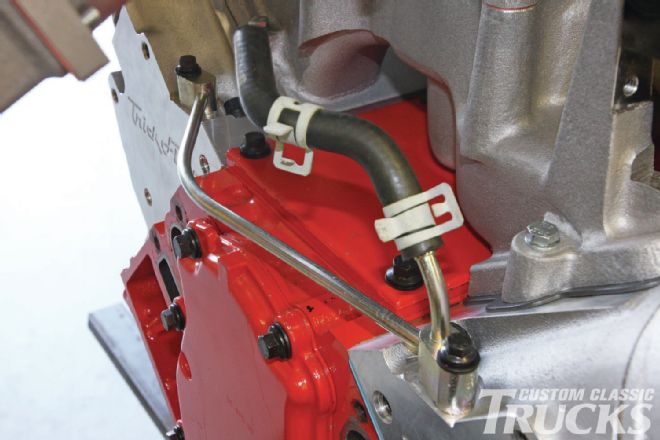 9. Fortunately, GM makes a number of different steam vent combinations depending on the application. For the front, we’re using part number 12604711 to allow the coolant and steam to still go from one head to the other…
 10. …while in the rear, we’re using a pair of air bleed plugs (part number 12602540).
 11. These will make it easier to bleed all the air out of the cooling system when the time comes.
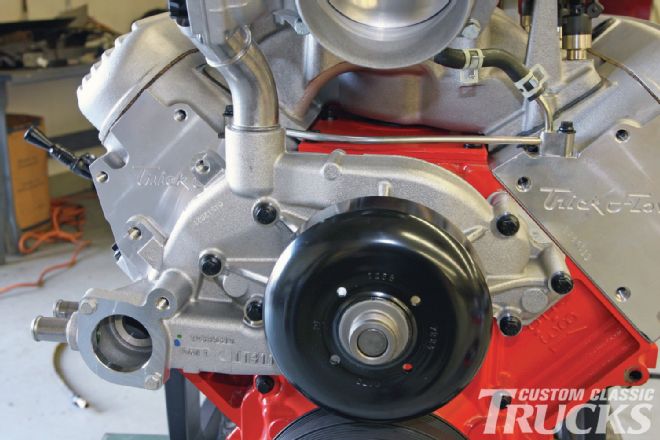 12. TorqStorm’s LS truck supercharger kit is designed to use a stock GM truck water pump (part number 19256261), another item sourced from our local GM dealer, Guaranty Chevy, and attached using hardware from ARP.
 13. Though it may be argued that our engine’s full potential won’t be realized without an equal-length, full tube header, I didn’t want to deal with the added noise and ground clearance problems that some longer headers can cause.
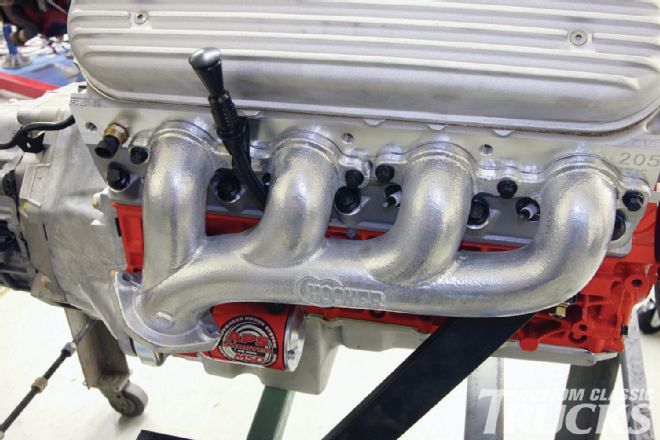
 14. Instead, I opted to use Hooker’s new cast-iron LS exhaust manifolds in silver ceramic finish.
 15. Designed to use a stock GM exhaust gasket (part number 12617944) to provide a leak-free seal, Hooker’s cast-iron exhaust manifolds yield less underhood noise than a traditional header and are a great combo when it comes to a truck that’s going to get driven often.
 16. The Hooker manifolds also allowed us to use a Lokar (part number 1220217) Anchor-Tight locking flexible dipstick. I like these dipsticks as they eliminate the expulsion of the dipstick handle under pressure and prevent any blow-by from exiting the dipstick tube thanks to the locking mechanism and O-ring seal at the handle, an important factor in a supercharged engine that can build up crankcase pressure.
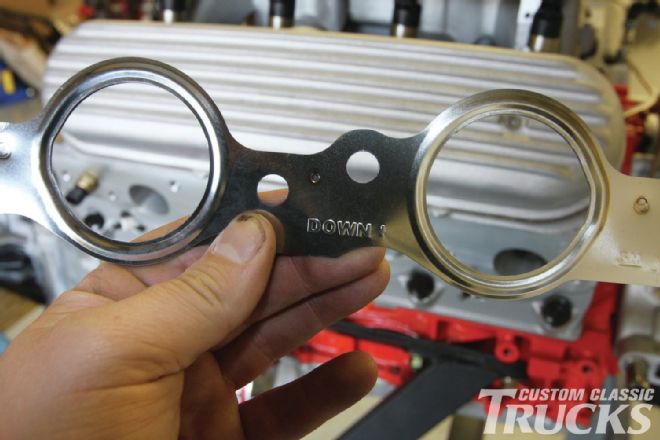
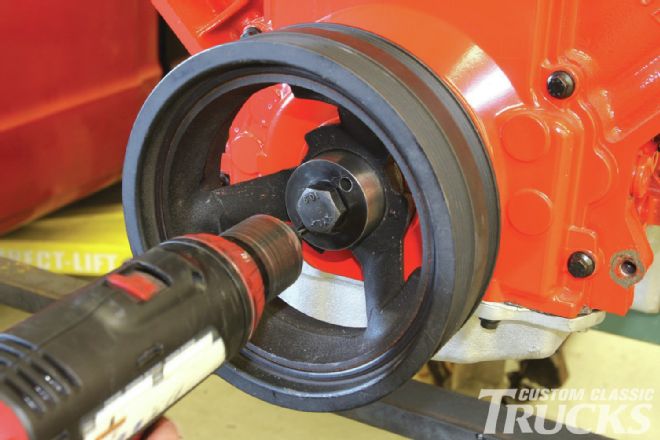 17. Since the stock LS engines use a press-on crank hub without a keyway, it’s a good idea to “pin” the crank, especially on a belt-driven supercharger application, to keep the pulley from spinning on the crank. First, a hole is drilled through the crank flange and hub/damper/pulley assembly using a jig.
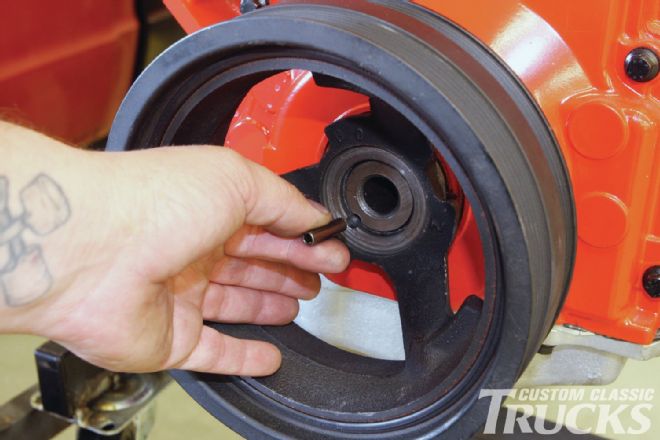 18. Next, a slightly oversized roll pin is inserted in the hole.
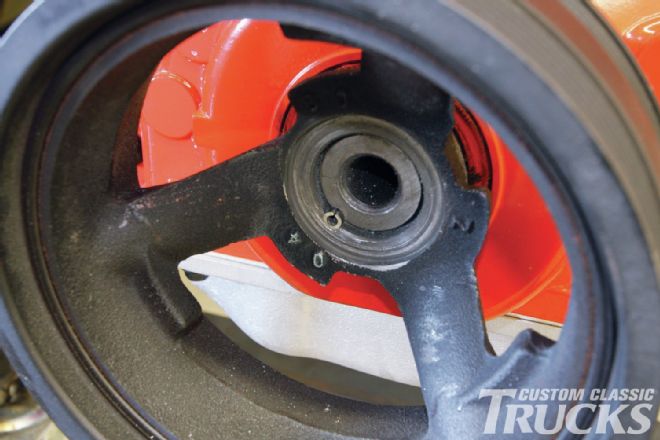 19. By effectively "pinning" the hub and crank assembly, you prevent them from rotating separately.
 20. With our engine prepped and all the proper stock and aftermarket components installed, we’re ready to start bolting on the front drive assembly when we return next month.