Like General Motors' Cadillac and Oldsmobile divisions, after World War II Pontiac began development of an overhead valve V-8. However, the conservative leadership of the company elected to stick with the Flathead inline-eight that had been around since 1933. A change of philosophy came with new leadership; Robert Critchfield became general manager of Pontiac in 1952 and under his guidance, development of a new engine began again.
Introduced in 1955, Pontiac's Strato Streak OHV V-8 had a displacement of 287 ci and was slightly bigger and heavier than the 265 Chevy introduced the same year. Although it may come as a surprise to Stovebolt fans, a Pontiac engineer by the name of Clayton Leach developed the stamped-steel, stud-mounted rocker arm system, reportedly while working in his home's basement. Interestingly, Ed Cole, Chevy's leader, asked for, and was given, permission to use Pontiac's engineering.
Over the years Pontiac produced a huge array of engines, with displacements of 265, 287, 301, 317, 326, 347, 350, 370, 389, 400, 421, 428, and 455. And while the division had a reputation for building engines that were powerful and reliable, government emissions standards and massive testing costs for individual powerplant combinations dictated that General Motors embrace a corporate-wide engine philosophy—so Pontiac's last V-8 was produced in 1981.
Before engine production ceased Pontiac had established a remarkable reputation for performance due to engines like the two four-barrel-equipped 317 introduced in 1956; the 347 in 1957 with three-two barrels that was available in NASCAR-certified 290 and 317hp trim and the Bonneville models with Rochester fuel injection similar to the system used by Chevrolet (Pontiac didn't publish horsepower numbers for this engine, probably because it made less horsepower than the carbureted version and was more expensive). Displacement was bumped to 370 ci in 1958, a single four engine making 315 hp along with two Tri-power–equipped versions—300 hp and the NASCAR certified 315 were offered. Fuel-injection engines were still available and were rated at 310 hp.
There were many other noteworthy Pontiac powerplants that continued the performance theme, such as the Ram Airs, H.O.s, and Super Duties. But while all these Pontiac engines were formidable, the workhorse of the group was the 389 introduced in 1959. Produced in a host of configurations, arguably the best of the bunch was found in GTOs produced in 1965 and 1966. Cranking out enough torque to propel a 3,600-pound car to quarter-mile e.t.'s in the 14-second range, they were docile, reliable, and easy to live with—all things considered they have everything it takes to be a great vintage engine for a street rod.
Our fellow gearhead, Paul Willis, is a former GTO owner, has a blown Pontiac-powered 1932 sedan, and when the opportunity came to buy a 1932 Ford pickup powered by a 389 he couldn't pass it up. Unfortunately the engine could be charitably described as tired, so he turned to John Beck at Vintage Hot Rod & Design/Pro Machine to make it right. If those names sound familiar, it's because John, Dave Davidson, and the VHRD crew are longtime Bonneville participants and record holders and are behind the first roadster to run over 300 mph on the salt—these guys obviously know how to build horsepower—and they also know how to build an engine tailored to a specific application.
Pontiac Peculiarities
Although Pontiac V-8s have the conventional 90-degree layout, these engines do some unusual features—one was the method of locating the main caps. Rather than registering in a recess machined into the block's bulkheads, the 389 relied on dowel pins to keep the caps positioned correctly. This particular engine was found to have noticeable play between the holes in the caps and the dowels in the block, probably a result of vibration caused by worn main bearings. Left unresolved the result would be a very unstable lower end—bearing, crank, and block damage are distinct possibilities in this situation. The solution was to trim the mating surface of the main caps, bolt them in place, and then fit oversize dowels followed by line honing the main bearing bores.
Another unique feature is the valvetrain. Prior to 1965, Pontiac's stamped steel rocker arms were lubricated by oil delivered through the heads that lead to passages in the rocker studs—holes in the sides of the studs delivered lubricant to the rocker balls. While our heads were 1965s, they did have the drilled studs and as these are the press-in type we opted to install screw-in studs from COMP Cams. Another reason for changing the studs was adjustability. In stock form the rocker arm nuts bottom out on the shouldered stud and are torqued to remain tight—any change in deck height, head thickness, or valve stem height alters rocker arm geometry and there is no way to correct it. The cure is screw in studs with locknuts, and in some cases custom-length pushrods are also required.
With the changes in rocker arm oiling came new head gaskets. Those for 1964 and earlier had a hole for the passage that supplied oil to the galley in the heads to feed the studs. Later gaskets didn't have that hole. When installing 1965 and later heads on an earlier block one common practice was to use a later head gasket without the oil hole. However, many gasket companies have consolidated part numbers, the result being some applications have been expanded so to broaden the application later head gaskets may have the extra hole. In that case another option is to plug the supply hole in the block by drilling and tapping it for a 1/8-inch pipe plug.
While we're on a similar subject we should point out the 1964 and earlier intake manifolds use six bolts per side, 1965 and newer use five. For those planning to use an original Tri-power intake the manifold and heads must be compatible.
New Tricks for an Old Goat
The goal for Willis' engine was to produce horsepower and torque numbers similar to those of a 383 Chevrolet, however we had to face facts—lots of things have changed since the 389 was in production and it could benefit greatly from some new technology.
One of the updates was a hydraulic roller cam from COMP Cams. There are good reasons for abandoning flat tappets—the reduction in friction and the longevity of components with today's oils with reduced zinc are among them. According to the experts at COMP, rollers allow higher tappet velocity, more lift, and reduced valvetrain friction (often resulting in a 15-plus horsepower gain). COMP tells us that in nearly all circumstances, a roller camshaft design will outperform its flat-tappet counterpart. Basically that's due to a roller cam behaving like a "bigger" or more aggressive flat-tappet cam. Continuing the quest to reduce friction we opted for COMP Cams' full roller rockers.
The roller cam we chose was from COMP's Thumpr series. These sticks are unique in that they have a mean, lumpy idle with no sacrifice in low-end power. COMP says this comes from a combination of an early intake valve opening, long exhaust duration, and a generous amount of intake and exhaust overlap. We just know they have that muscle car sound and pull from idle on up the rpm scale.
Another area where most vintage engines can stand some improvement is ignition, but one of the goals was to keep the engine's vintage look. To satisfy both requirements the points in the original distributor were swapped for a PerTronix Ignitor. This stealth approach to electronic ignitions is ultra reliable, doubles the voltage to the plugs and makes dwell adjustments a thing of the past. To complete the new/old theme a black 40,000V Flame-Thrower coil and PerTronix "stock-look" spark plug wires were added. The wires use the same core as their 8mm wire but have a 7mm flat black silicone jacket that provides state-of-the-art performance with an OEM appearance. Topping off the engine is a Quick Fuel Technology carburetor on the aftermarket dual-plane manifold that was on the engine.
Other than the cam and valvetrain components, the internal parts necessary to refresh this engine came from Summit. One phone call got everything we needed so we headed to VHRD/Pro machine and shortly after our Poncho was on the dyno.
There's no arguing that modern engines with all their technology make huge horsepower and torque numbers easy to come by, but building any vintage engine isn't about what is, it's about what was. On the dyno the engine posted solid numbers, 352 hp at 5,100 rpm. But, more importantly, by 2,500 rpm it was making 369 lb-ft of torque, a max of 416 at 3,300 rpm, and it averaged 390.43 between 2,500 to 5,500 rpm. The goal was to build an engine with vintage appeal that made lots of torque, was reliable, and didn't cost a bundle. That's what we wanted and that's what we got.
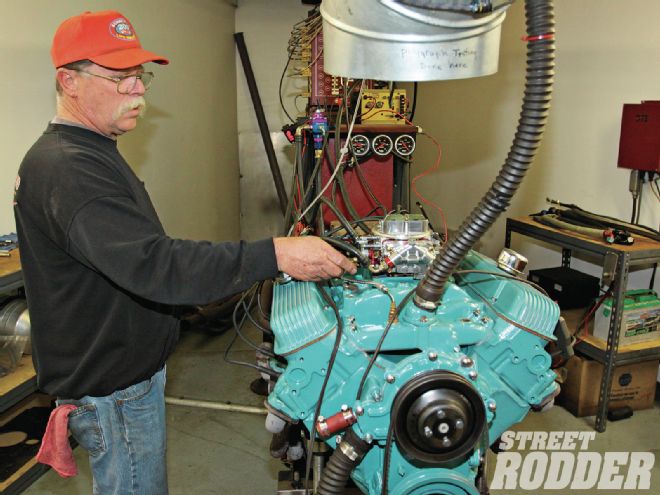 1. John Beck gets ready to fire our freshened 389 for a dyno run. Note the vintage Cal Custom rocker covers.
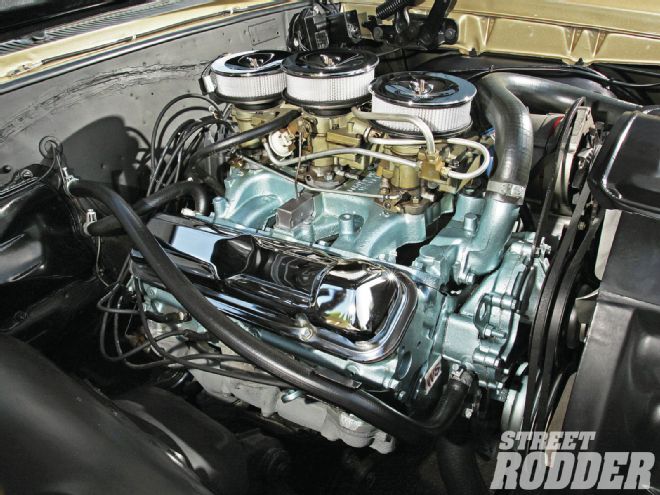
 2. There have been many memorable Pontiac engines, this 389 Tri-power 1966 GTO is certainly among them. (Photo courtesy of Tom DeMauro/High Performance Pontiac.)
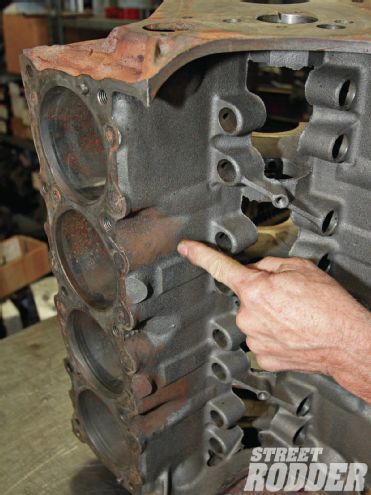 3. With an audible rod knock we knew the engine was tired. Upon closer inspection it was obvious by the rust stains the head gaskets were leaking.
 4. Russ Meeks (no relation to John) thoroughly manufluxed the block to check for cracks.
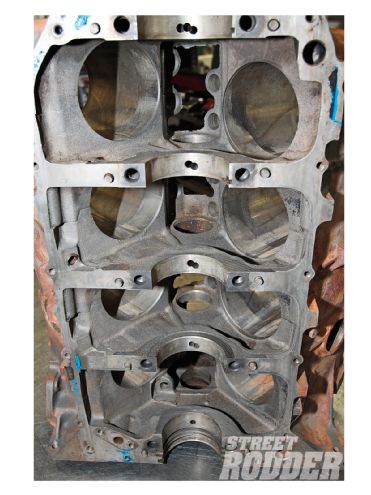 5. Pontiac used dowel pins to locate the main caps, presumably because it was cheaper than registering them into machined recesses in the block. The caps on this block fit loosely.
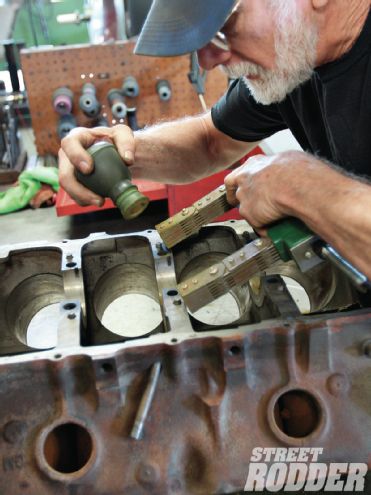
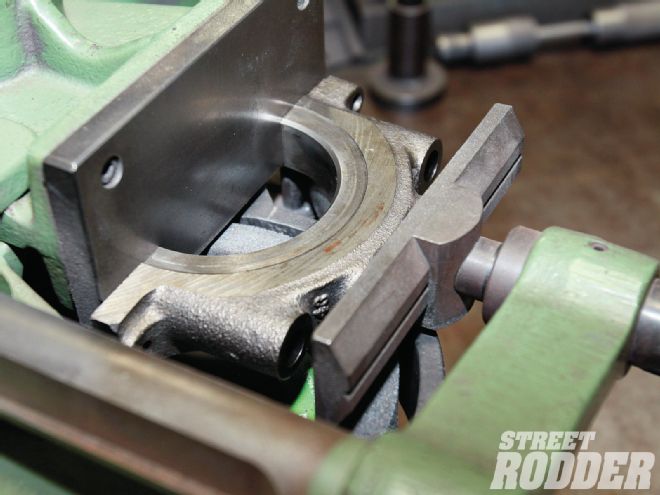 6. Meeks squared all the main bearing caps using the true factory edge as a starting point. The mating surface was then cut.
 7. After bolting the caps in place new, oversize dowel pins were installed then the main bearing bores were line honed for perfect alignment.
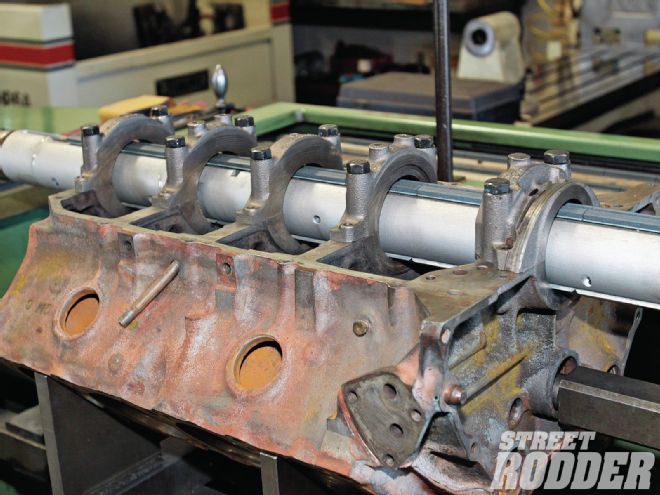
 8. Once the main bearing bores are trued, all measurements are checked off the crankshaft’s centerline.
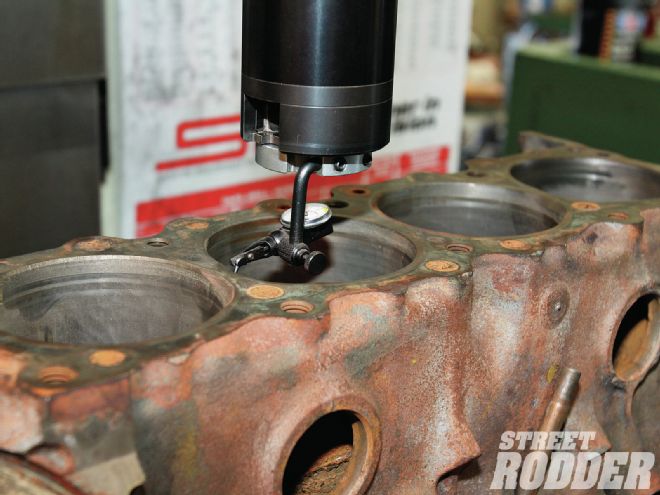
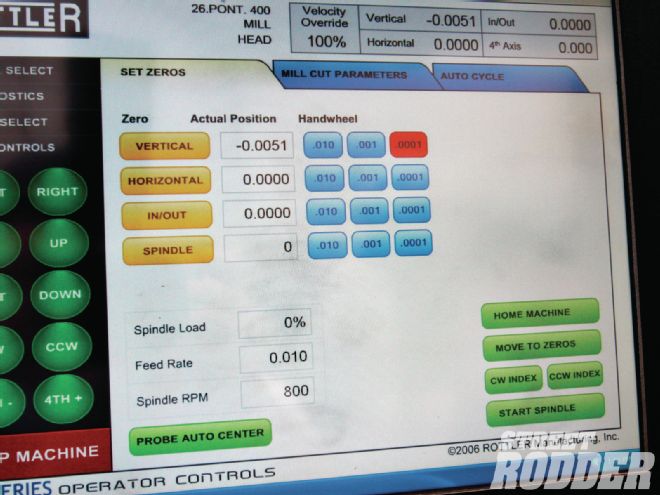 9. A Rottler boring machine was used to measure the decks and they were found not to be equal distance from or parallel to the crank. Cutting the decks would solve both problems.
 10. Along with boring the cylinders, the Rottler is capable of moving the centerline to establish proper spacing and making them 90 degrees to the crankshaft centerline.
11. A suggested improvement is to install aftermarket forged rods. Note the wide rib on the forged rod (left) and the thin parting line from the mold on the cast rod to the right.
10. Along with boring the cylinders, the Rottler is capable of moving the centerline to establish proper spacing and making them 90 degrees to the crankshaft centerline.
11. A suggested improvement is to install aftermarket forged rods. Note the wide rib on the forged rod (left) and the thin parting line from the mold on the cast rod to the right.
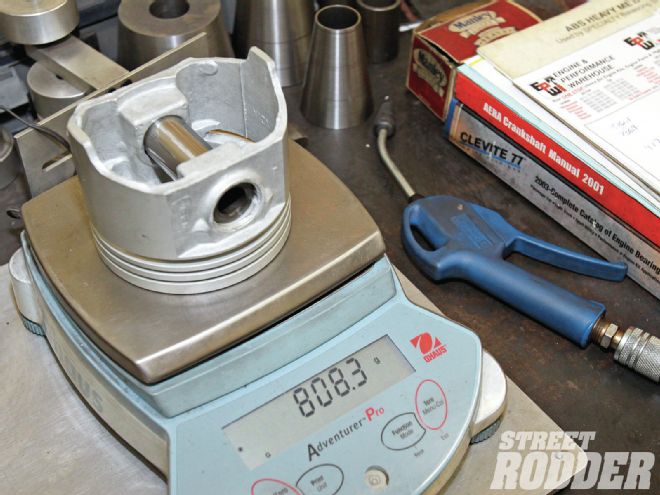 12. Summit supplied the reciprocating components, including the cast pistons. Balancing was done at Pro Machine.
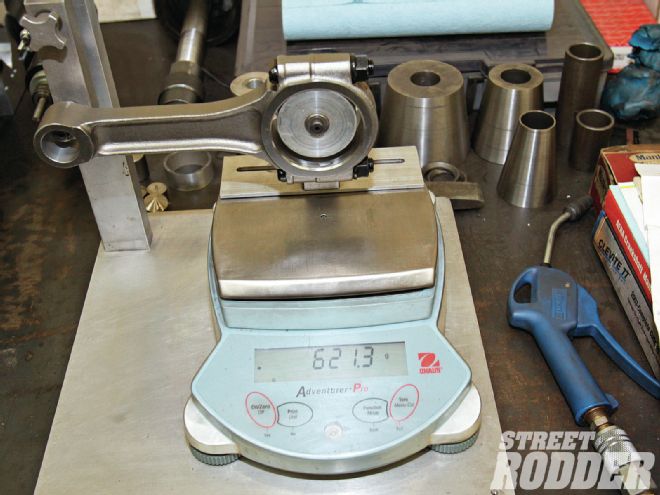 13. The total weight of the rods, as well as that of the big and little ends, was established.
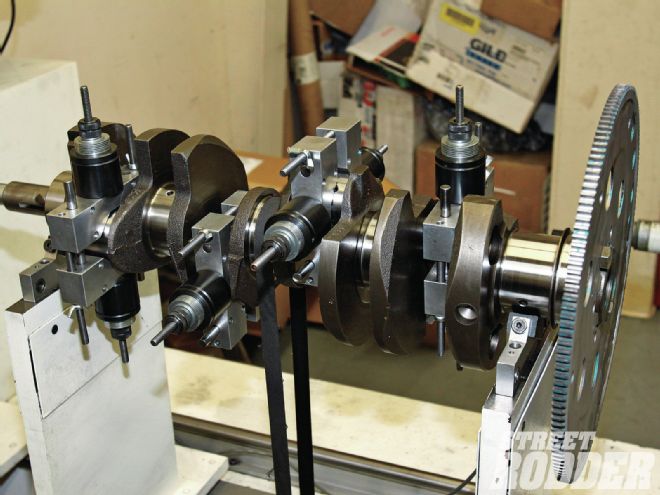 14. After the journals were reground, bob weights were added to represent the weight of all the components attached to the crank before it was balanced. Note the flexplate was also in place.
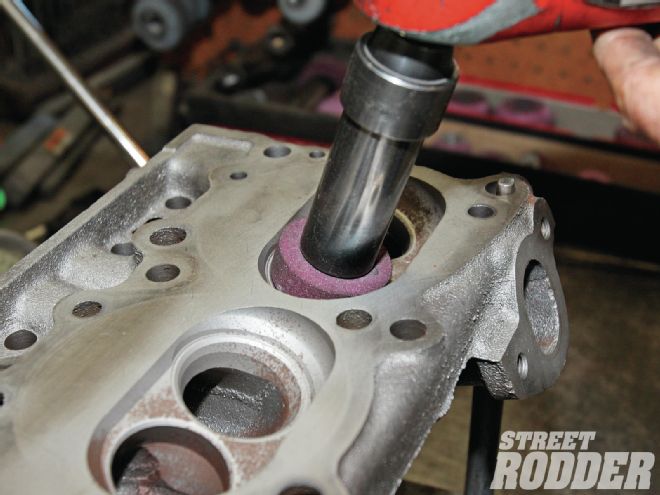
 15. To refurbish the worn valveguides bronze liners were installed and then reamed to the proper size.
 16. Prior to installing all-new, stock-size valves, the seats were ground and the heads were surfaced to make them true.
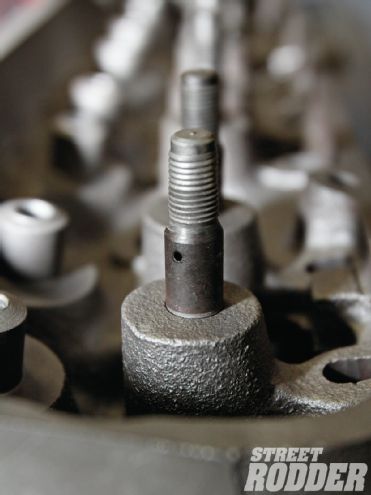 17. This is a stock Pontiac stepped rocker stud with an oil delivery hole.
 18. When using the stock, non-adjustable rocker arms installed valve height is critical. We opted to substitute COMP Cams screw-in studs and lock nuts to provide adjustability.
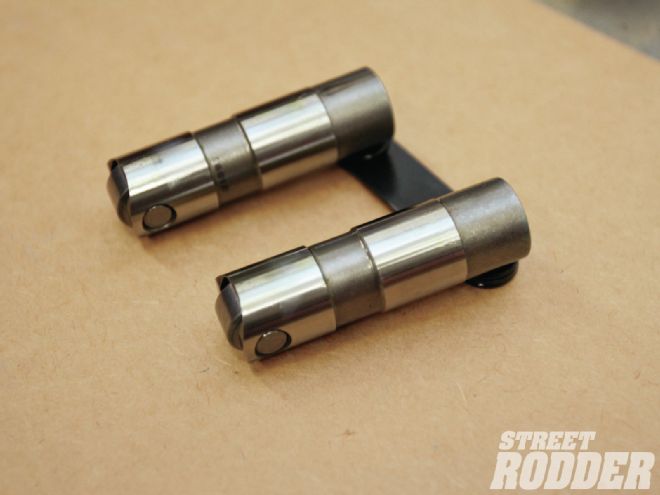 19. A huge improvement in performance and reliability comes with the installation of COMP roller hydraulic lifters. They reduce friction and allow for more aggressive valve timing.
 20. Along with the performance benefits of roller lifters, the hazards of breaking in a flat-tappet cam are eliminated. Nonetheless, we used COMP’s Break-In oil for the added protection it provides a fresh engine.
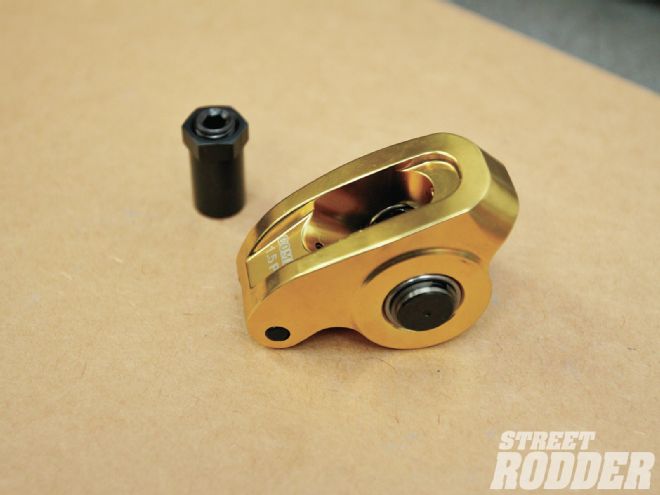 21. To further reduce friction, and provide adjustability, COMP Cams full roller rockers were installed.
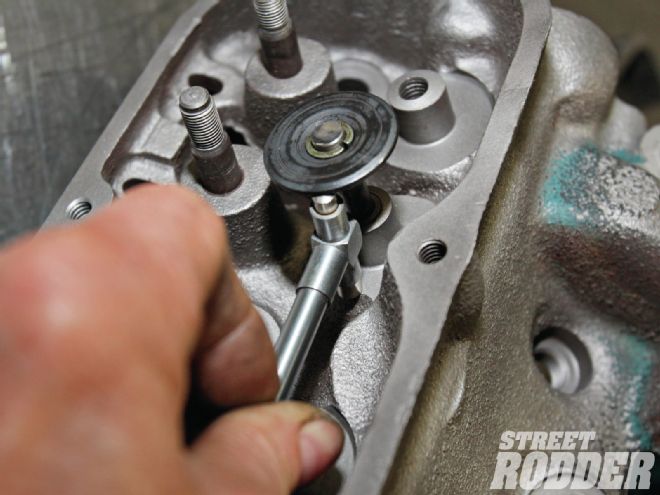
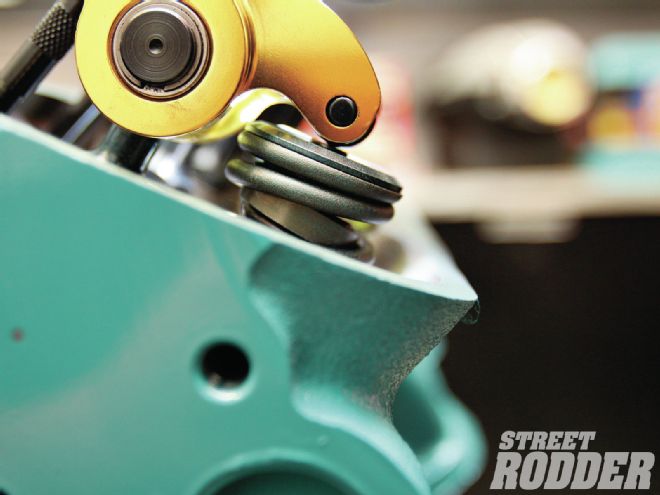 22. When valvetrain changes are made, checking rocker arm geometry it a must. We wanted the roller to move just past both sides of the valve stem’s centerline. That often requires custom-length pushrods.
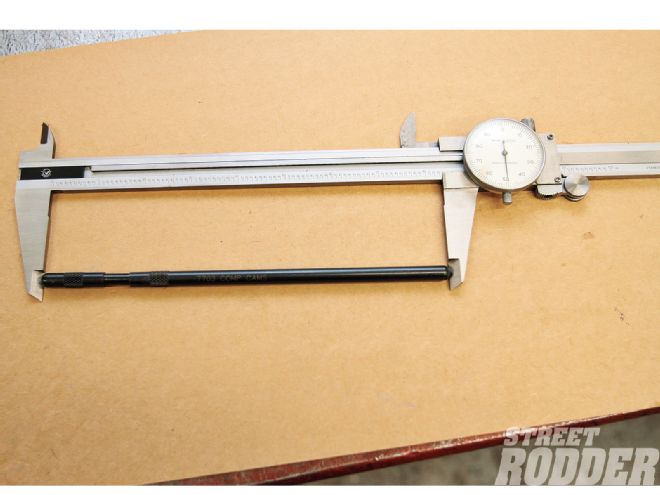
23. To determine the necessary length a COMP Cams adjustable pushrod was used. In this case they were 6.350 inches long.
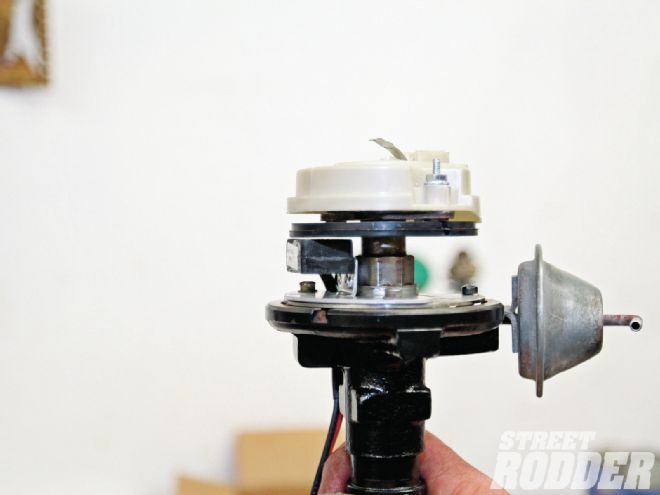
24. For a hotter ignition system, a PerTronix Ignitor replaced the points and condenser. With the cap in place the distributor looks original.
22. When valvetrain changes are made, checking rocker arm geometry it a must. We wanted the roller to move just past both sides of the valve stem’s centerline. That often requires custom-length pushrods.
23. To determine the necessary length a COMP Cams adjustable pushrod was used. In this case they were 6.350 inches long.
24. For a hotter ignition system, a PerTronix Ignitor replaced the points and condenser. With the cap in place the distributor looks original.
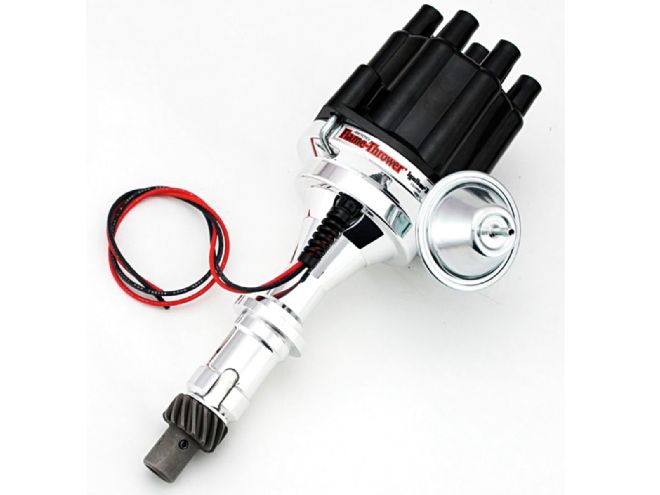 25. Another ignition option from PerTronix is the new Flame-Thrower billet aluminum distributor for Pontiacs.
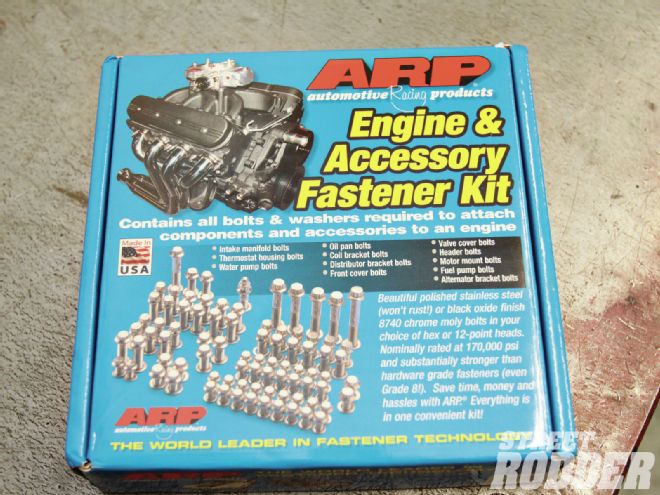 26. To attach all the accessories, including the new Summit oil pan, we used an ARP stainless bolt kit.
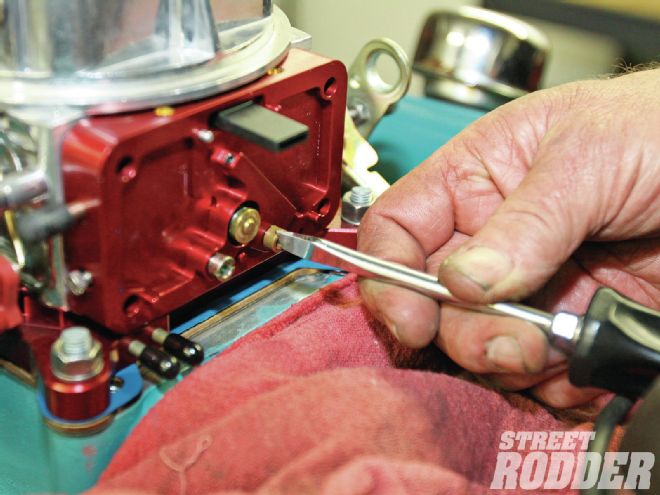 27. John made some jet changes to optimize the air/fuel ratio, something that’s easily done with the Quick Fuel carburetor.
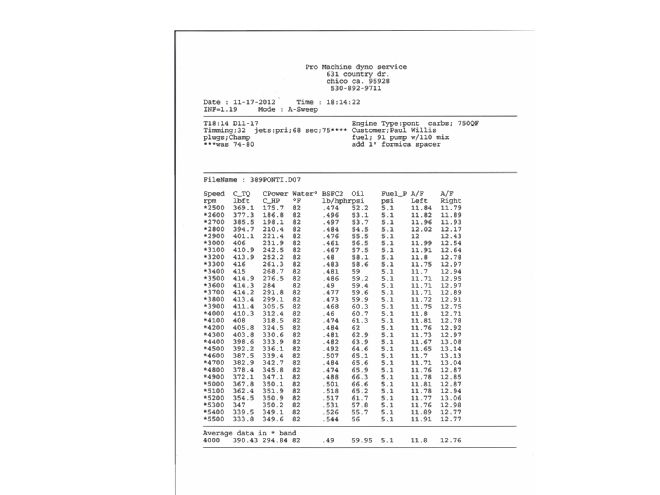 28. They dyno sheet shows the final results—a cool vintage engine with lots of torque.