
For those who own an A-Body Cutlass Supreme 4-4-2, the search for long-tube headers can be daunting. Virtually all major header manufacturer catalogs have a footnote that says their headers will not fit a Cutlass Supreme. Why is this?
Three urban legends may explain this circumstance: When the first headers were developed for the A-Body 4-4-2, for reasons unknown, a footnote was developed saying they would not fit a Cutlass Supreme. All other manufacturers simply followed their lead. Or Joe Mondello, known as Dr. Oldsmobile for his expertise with Olds engines, could not get headers to fit on a Cutlass Supreme due to an undiscovered frame issue. Or the Cutlass Supreme utilizes the convertible frame.
None of these can be verified.
I mentioned this to Don Lindfors, exhaust R&D manager for the PerTronix Exhaust Group (Doug’s Headers, JBA Exhaust, and Patriot Headers), along with the fact that I own a restored 1967 Oldsmobile Cutlass Supreme 4-4-2. His response was quick: “Bring it down to the R&D Center in Irwindale, California, and we’ll see if ours fit. If not, we’ll use your Supreme as the model for the prototype set.”
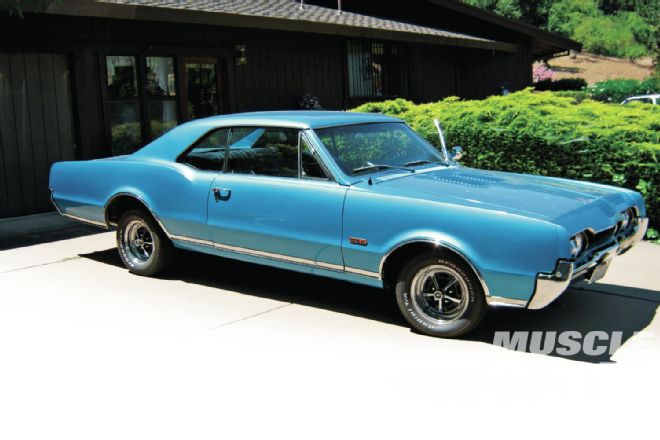
My 4-4-2 is a Cutlass Supreme with a 400ci big-block Olds engine, a TH400 “switch pitch” transmission (column shifted), power drum brakes, and air conditioning. During the restoration, I had the engine equipped with an Engle cam and modified Rochester Quadrajet carb in anticipation of installing headers. The set I acquired would not fit, so the car has stock cast iron exhaust manifolds and pipes leading to Flowmaster 40 mufflers.
Kurt Hilsen, a fabricator in the R&D shop, handled the project under Lindfor’s supervision. After disconnecting the battery, Hilsen removed the stock pipes from the exhaust manifolds to just in front of the mufflers. After the downpipes were removed, several other components had to come off to facilitate removal of the exhaust manifolds, including the starter, oil filter, oil filter adapter, dipstick, and dipstick tube.
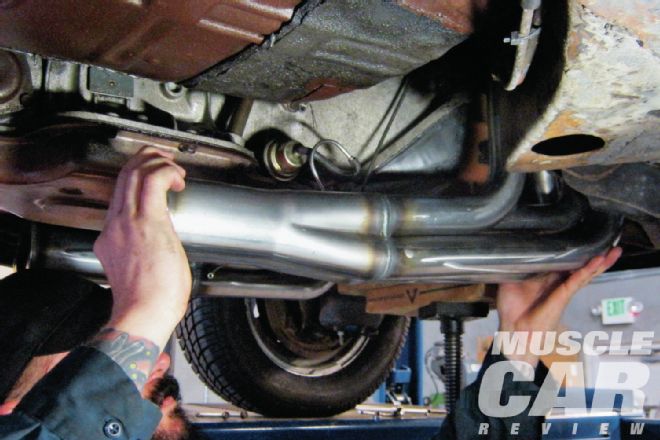
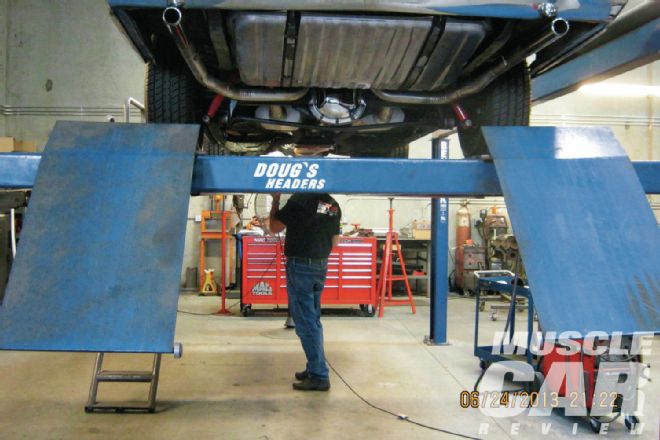 Don Lindfors, the exhaust R&D manager for the exhaust divisions of PerTronix, examines the stock exhaust system on the author’s ’67 Cutlass Supreme 4-4-2. The author’s 4-4-2 is being used to prototype long-tube headers for the Supreme 4-4-2 models.
After a bit of fiddling, the passenger-side exhaust manifold came out. The transmission cooler hard lines made removing this manifold a bit of a task, and we realized the lines would have to come off to install the new headers. The driver-side manifold was much easier to remove.
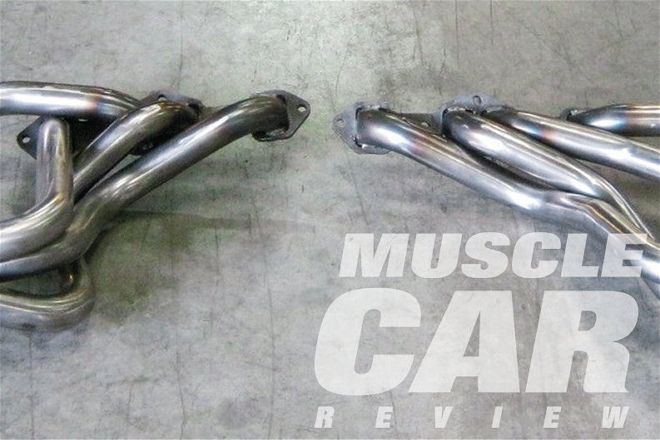 These headers (PN D741-R) make up the long-tube exhaust pipes that Doug’s Headers offers for ’65-’75 Olds 455s. PerTronix fabricator Kurt Hilsen will test-fit them on the Cutlass motor to see if any modifications are needed for that application. The R suffix in the part number indicates they are uncoated, raw steel headers.
A set of uncoated Doug’s Headers (PN D741-R) for the ’65-’75 Oldsmobile 455 was used to begin the development process. The driver-side header was test-fit first. According to the installation instructions provided with the headers, the engine must be raised off the motor mounts for about 1-2 inches of clearance to put the headers in. So the mount bolts to the frame were removed (with the engine supported on a transmission jack pole) and the engine lifted off the frame.
While the engine was raised, we noticed that the rubber in the engine mounts had perished, despite the mounts being just six years old. This caused the engine to sag about an inch in the front. We purchased a new set of mounts from Summit Racing Equipment and installed them on the block.
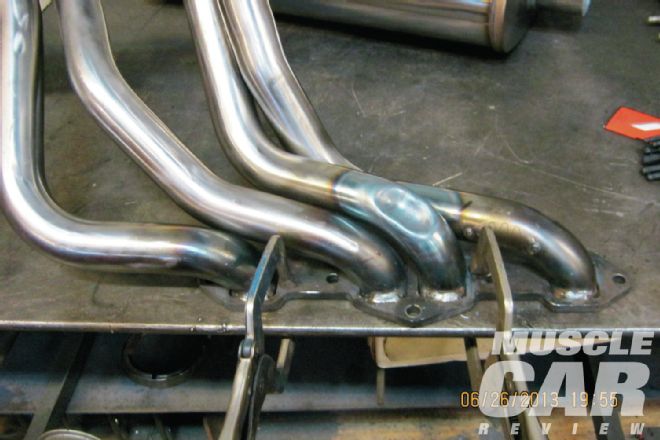 Making room for the steering shaft meant modifying the No. 3 cylinder header tube. Hilsen secured the headers to a welding table, then heated the tube and made this dimple to clear the shaft. Precise measurements of this modification were made to adapt this change to production versions of the headers.
When the driver-side header was slipped into position, we spotted three areas of interference. The No. 7 cylinder downtube hit the column shifter rod (the rod from the column shifter tang to the bell crank arm) and also hit the brake distribution block, which is mounted on the side of the frame. Plus, the No. 3 cylinder downtube made contact with the steering shaft. According to Doug’s Headers research, this interference seems to be related only to ’67 and older cars.
 With the driver-side headers done, Hilsen test-fit the passenger-side header.
The interference between the tube and shifter rod had already been identified in the header installation instructions, and the instructions included a very complete illustration showing how to easily modify the shifter rod to avoid interference and maintain accurate gear selection.
The interference with the brake distribution block was also identified in the installation instructions. Moving the distribution block from the side of the frame to on top of the frame would provide header tube clearance.
The area of interference on the No. 3 tube was carefully marked on the test header. Then the header was secured on a welding table, where the tube was heated and dimpled to provide clearance for the steering shaft. This dimple was precisely measured so that the No. 3 tubes on the production headers will be moved to incorporate this modification.
We then test-fit the passenger-side header. This is when we learned that the transmission oil cooler hard lines had to be removed to facilitate installation. Also, there was a very slight interference with the No. 6 cylinder downtube hitting the corner edge of the upper control arm mounting bracket.
The first issue will be noted in all Doug’s Headers installation instructions. The upper control arm interference, while not a problem on all cars, is already noted in the header’s installation instructions with an illustration of where to grind a small amount for clearance. There is plenty of material there, so no weakness will be induced by this modification.
Once the transmission oil cooler lines were removed and the upper control arm bracket ground an eighth of an inch, the passenger-side header was installed with no issues requiring production modifications.
It was evident to Don Lindfors that the 4-4-2 header was designed for a standard-shift car. This design allowed the driver-side downtubes to clear the equalizer bar and associated clutch linkage. However, on an automatic-transmission car, the interference issues noted earlier concerning the automatic trans shift linkage and transmission cooler lines are dealt with in the header installation instructions.
To demonstrate how the production versions will look and fit, Lindfors brought out a set of D741 (coated) headers, which are the beautifully finished versions of the raw steel headers used in the development. With a “custom dimple” on tube No. 3, they slid right in and bolted up. We elected to bend up new transmission cooler liners rather than re-bend the 46-year-old lines we removed. My 4-4-2 now proudly wears the prototype headers. The sound is awesome, and my gas mileage has actually improved.
As a result of this R&D effort and the associated manufacturing modifications for future production headers, Doug’s Headers will have a single header and part number for all 4-4-2s including Cutlass Supremes—no more exclusion of the Supreme model. This will be a first among the major header manufacturers.
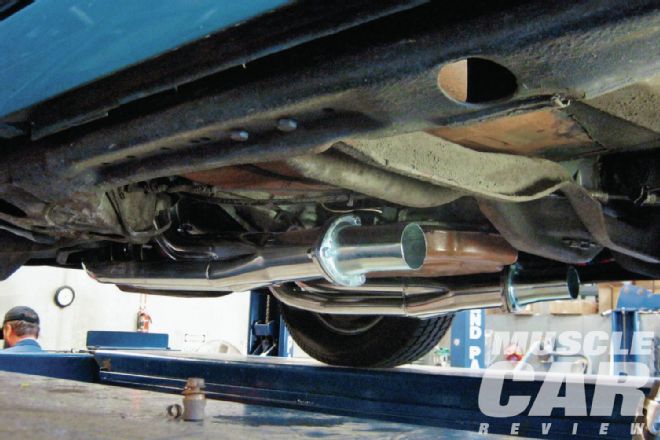 All that is needed to finish the installation is a new set of pipes between the headers and the mufflers.