So, why do today’s motorists cruise down the highway in soulless modern cars instead of the much cooler classics? Well, it can be summed up in one word, comfort. Today’s cars are judged not by their power output or quarter-mile times but by the number of cup holders and other creature comforts. Power windows, Bluetooth audio systems, and heated seats are features many people feel should be standard equipment, not options. Given all of this, it’s easy to see how seductive modern cars can be. But, in many ways, classic Chevys can be imbued with the options we take for granted in their modern cousins.
While we generally balk at many of the luxury features insisted on by “Joe Public,” there’s one that we can certainly get behind, and that’s air conditioning. Anyone who’s crawled along in sweltering summer traffic stuck in a non-air-conditioned ride knows that it can suck the life, and the fun, out of cruising classic iron. In some parts of the country A/C can be considered an option, but in the areas were humidity and heat conspire to rip every drop of moisture from your pores, it falls into the necessity category.
The main issue is many of the early muscle cars didn’t come from the factory with A/C and the systems in those that did are woefully inadequate by today’s standards. Sometimes it’s worse to be teased by an old A/C system that can barely put out a tepid stream of air than to have nothing at all.
That’s where companies like Classic Auto Air come into play. They’ve felt your pain and have crafted kits that make it as painless as possible to get your interior toasty in the winter and cool in the summer. In the case of our 1957 project car, we envisioned many hours of cruising the Southern California highways and wanted to beat the heat. And, given the popularity of this car, Classic Auto Air had a Perfect Fit kit made specifically for our ’57 Bel Air. So with parts in hand we rolled down to our TEN Tech Center to add a little modern comfort to our classic Tri-Five.
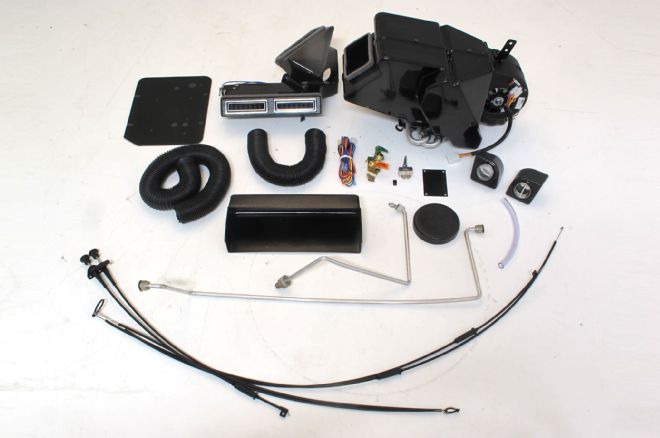
01. The Classic Auto Air Perfect Fit kit for the 1957 Chevy comes with just about everything you need, but it can be tweaked if you already have some parts.
02. In our case we already had a condenser since it came packaged with our AutoRad radiator. Given this, we didn’t need the condenser parts from Classic Auto Air, but they are available.
03. In addition to all the parts shown in the first shot, the kit came with other necessary pieces like the dryer, pressure switch, and the brackets necessary to mount the unit under the dash of our 1957 Bel Air.
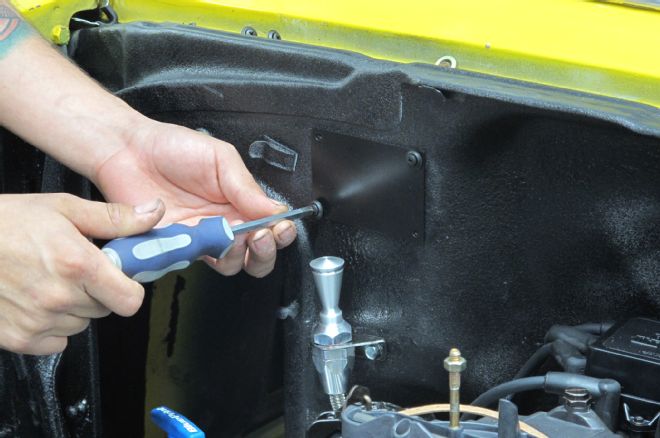
04. On our project car we had long ago removed the factory heater assembly, so we could get right to work installing the parts, starting with this firewall block-off plate for the water valve. If your parts are still present, you’ll need to follow the instructions and remove all the old parts such as the heater core, interior heater box, water valve, heater hoses, and the interior of the glovebox.
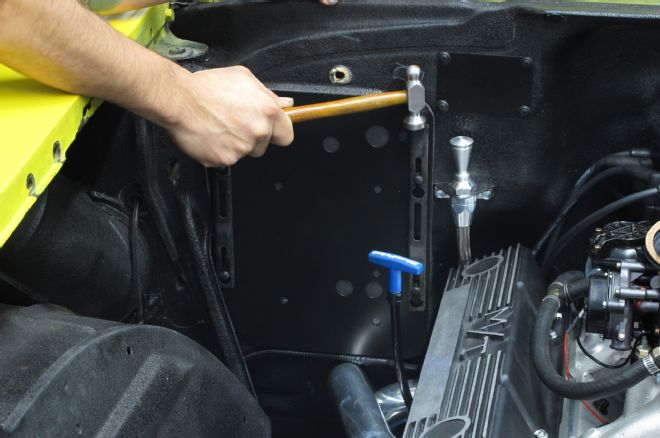
05. Using the original panel retaining brackets, we installed the firewall block-off plate. The plate came with all the holes already punched out, which was a real time saver.
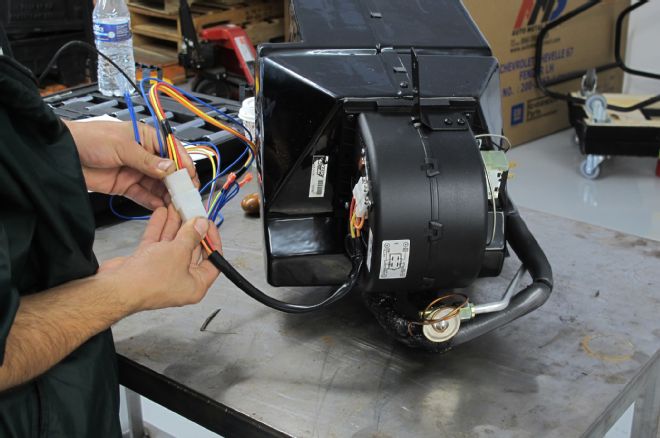
06. The main unit for our 1957 Bel Air is sized for our car with large, separate A/C and heat coils, just like factory system. This is much more efficient than the combined A/C and heat coils found in some aftermarket systems. The wiring is pretty straightforward and covered in detail by the instruction manual.
07. We then prepped the unit to go under the dash by removing all the fittings and getting the wires laid out.
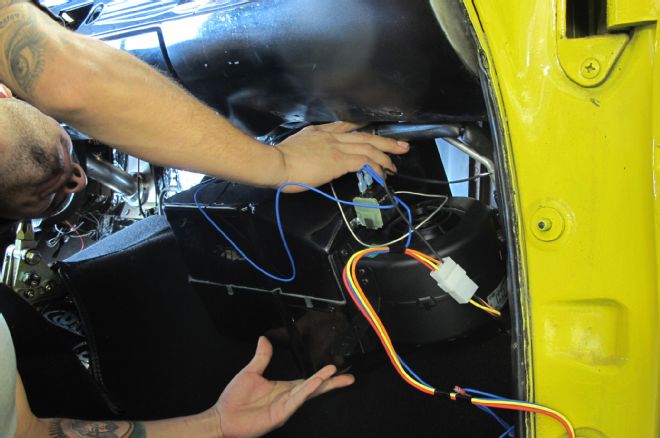
08. Lifting the unit under the dash and securing it using the supplied brackets was the hardest part of the install, but an extra set of hands made it much easier.
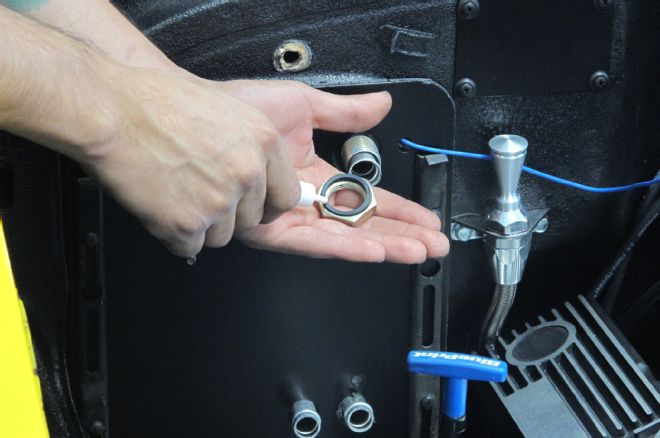
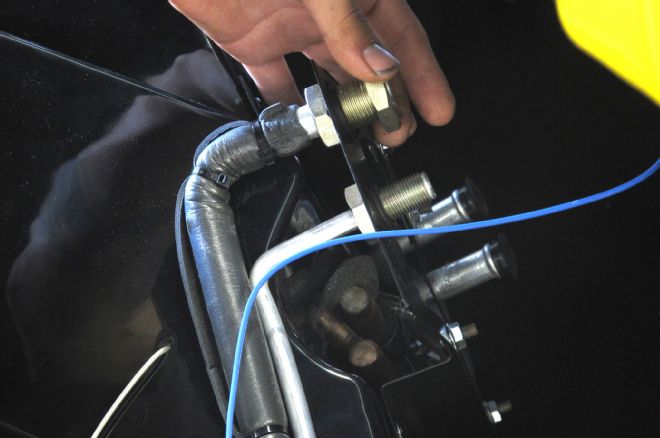
09. Once the various heater and A/C lines were passed through the block-off plate and the main unit was secured under the dash we could install the lock nuts. In addition to further securing the main unit, these also seal the area around the tubes. A drop or two of mineral oil was used on the O-rings.
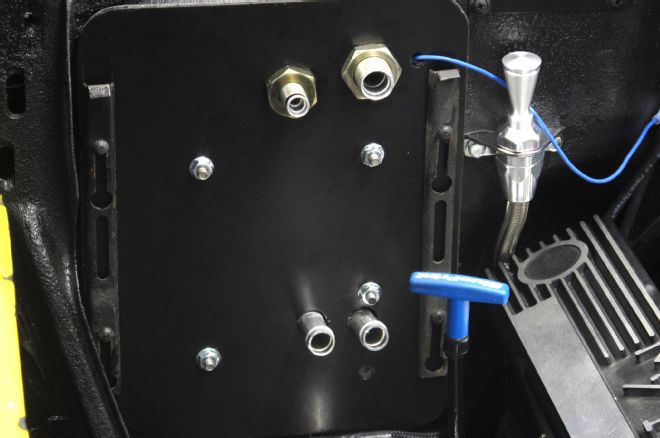
10. The block-off plate was then further secured with four ¼-20 flange nuts. The blue wire comes from the thermostat and was routed through the small hole in the block-off plate as shown.
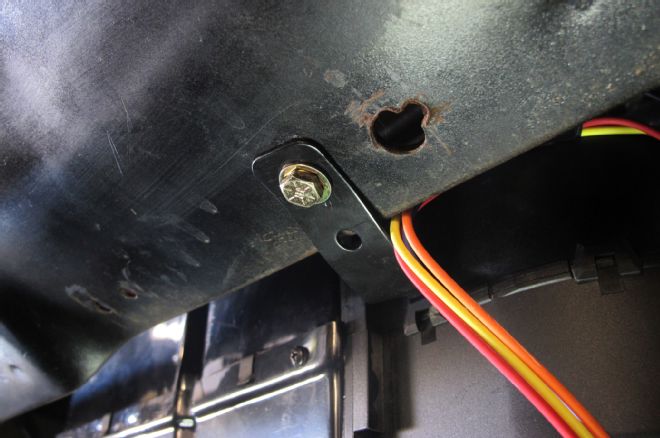
11. Back inside the car, we installed the last of the mounting brackets.
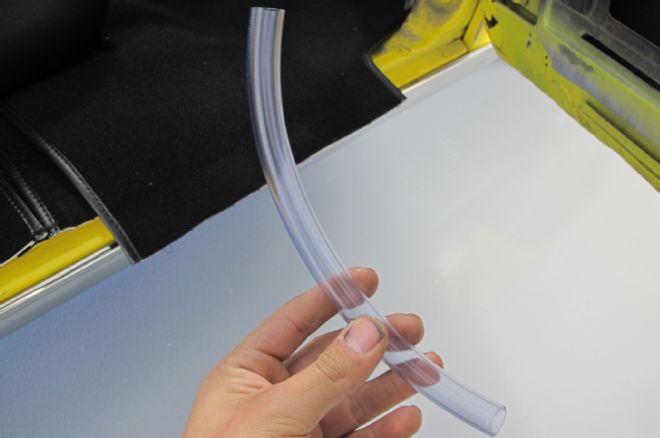
12. We then installed the 9-inch-long clear drain hose. This ran from the drain nipple to an 11/16-inch hole we drilled through the firewall where it met the floor, making sure it was at least a few inches below the level of the drain nipple.
13. Next, we located the cable for the water valve (located on the heater hose) and passed it through the block-off plate just below where the water nipples pass through. This mechanical cable is what will allow us to adjust the air temperature.
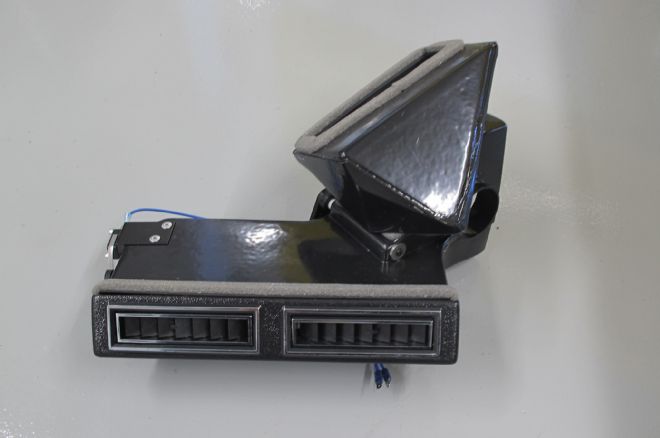
14. We then moved onto the center duct assembly. It mounts under the dash, just below the glovebox opening. This is also when we installed the defrost duct and aligned it with the original defrost diffuser.
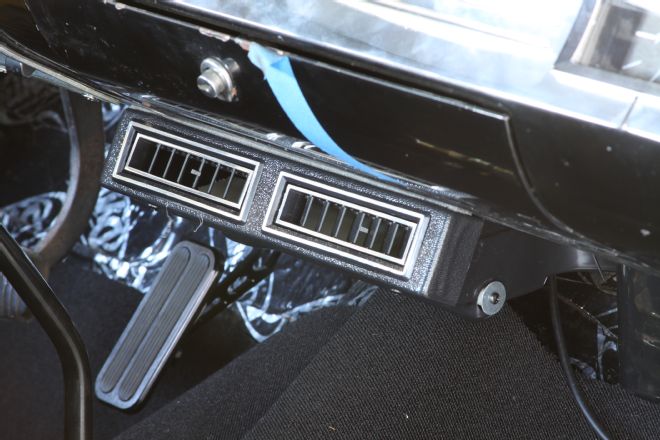
15. With the center duct installed, we connected the blue wires from the microswitch to the corresponding wires on the Perfect Fit wiring loom.
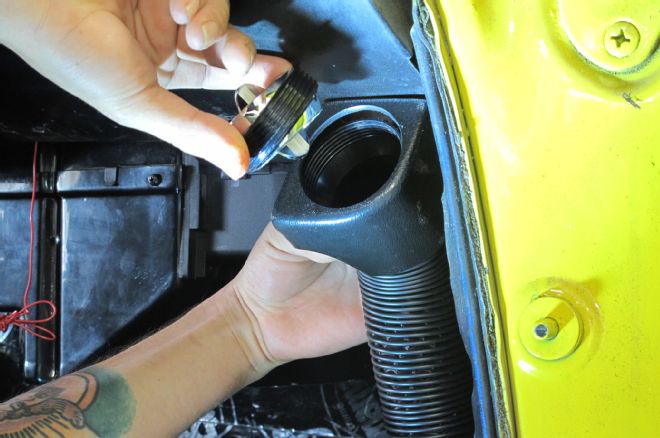
16. The Perfect Fit kit came with two ball louver vents, one for the far left and right ends of the dash. After the housing was attached using the supplied hex head tek screws, we ran about 30 inches of 2-inch-diameter air duct hose and then reinstalled the ball louver.
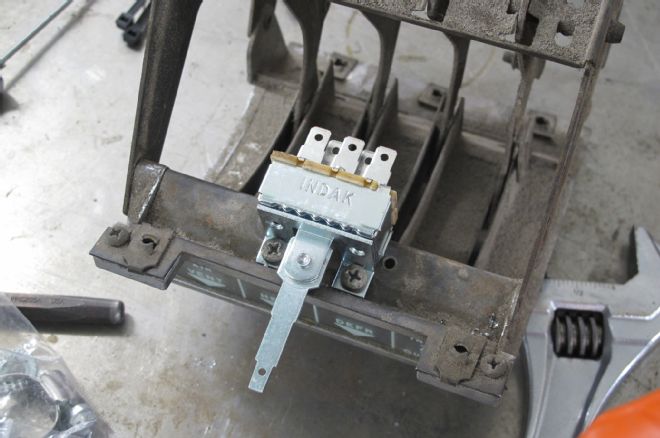
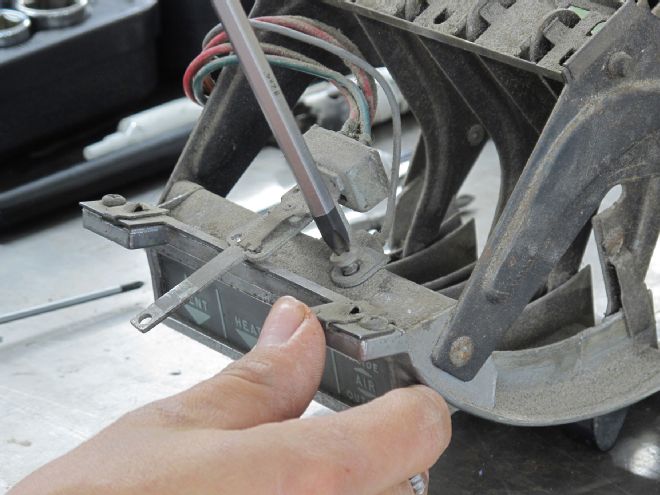
17. For our kit we went with the deluxe heater controls. This modifies the original control head to work with our new system. After removing, and tossing, the original cables and switch we installed the new blower switch as shown using #6 pan head screws.
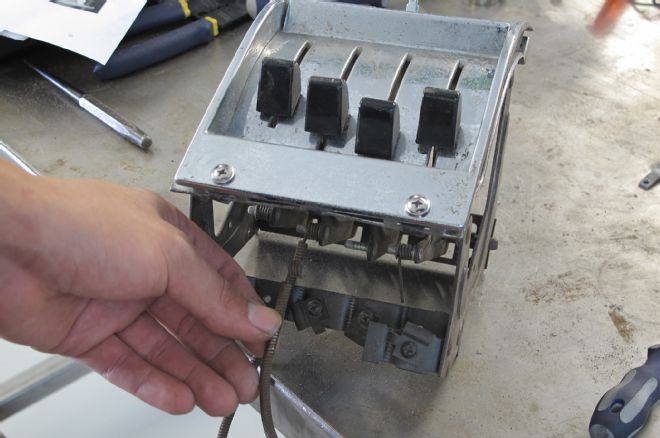
18. The old control cables were replaced with new style cables from the Perfect Fit kit. The key here was making sure the right length cable was used in each location. For example, the shortest of the cables ran to the lever labeled HEAT. Once this was done we were finished under the dash and could install the new, somewhat shallower, glovebox that came in the kit.
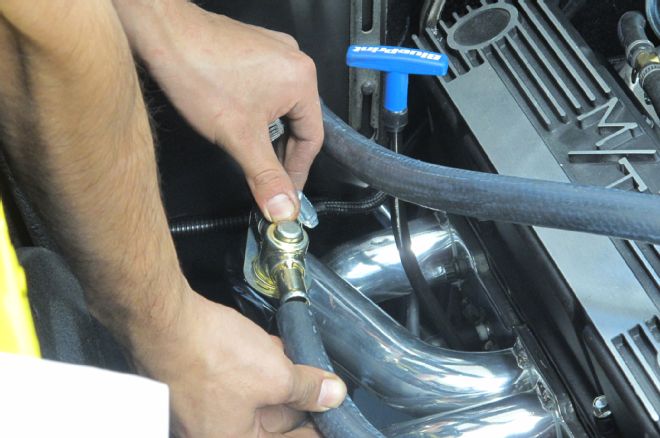
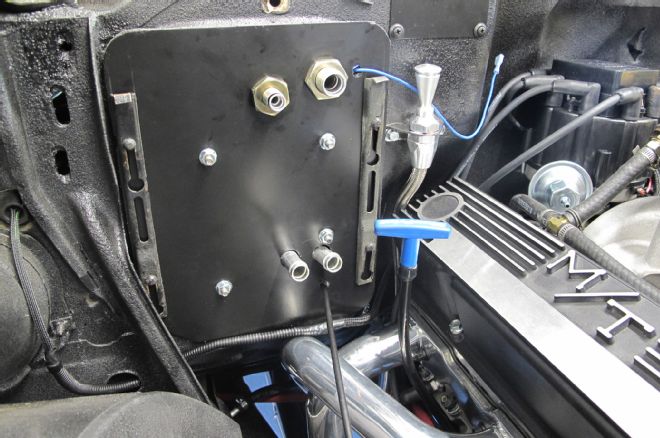
19. The water valve had an arrow on it that we made sure pointed toward the engine. This is also where we attached the control cable that we earlier passed through the block-off plate.
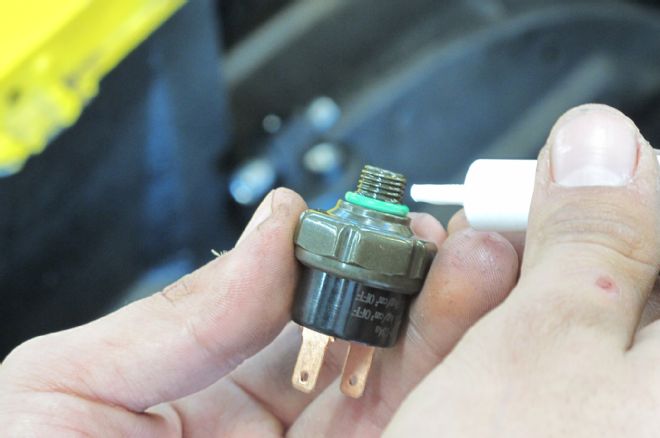
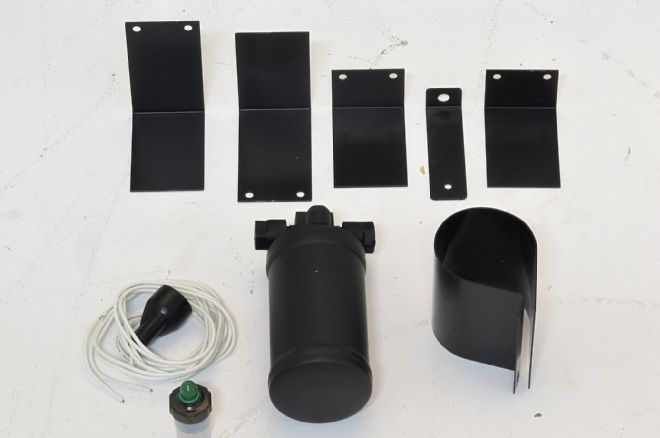
20. We dabbed the O-ring of the high/low-pressure switch with a little mineral oil before installing it on the kit’s dryer.
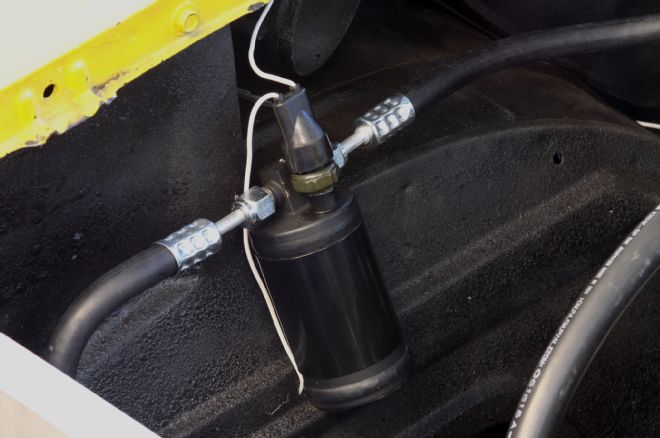
21. With that done we could mount the dryer and wire it into the system. One wire connected to the blue wire that was passed through our block-off plate (from the thermostat) and that other one ran to the compressor (which came with our Concept One drive system) to control the A/C clutch.
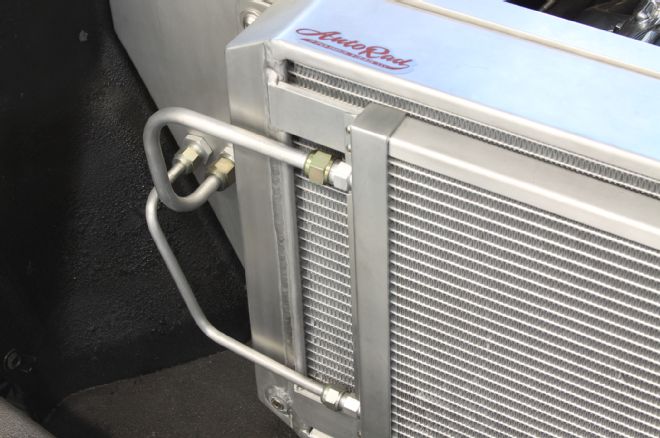
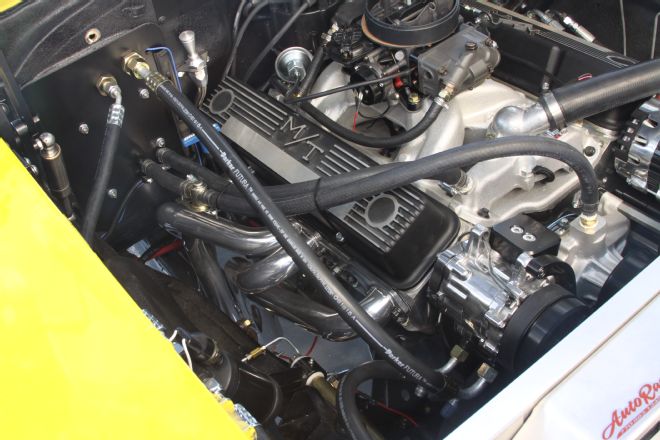
22. An air-conditioning system is basically just a big heat exchanger. It absorbs heat and humidity from inside the car (via the evaporator unit) and dissipates it back into the atmosphere through the condenser. As such, installing one puts extra strain on your car’s existing cooling system. With our larger engine we decide to ditch the existing radiator and go with a high-capacity unit from AutoRad, which came with a very nice condenser unit. For an extra clean look we custom bent some new lines and ran them to bulkheads on the aluminum core support.
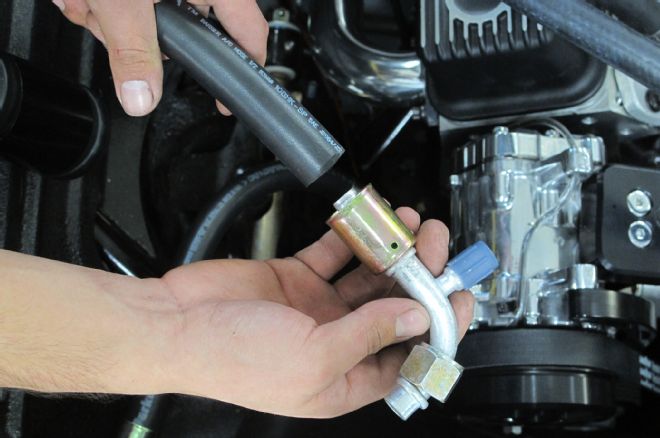
23. Classic Auto Air offers pre-cut and terminated hoses, but we decided to roll our own to ensure everything ended up neat and tidy. The beadlock A/C fittings require a special tool to crimp in place for a leak-free seal.
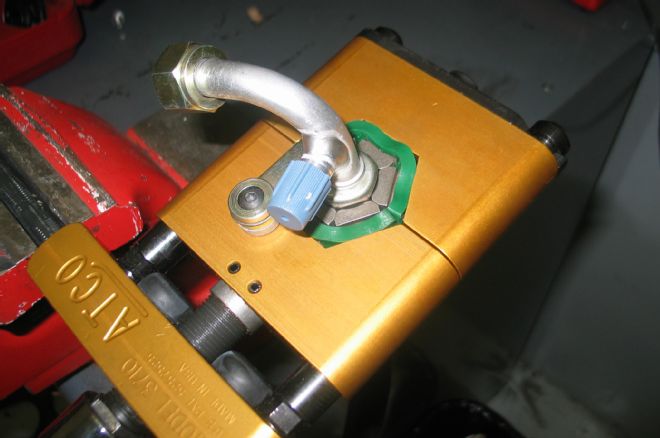
24. We have a nice ATCO 371 beadlock crimping tool at the tech center, but if you don’t, you can cut all your hoses to length, clock the ends, and then have your local A/C shop crimp them on for a few bucks.
25. And with that, our system was done and ready to be charged with about 24 ounces of 134A refrigerant. This summer, when the Bel Air hits the road we will be happy when it’s cutting through our often brutal Southern California heat.
