The optional center console has always been a desirable upgrade on Mustangs, but if the one in your car is old and ratty, restoration of it might not be possible due to serious cracks in the plastic, blemishes on the metal trim, or other cosmetic issues. And if you want to add one to a car that wasn’t originally so equipped, you’d be on the usual goose chase to track one down.
There is a solution to these problems. While the option to repair or restore a console is still a viable way to go when possible, a brand-new, high-quality reproduction is made by ACP (All Classic Parts) and is available from its dealers.
Our installation sequence of one of these new consoles in a 1967 fastback will be of interest to you whether you are looking for a replacement or wanting to add one to a car that never had one. ACP has these console assemblies available for the 1965-1966, 1967-1968 (again, shown here), 1969-1970, and 1971-1973 Mustang.
While we were at it, we also decided to install new carpet in this car, which is available from Dallas Mustang. It was pretty crummy after being in this oft-driven car for more than 20 years, and it would have looked even worse with a new console above it. The new carpeting really made the console look even better.
Figure on about 4-5 hours to install both the carpeting and console in a car; another hour or so if your car’s interior is another color besides black, which necessitates painting the console to match your car’s interior.
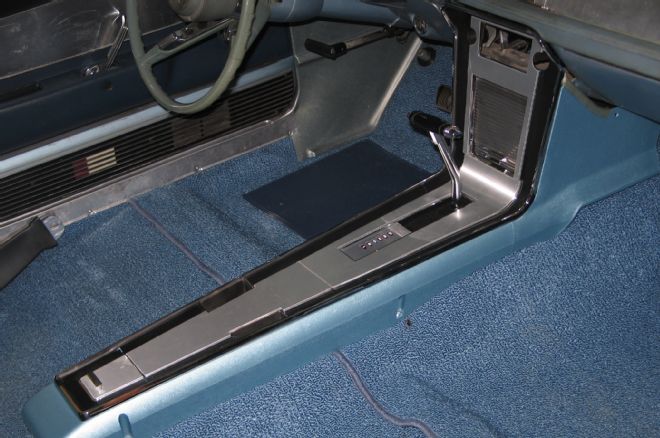
Here is the completed console installation in our 1967 fastback. Combined with new carpeting, it really looks good. The ACP console is a very accurate reproduction that comes about 98 percent assembled. We disassembled it to paint the main plastic body of the console, which doesn’t have to be done if your car has a black interior.
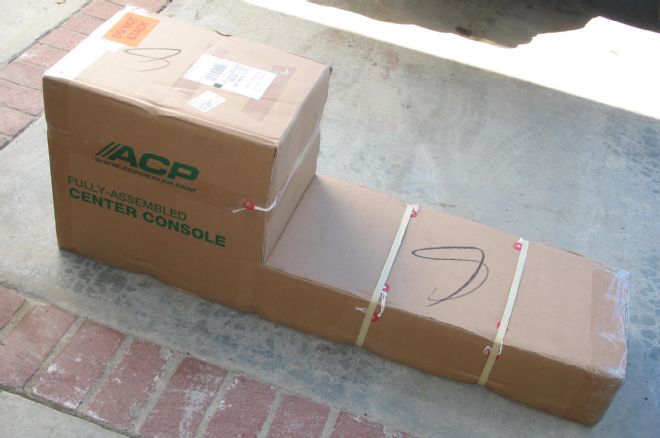
The quality of the ACP console is also evident in the packaging. The box and the Styrofoam casing do an excellent job of protecting the console and its metal overlay trim pieces during shipping.
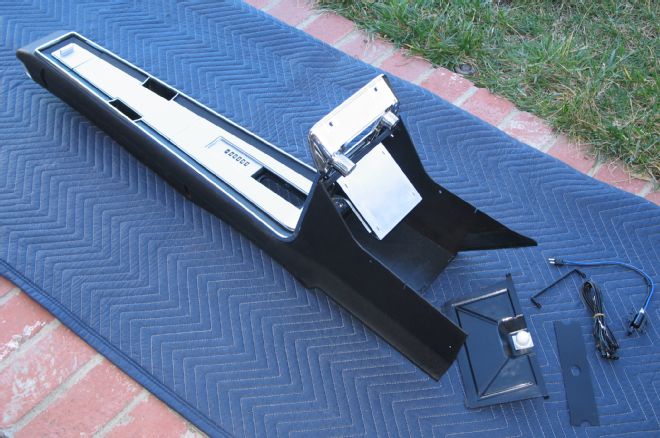
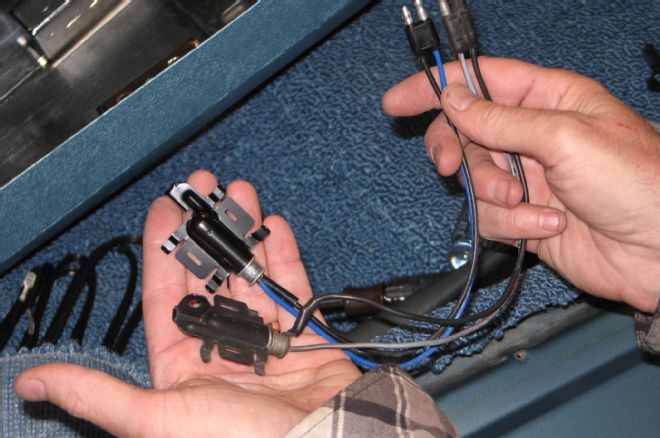
As shown here, the included parts not installed are the back wall (with light) for the console’s front storage compartment, the shifter cover for the shift handle that goes in front of the “prindle” (PRNDL) shifter-position indicator, two wiring harnesses for the various lights that are in the console, and the plastic rod that connects the shifter to the lit PRNDL in the console. Versions of the console are available for both automatic and manual transmission cars.
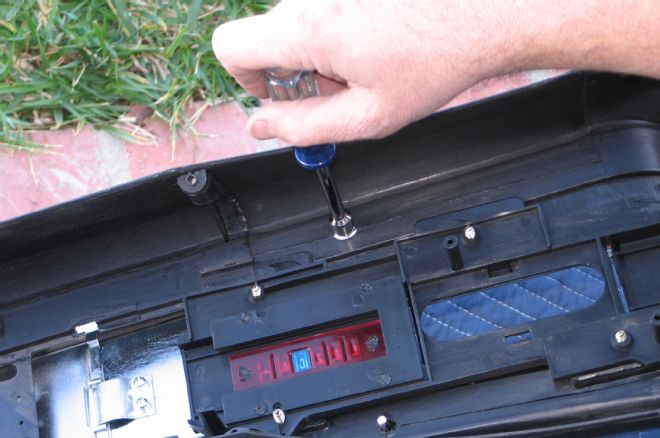
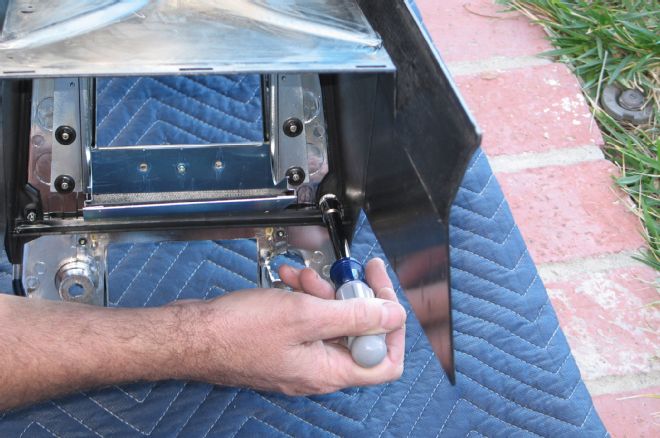
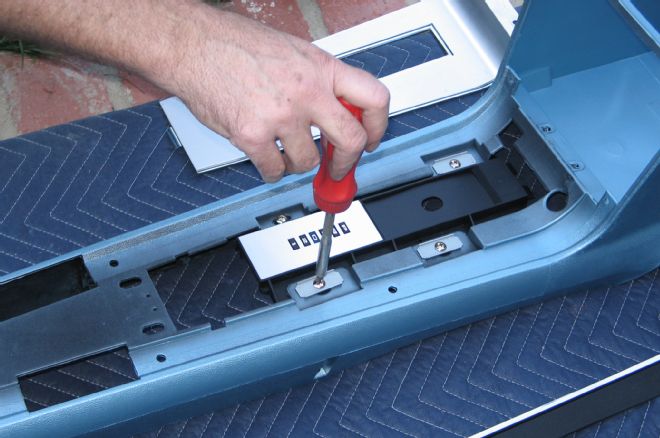
01. The console is made of black plastic, so if your car has a black interior you can skip the next 10 steps detailing the disassembly of the metal overlay components from the main plastic console-body in order to paint it. We deliberated a few minutes deciding whether to tape off the metal pieces or take the console apart down to the main body for painting. We decided to go with disassembly because we felt the overall paint results would be better and also figured it would be faster than taping off the numerous metal components attached to the plastic console. Begin by removing the six speed nuts on the underside of the console.
02. Next, remove the four speed nuts on the backside of the radio plate . . .
03. . . . and the plate can then be removed from the console body.
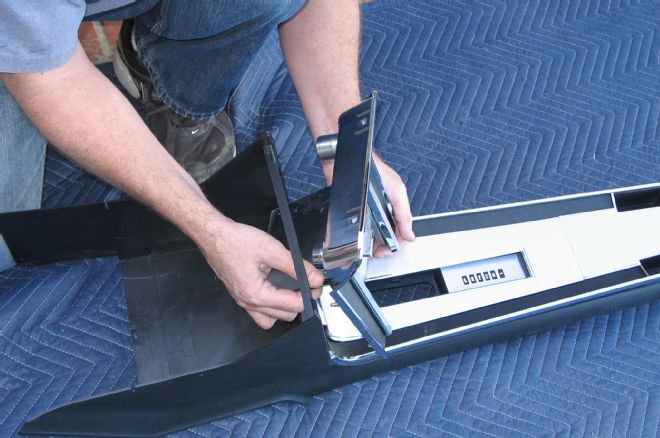
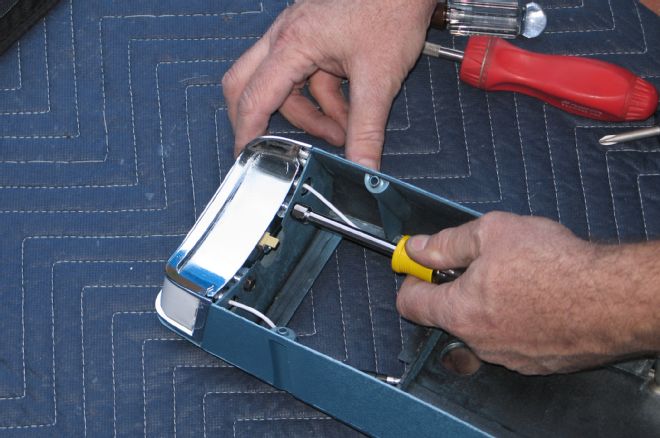
04. Two Philips head screws have been unscrewed to allow this part of the console trim overlay to be removed. The screw holes are visible at the front of this piece. Once they are removed and the radio plate is out, this piece that surrounds the shifter can be removed as shown.
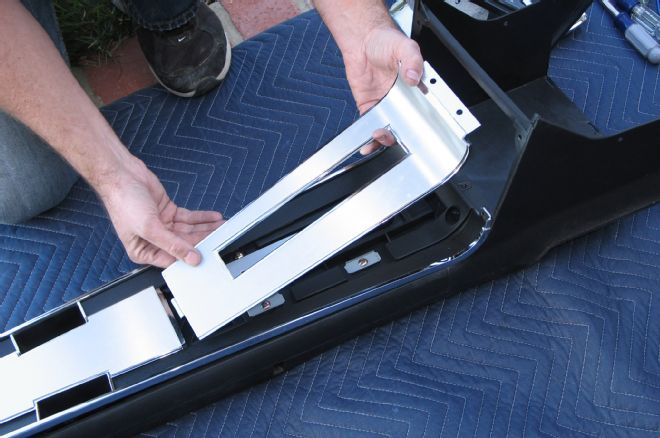
05. With the six speed nuts removed from the underside of the console a few steps ago, this main trim overlay that also houses the seatbelt-buckle storage bins is removed as shown.
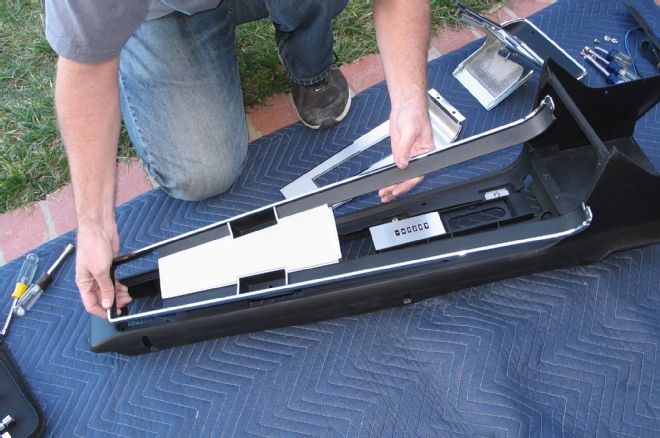
06. Remove the four Philips head screws that hold the shift-indicator PRNDL in place, and it comes off of the plastic console body. Once this and the light at the back of the console are removed, the body is down to the bare plastic and is painted in one step.
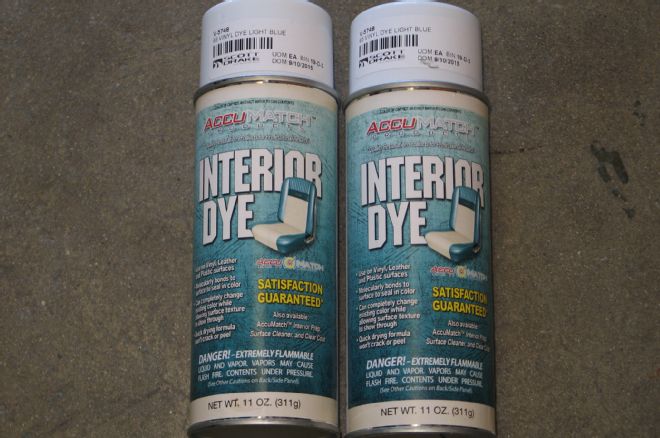
07. To paint the console body, we hung it from the garage rafters with a piece of wire and used Accumatch Light Blue interior paint from Scott Drake to match our car’s blue interior. It’s available from several Mustang parts stores such as Dallas Mustang.
08. The Scott Drake paint worked perfectly, dried quickly, and beautifully covered the black plastic console body in four coats evenly applied about 10-15 minutes apart.
09. Freshly painted in light blue and after the final coat is allowed to dry, the console is then reassembled by reinstalling the shift PRNDL and its four screws.
10. Not shown being removed, this is the light mounted at the back of the console being reinstalled.
11. The rest of the trim overlay pieces are reinstalled in the reverse order of their removal to make the console again a complete component after painting. The two wiring harnesses shown for the shifter light include the original one in our car’s original console and a new one included with the console. As you can see, the plug ends are different from each other and the new plug on the left is a double-male version, while the original plug is a male-female combination. As with other variations that surface in all sorts of areas on vintage Mustangs, the new plug didn’t properly connect to the harness on the car. No matter, though, as we just reused the original light harness in the new console.
12. With the wiring that comes with the new console and that in our original console, we were able to wire up the three lights in the console as shown. They include the rear courtesy light, one for the PRNDL, and another for the front storage compartment.
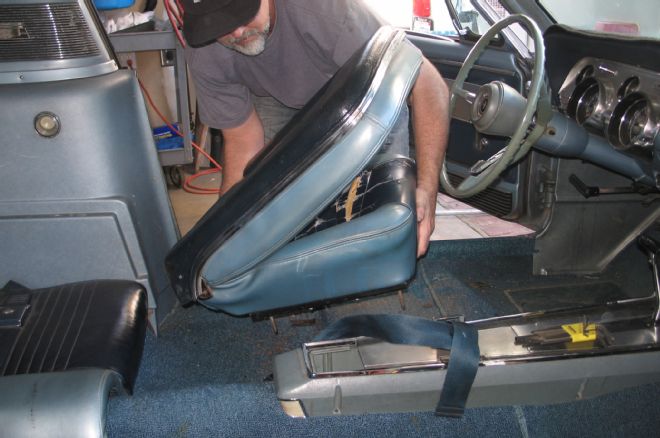
13. With the console all back together and ready to install, we set it aside and started removing the car’s seats and carpet. As you can see, the seat covers in this car are pretty ratty and will soon be recovered. Remove the four nuts from under the car that hold the seats in place and they lift out.
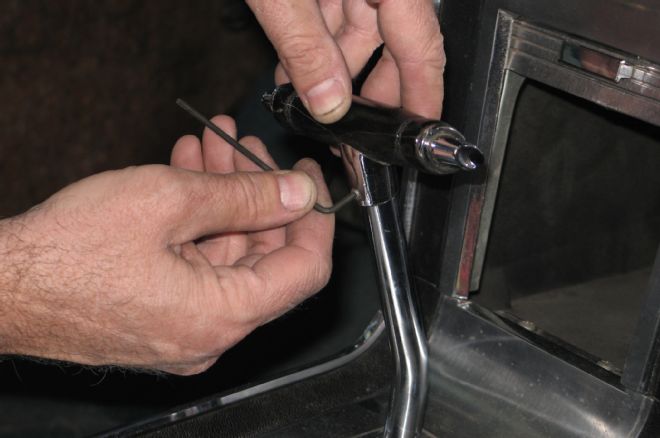
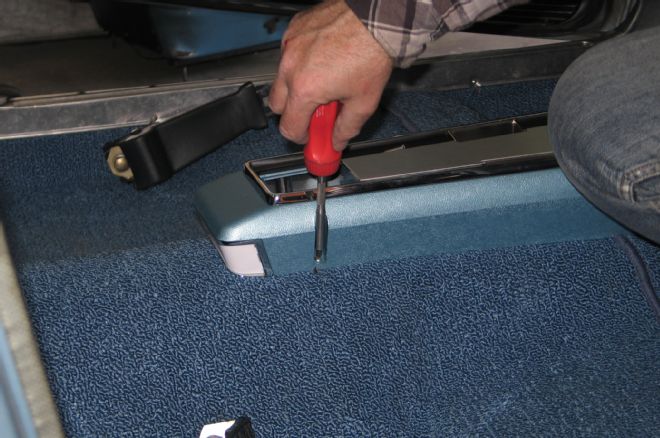
14. Removing the old console commenced with loosening the set-screw on the shifter handle so it could be removed.
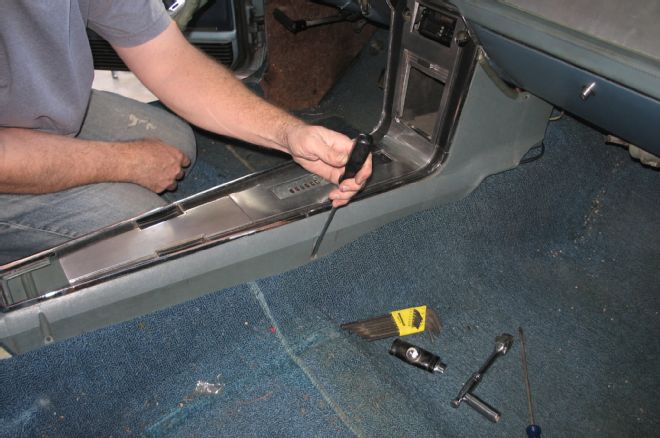
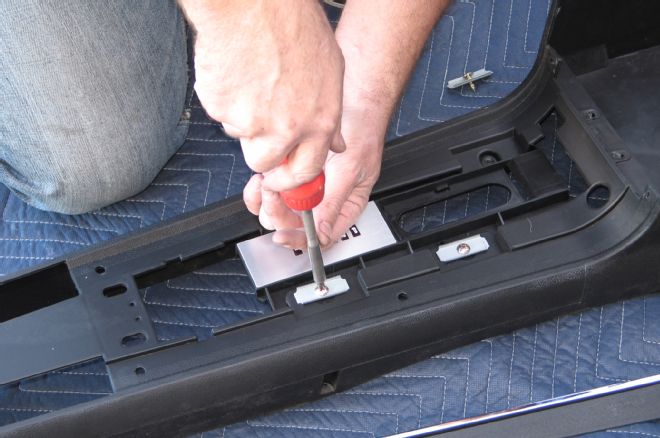
15. With the shift handle removed, the screws that hold the console in place are removed as shown. Of the four screws that hold the console to the floor, strangely only three were present in this car from the factory.
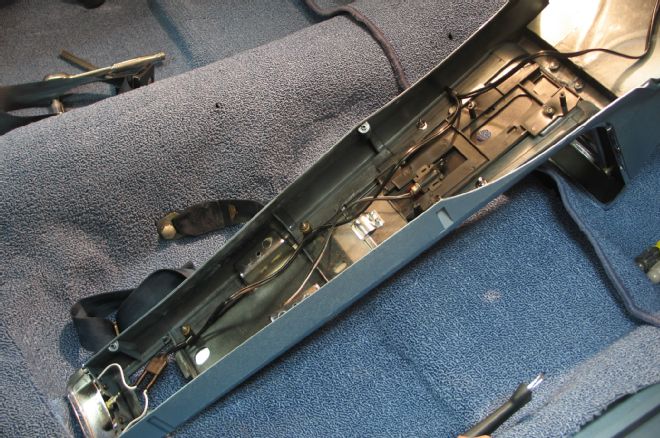
16. This car’s original radio was long gone, so once the mounting screws were removed the old console was ready to come out. If a car has the radio still in place it will need to be separated from the mounting plate, which is at the front end of the console.
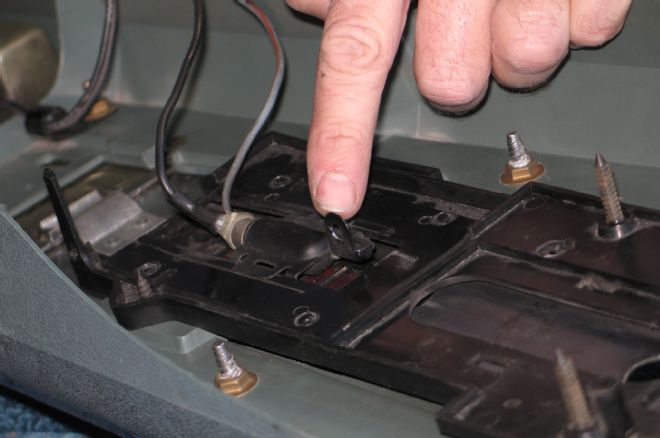
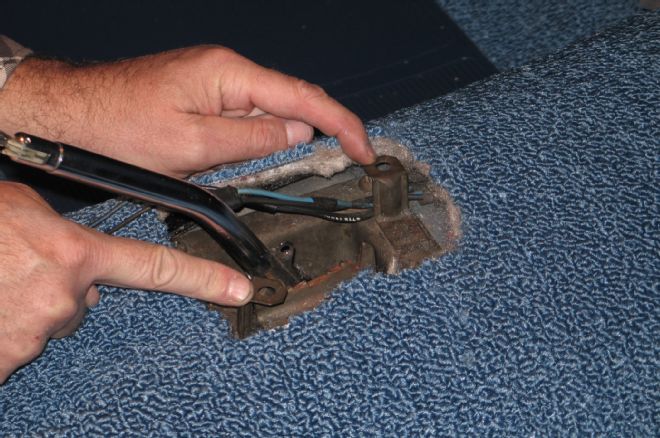
17. This opening is where the plastic rod connects to the PRNDL in order for it to move with the shifter, since the PRNDL is mounted behind the shifter rather than alongside it.

18. Here is the bar with the console removed and it still attached to the shifter. When you’re installing the new console, it needs to be connected with the console in place but before it’s lowered into final position. The console needs to be held in an elevated position while doing so. Shown here is the original bar, though a new one is included with the console. Simply use the one that fits best; they may possibly be different lengths.

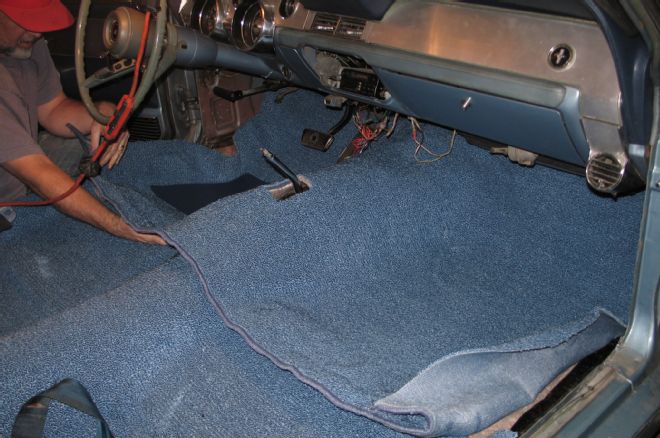
19. With the old console and seats removed the old carpet is removed. Now that the crummy old carpet is out, it is a good time to vacuum out the floor pans.
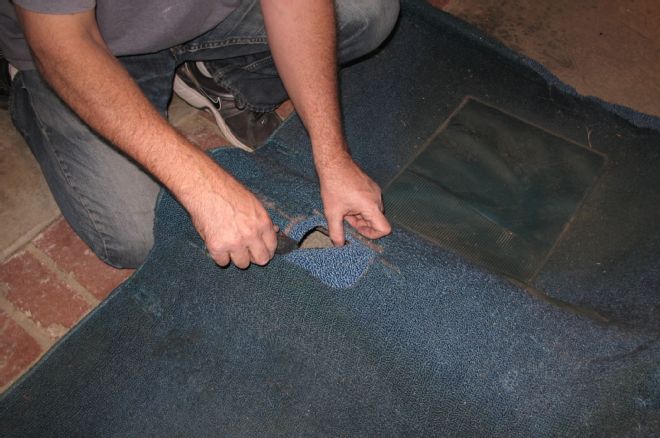
20. Using the old carpet’s shifter opening for a template on top of the new carpet, cut the same opening into the new carpet.
21. You can see what 20-plus years of wear and tear do to carpet. The new rugs look worlds better. As with all vintage Mustangs, it’s a two-piece setup and ours came from Dallas Mustang.
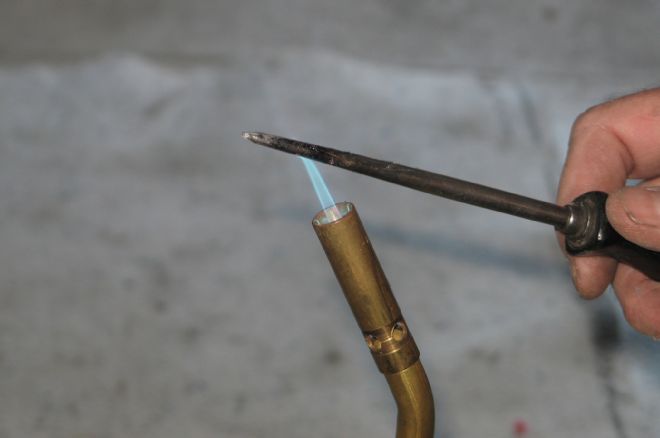
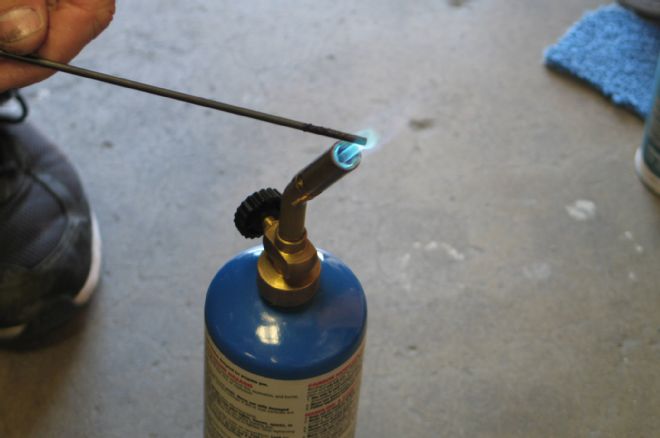
22. With the carpet roughly in place, we came up with a little trick for making the seatbelt holes, which are usually a hassle to cut. It might be a little funky, but it worked great for us. First we poked a punch through the carpet from underneath the car. Then, as shown here, we heated up the punch real good with a map torch.
23. Then with the punch good and hot, we used it to carefully melt the carpet exactly where we wanted it so it wouldn’t be so difficult to get the seatbelt bolts started. The hot punch perfectly melted away the carpet to create just the right opening, as shown, to make reinstalling the seat belts a snap, which is the next thing we did.
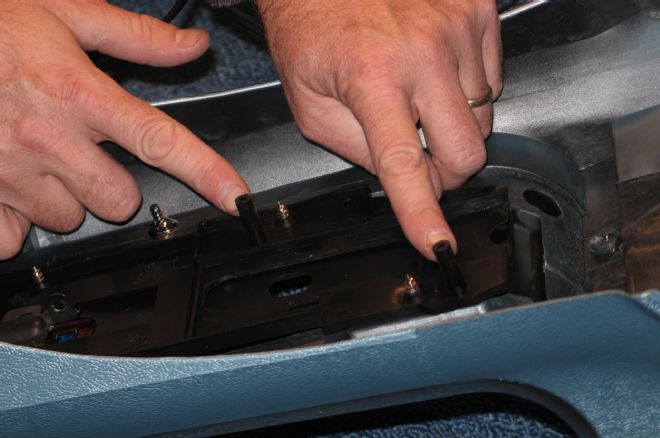
24. These orientation pins are on the new (and old) console to allow it to fit correctly on the shifter. They fit into the openings in place on . . .
25. . . . the tabs affixed to the car’s tunnel as shown here. If you are installing a console in a car not originally equipped with one, these tabs may not be present.
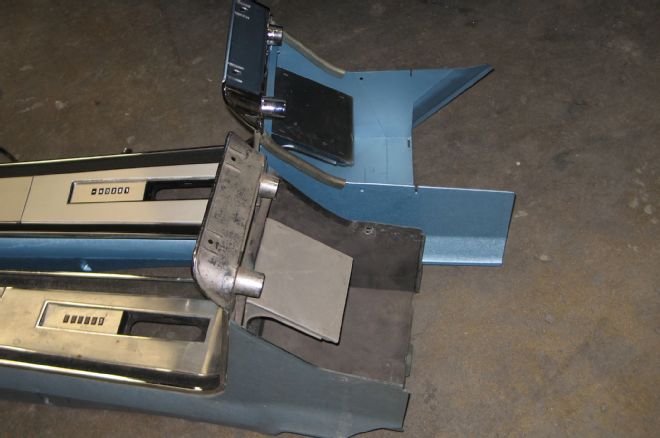
26. We were just about to install the new console when we hit a snag—the new console was longer at the front than the old one, as you can see here. Turns out there were two different-length consoles: a long one for non-A/C cars and a shorter one for A/C cars (like ours) to clear the A/C and heater box under the dash. APC makes the longer version, which must be trimmed to fit an A/C car, so we fixed it after a few minutes with a marker and a cutoff wheel.

27. We decided to make the new console an inch or so longer than the old one so the back wall of the storage compartment would better stay in place once installed on the console. With a piece of tape, a straightedge, and a marker, a line was drawn on the tape where the cut would be made.
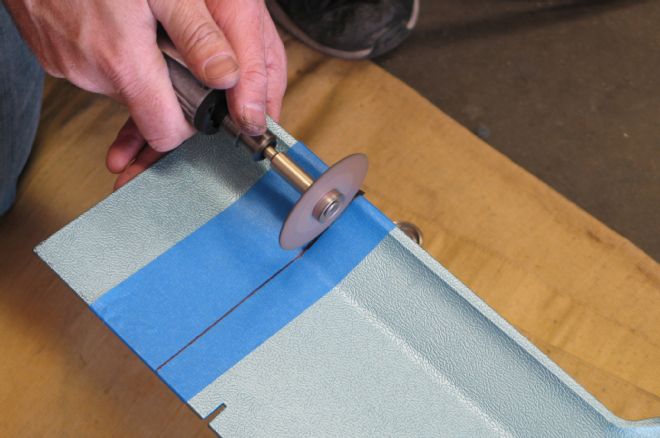
28. Next, the wheel was carefully used to cut a few inches off each side of the console so that it would be the same length on both sides. After the cutting, a little filing and touchup paintwork were done on the new ends of the console.
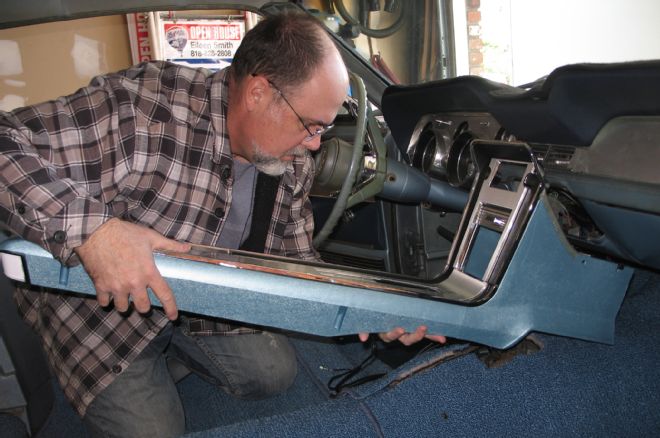
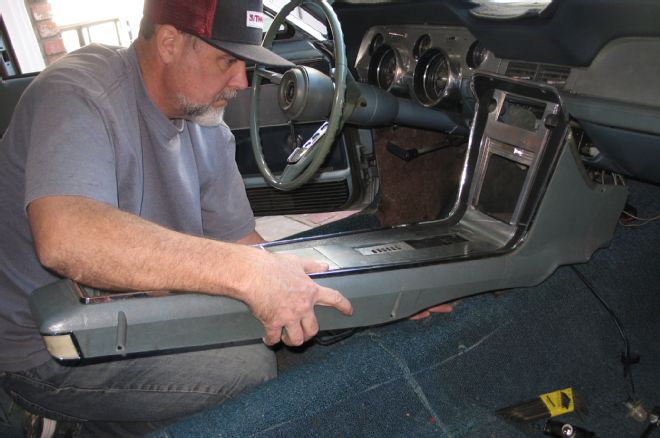
29. Now the console fits properly after the shifter was carefully threaded through the shifter cover in the console. Although it set into place as shown, keep in mind the light connections and shifter-to-PRNDL rod that needs to be connected before it’s screwed into place on the driveshaft tunnel. These tasks need to be completed with the console held up while you work underneath it.
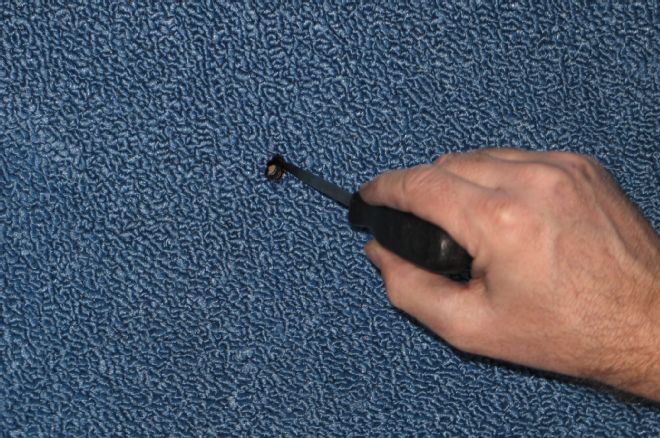
30. Our “heat the punch with a map torch” trick worked as good for locating the console-mounting holes as it did for the seatbelts. Get it hot . . .
31. . . . and use the punch to melt away the carpet to allow the much smaller (than seatbelt bolts) Philips screws that attach the console to the tunnel to grab hold of the car’s floorpan. Note also that we used the console itself as a template to help get the punch to fit through the holes in the floor.
32. With the light wiring harnesses and shifter-to-PRNDL rod connected underneath the console, complete the installation by using the same screws that held the old console in place. Step back and take a look at the outstanding results you’ll see, like we show at the beginning of this how-to. Once the console is in place, reinstall the shifter handle, finish trimming the carpet, and install the sill plates and seats.