When building a one-off classic car, the first thing you think of is usually something like wheels, paint, or the powertrain. Seats are usually last on the to-do list, but they're also one of the most important aspects of a car when it comes to tying the whole project together. Sometimes it works to simply throw a blanket over a torn-up bench and call it a day. But if you really want your build to look nice, it might be worth spending the money to do it right.
That was the plan with this classic Mustang. For the front seats, we simply ordered a pair of Cobra Misano buckets—easy enough if you can get over the $2,500-a-piece price tag. Unfortunately, Cobra doesn't sell a matching back seat to fit a car with widened wheeltubs like ours. We needed to build a matching rear seat from scratch, so follow along to see how we did it.
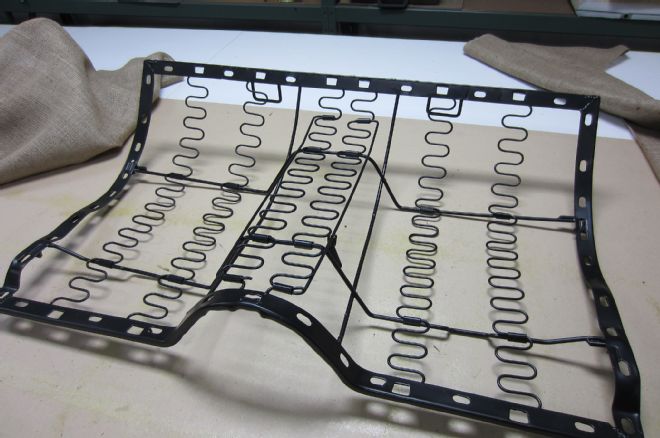
01 We started by cleaning the original fold-down base. We dipped it to remove any oily residues, then mediablasted and painted it black.
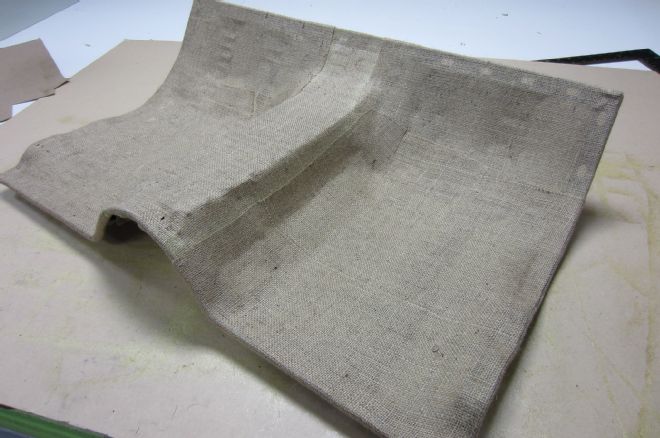
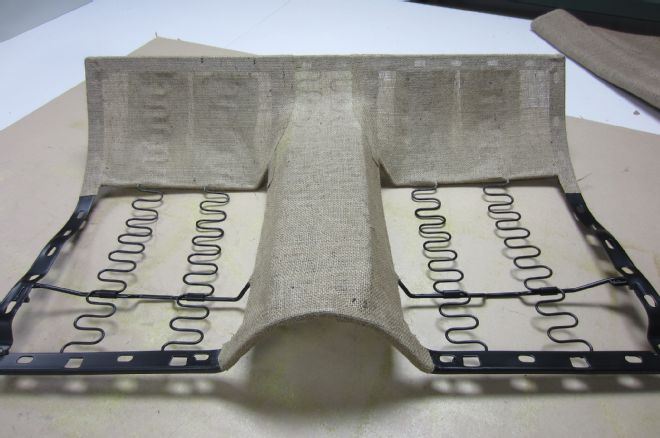
02 To lay a good foundation, we wrapped the base with a burlap weave to tighten it and help stiffen the springs.
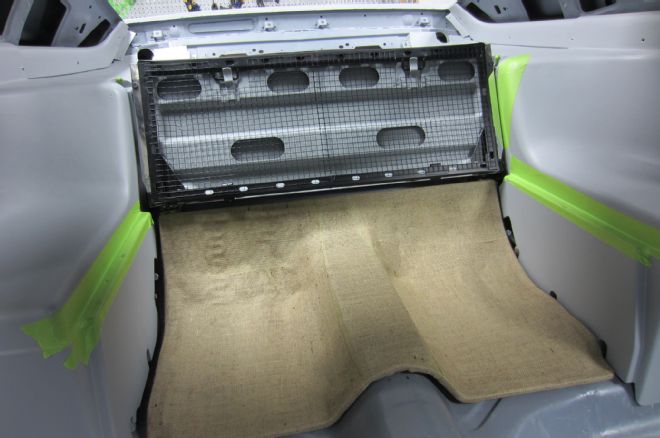
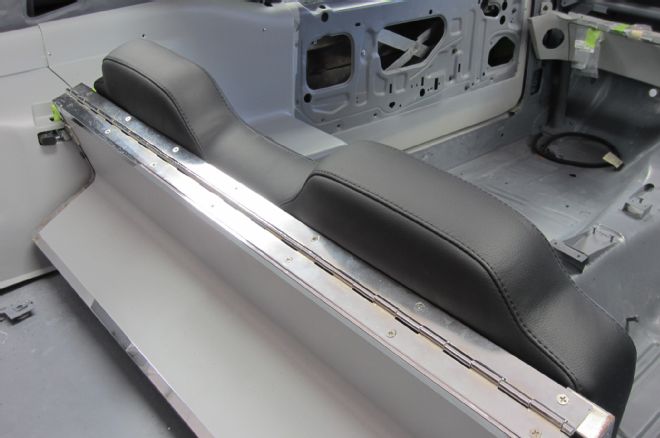
03 When building the car, we widened the wheelhouses by a total of 7 inches, so the next step was to test-fit the upper and lower sections. We made adjustments side to side while folding the seat up and down to ensure adequate clearance and ease of operation.
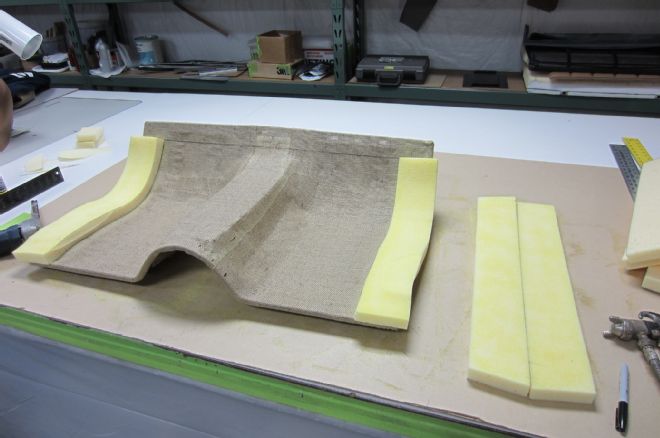
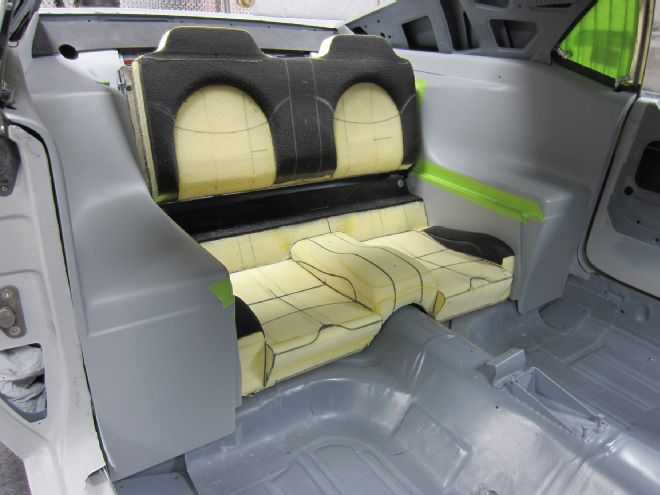
04 With the seat frame fitting between the widened wheelwells, we could begin to lay the foam, starting with side bolstering. We want to match the look of the front seats, Cobra Misano buckets, which have a pretty wide wing width and a tall headrest.
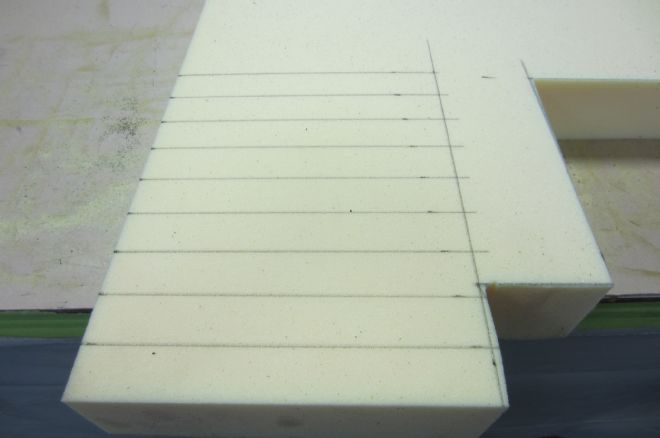
05 Using 1-inch-thick foam and landau top DAP, a permanent adhesive, we stack some foam.
06 We cut out one 3-inch and two 8-inch-wide pieces for the actual seat section on one side, then repeat it for the other side.
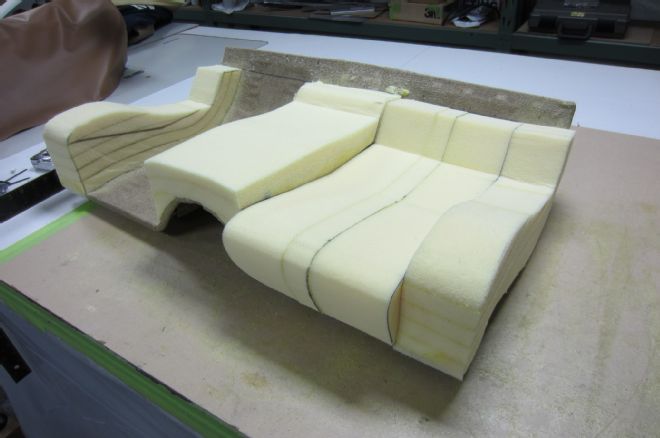
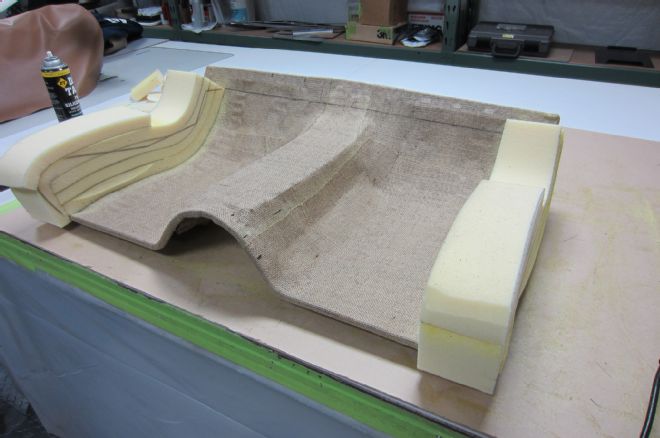
07 With the foam pieces glued in place, the overall shape of the seat starts to take shape.
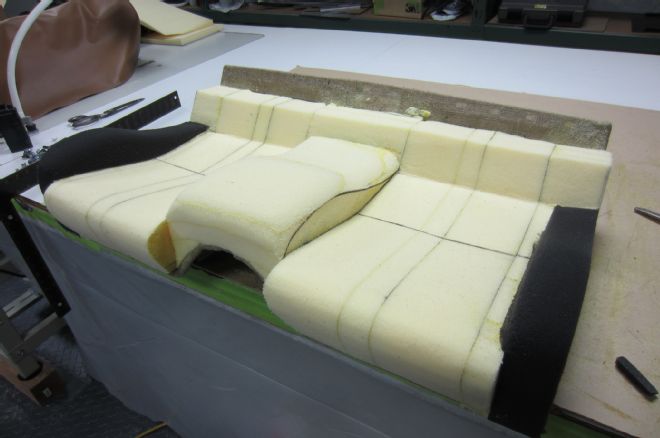
08 The center hump was rounded using a grinder with 36- and 40-grit, then finished by hand using 50-grit. The foam we are using is made by Ronco and is shapeable.
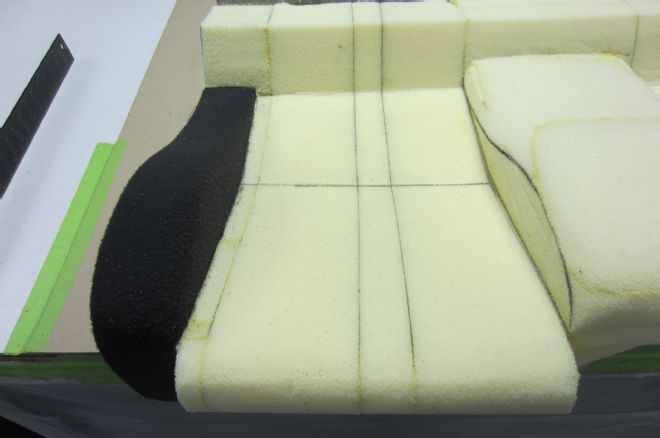
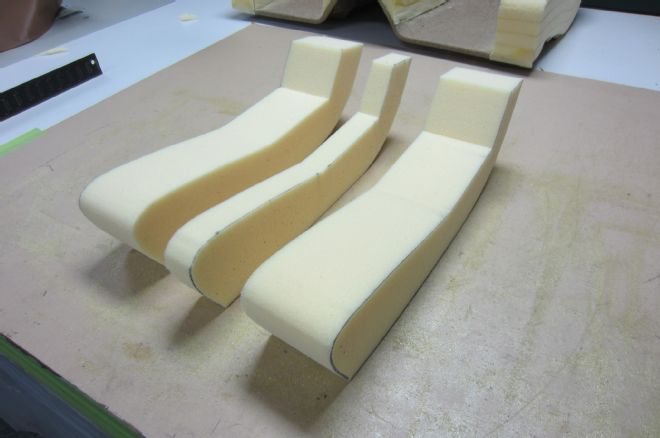
09 This black foam is stiffer than the other foam we've used so far. It's also shaped more easily and is well-suited for areas of the seat with more complex shapes.
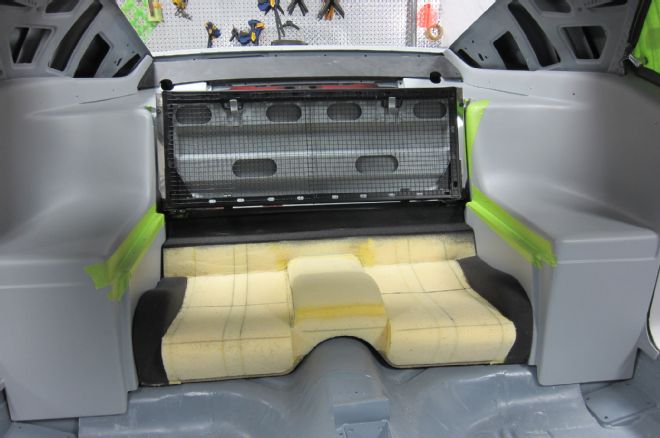
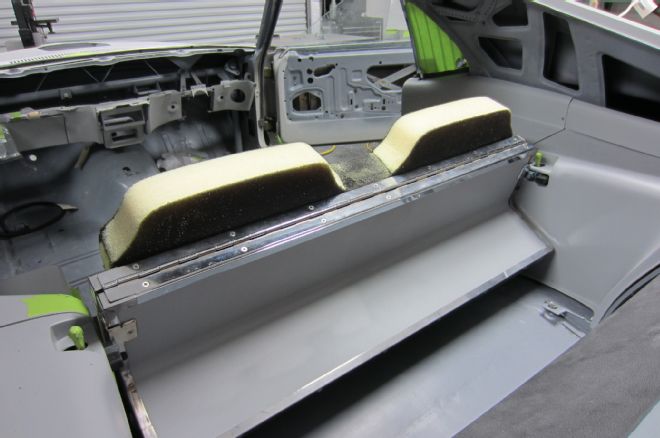
10 With the bottom cushion roughed in, it was time to check the fitment again to ensure the fold-down mechanism still worked properly.
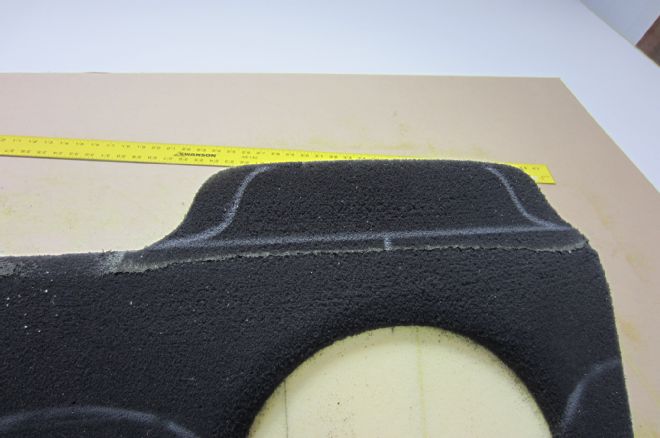
11 To form the top cushion, we sliced strips of foam with our Bosch foam saw, using specific-size squares to get close to the desired shape.
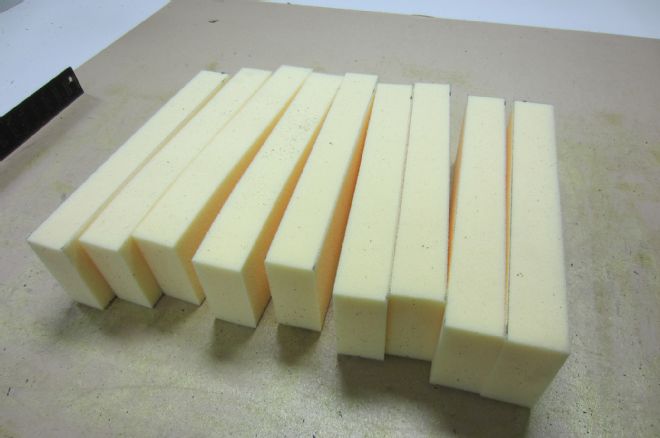
12 We trimmed the rectangles to round off the corners and glued them together.
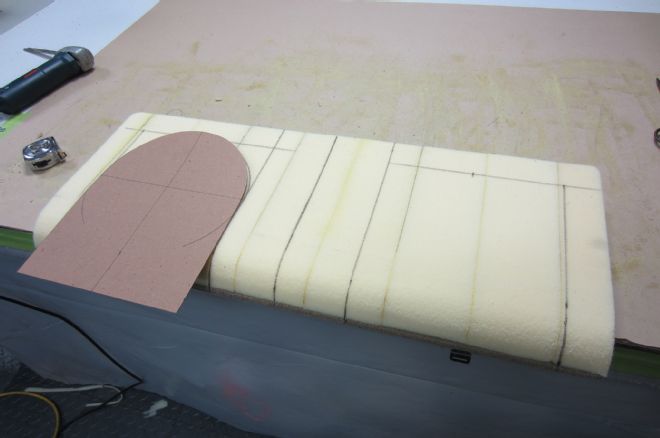
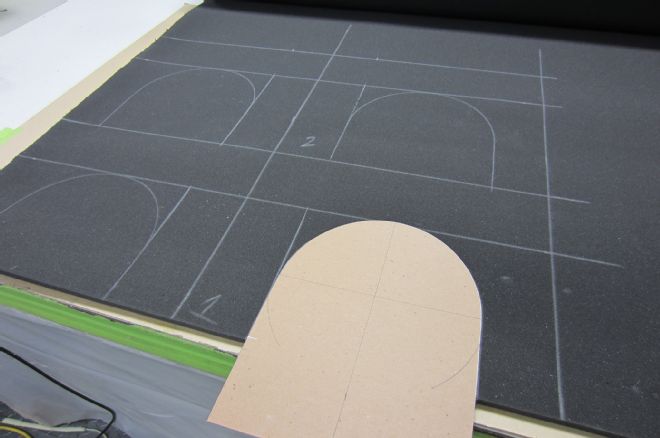
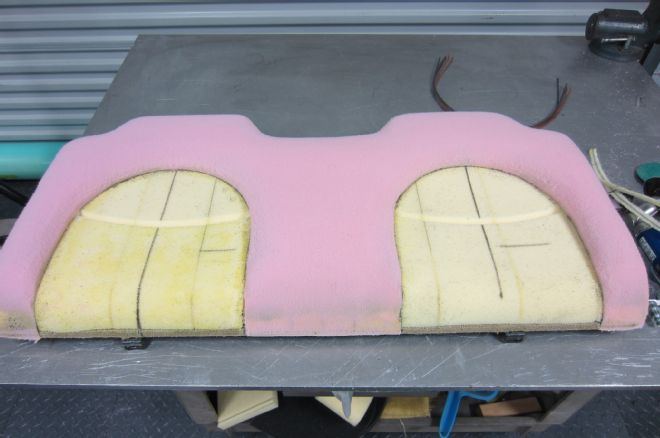
13-14 With all the separate pieces glued together, the top cushion started to take shape. Using our mock-up, the inserts were traced into this 1-inch-thick black foam.
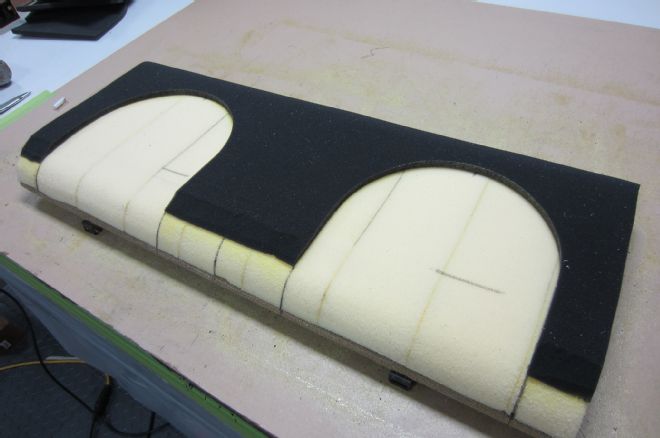
15 We glued in the black arches and added beveling (angle cuts) to the bottom edge to allow the seat to fold down easily.
16 Wanting a deeper shape, we added another layer for more depth.
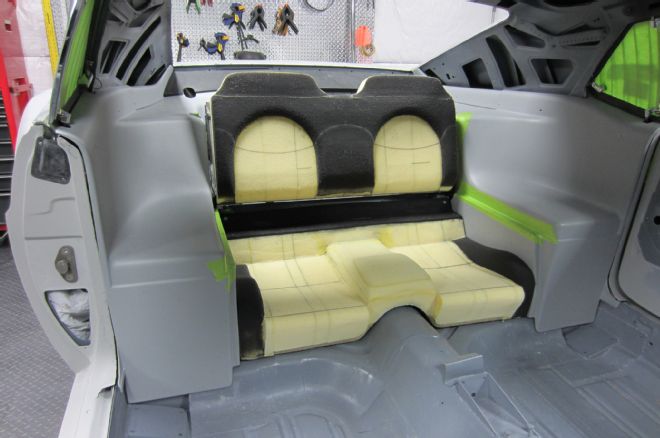
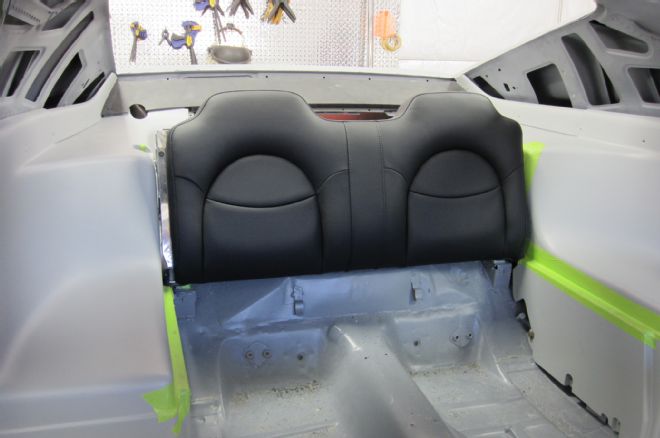
17 With the seatback installed, you can see the headrest was starting to take shape, but more trimming was needed to better match the front seats.
18 Viewed from the back, the headrests look wider than we like, so they would be trimmed until they match the look we want.
19 We installed the Cobra front seats and ordered matching leather for the rear seat. As seen, we also started chalk-marking the rear seat for a similar pleat style.
20 When cutting the foam to make the headrests, trim them down bit by bit until you nail it. It's much harder (and incorrect) to add little pieces to make it bigger.
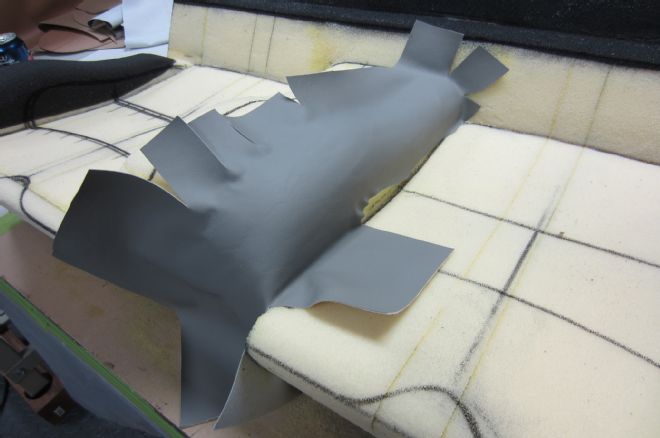
21 We then mocked up some vinyl, starting with the armrest section of the bottom cushion.
22 We tacked the vinyl in place one by one using superglue and pins. This is essentially taxidermy taken to a whole other level. Notice the voodoo-style holding pins we used to hold the pieces in place.
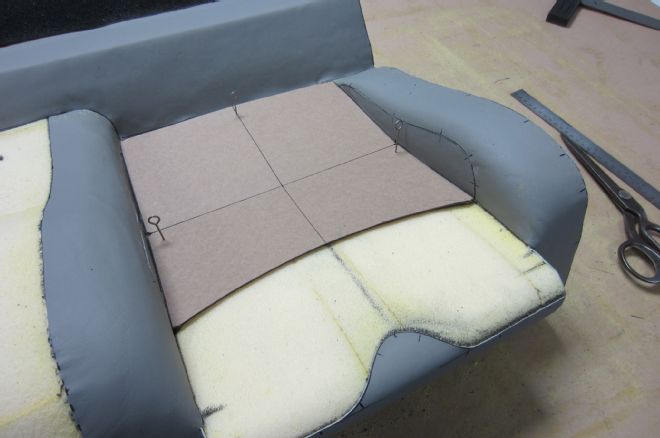
23 The top section is harder to build because the rolled edge around the perimeter of the base is smooth.
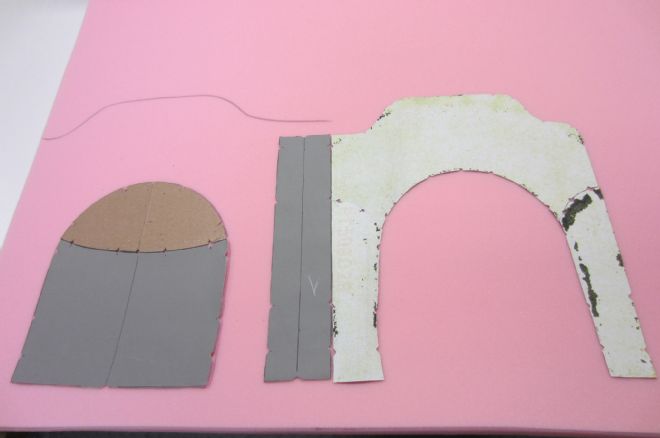
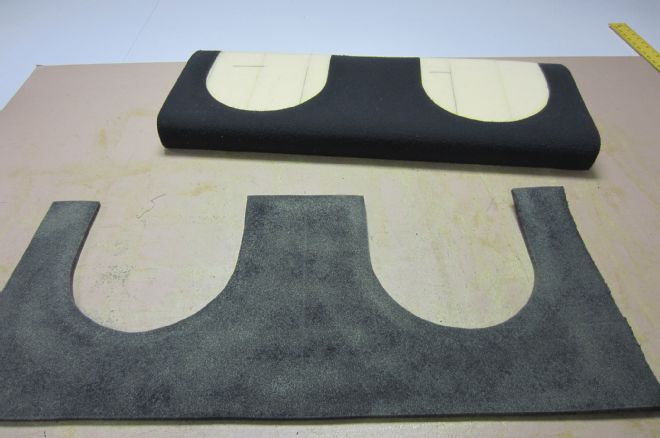
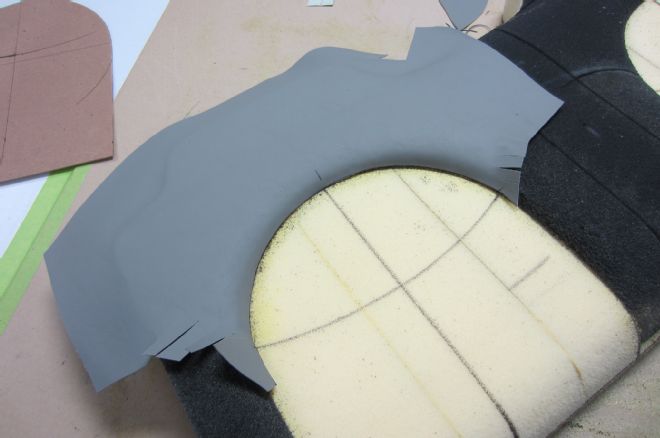
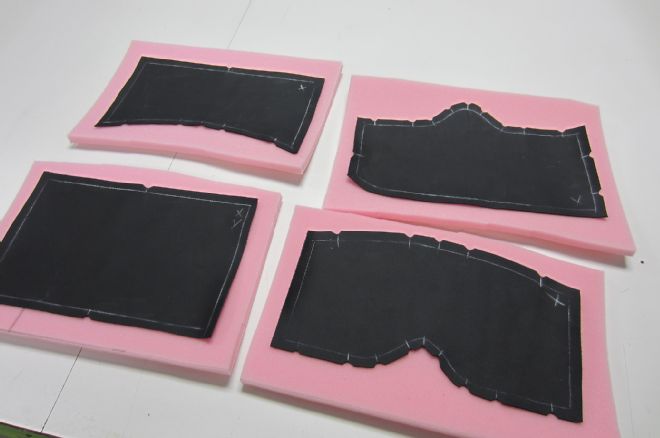
24 We removed the templates from the seat and laid them out on foam. To push the leather really tight, we used this ½-inch-thick pink foam for a final covering.
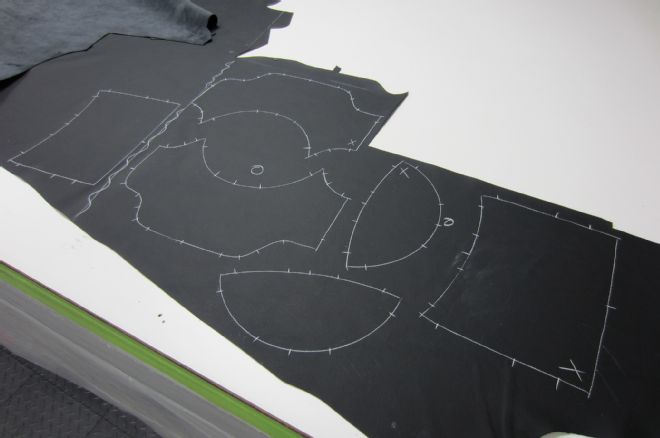
25 We transferred the shape of the templates onto our piece of leather. Here, the shapes are chalked out and ready to be cut with scissors.
26 We laid the shapes on to their respective positions as an initial check of our work.
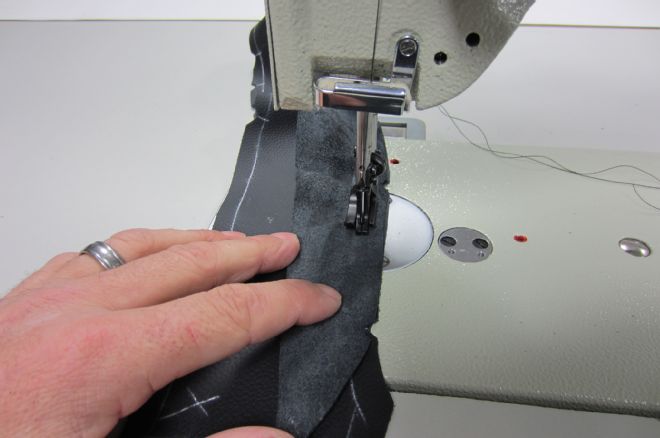
27 Time for stitching! This long-arm machine can be set at a very slow rate for precise work.
28 To support the cover properly, a few of the smaller pieces will be sewn directly to the foam.

29 We bent a section of 1/8-inch rod to use as support rings, which encircled the upper seat section. We inserted and sewed them in to place.
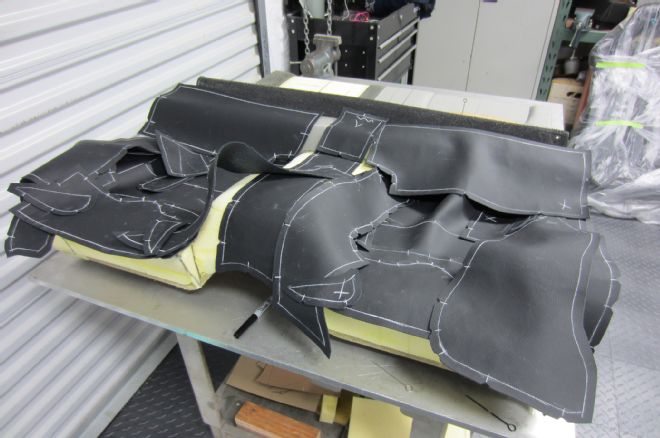
30 Though the covers look wrinkled and disheveled here, but they won't be once stretched across a base.
31 We glued the final pieces of foam and shaved all the edges into a rounded shape.
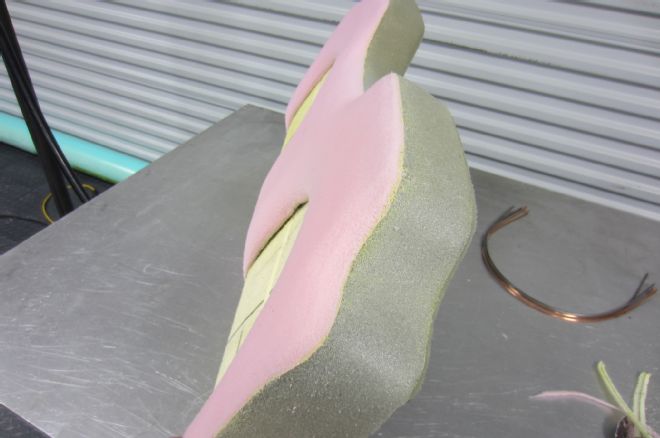
32 This side profile shows the sliced and contoured foam all ready for new covers.
33 The wires were installed into the covers and sewn on the edges to keep them intact.
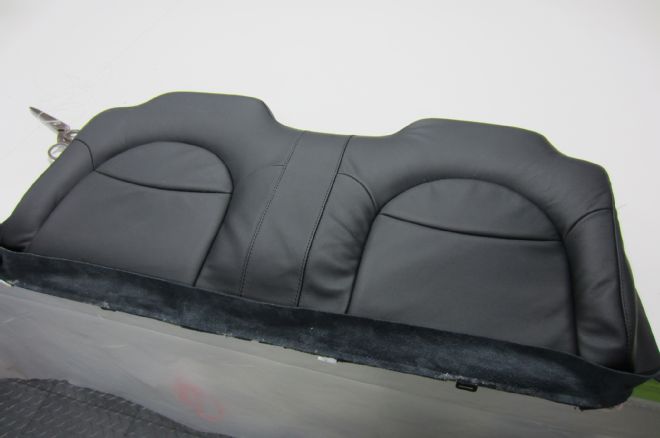
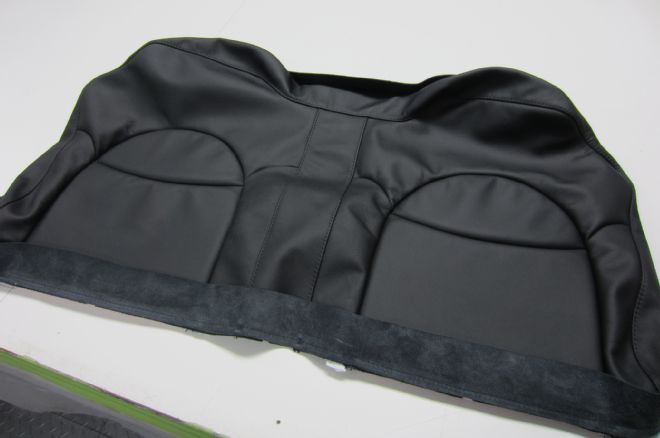
34 With a little steam and massaging, the upper seat cover was stretched for the first time.
35 Here is the upper section, covers stretched out and installed in place.
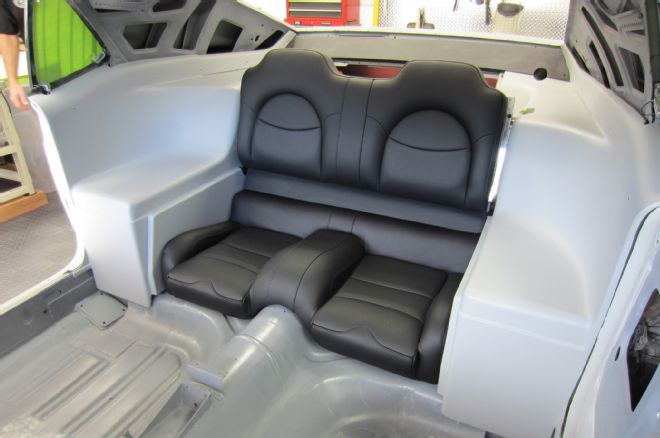
36 Installed in the car, the seats fit the space perfectly and are a great match for our front seat, giving this Mustang a truly custom but subtle look.
37 We performed the same steps on the bottom section. The custom back seat folds down, clearing everything.