One of the principles associated with industrial design is that form follows function. Of course in some cases, like Jason Scudellari's 1956 Chevrolet pickup truck, that can be difficult. Jason's truck is destined to be many things: daily driver, parts chaser, track day participant, and pretty much whatever else you can use a truck for.
With the long list of functions in the truck's future, one of the considerations is durability. To that end, Jason decided to seal every seam of the cab with sealer before applying a coat of Eastwood Rust Encapsulator to ensure any existing rust is dealt with once and for all. A dousing of SEM Pro-Tex Truckbed Liner (also available from Eastwood), ensures that the lower cab sheetmetal can stand the test of time, and look good to boot!
Jason has equipped the pickup with driveline and suspension components that will make the Chevy haul in every sense of the word. Given the truck's potential for generating Gs in all directions, a bench seat was definitely not right for the truck's function—it needed seats in the form of buckets and Procar by SCAT had just what Jason was after.
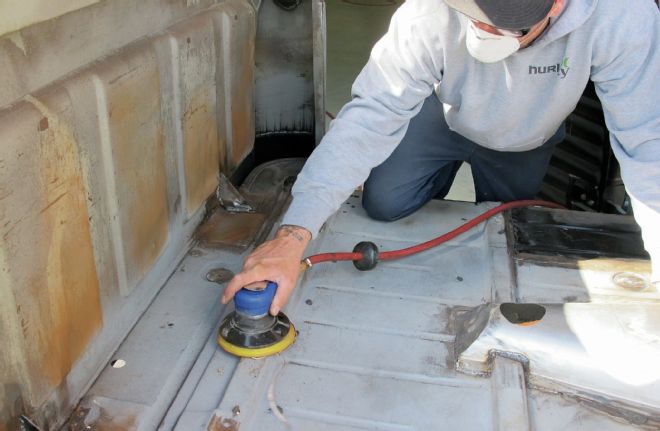
01 The first step in prepping the cab floor was to sand it thoroughly with 80-grit paper on a dual action sander.
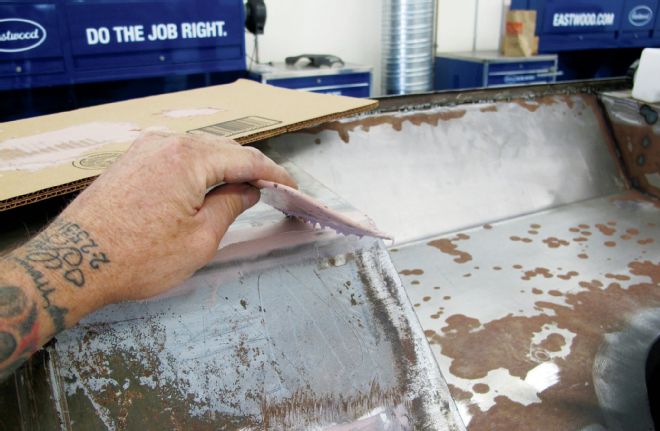
02 With the cab on its back, the lower edges of the replacement firewall were blended into the floor with body filler.
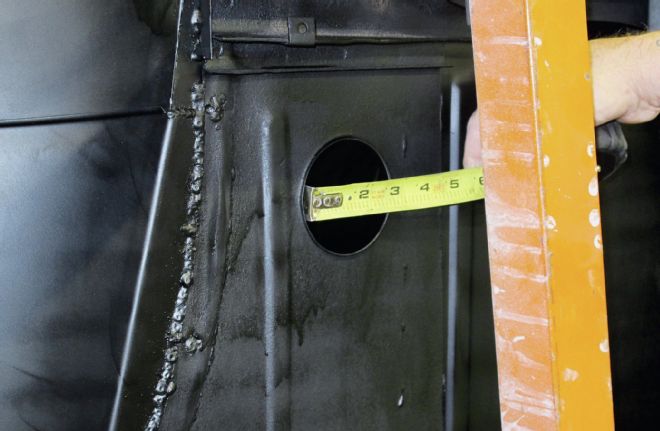
03 Due to prolonged stretches between opportunities to work on the truck Jason shot the floor with Eastwood's Rust Encapsulator. The next chore was to fill the access hole for the original master cylinder.
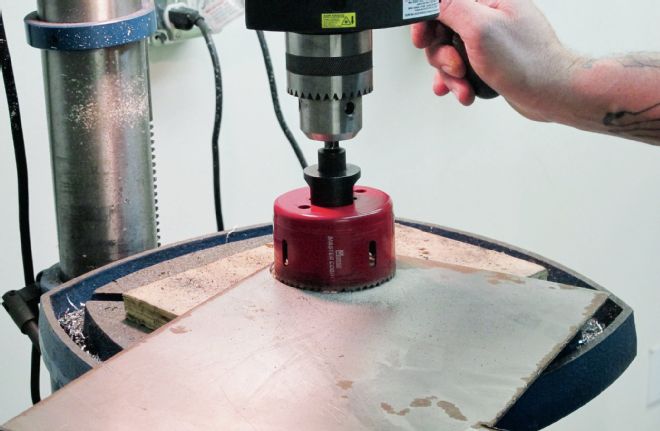
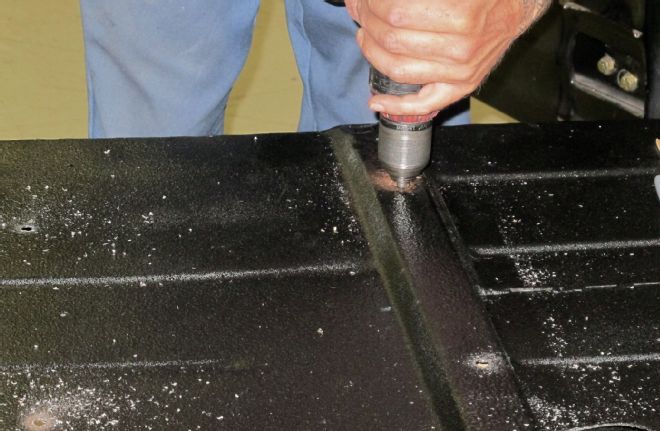
04 After measuring the opening a plug was cut from sheetmetal with a hole saw.
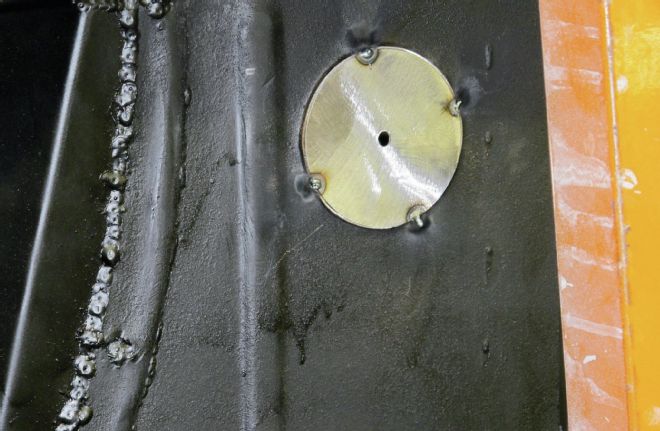
05 The filler was tacked in place; the hole in the center is from the saw's pilot bit.
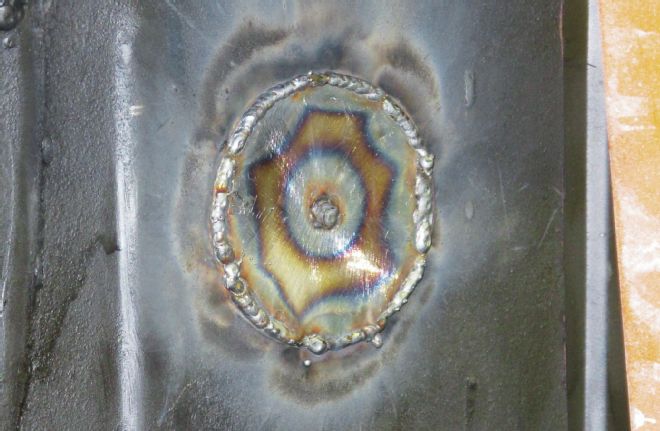
06 After sanding the surrounding area the patch was welded in place and the pilot hole filled.
07 Turning his attention back to the inside Jason blew out the crud that had accumulated.
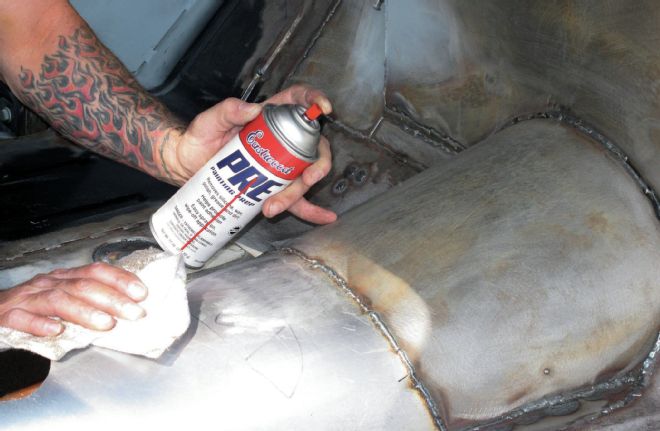
08 With all the modifications that had been done to the floor it was covered in greasy handprints and assorted contaminants. To prevent problems, Eastwood's PRE paint prep was used to clean all the surfaces to be painted.

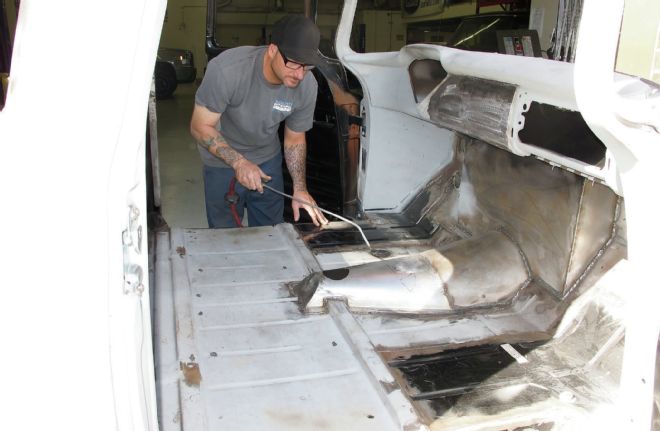
09 To ensure against fumes seeping into the passenger compartment all the welded joints of the new floor were given a bead of seam sealer.

10 As a preventive measure the floor of the cab was also treated to a coat of Eastwood's Textured Rust Encapsulator. When dry the floor will have a textured, matte black finish.
Procar offers a variety of seat styles and Jason went with the Rally design with vertical stitching for the vintage look and the pronounced side bolstering will provide added support under hard cornering. These seats feature a full reclining seatback, with optional adjustable locking headrests and upholstery options to include leather, velour, vinyl, and vinyl/velour combinations. For Jason's application, he opted for model 80-1050-51, vinyl trimmed lowback seat sans headrests.
Procar's buckets came with adjustable tracks and mounting brackets, and while they work great in most applications, for the Chevy pickup the seating position would have been too low. The simple solution was to raise the seat mounts with fabricated spacers.
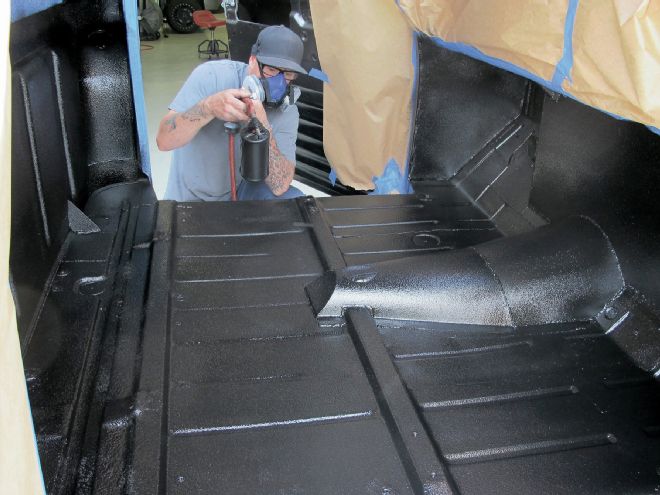
11 To provide a tough finish inside and out SEM Pro-Tex truckbed liner was applied to both sides of the floor.
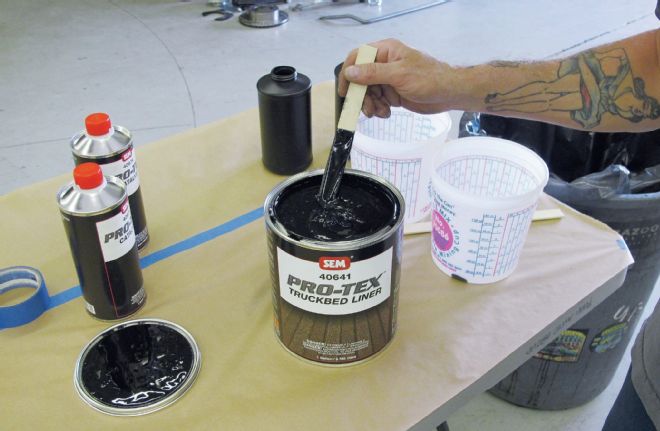
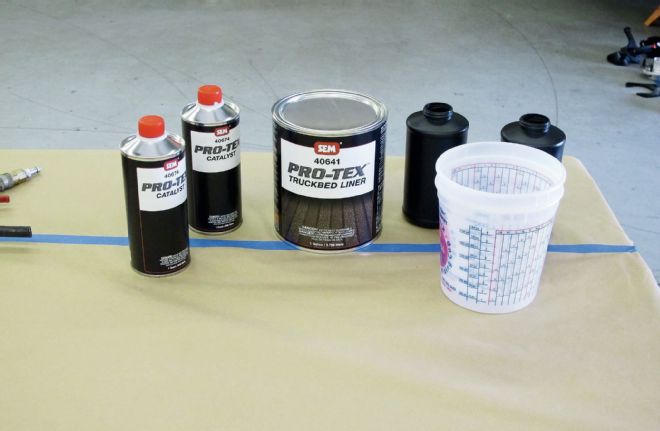
12 Pro-Tex is a heavy-bodied material so stirring may be required.
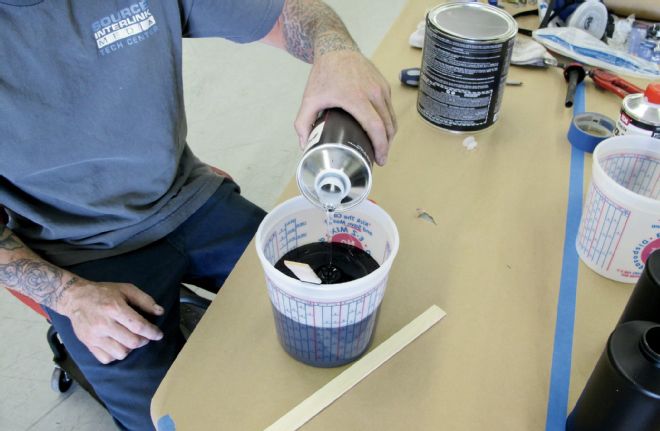
13 Pro-Tex is a two-part product so mixing in a graduated container is recommended. Once the catalyst is added, the pot life is approximately 20 minutes, however, Pro-Tex offers Extender for longer pot life in hot conditions.
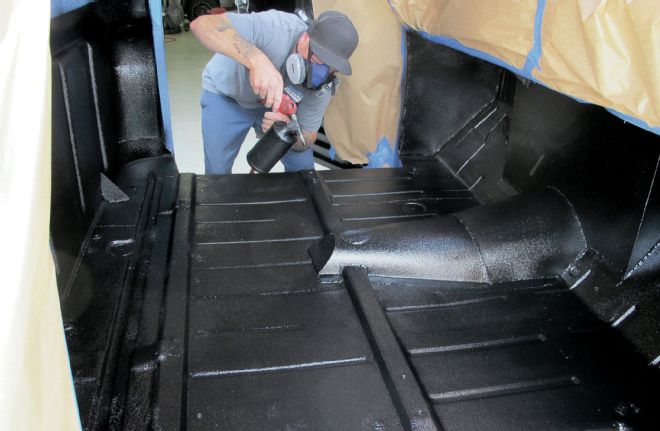
14 Using the included Pro-Tex applicator bottles and a generic spray nozzle, the bedliner was applied. Multiple coats may be used with proper flash time in between.

15 Along with the floor, the back of the cab was also coated with Pro-Tex.
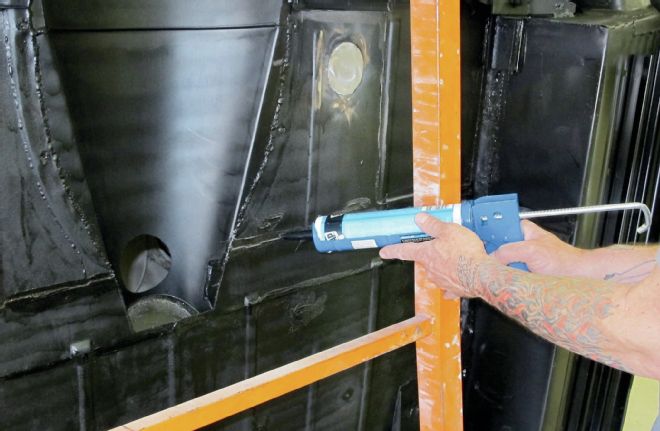
16 As on the topside all the joints in the replacement floor panels were treated to a bead of seam sealer.
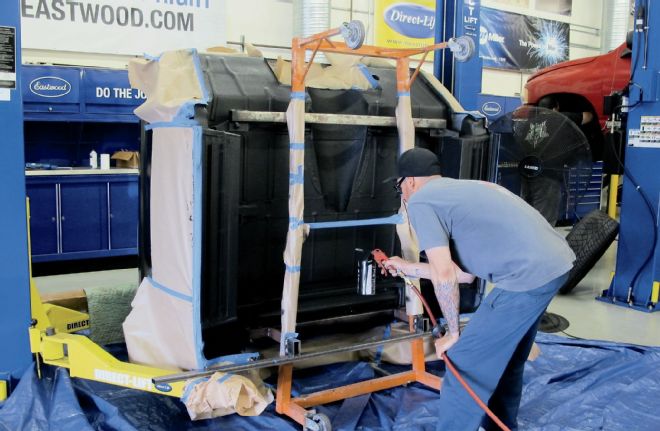
17 With the master cylinder access hole plugged and seams sealed, the lower section of the toeboards and the bottom of the floor were also coated with Pro-Tex.
18 These slick seats are from SCAT. They're comfortable and the deep side bolsters help keep the driver and passengers in place when the truck is tossed into a corner.
19 Included with the seats are slides that provide fore and aft adjustment.
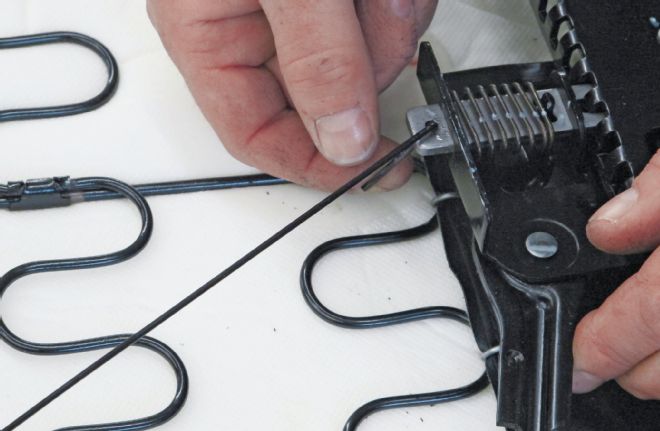
20 The left- and right-hand adjusters have latches that engage slots in the track—a wire connects the latches.
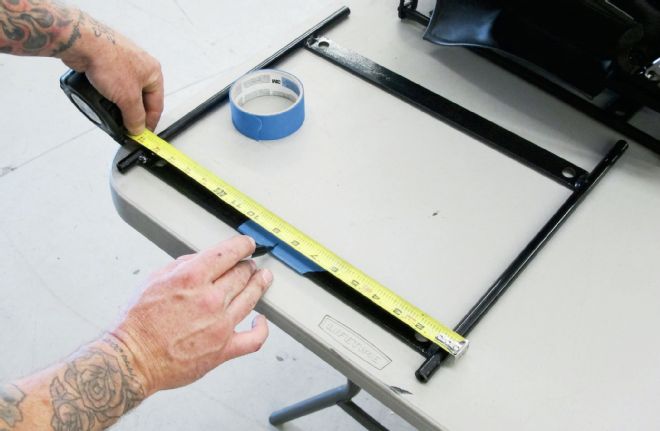
While installing bucket seats isn't difficult, there are some important factors to consider. As the Procar seats come with sliding tracks the fore and aft seating position is adjustable; however, the side-to-side location will be fixed. While it would seem obvious, the driver should be centered behind the steering wheel as sitting off to one side can be very disconcerting. (Many believe the most comfortable driving position is when the driver's line of sight follows the steering column to the center of the lane well in front of the vehicle.)
With the floor and firewall sealed and coated, seat brackets fabricated, and the buckets installed, our CLASSIC TRUCKS tech center manager's personal pickup is gaining more form—and best of all it's getting close to functioning.
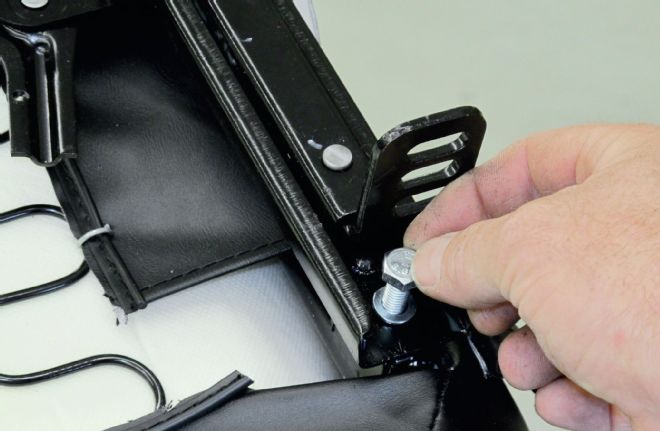
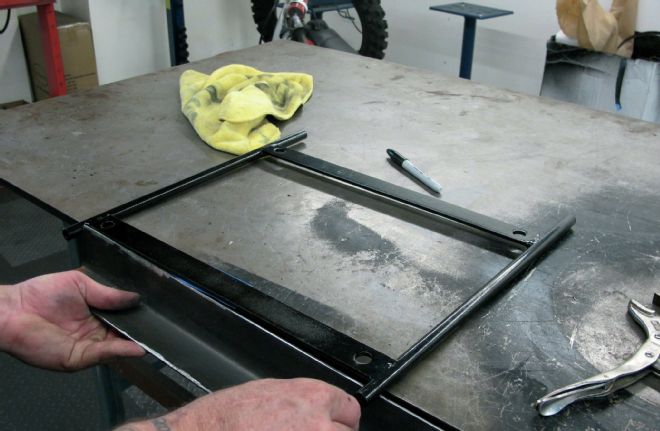
21 Here is the slider assembly bolted in place. The four tabs with three slots bolt to a bracket that attaches to the floor.
22 The floor bracket attaches to the tabs on the slider assembly—the three holes provide height adjustment.

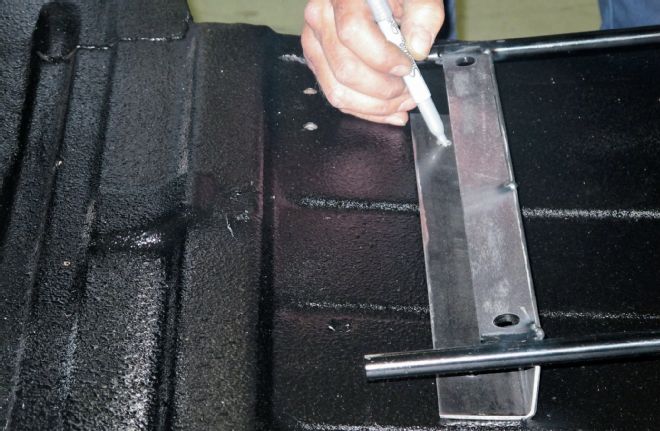
23 To locate the driver's seat in relation to the steering wheel a plumb-bob was used to mark a centerline on the floor.
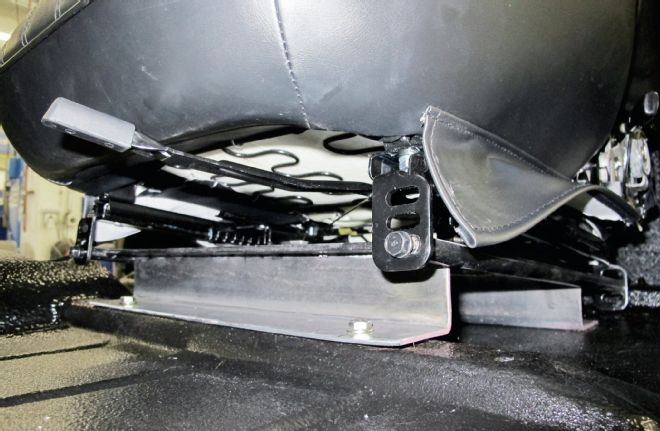
24 A corresponding center mark was made on the seat frame.
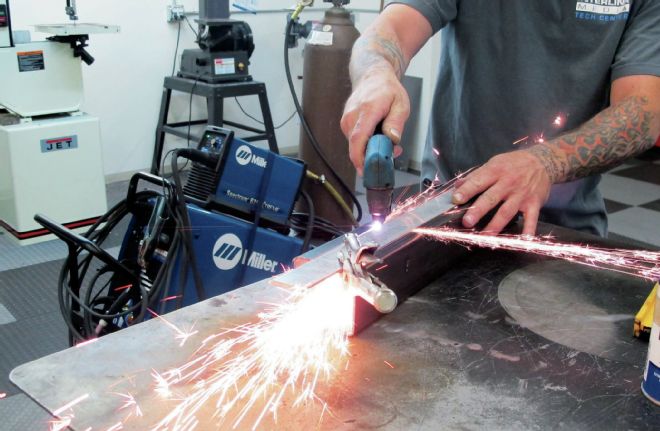
25 To position the seats properly in the Chevy's cab the mounts need to be raised. The necessary spacers were cut from rectangular tubing.
26 With the height determined for the front the spacers they were held up to the mount to be marked for length.
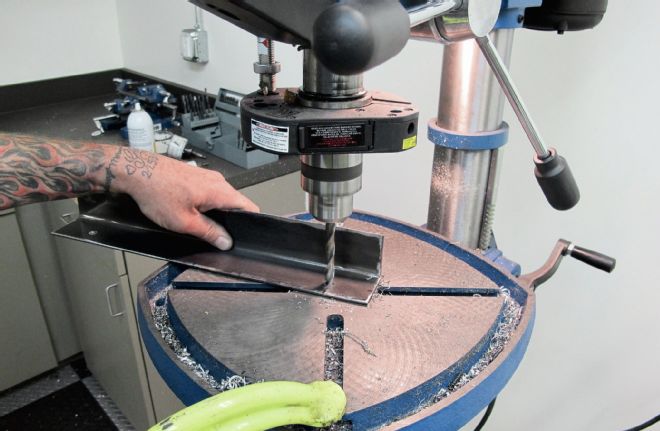
27 A pair of holes was drilled in the spacer so it could be bolted to the floor.
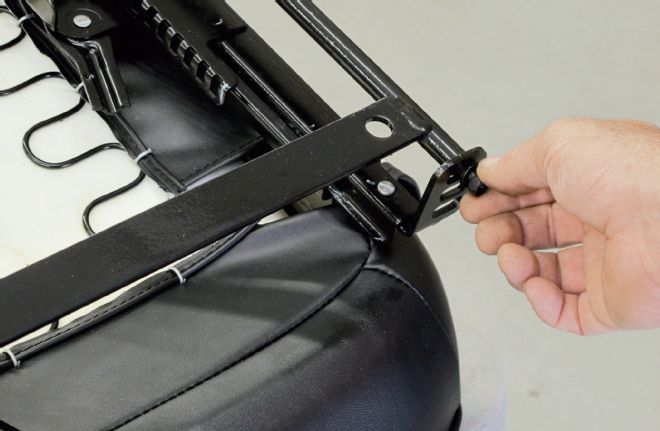
28 Corresponding mounting holes were then drilled in the floor. For strength a flat strap will be used below to sandwich the floor with the seat mount.
29 A similar spacer was made for the rear of the seat bracket. It was different due to the elevation of the floor.
30 With the spacers welded to the original floor mount the driver's seat was bolted in place. Note the height is still adjustable via the slotted holes on the slider assembly.
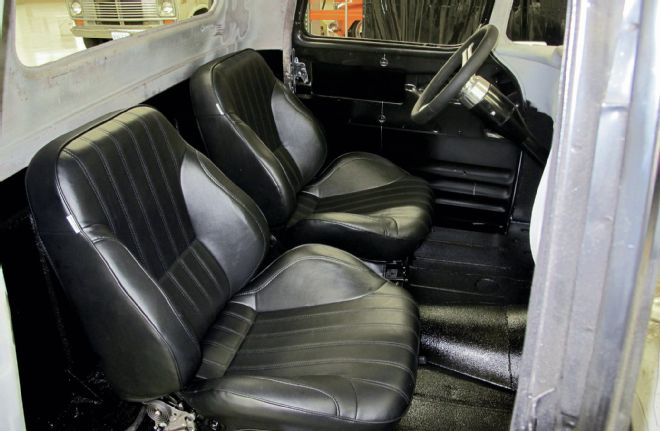
31 The office of Jason Scudellari's '56 Chevy pickup will be comfortable, great looking, and utilitarian with the addition of the SCAT bucket seats, Eastwood Rust Encapsulator, and SEM truckbed liner.