Hot, sunny days are fun, but they can turn the interior of your car into a broiler. Combined with minimal ventilation and decades-old materials this becomes not just uncomfortable, but actually damaging over the long-term. We've all seen those junkyard gems with a lot of potential, but they need almost an entire interior refurbishment due to the sun and elements. Those old steering wheels made of coated, formed polymer-materials are now long past their expiration date, and that covering is found chipped, broken, and cracked in most cases. Since Chrysler did many different steering wheel designs over the years, finding a correct, original replacement can get costly, and, if used, it might not have aged much better than what is already owned.
Doug Lepak, is known as The Steering Wheel Guy, and has spent the last 20 years perfecting techniques that can bring your steering wheel back to like-new status. His company, based in Edmonton, Alberta, Canada, restores steering wheels for most popular cars. This includes plastic, hard rubber, Bakelite, and real wood examples. While his work is already in everything from Rolls-Royces to antique boats, he specializes in plastic, wood-grained wheels like those found on the best performance cars of the '60s and '70s, as well as the more complex versions like the Rim-Blow model.
Doug takes advantage of some of the latest technologies, such as carbon fiber, and couples that to careful detailing by hand to create very professional results. Beyond the grip and surface areas themselves, he also works with a quality re-plating firm, Victoria Plating, who can refinish in both smooth and satin chrome finishes. He also has specialized repair parts for some internal mechanisms. The real trick is not in recreating all the original materials, but duplicating their appearance on the restored surface, which will never chip or come apart again.
We asked if he would be willing to share some of the techniques he has come up with during those years of trial and error, and he readily agreed. But, we will tell you up front, this is not something for the faint of heart when it comes to working with original parts. If the process here seems overwhelming, your best tool might be the phone you use to call Doug about getting your steering wheel restored by one of the best.
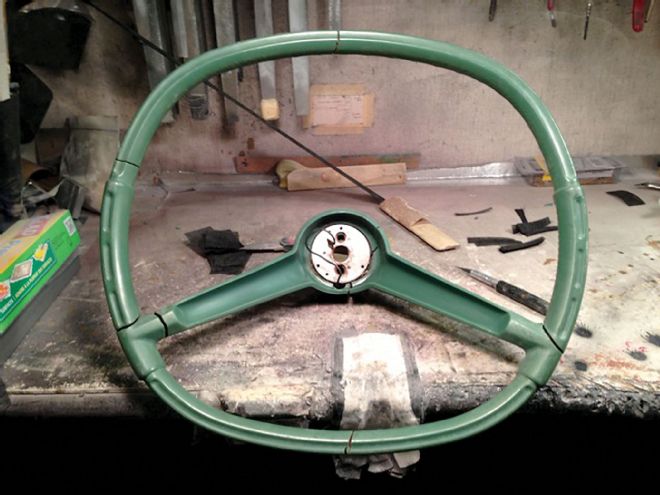
1. This is how some of the steering wheels show up. Somebody took their B-Body wheel to NoCanDo Steering Wheel and Boat Patching Service, and once Doug removed the paint, it’s obvious that the repairs were—we will kindly say—amateur (or FUBAR in military terms).
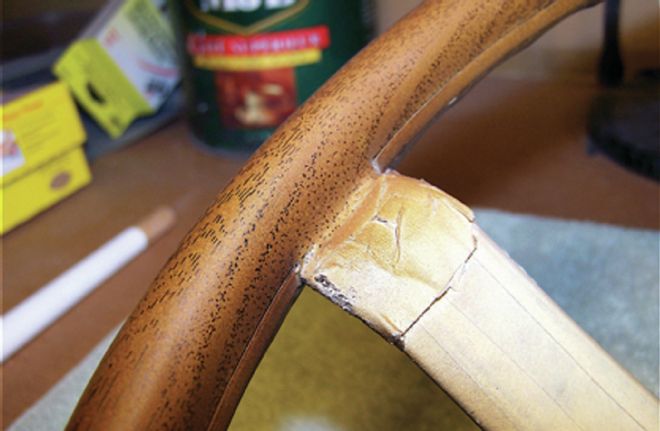
2. To begin, Doug sands the entire surface of the steering wheel. This edge view shows the roughed original surface, and a large gap. The gap will be completely filled with a resin/cloth buildup, and re-sanded before the next step.
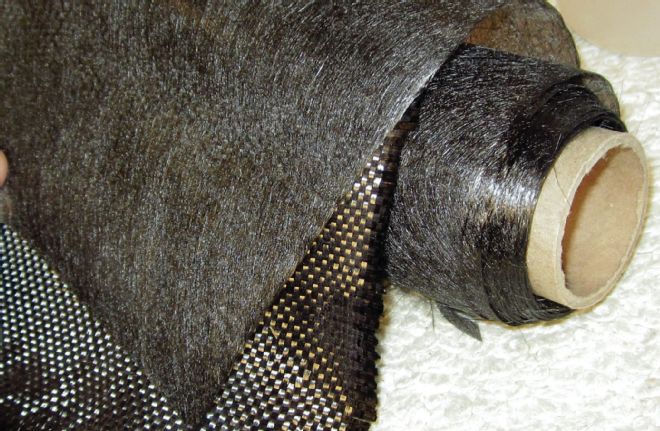
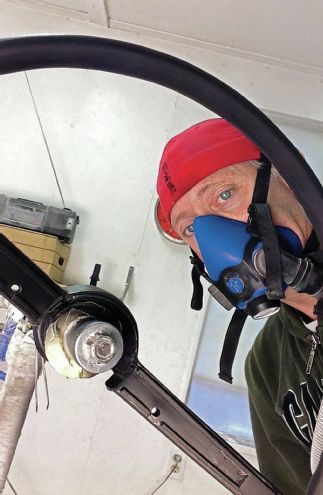
3. Cracks and chips are filled with a two-part industrial resin and carbon fiber cloth like this. The resin is mixed and then carefully poured or applied to fully fill in the imperfections. You will need gloves and good ventilation to do this.
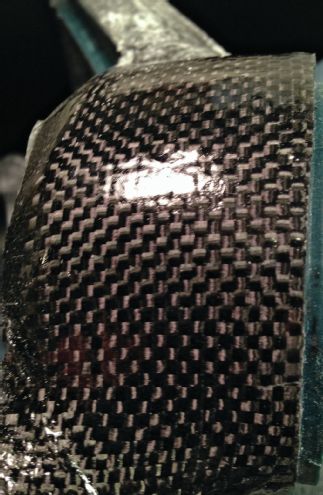
4. With the surface prepped and the gaps filed in, resin-impregnated carbon-fiber cloth is wrapped around the entire steering wheel, filling in any other areas showing wear. More resin is added to the surface, but the wheel looks like a prop from The Mummy before sanding. Even screw holes are covered with the carbon-fiber cloth; these will be cut back open and smoothed during the following step.
5. If you know about doing body work, the next step is critical. Taking your time, sand and reshape the resin-fibered surface to OEM perfection. Doug uses files, a Dremel tool, and sanding wheels for this. This before and after of a DeSoto steering wheel shows the transformation from an unrestored wheel to the carbon-fiber cloth repaired wheel and the requisite surface prep. Doug’s big advantage is his experience to help massage the new surface into the proper shape. You may want to practice this on a non-important example for your first attempt…
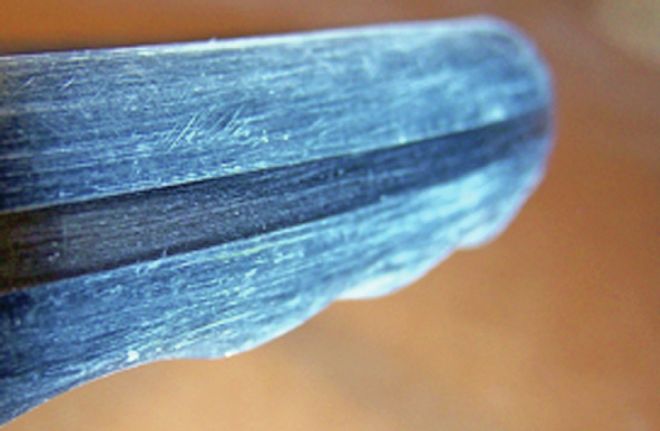
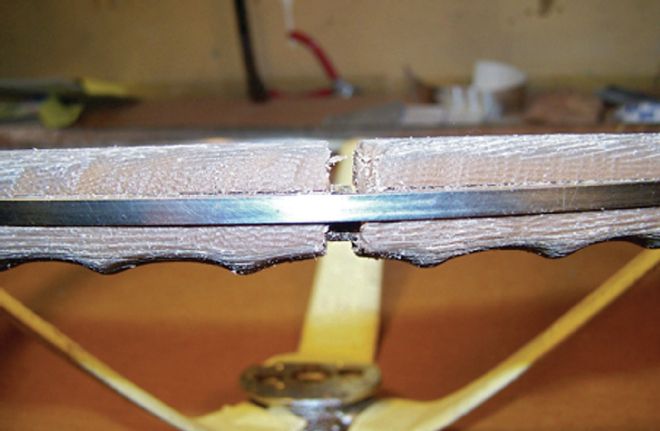
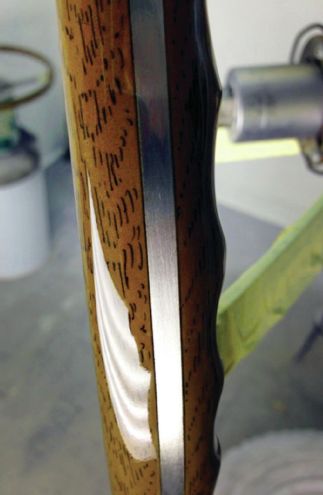
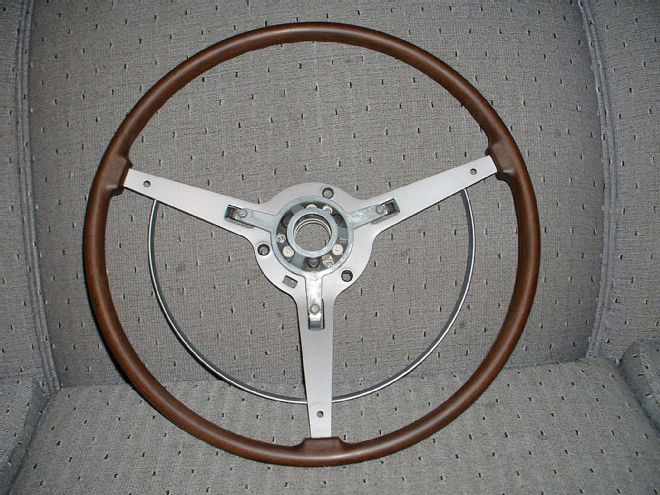
6. This is the edge of a ’68-’70 Mopar woodgrain Sport Steering Wheel, showing an exposed metal band after the carbon fiber cloth has been sanded away. This center ring will be further polished before the paint is applied and the graining drawn onto the rim.
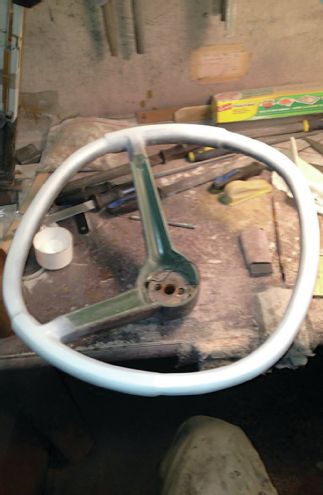
7. Now comes the paint. Doug uses a base coat/clearcoat process for the wheel, all carefully shot with an airbrush using BASF/RM Acrylic Urethane paint. Prep and mask all exposed metal before painting. First comes a coat of black primer, followed by sanding, then a coat of white base paint with finish sanding prep to make the final color really pop. All uncolored surfaces are masked as needed. Many steering wheels are built on a bare metal frame with the bright work as screwed-on accents, but not all; any bare metal needs to be masked as well.
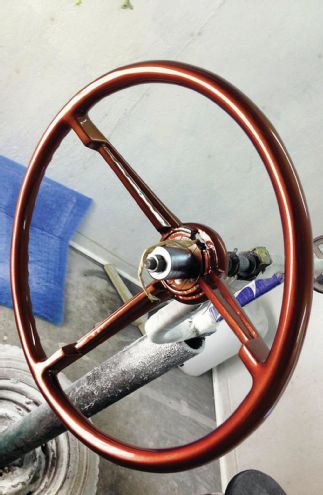
8. Check out the fresh Burnt Orange paint on this bad boy. This steering wheel will be going back on a ’68 B-Body. Doug’s steering wheel paint jigs are simple but effective for making sure paint evenly covers the entire surface.
9. What if your steering wheel was originally wood-grained plastic? Doug will spend hours replicating the factory black lines on the rim’s circumference using a .05- tipped mechanic pen and indelible ink.
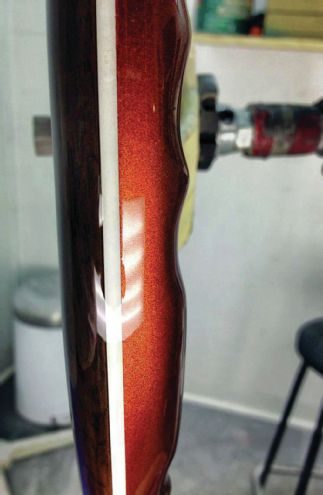
10. Notice there are now no gaps between the frame and grip material. The resin completely filled those in, and now there are several layers of clear to seal in the color. This was a custom Rim-Blow request with a wood grain front, white tape stripe instead of polished metal center, and Burnt Orange back.
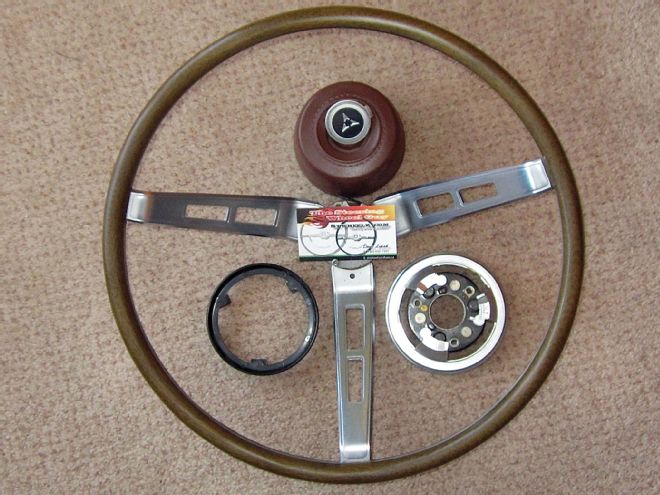
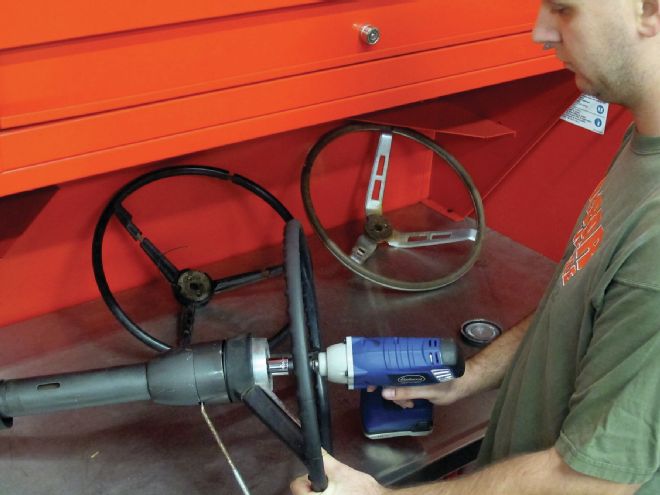
11. This is how your steering wheel will arrive when Doug is done with it, ready for reassembly to be installed on your ride.
Other Wheels for Other Rides
Doug does many different types of wheels, and these wheels all have different styles and finishes, including those in pre-muscle car era rides.
Doug also has a process for steering wheels in satin rim finish like this 1⁄2-horn-ring version of the standard '70 – '71 E-Body wheel. The special 1⁄2-horn-ring used unique parts to rocker the center triad so that the horn would operate from the horn ring.
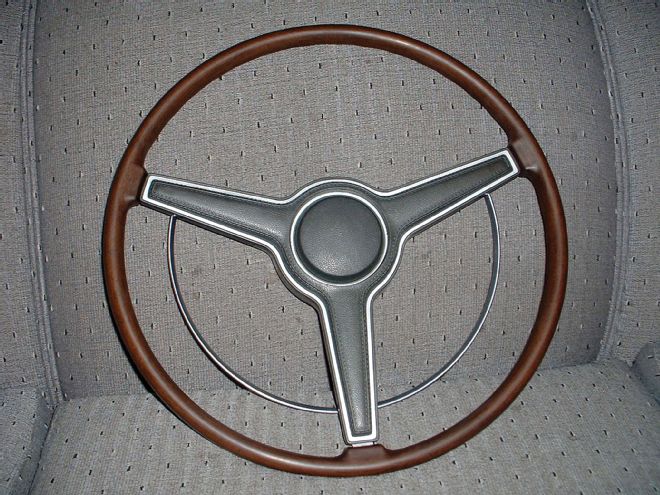
The cover reinstalled, this is how the wheel will look on the car. The Steering Wheel Guy also has the replacement parts available. Tell 'em Mopar Muscle sent you, and thank him for telling us how it's done…
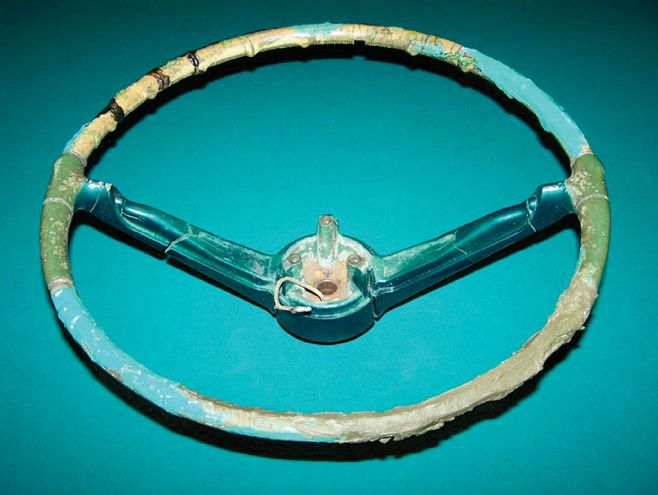
This tiller from a '58 Desoto needs serious help. Luckily, Doug is in his element with challenges like this.
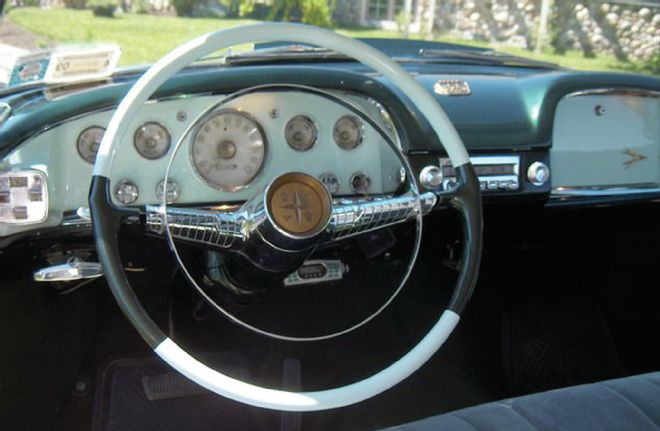
Here's how it looks back on the restored car after being refinished. Colors, accents, and special edges are all duplicated with the resin process, meticulous prep, careful masking, and clear-coat depth.
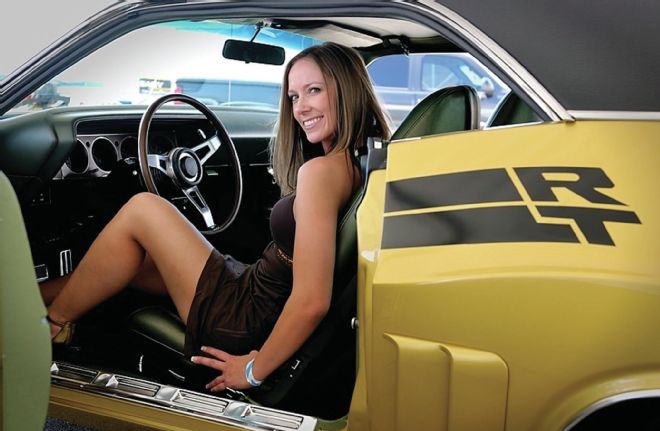
This is one of Doug's finished wheels installed on Dale Cole's 1971 340 Challenger R/T. We can't guarantee models like Danielle Polson will always be this impressed, but hey, it can't hurt!