We now have our 1965 Ford F-100 back at the shop and we are ready to start bringing it up to speed. The first thing that we are going to work on is the interior portion of the truck. Several weeks ago we ran into the folks at LMC Truck while we were attending the Pate Swap Meet in Dallas, Texas. Their vendor booth had all of their current catalogs and we grabbed one for the 1961-66 Ford trucks. From the catalog we made our parts list and then we called them up and placed our order. Less than a week later, our box arrived and we were ready to get started.
The first thing we're going to tackle is the dash instrument cluster. The factory instruments are still in working order, we just need to give them a quick makeover. We are going to not only replace the bezel and plastic lens, but will also repaint the instrument needles that have become discolored over the years. This upgrade will quickly change the look of our interior in just a short period of time.
The chrome dash bezel that we received from LMC Truck is part number 49-6209. This comes as a set and includes the plastic chrome outer bezel and a plastic lens. For the gauge needles we located some paint off the Internet that matches the factory color and will bring them back to their original look. From start to finish this project took us about an hour, so it is an easy and quick upgrade. The only tools we needed were a No. 2 Phillips screwdriver and a ¼-inch nut driver for the voltage regulator. If only every job was this easy and offered such a reward!
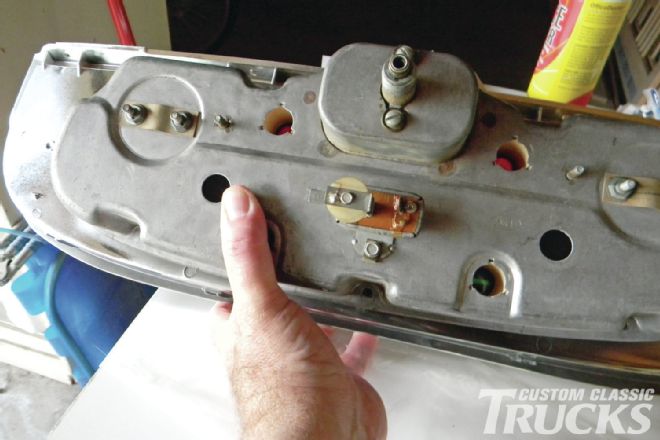
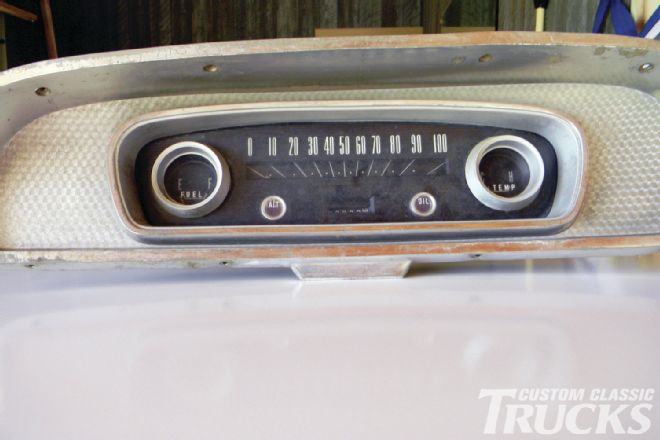 1. Here is the original gauge cluster right out of the truck; it’s in dire need of some updating.
 2. We contacted the folks at LMC Truck and ordered the bezel and lens kit (part number 49-6209) from them.
 3. We started the disassembly by removing the screws from the back of the instrument cluster.
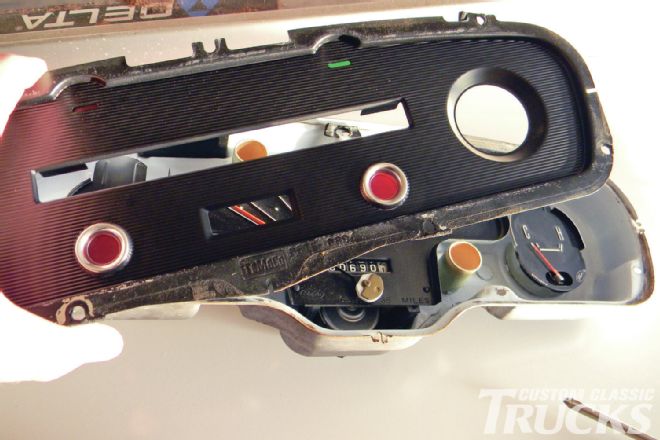
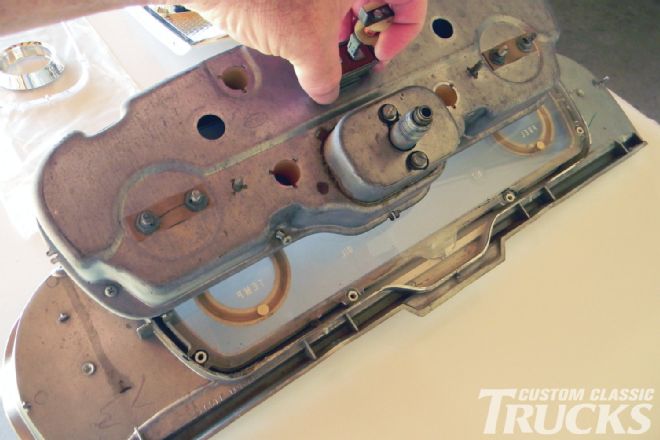 4. Next, we separated the two sections and placed them on the workbench.
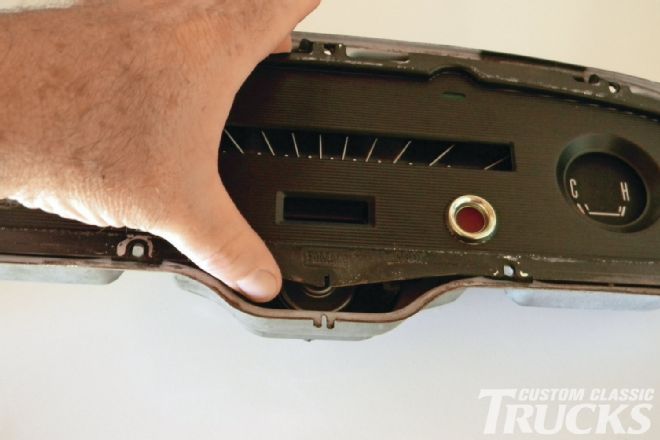 5. We then lifted the faceplate off of the gauge cluster.
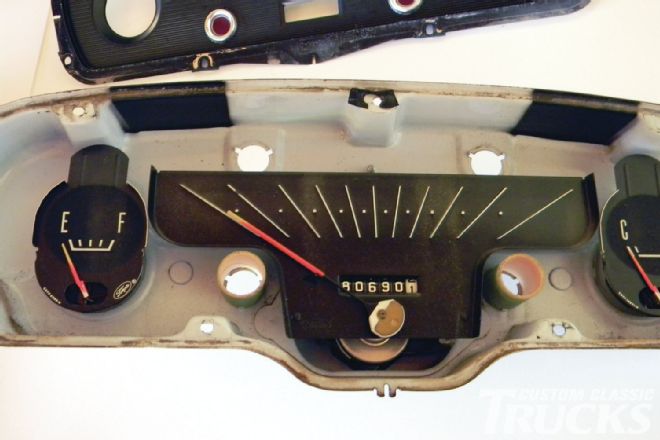 6. Our gauge cluster has become a little dusty and the needles have become faded over the years.
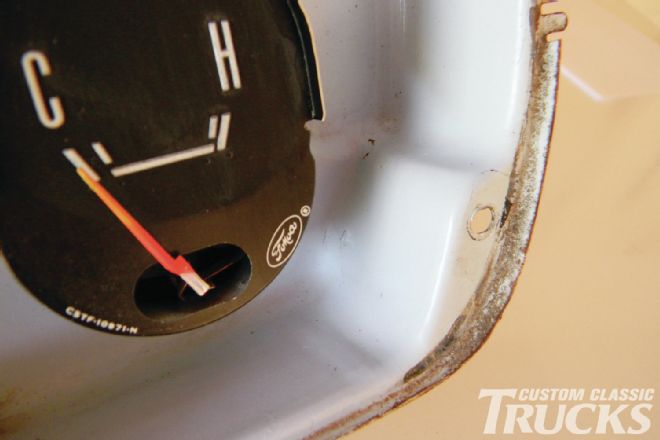
 7. Here is close-up of what has accumulated over 48 years.
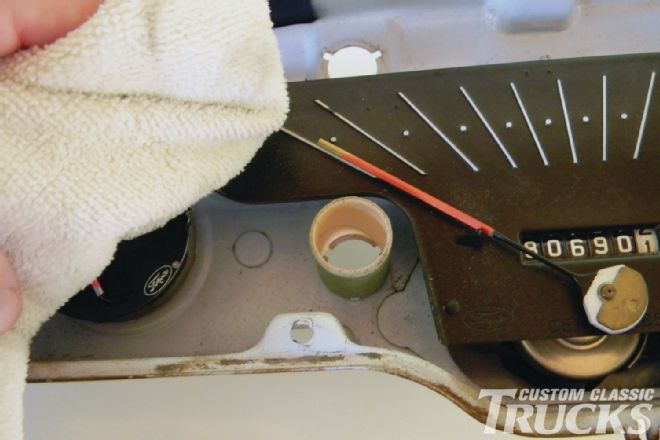 8. We grabbed a damp cloth and wiped down the faceplate and needles.
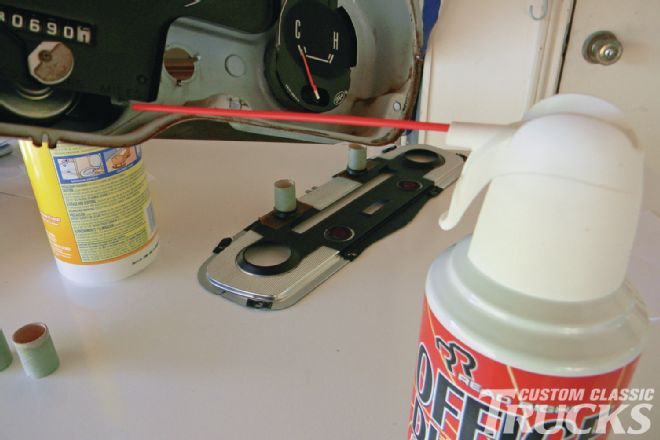 9. For the hard-to-get spots we grabbed a can of compressed air to loosen up the dirt.
 10. A large part of the grime has now been removed.
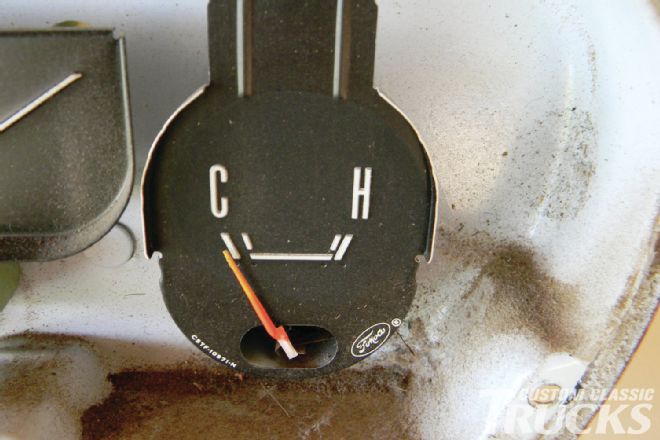
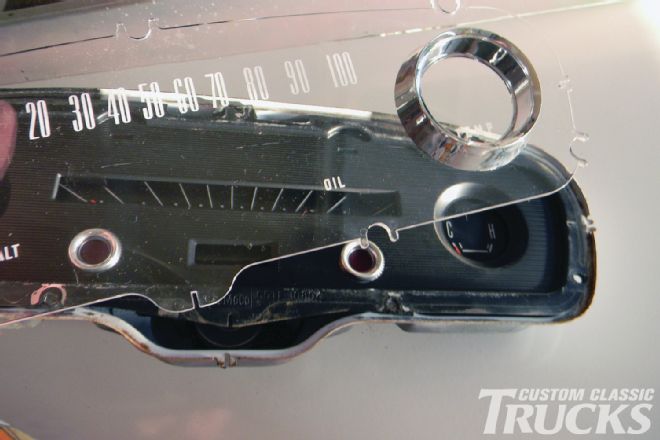
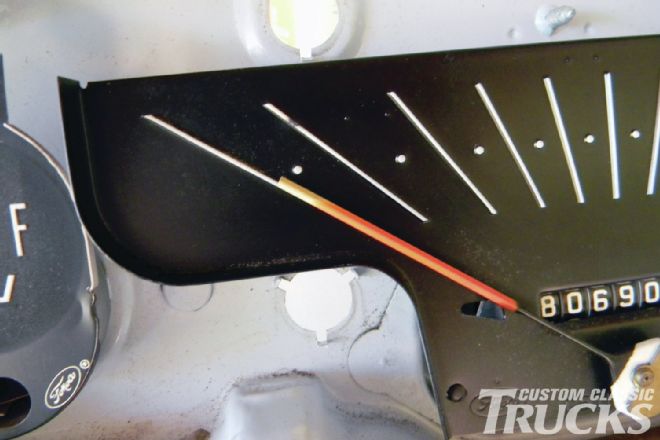 11. You can see from this picture that the sun has had a negative impact on the indicators.
 12. We tracked down some gauge paint off the Internet that matches the early Ford factory color.
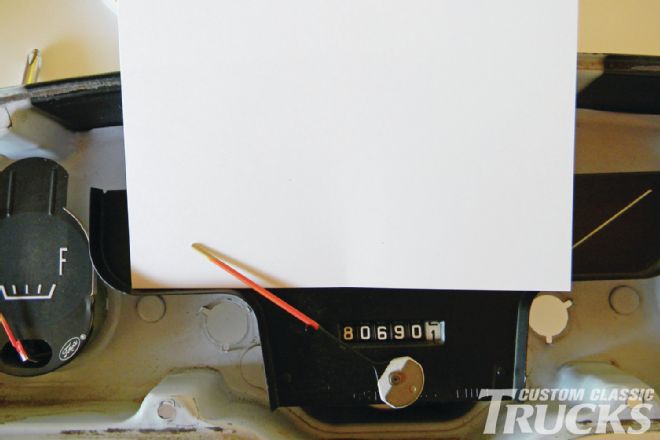 13. We placed 4x6 index cards gently under the needle to protect the gauge face while the needles were painted.
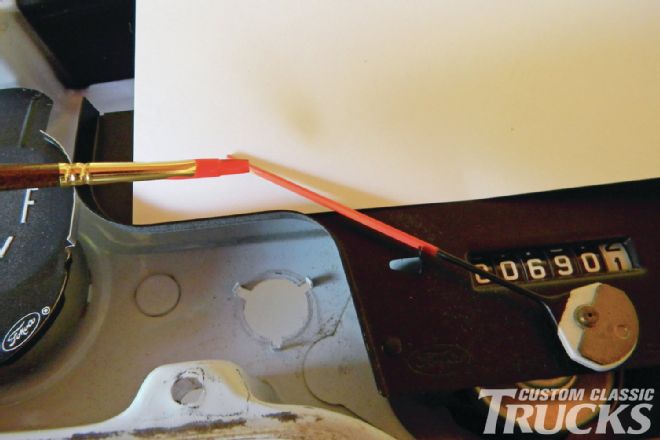 14. Taking a small paintbrush, a thin layer of paint was applied.
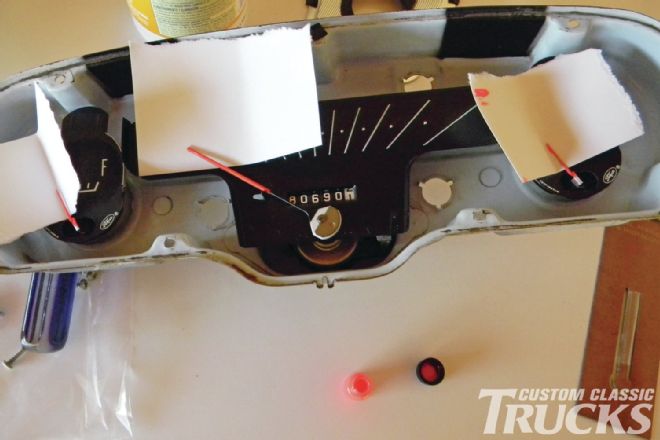 15. We then placed index cards under the other two needles, and touched them up as well.
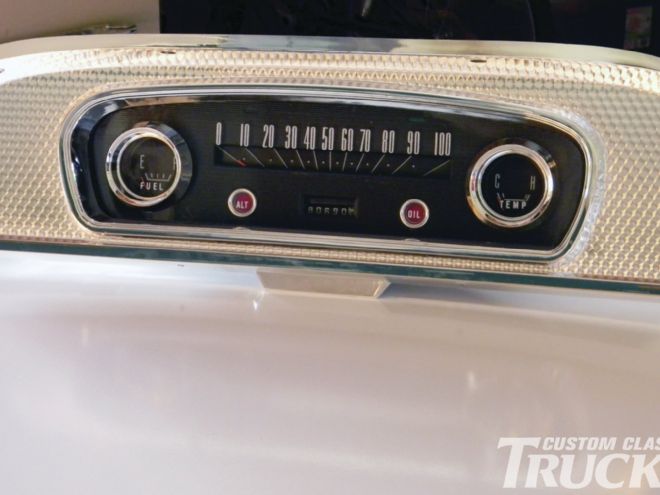
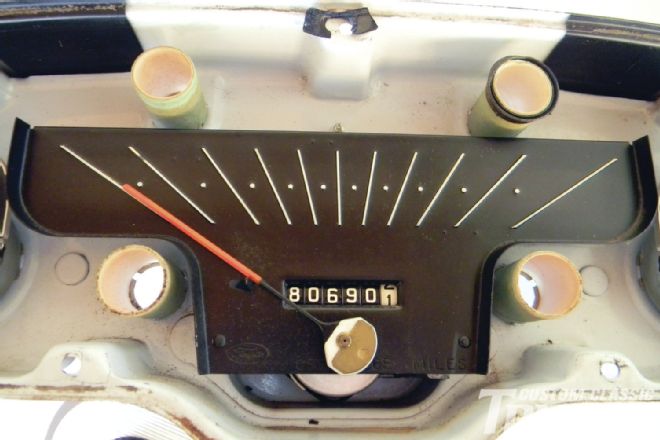
 16. Here is the cluster after the paint has dried. Not too shabby, given what we started with!
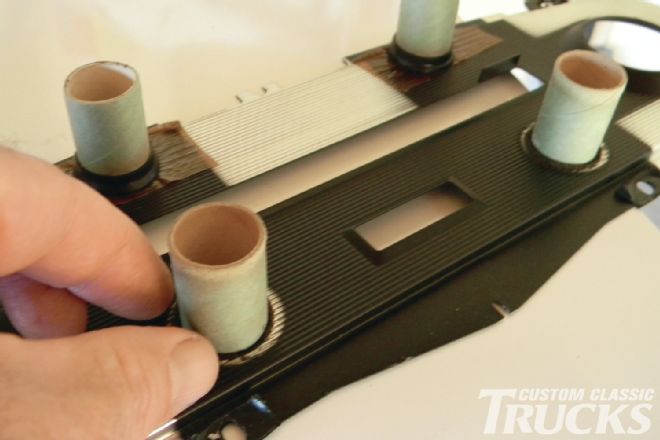 17. The faceplate has four cardboard tubes, which allow the light to transfer from the bulb in the back to the front.
 18. We transferred the tubes to the back part of the cluster. This will make it easier to put the faceplate back on.
 19. Next we set the faceplate over the gauges.
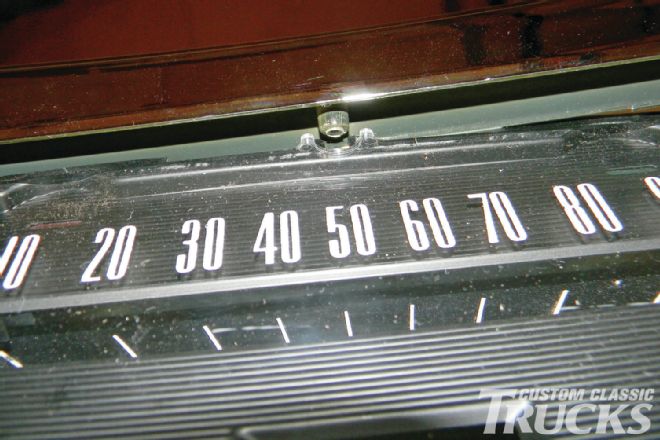
 20. Then our new clear plastic lens was placed on top of the faceplate.
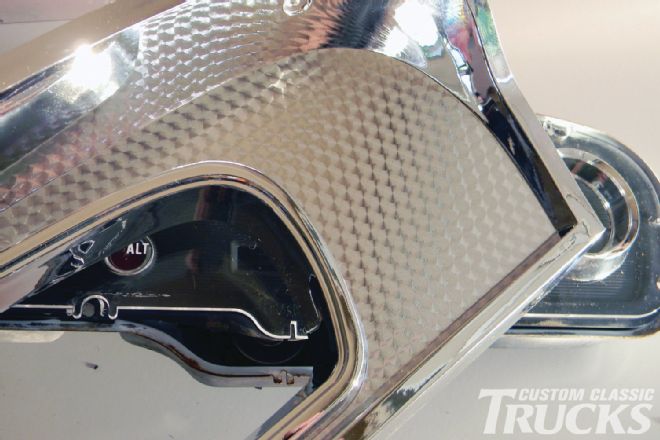 21. We then put the chrome bezel on top.
 22. The quickest way to align the bezel is to line up the center nipple over the lens and then set the unit down over the cluster.
 23. With everything sandwiched together we grabbed the entire cluster and turned it over so that it could be assembled.
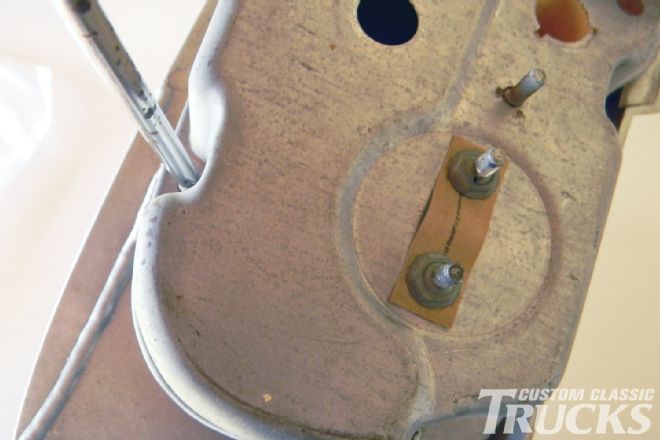
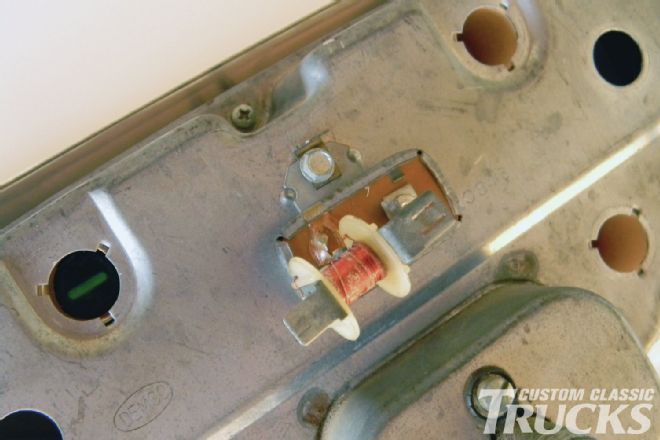 24. We also opted to replace the factory voltage regulator with a new unit.
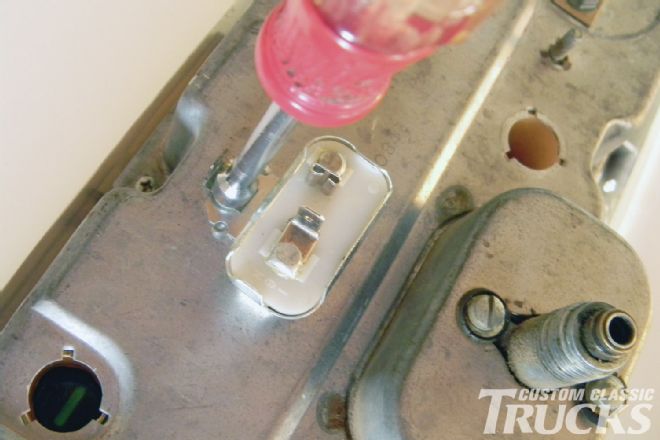 25. Here is the new unit from LMC Truck (part number 47-0888).
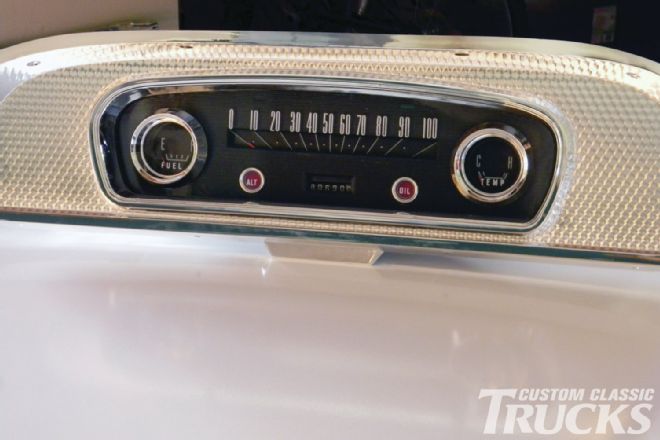 26. Here is our updated gauge cluster, ready to go back in the truck.