One of the reasons many of us build classic trucks is the same reason painters, sculptors, and musicians ply the trade that they chose – personal expression. No two pickups are the same due to our desire to add our own personal touches to our vehicles. Whether it’s the paint, interior, wheels, or other modifications, every detail of our pickups contains well-thought-out extensions of our own imagination and or taste.
And while the aftermarket industry has pretty well covered every aspect of what a builder may desire, when it comes to customization, there’s one area where there’s been limitations in the past – instrumentation. These days there are a myriad of companies offering a number of different gauge and cluster designs, but truly one-off instrument clusters have managed to elude most builders … until now. Taking advantage of their R&D shop, the guys at Classic Instruments have stepped up to the plate to offer their experience at custom gauge building to us classic truckers.
With everything from graphic design to an experienced engineering department, Classic Instruments can truly offer a one-of-a-kind instrument cluster to those with even the most discerning taste. Whether it’s a custom rework of a stock gauge cluster or a complete one-off, they can offer the experience, expertise, and knowledge that over 25 years in the gauge building business provides.
Take a look as we take you behind the scenes at the custom gauge shop at Classic Instruments and follow along as an oddball classic cluster gets a custom facelift.
01. The first step in the custom build process begins when a Classic Instruments sales representative has initial contact with the potential customer. They talk about the process and discuss what the customer would like to have done. To give a firm quote the customer is asked to send the gauges they would like to have built in to Classic Instruments. If custom dials are being built, Classic Instruments requests a rough sketch of what the customer is looking for as well as sample colors.
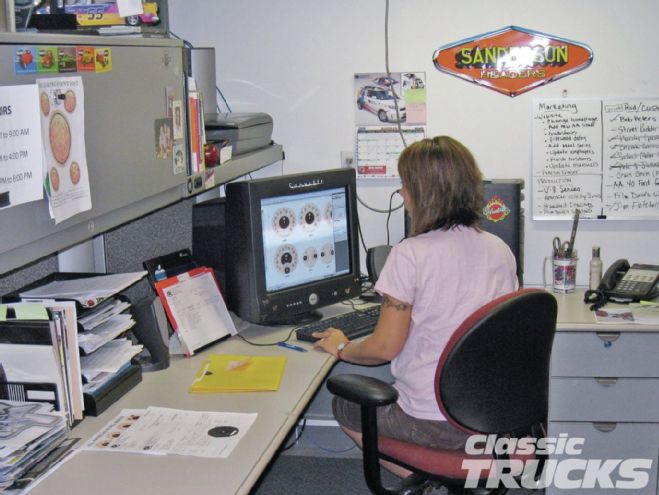
02. Once the package is received from the customer, it is carefully recorded into a receiving log, photographed, and dated. Projects are time sensitive with the goal of completion on each project being 8-10 weeks from the approval of the quote.

03. The customs sales department calls the customer once the project is sent in to discuss possible design options. Notes are taken on what the customer's ideas are for the final design and what they would like incorporated in the gauges, like high beam and turn indicators, pointer style, colors, and graphic layout (nostalgic or custom). The sales representative also confirms what the gauges came out of, are going into, and what the engine and transmission in the project will be.

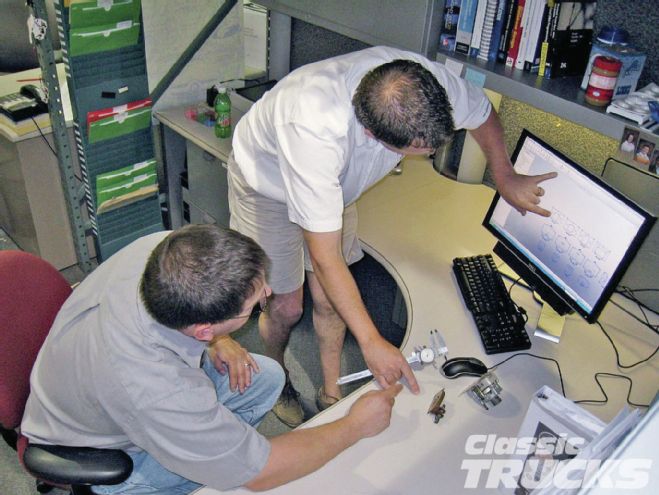
04. Members from the design, build, and graphics teams all gather to see what it will take to put the customer's ideas into reality. This is where the quote is created and the build process is mapped out. This is a brainstorming session where the initial engineering of the build is discussed.
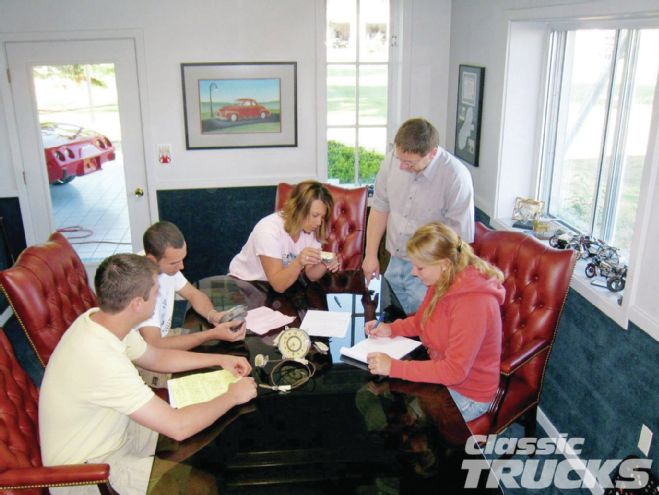
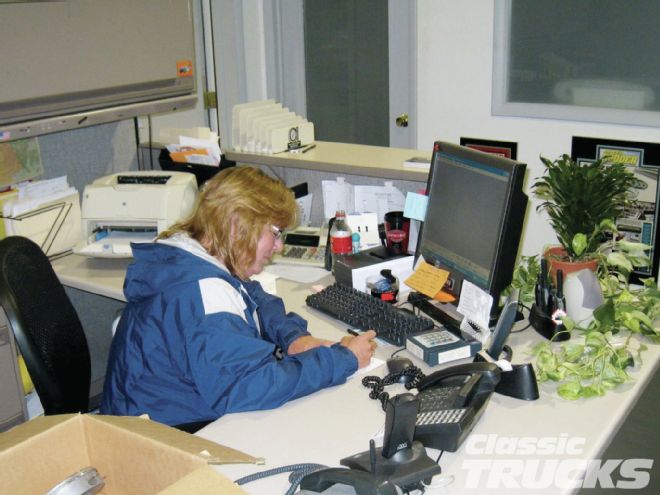
05. The customer is then called and the quote is presented along with the lead time for the project's completion. Basic paperwork and a customer file are completed and the initial deposit is taken. A customer card is created, which is assigned a timeslot to ensure an expedited delivery.
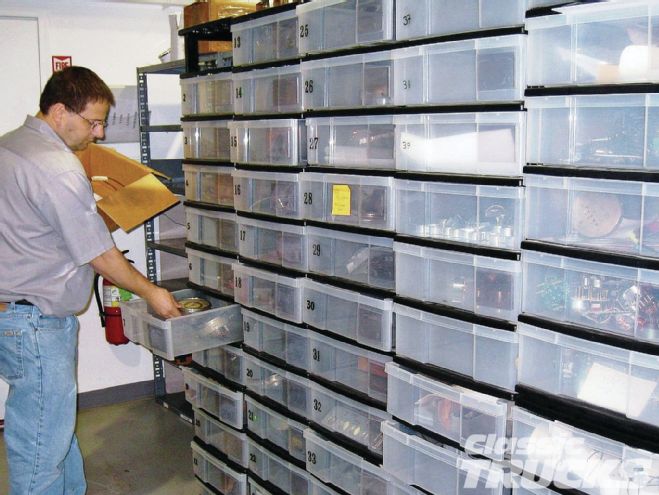
06. The project is assigned a numbered bin and is ready to begin its journey toward the build tables. The bins allow the team to keep everything relevant to the build with the project at all times.
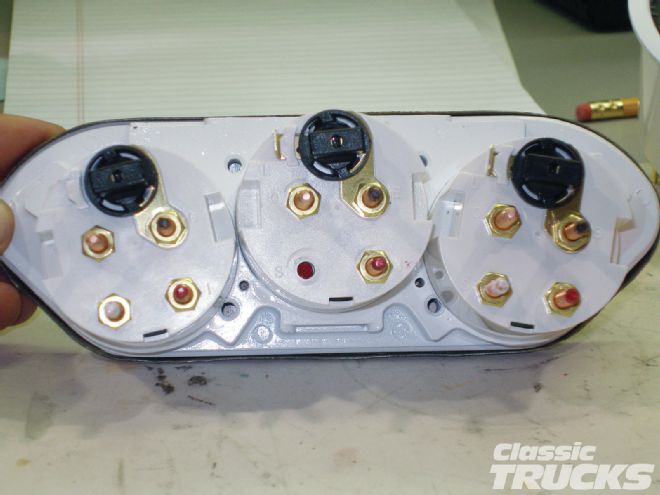
07. The gauges are disassembled, and throughout the process notes and pictures are taken to document the build.
08. The graphics department creates a proof and emails it to the customer. This gives the customer the opportunity to see the project prior to the final build and enables the team to make any minor graphical revisions that the customer may request.
09. Now, engineering and designing of the internal operation for the gauges begins using a 3-D program for the build. This is where precision engineering and CAD drawings determine the fit and finish of the new modern movements into the original housings.
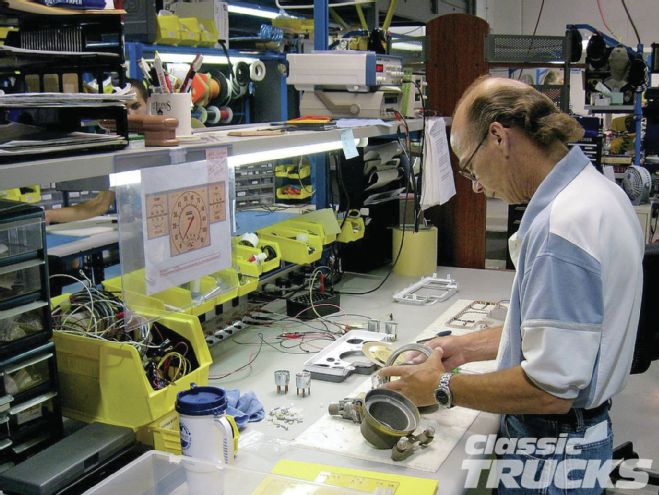
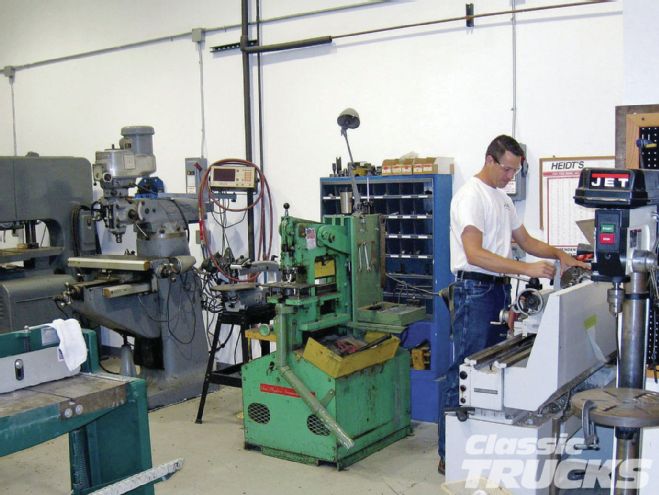
10. Here, fabrication and machining of components for final assembly is being done. The CAD drawings are utilized to machine and cut out precision pieces for the final build.
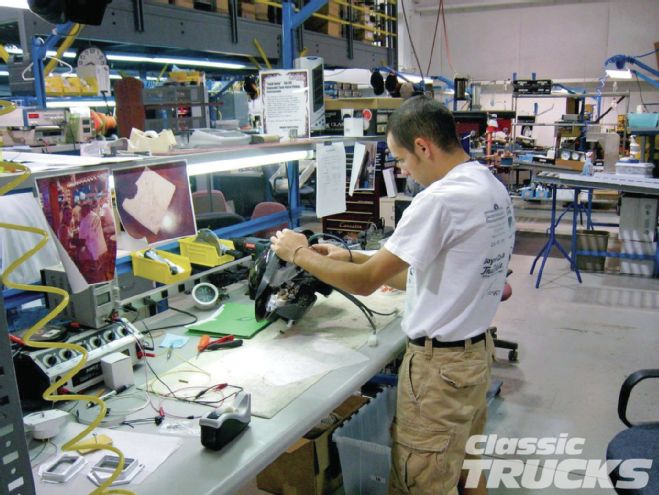
11. Closing in on the end of the project, final assembly takes place. This is where the communication, engineering, and design steps really pay off. The joint effort of the build team with the customer allows for a seamless assembly.
12. Once the gauge cluster is put together the pointers need to be mounted on the movements and calibrated. Here the unit is tested for accuracy. Throughout the process the proof that the customer approved stays with the project and at each stage the builders verify that the proof matches the build to ensure that the customer gets exactly what he or she wants.

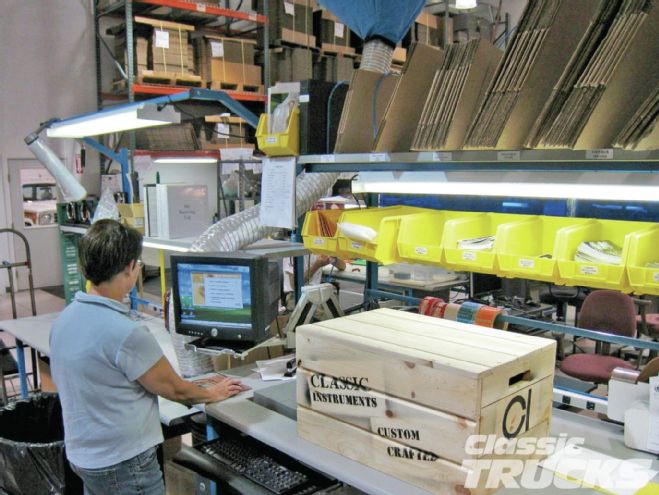
13. With the final product assembled, it is then shipped to the customer in a custom-built crate.
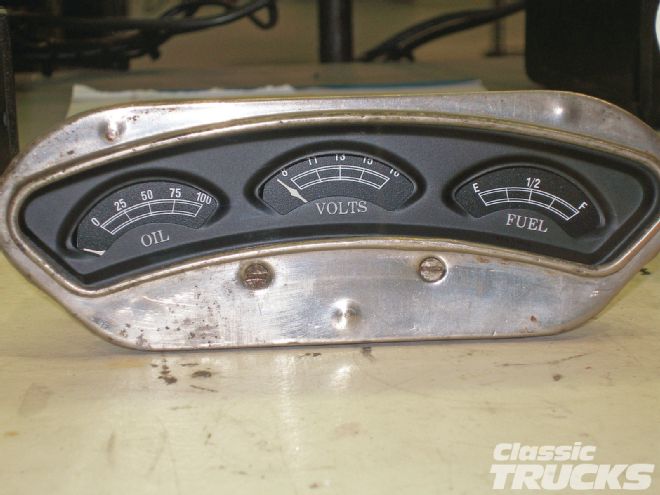
14. A perfect example of just what the custom shop can do is this cool old mechanical gauge set I'd found at the Pomona Swap Meet a couple years ago. I had picked 'em up to use in a 1929 Ford Model A closed-cab pickup I was building at the time.
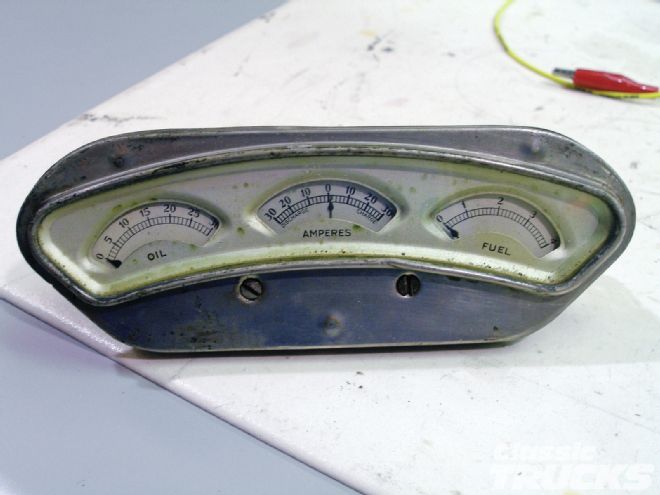
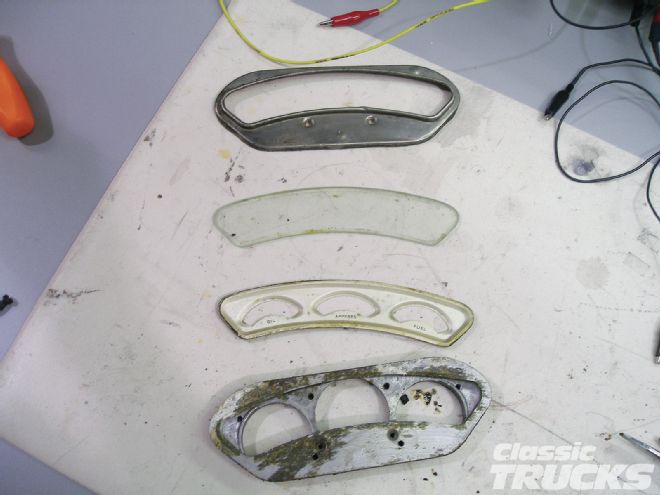
15. As you can see, these things were truly mechanical with the oil and fuel pressure gauges operated via copper tubing.
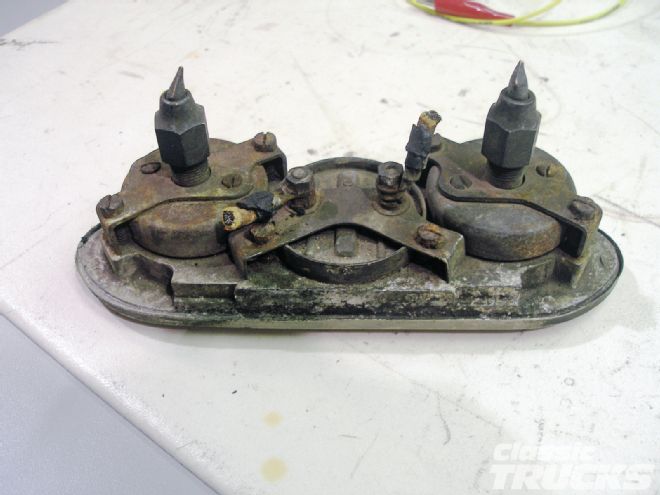
16. After a good cleaning the assembly was taken apart so the tech could get an idea of how to proceed on this particular update.

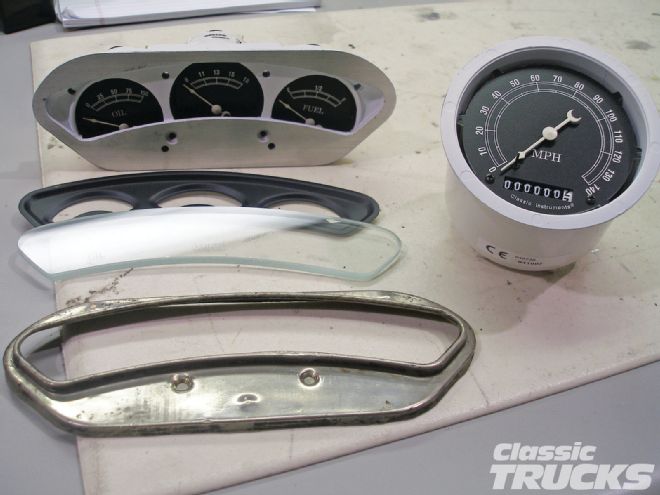
17. With the original gauges removed from the housing, initial measurements were taken to determine how much, if any, machining would be needed.
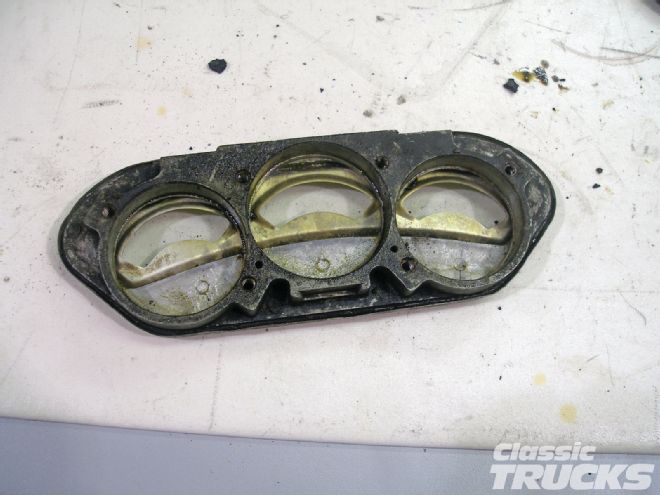
18. Here you can see the housing assembly components including the stainless bezel, the cover glass, the inner bezel, and the aluminum main housing.
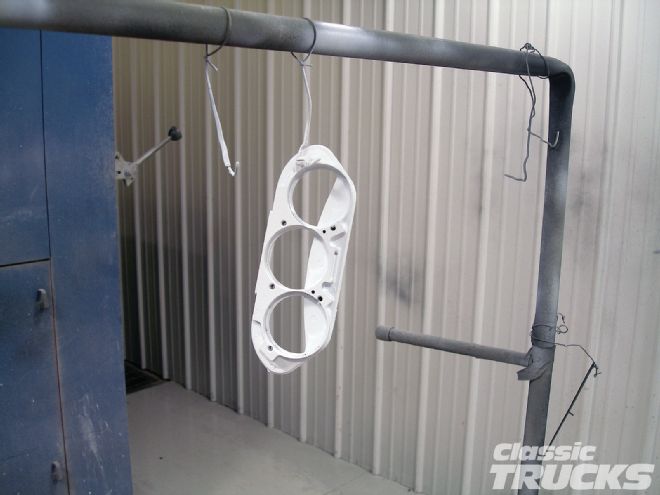
19. The housing was then bead-blasted in preparation for machining.
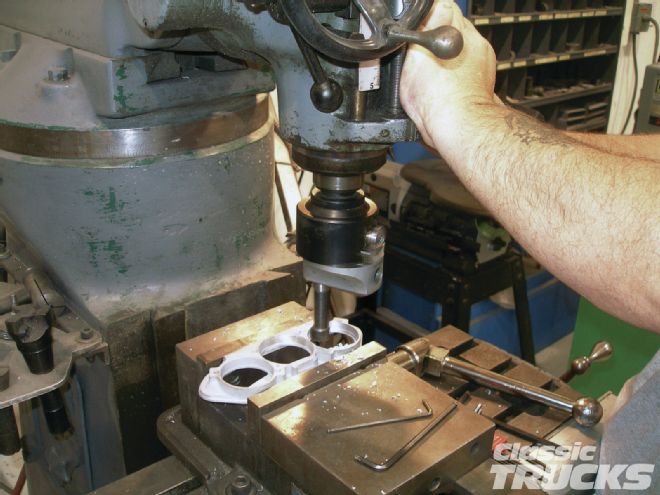
20. The gauge openings needed to be enlarged to accept the new modern Classic Instruments gauges in place of the originals.
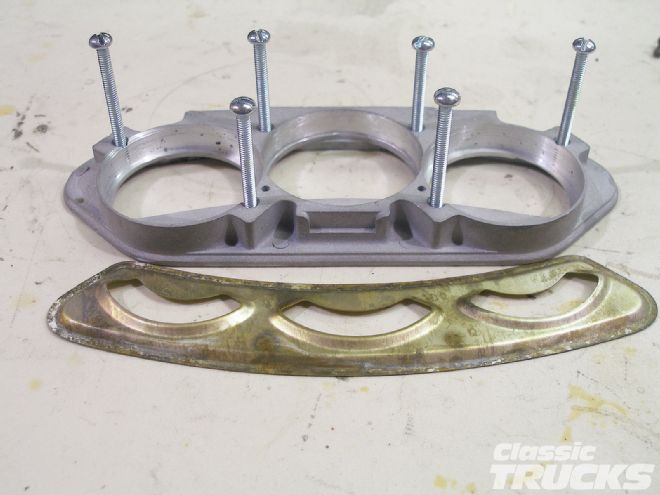
21. Once machined to accept the new instruments, the Classic craftsmen turned their attention to both the inner and outer stainless bezels.
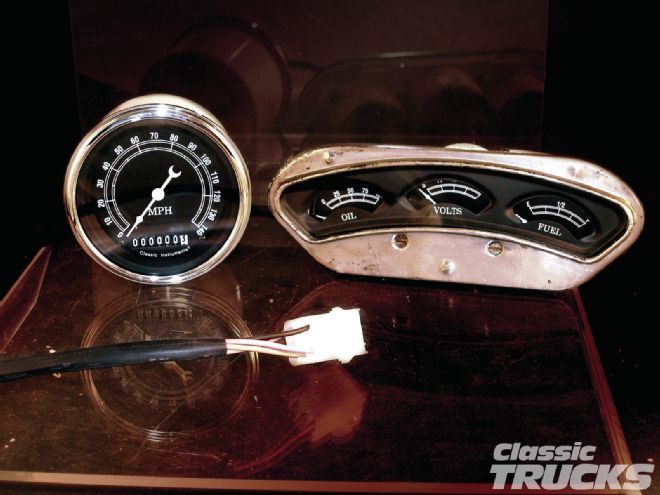
22. Once the new gauges were inserted into the reworked housing, and the inner and outer bezels repaired and refinished, a matching speedo was pulled from stock
for use in conjunction with the new custom cluster.

23. Here's a look at the front and back of the newly refurbished gauge cluster. Classic Instruments turned this old gauge set of unknown origin into a brand-new, high-quality cluster that's surely a one-of-a-kind set of gauges.
24.You too can have a custom cluster or refresh your original equipment gauges by contacting Classic Instruments and getting the ball rolling. You'll be amazed at what a great job they'll do.