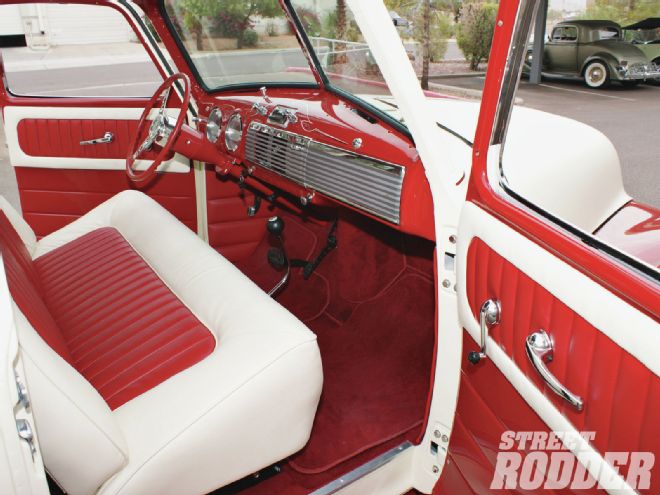
 This new plush interior provides both driver and passenger with years of stylish driving comfort.
With this month’s installment we wrap up the interior of our Project Shop Truck. The ’47 pickup is still in the capable hands of Glenn Kramer at Hot Rod Interiors by Glenn, where it’s getting decked out with door cards, a headliner, and floor mats. Then it’s back to Hot Rods by Dean to sort out the last few details before hitting the road to be displayed at various car events around the country.
The two holes index the door handle and window crank.
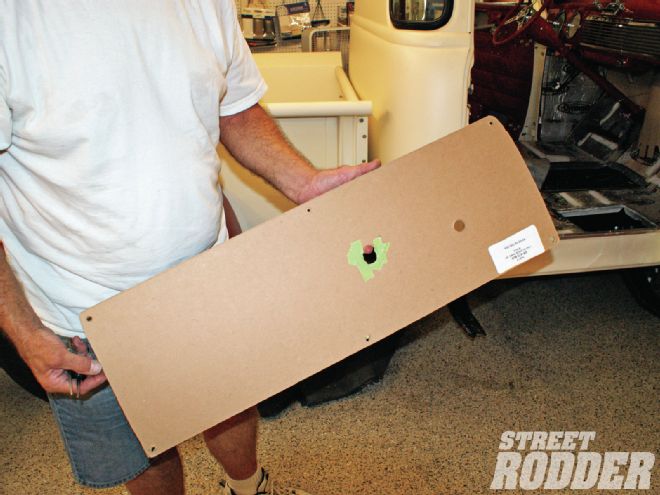
The KB board now has its final modifications and layout lines for the tuck ’n’ roll upholstery.

Kramer test-fits the KB board one last time.

Kramer worked quickly to have the door panels completed, sewn, and ready apply to the KB board in time to be photographed.
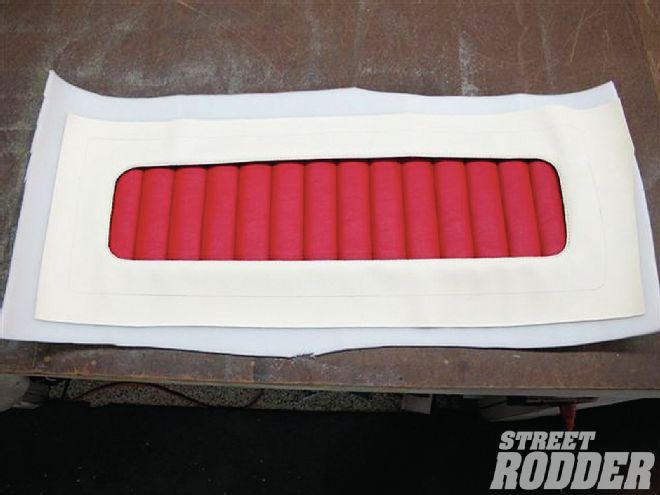
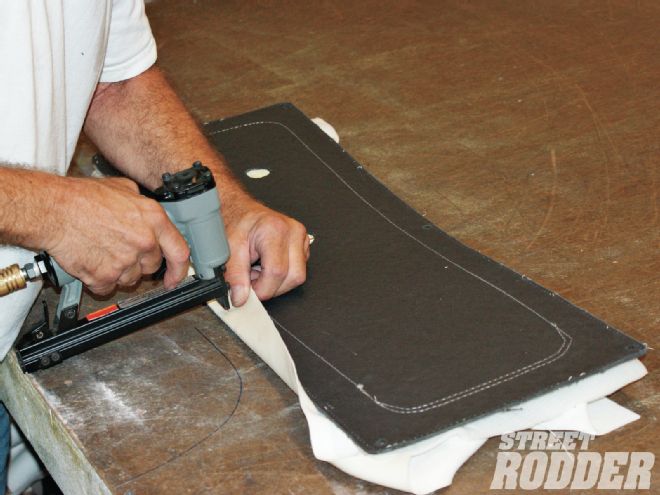
The upholstered door panel is stapled to the back of the KB board.
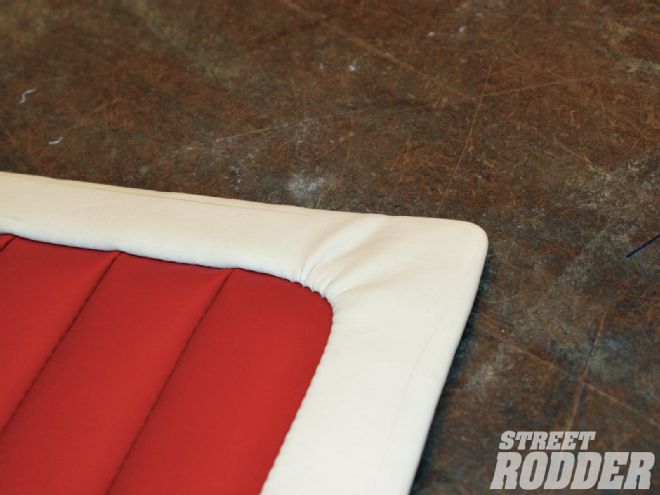
Wrinkles are common where the material gathers near tight radii.
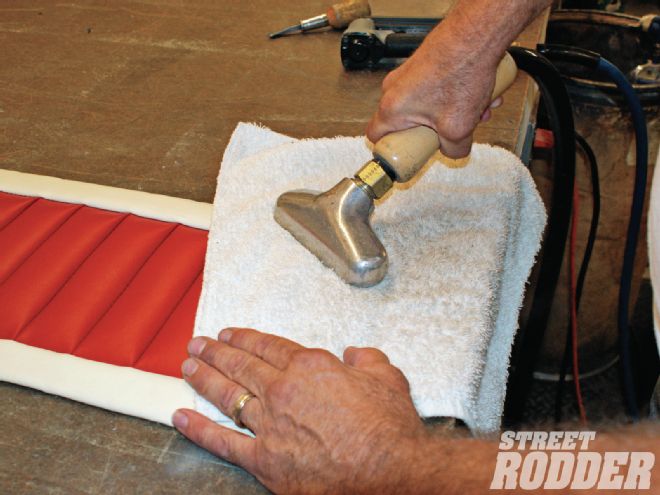
Steam applied to the area through a terrycloth towel eliminates existing wrinkles.
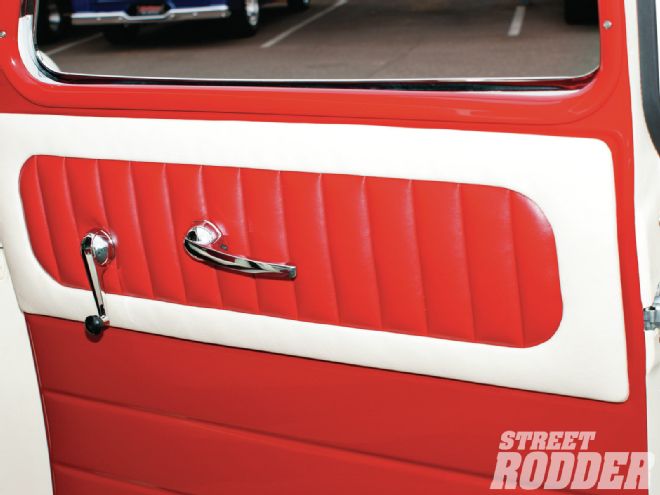
The finished door panel is punched for the window crank and door handle.
This simple door panel adds visual interest to what might otherwise have been a rather plain interior.
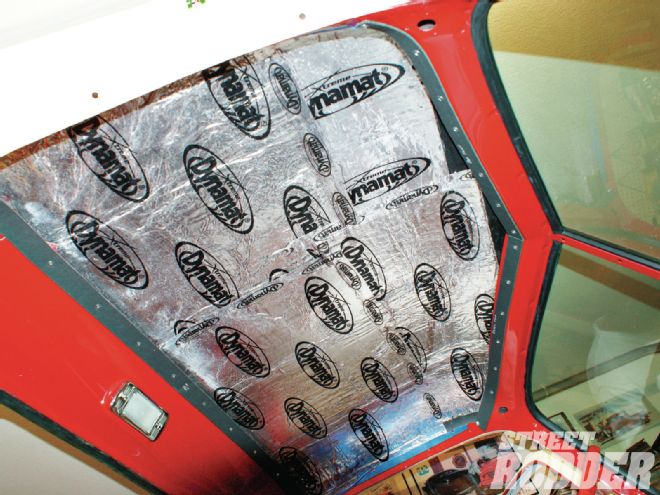
Dynamat is used to insulate the roof. KB board secures the edge of the headliner to the inside of the cab.
Kramer measures and marks the centerline of the roof as well as the location of each top bow.
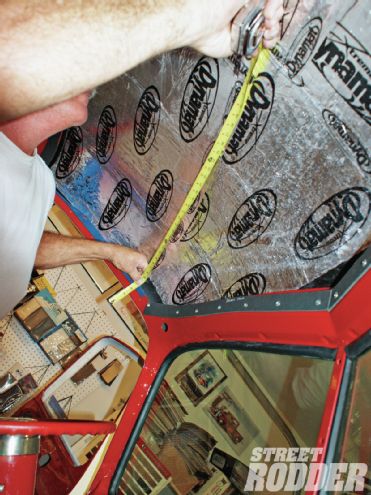
Different contours along the roofline make sure each bow is slightly different in size and shape. Each must be measured and custom curved to fit a specific location.
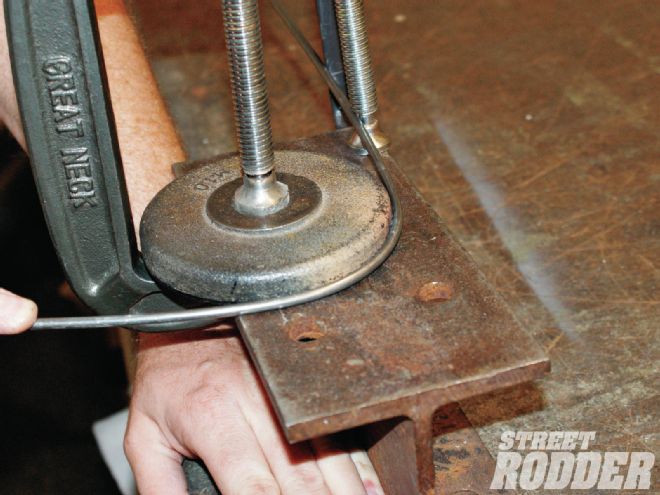
Each bow is hand curved around a metal disc clamped to the worktable.
The end of the bow is hammered flat …
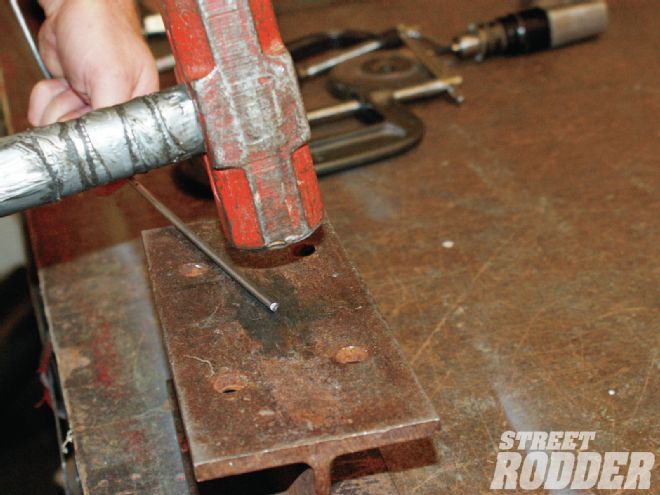
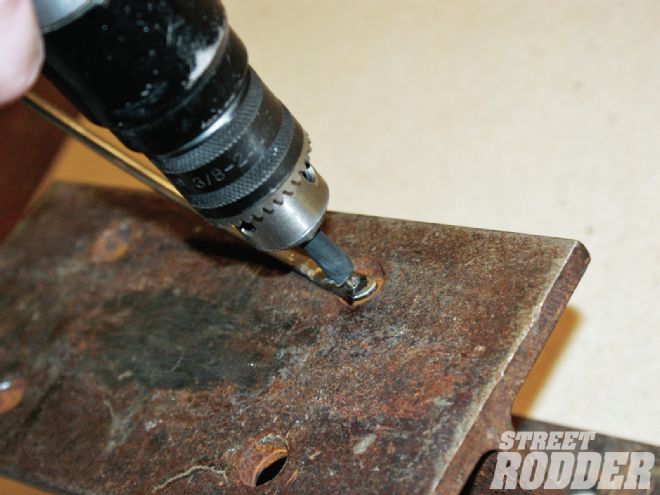
… then drilled with an 1/8-inch hole.
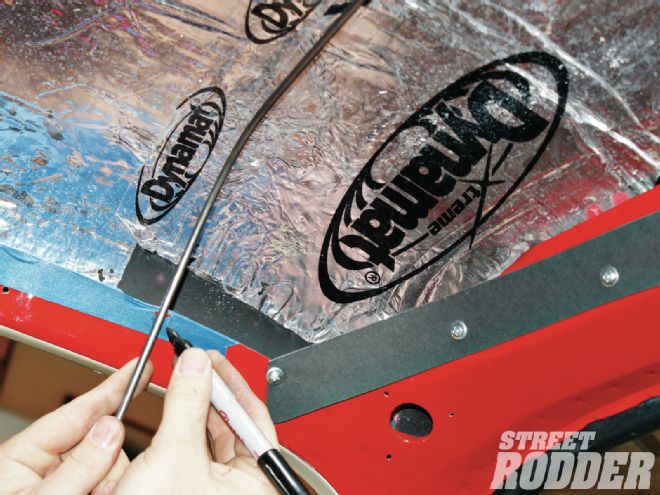
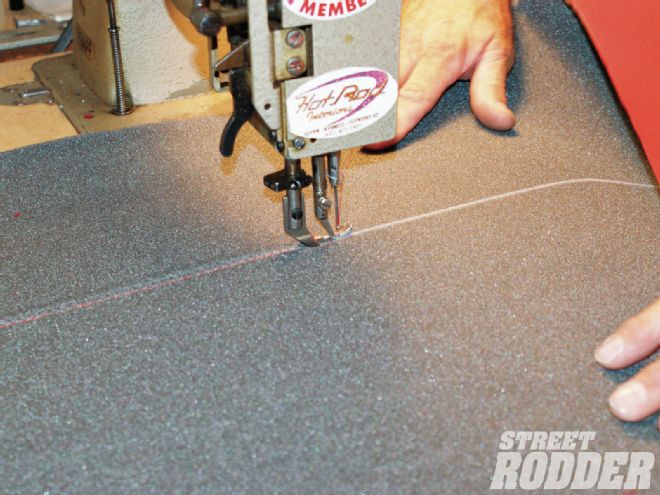
Kramer transfers the measurements and location of each bow to the backside of the headliner material.
Each bowline is carefully stitched with a single pass through the sewing machine.
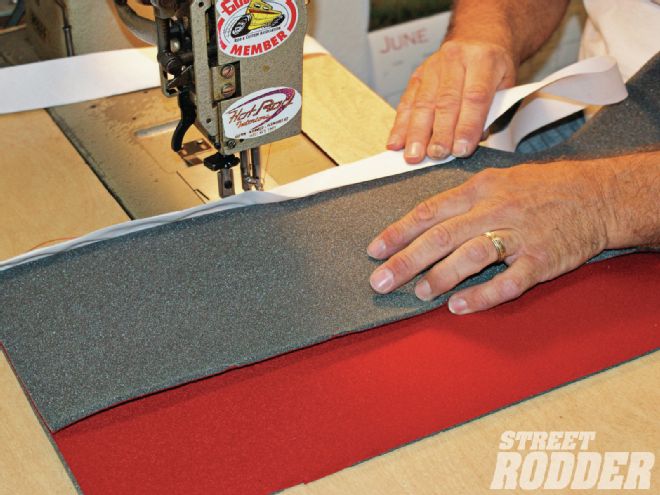
Double-sided listing-material is sewn to the backside of the headliner along the stitched line. This step is repeated for each bow.
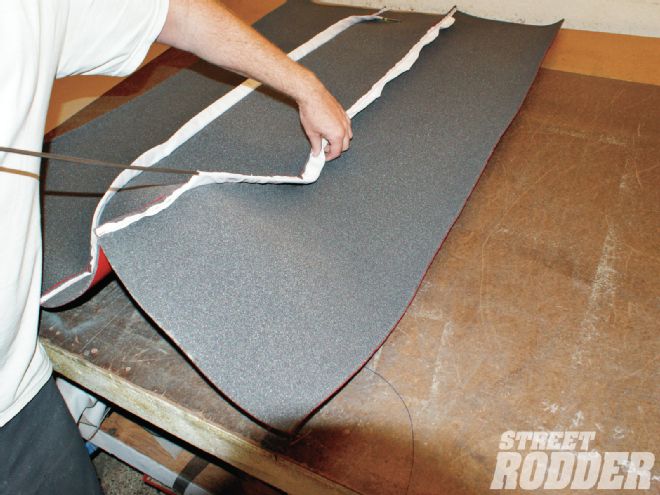
Each bow slips through the listing material to match the contour of the roof.
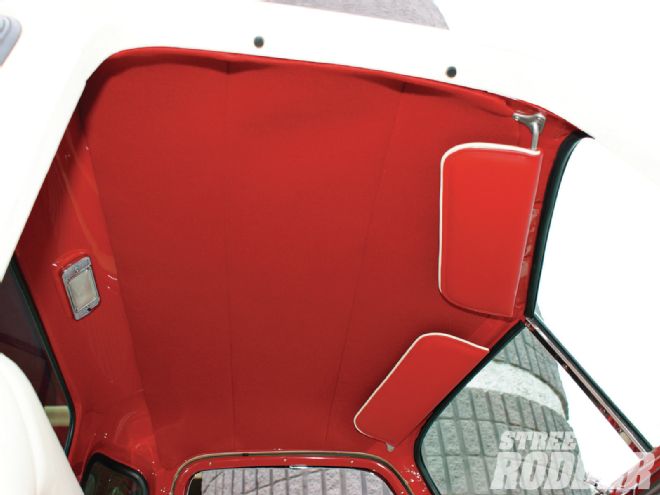
The headliner with bows is now installed and screwed in place.
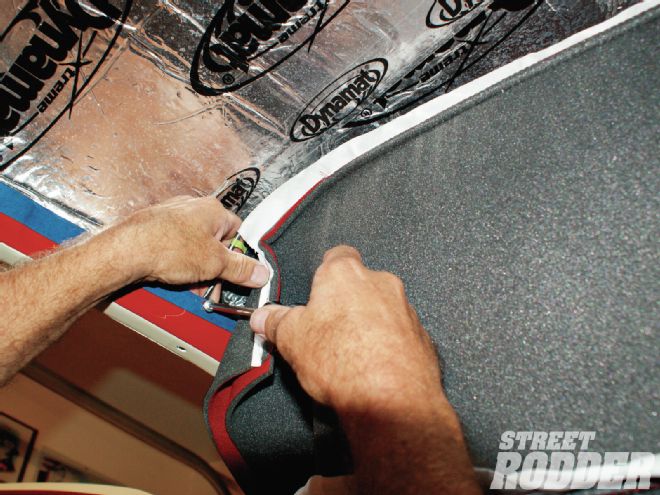
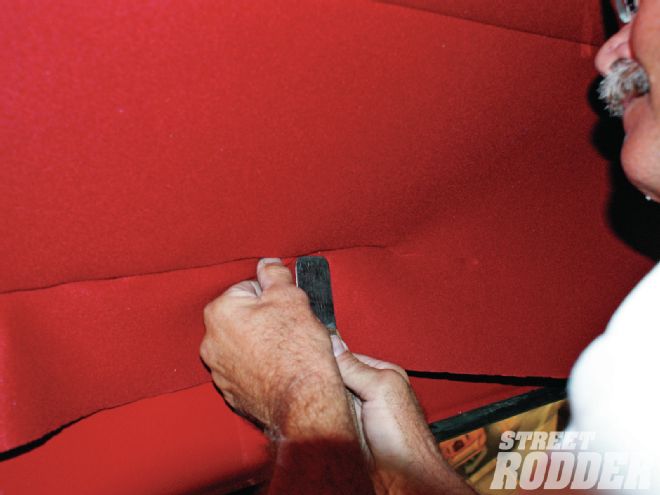
Kramer tucks the excess headliner material under the KB board, trims off the excess material as he goes, and tucks the edge of the material under the KB board.
Viewing the finished headliner, one can appreciate all the work that goes into a project like this.
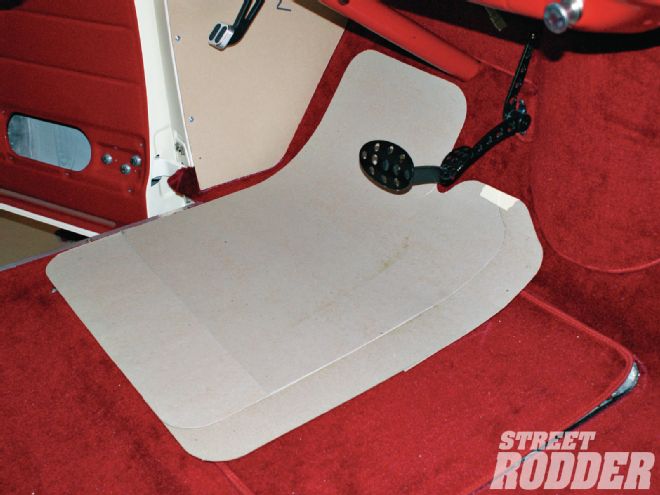
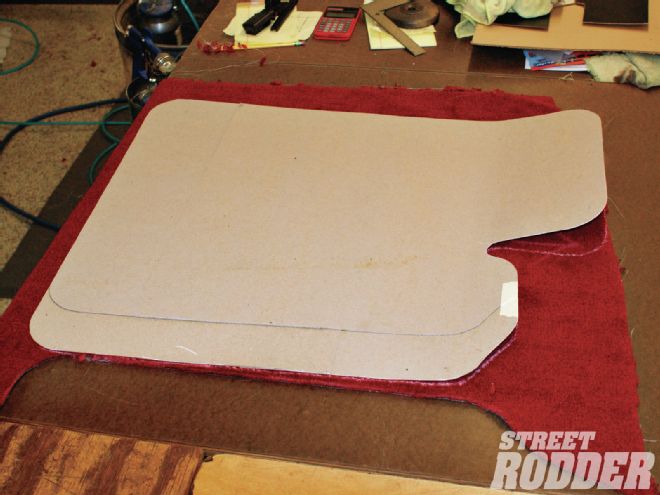
The driver-side floor mat template has been revised a few times for maximum coverage and notched to clear the brake pedal arm. The larger footprint allows the heel of the driver’s right foot to rest on the mat, which reduces carpet wear.
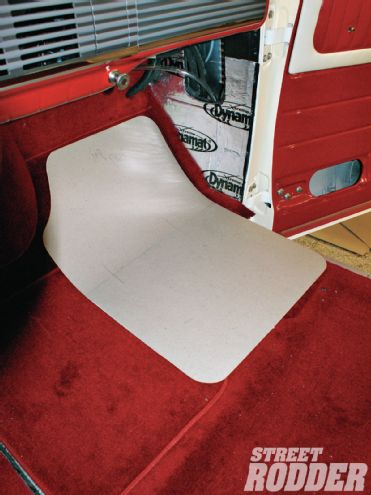
The passenger-side floor mat template has a more familiar shape.
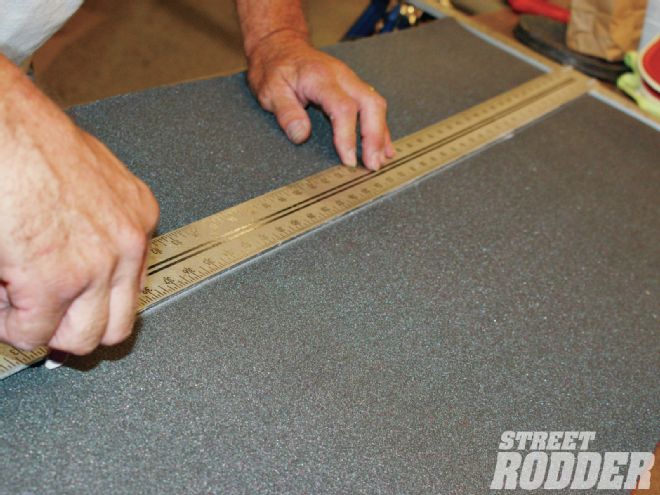
Both templates are transferred to the carpet material.
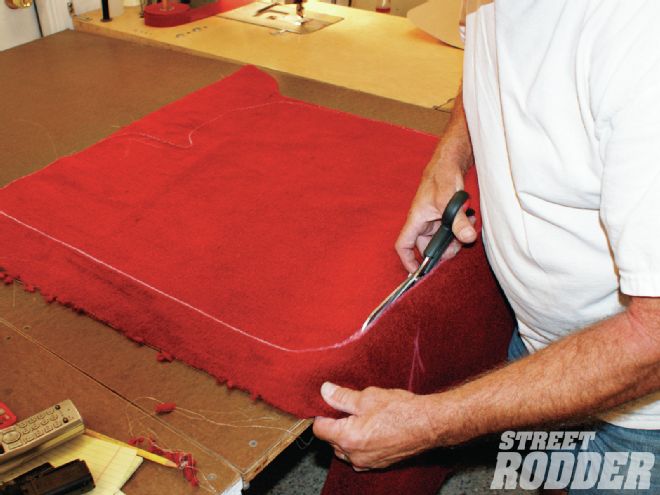
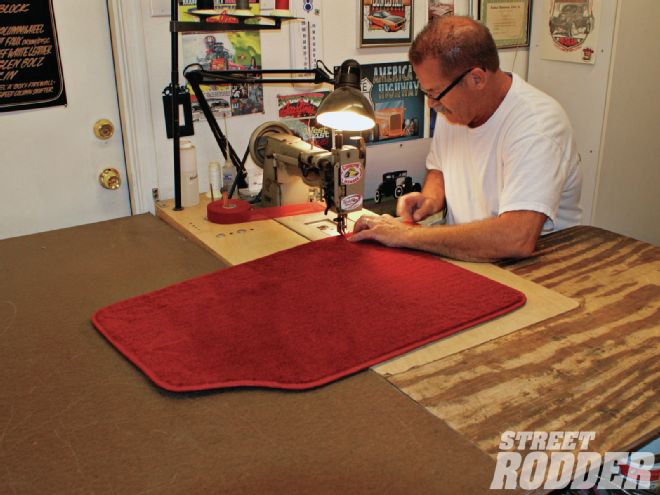
Kramer trims the carpet to the final shape.
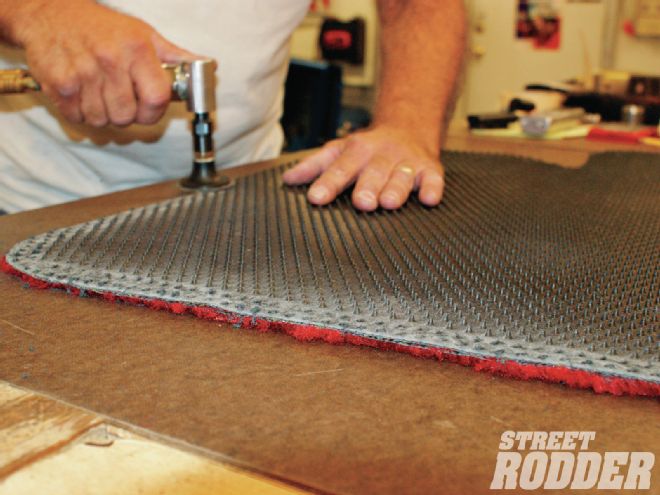
Glue sprayed onto the back of the carpet adheres it to rubber floor mat nibbing. The nibbing keeps floor mats from shifting when in use.
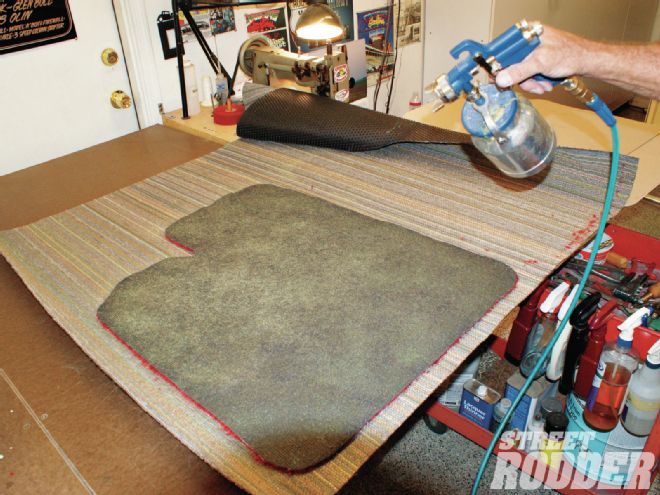
The nibbing material is trimmed to the shape of the floor mat.
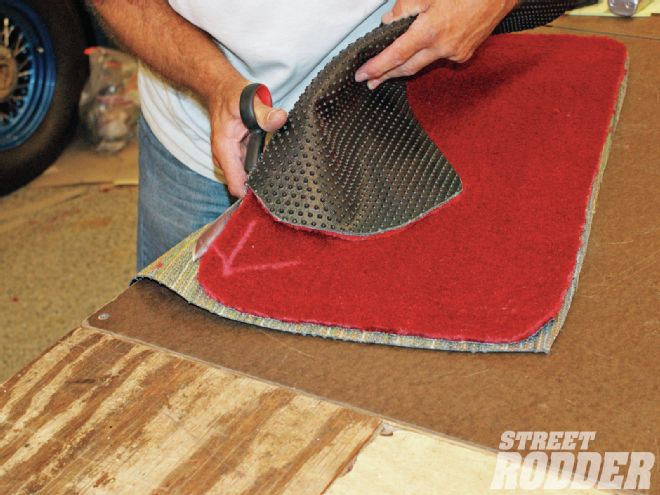
Kramer grinds the nibs back a 1/4 inch from the edge of the mat.
The 1/4-inch clearance allows Kramer to trim the edge of each mat with mesh carpet binding, keeping the carpet edge from unraveling.
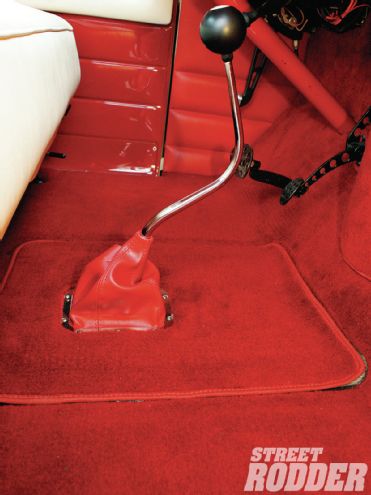
The final bit of upholstery to complete the interior is the shift boot around the Lokar shifter.