
Though I installed the Gearstar 200-4R transmission in my project '49 Chevy months ago when the motor went in, I never fitted the trans cooler or shifter. With all the big fabrication jobs out of the way the time had come to do so. I've reached the point in the project when all the "little" jobs that take so much time to get done are required, with the exception of fabricating the exhaust system and installing a wiring harness. They're the two "big" jobs outstanding.
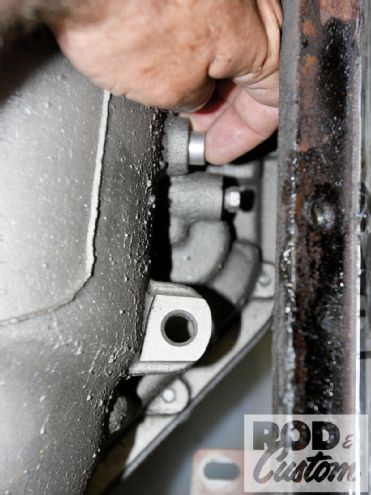 The first step to installing the trans-mount shifter was to insert these aluminum 5/8-inch plugs into stock recesses on each side of the transmission casing. They have recesses in them to locate the setscrew mounting bolts.
Gearstar supplied a Hayden trans cooler with the Level 2 200-4R, and I'd originally planned to fit it under the car, but space constraints meant I could find nowhere suitable, and though I could have switched to a finned aluminum "log"-style cooler, the Hayden unit is supplied by Gearstar for a reason; it is matched to the requirements of each particular trans they supply. I decided to mount it at the front of the car, behind the grille. Common practice seems to be to mount a trans cooler to the A/C condenser, then mount them both to the radiator, but that puts a lot of restriction on airflow and makes the fan's job that much harder. The fact that I didn't have room on the front of my condenser notwithstanding, I elected to mount the cooler off to the passenger side, where there'd be more airflow around it, also giving me the added benefit of it hiding the A/C hose fittings from view through the grille.
In most of my previous projects I've either used a stock shifter ('39 Ford trans), column shifters, or modified stock automatic shifters, but for the '49 I made a call to Lokar for one of their trans-mount shifters, as well as a kick-down cable, throttle cable, throttle pedal, and trans dipstick. The Lokar throttle and kick-down cables are designed to work together on the same bracket at the carburetor end, so it made sense to source all the components from one company.

While I, and I suspect you, hate to see tech stories where a manufacturer's product is bolted in step by step, I will show just how simple it is to mount the Lokar shifter, as well as the company's neat new adapter that allows virtually anything to be used as a shift knob, eliminating the push button in the stock knob and converting it so that the knob is simply pushed downward to change gears and overcome the lockout positions in Park and Reverse. The Lokar instructions are simple and precise, with the hardest part of the job being to decide where to cut the hole in your trans tunnel! This was made easy on the '49 as the top of the tunnel is a removable panel, so fitting the shifter was a snap, as was the location of the hole. This will be slightly more difficult on a regular "fixed" trans tunnel. Let's get out in the workshop and get the Chevy one step closer to the road!
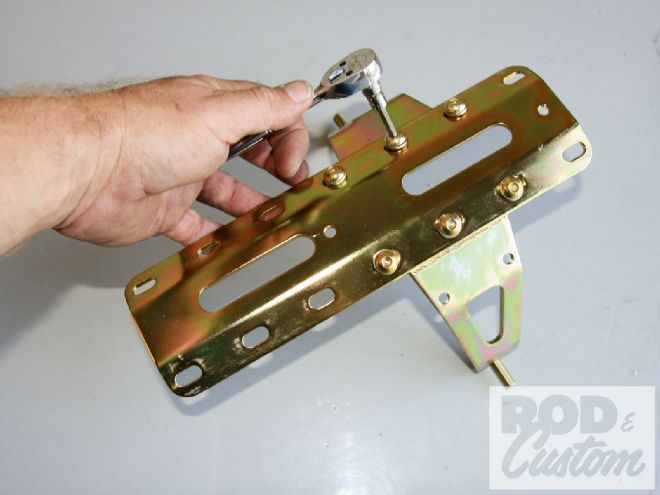 Following the instructions, the main plate and side mounts were assembled using the hardware supplied.