Clay-Dough, a generic version of the ever-popular Play-Doh is a nontoxic reusable modeling compound. While the name is different, the ingredients are similar, and it has been used by kids (including you and I) to form all kinds of cool shapes and sizes since its introduction in 1956. As adults, we’d like to think we’ve outgrown this pliable modeling compound but there comes a time in everyone’s life that we must revisit our favorite childhood putty, which in our case helped us assemble our engine. Yes, you heard us right. Clay- Dough isn’t just for kids; it is also beneficial for us older kids who love building engines.
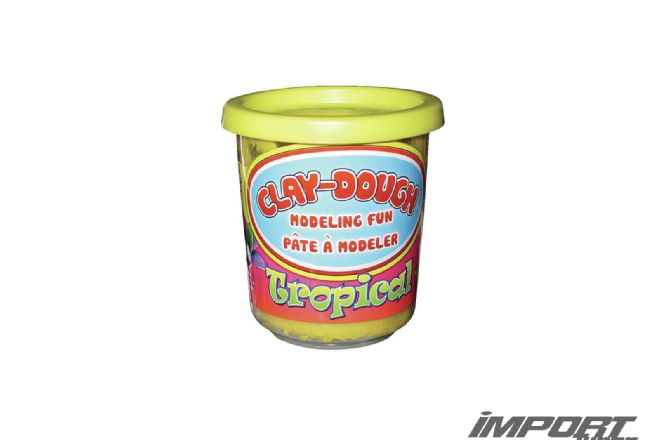
While Clay-Dough/Play-Doh is commonly used by mechanics to check piston-to-valve clearance, we had other plans in mind. For our project, we wanted to lower our alternator to clear a 3-inch charge pipe and have sufficient hood clearance for our newly revised reverse intake manifold. We began by purchasing modeling clay at our local craft store. This clay is extremely soft and pliable and forms without restoring back to the original shape (like Silly Putty).
 |
Clay Dough - Tricks Of The Trade
|
Clay Dough - Tricks Of The Trade
We kneaded the clay and formed them into 3⁄8- to 1⁄2-inch-width strips before placing them onto a clean surface (alternator bracket), making sure the thickness was no more than 2 to 3 mm. Make sure the clay is smooth so that when it’s time to press down into the clay for your impression the final markings will be easily distinguishable.
 |
Clay Dough - Tricks Of The Trade
|
Clay Dough - Tricks Of The Trade
The clay method might not be the most glamorous way to check clearance, but it is the easiest and most reliable. With your alternator removed, place the clay on top of the surface and press firmly to ensure the clay has a proper impression. To be accurate, you must install the top alternator bolt before swinging the unit downward to make an impression into the soft clay. The bolt prevents the alternator from rocking back and forth and damaging your mold impression.
 |
Clay Dough - Tricks Of The Trade
|
Clay Dough - Tricks Of The Trade
Remove or lift the alternator away from the bracket. Do this gently, so the clay is not disturbed. It may be stuck to the bracket or alternator, so be careful.
 |
Clay Dough - Tricks Of The Trade
|
Clay Dough - Tricks Of The Trade
 | Clay Dough - Tricks Of The Trade
With a razor or sharp knife, slice the clay cleanly and mark the areas with a permanent marker. Thinness in the thickest areas is an indication that grinding or clearance is required.
 |
Clay Dough - Tricks Of The Trade
|
Clay Dough - Tricks Of The Trade
 | Clay Dough - Tricks Of The Trade
To accurately check thickness, use a set of dial calipers before using a cutting tool or grinding bit to make the necessary adjustments.
 |
Clay Dough - Tricks Of The Trade
|
Clay Dough - Tricks Of The Trade
Using modeling clay enables you to modify your bracket to exact specs, something that would otherwise be nearly impossible to do with the naked eye.
 |
Clay Dough - Tricks Of The Trade
|
Clay Dough - Tricks Of The Trade
After a series of clay impressions and grinding, we were able to lower our alternator by nearly an inch—a perfect setup for our smaller-sized belt.
 |
Clay Dough - Tricks Of The Trade
|
Clay Dough - Tricks Of The Trade