 | Tuck It In
Take a quick look at the tech section of any recent issue of 2nr and you might notice we've been a little biased towards the performance end of the spectrum. Not wanting to leave our more aesthetically-oriented readers out in the cold, we've decided to mix it up this month and have a little tech dedicated to something other than going faster-making the car LOOK better.
If you want to impress the ladies or the car show judges, your engine bay's gotta look as good as the rest of the car, if you're going to score. We'll show you how it's done and what it takes... The rest is up to you, young Jedi.
A wire tuck is a pretty straightforward procedure. The first step is to decide who's going to do the actual work. If you and your buddies feel comfortable removing the front fenders and bumper, drilling a few holes in the car, moving some wires and hoses around and putting it all back together, then this is a project you might consider doing yourself. If you don't feel comfortable working with the electrical system of your car, leave the work to a pro.
 | Tuck It In
Once it's been decided who's doing the work, the next step is to decide exactly what's going to be done. The great thing about a wire tuck is that it can be as simple or complex you want. If you choose, you can strip the engine compartment of just about every visible wire, move the battery to the trunk, strip the power steering and air conditioning, and leave nothing but an engine floating in a suddenly cavernous engine compartment. If you're dedicated enough, you can even move the fuse box and the power brake booster to the interior, shave and shape the engine bay and re-spray it.
If you're less dedicated or motivated, or you really drive your car and appreciate the finer things in life like AC and PS, you can leave those in place. Or, if you like to smoke herb and drink beer while working on your car and only want to take on small, simple projects, you can perform the whole tuck in baby steps. Taking 10 or 15 minutes to re-route a vacuum hose or move a single ground wire from the front of the engine to the back can make a huge difference in the way your engine bay looks. Make a dozen little changes over time, or do it all at once. Whatever, the results should be the same.
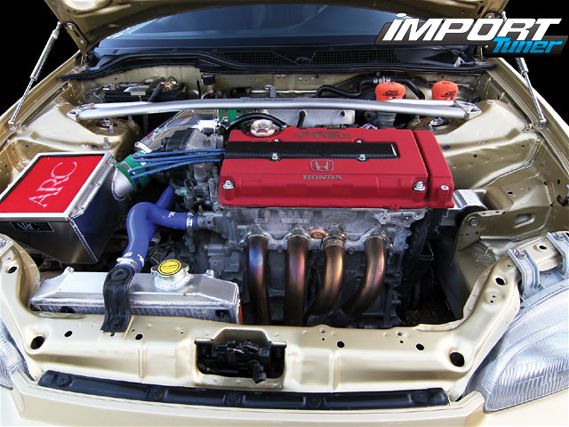
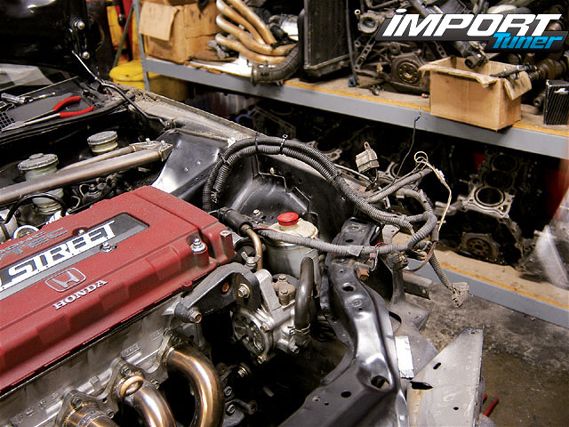
The MuleAfter swapping the engine for a '98-spec JDM ITR powerplant, painting it, getting the suspension and nameless other stuff done, the owner of this car just ran out of steam. While it looked great from the outside, once the hood was popped, it was a different story. Wires everywhere and butt-connectors galore. Not the prettiest sight, but probably not too far off from what the average reader's engine bay looks like. All it really needed was a little tiding up in the engine compartment to be a real winner, making it a perfect candidate for a mild tuck.
 | Moving the injector harness from the top of the intake manifold out of sight to the bottom is simple. Just unplug all the injectors and run the harness on the bottom side. It's a good idea to label each injector before unplugging it. If you get them mixed up your car will probably still run, but it won't run right.
Since this Civic is a daily driver, we decided to do a pretty basic tuck to maintain maximum functionality. We opted to leave the power steering in place. We took the car to Pro Street in La Mirada, Calif., to watch the pros clean up the wiring on our Civic. Eugene at Pro Street is a Honda buff to the core and has been doing tucks since you were in diapers (well, some of you). The tuck and installation of a few other engine dress-up goodies took about five hours. Five hours for a pro to do something he's done hundreds of times means it'll take about 20 hours for the average Joe-if he's got all the tools ready to go. The point is that unless you've got a spare car, you might want to do a bunch of small things individually instead of trying to do it all at once.
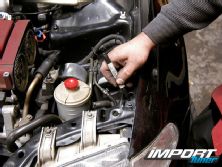
Getting Down To BusinessMove Those GroundsThe first thing that Eugene did was one of the simplest. On the front of the engine near the power steering pump, there's a ground wire going from the engine to the body of the car. It's really ugly and right there in plain slight. No problem, its any easy fix. Just unbolt it on both ends of the wire and re-install it somewhere less visible. Just make sure one end is still bolted to the engine and the other to the body in its new location. The ground straps on most cars are similar to the one on this Civic.
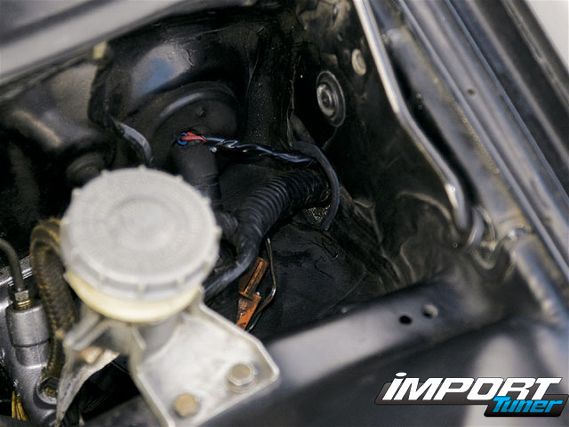 | Here's the hole we drilled with the harness pulled through. Notice the rubber installed around the edge of the hole to prevent the sharp metal from cutting through the wires.
Getting Down To Business
Move Those Grounds
The first thing that Eugene did was one of the simplest. On the front of the engine near the power steering pump, there's a ground wire going from the engine to the body of the car. It's really ugly and right there in plain slight. No problem, its any easy fix. Just unbolt it on both ends of the wire and re-install it somewhere less visible. Just make sure one end is still bolted to the engine and the other to the body in its new location. The ground straps on most cars are similar to the one on this Civic.
Now The Vacuum Lines
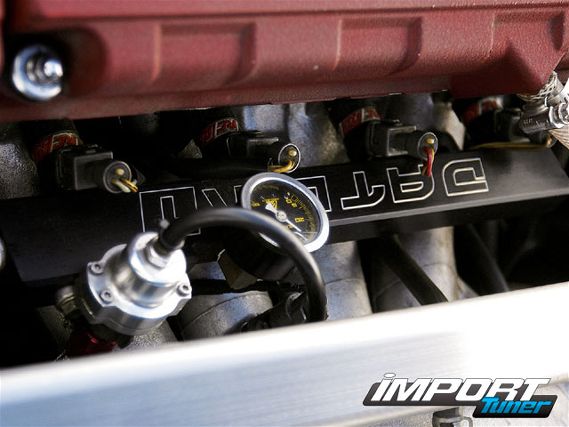
Another easy trick that can make an engine bay look a bit cleaner is to relocate any ugly vacuum lines. In the case of our car, and just about any car with power brakes, the big 5/8-inch rubber hose connecting the intake manifold to the brake booster is particularly ugly. Running along top of the intake manifold and across the back of the engine bay, the unsightly hose needed to go. This usually means buying a few feet of new vacuum hose and running the new hose under the intake manifold or wherever it can't be seen. Just make sure if it had a check valve, you put it back in place in the correct orientation (they only flow one way). Luckily for some Honda owners, this procedure is simply a matter of twisting a nipple and flipping the hose over.
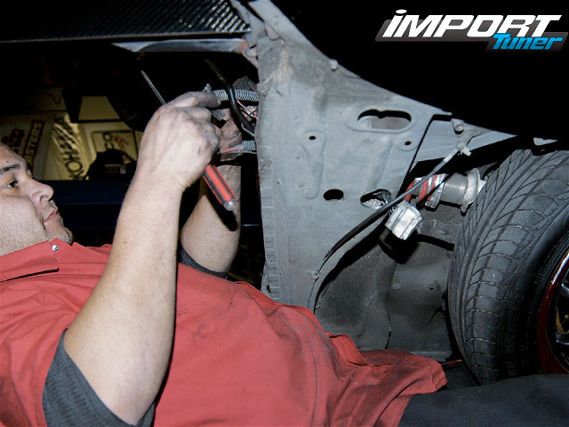 | Here, Eugene pulls the harness that previously ran on top of the passenger-side fender into the inner fender through the freshly drilled hole.
The Actual Tuck
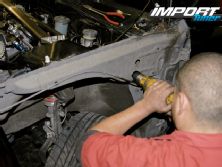
The big, black, thick wiring harnesses that come out of the firewall area and run along the top of the fenders are nasty looking. These wires power things like radiator fans, headlights, turn signals and other important things. The best way to hide those ugly wires is to "tuck" them into the fenders. The easiest way to do this is to remove the fenders and front bumper, drill a hole on each side of the unibody and run the harnesses through the freshly-drilled holes and pull the entire harness, connector and all, underneath the fender. After reconnecting all the connectors and zip tying the harness to the top of the inner fender, put it all back together. The important thing here is to be sure the hole you drill is big enough to fit the connectors on the end of the wiring harnesses to fit thorough the holes, WITHOUT cutting off the connector. Many people who do DIY wire tucks make the mistake of cutting all the connectors off the harness in order to fit them through a smaller or preexisting hole. This should be avoided, if at all possible. Just remember that every single wire you cut will need to be soldered and shrink-wrapped-an incredibly time-consuming process if you are talking about 100 wires or more. DO NOT use butt connectors if you decide to cut a few wires. These have a high probability of creating electrical problems later that can be extremely difficult to diagnose. In a worst-case scenario, an electrical short could burn your car to the ground.
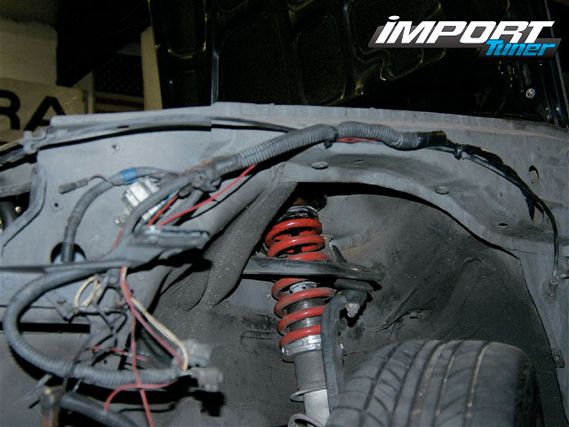 | Don't make the mistake of running the rerouted harness where it can make contact with the tire. As you can see here, ours wont and is well attached to the body via zip-ties.
The Battery
We decided to leave the battery in the engine compartment and simply install a smaller and more attractive battery in its place. While we opted not to, moving the battery to the trunk is a mod that, in addition to cleaning up your engine bay, can help improve handling if you've got a front-heavy car. If you move the battery, remember you'll need a new battery hold-down and some heavy-gauge wire and terminals. We recommend just buying a relocation kit from a reputable vendor.
Fuse Box
Most newer cars have more than one fuse box, and one is often in the engine compartment. We chose to leave the fuse box in its original spot because we felt that all the additional work it would require wouldn't be worth our effort. Obviously, if you're more hardcore than the owner of this car, you might want to think about moving the engine compartment fuse box into the passenger compartment. The crappy thing about moving the fuse box is that it is too large to drill a hole through the firewall to stuff it through. This means that every single wire that goes to the box must be cut. You can then pull the wires back inside the car and mount the fusebox wherever it's convenient and out of the way. In the case of most Hondas, that means mounting it near the ECU in the passenger footwell or kick panel. After that, you've got to reconnect all the wires and solder and insulate them. It's a good idea to label each individual wire before cutting the harness to ensure they all get reconnected in the exact same way. We've heard plenty of stories about fried ECUs and sensors because of faulty or incorrectly connected wires, we've even got some stories of our own. Take your time or take it to someone who knows what he or she is doing.
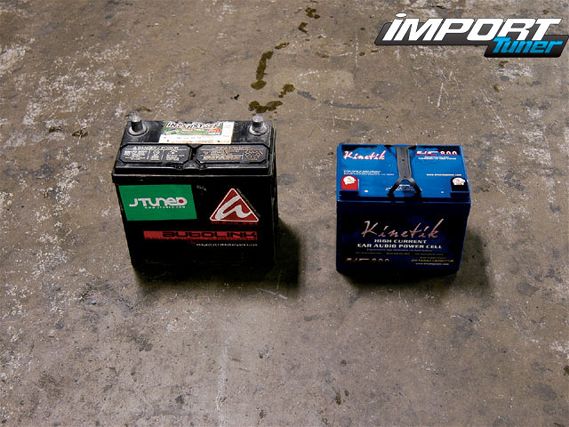 | As you can see, our new Kinetik battery is much smaller than the old one. A nice touch.
Extras
Since this story is all about looks, we thought we'd throw on a few other dress up items to lend a little more bling to the Civic. The motor mounts that were originally in the car were haggard and looked like crap. After we did all the work on the wiring, we thought it would be a shame to not do something about that. So we installed a set of shiny new motor mounts from Innovative Mounts. In addition to making the car look better, the slightly stiffer rubber used in the new mounts prevented the engine from shifting around under power and when shifting, leading to a more pleasurable driving experience.
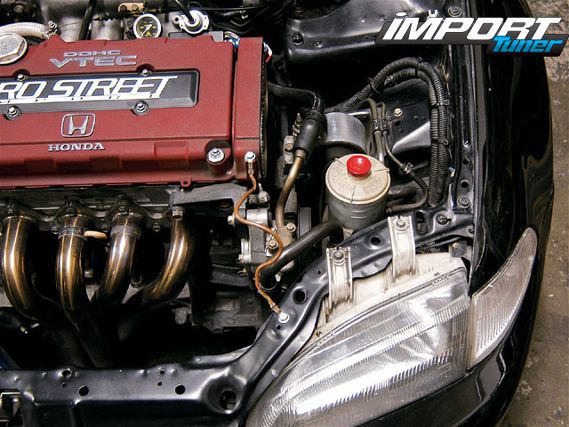
The old air box in the car was begging for a replacement too. While it looked and performed OK, we thought the bay would look a lot cleaner with a different intake... and hey, change is good. Plus, that big box from the old intake hides our new tuck, and what's the point of tucking wires if you can't even tell the difference?
We choose an Iceman cold-air intake to fill the void where the old one sat, and couldn't be happier with the looks. After driving it, the owner said he much prefers the more aggressive sound of the new intake, plus we'd like to imagine it added a few horsepower too.
Car show judges are a lot like women. They like things to be neat and organized. Everything has to be clean and orderly, without any offensive things like dirt, grease and loose wires around. So just remember, appearance can be just as important as performance. And, if you want to look good, you've got to spend a little time grooming. Your car and date book will thank you later.
 | Here's the driver's side pre-tuck
 | ...And post tuck. Notice the Innovative engine mounts. Everyone else does.
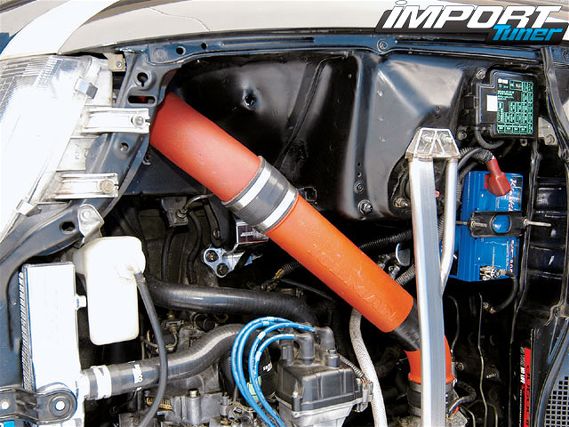
 | The passenger side before the tuck.
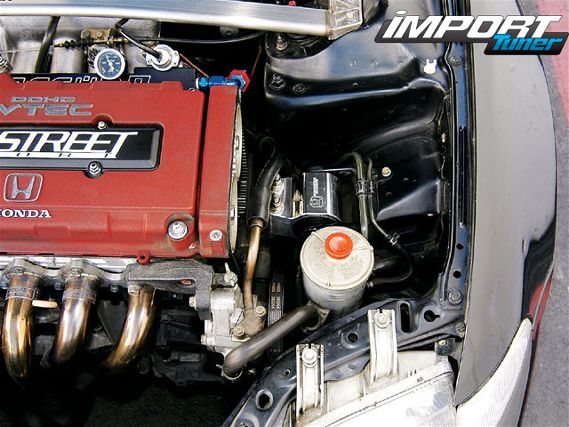
 | After the tuck. We installed an Iceman intake to help show off our hard work. The gaping hole from the old airbox needs some TLC, but we'll leave that to the owner.