| mini Truck Suicide Doors custom Truck
When it comes to heavy body mods that really make a big difference and help step up the status of your minitruck, the first two things that come to mind are of course a body drop, but next is suicide doors.
This modification has been done for decades, but some trucks are easier than others. In fact, some import minis really lack the necessary space to use the conventional dual hinge system. That's where Sadistic Iron Werks' new Heavy-Duty Single-Hinge system comes into play. It works perfect for tight door jambs that might not be able to use the dual hinge systems currently on the market. Whether you want to suicide the rear doors on your daily driver Chrysler 300C, or tear into your current minitruck, this kit is what you've been looking for! For more information visit myspace.com/sadisticiron and message them for all the details, or call the number in the Source Box.
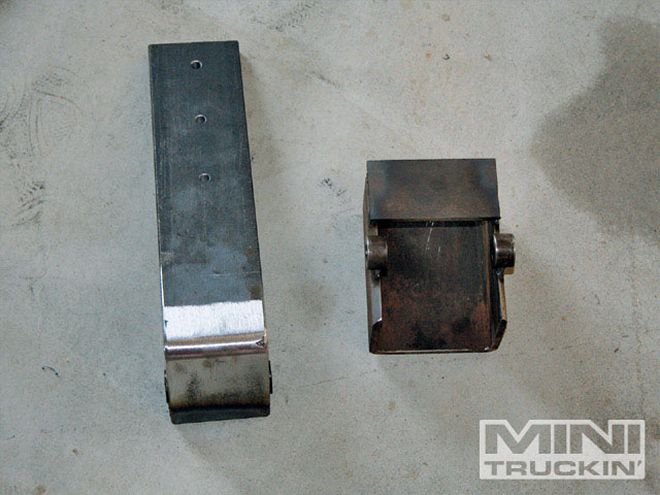
(1.)The Sadistic Iron Werks Heavy-Duty Single-Hinge Kit is built using beefy 3x1/2-inch flat plate, 3x4-inch 1/4-wall box, 2x4-inch 1/4-wall for the door plate, and 1-inch 1/4-wall DOM tubing.
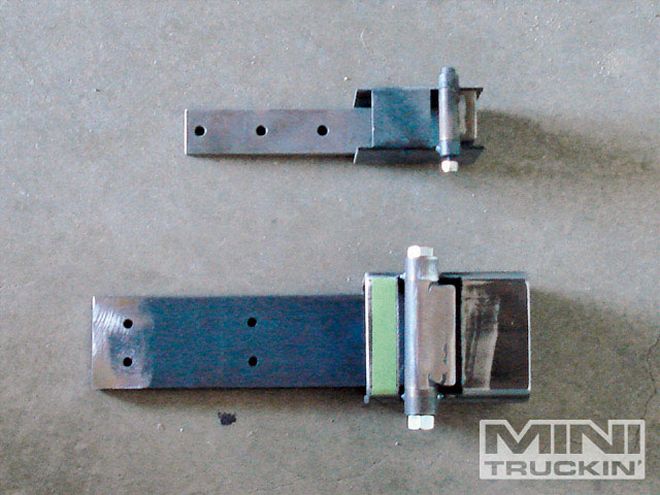
(2.)Here is a comparison of standard conventional hinge systems next to the Heavy Duty Single Hinge.
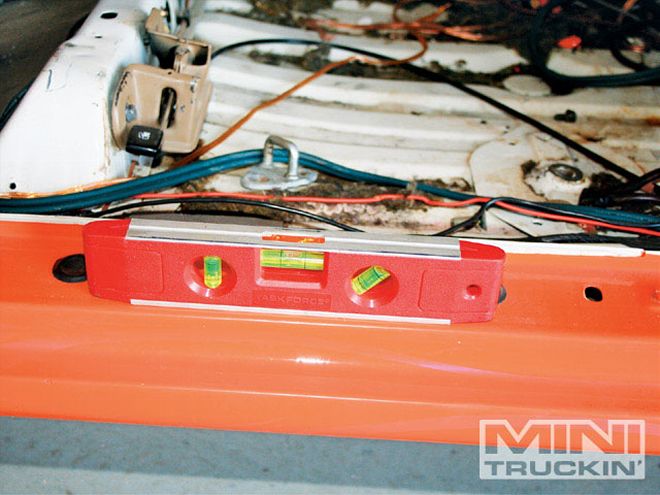
(3.)First, make sure the truck is completely level before beginning the install.
(4.)Begin the install with the door attached. You will have to cut out an access panel in the side of the cab to have plenty of room to work with.
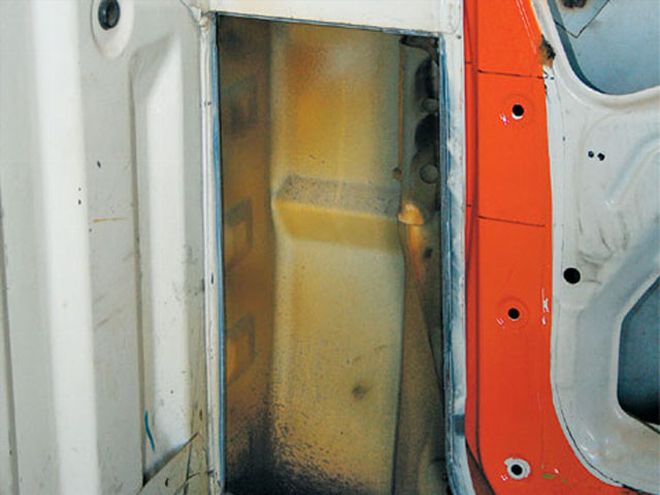
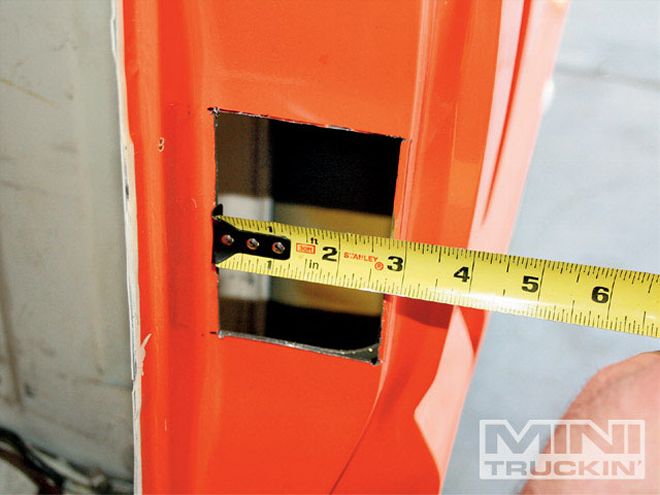
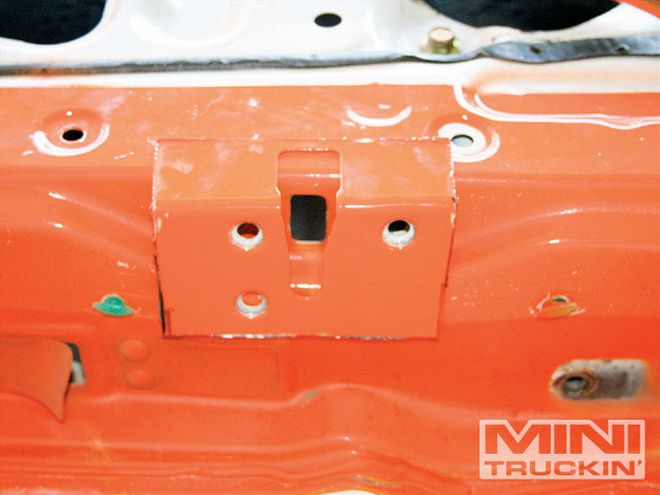
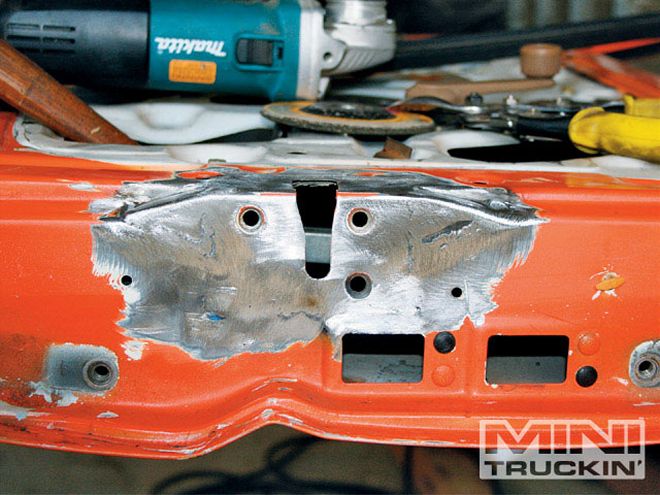
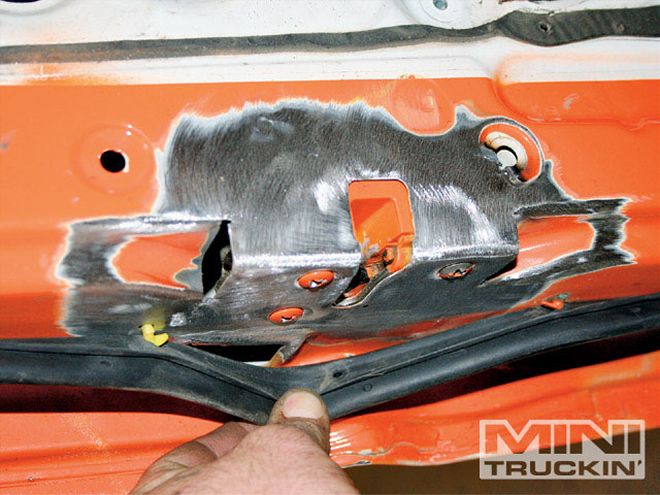
(5.)Measure and cut out a 2 3/4-inch by 3 3/4-inch hole using the door striker as your center point.
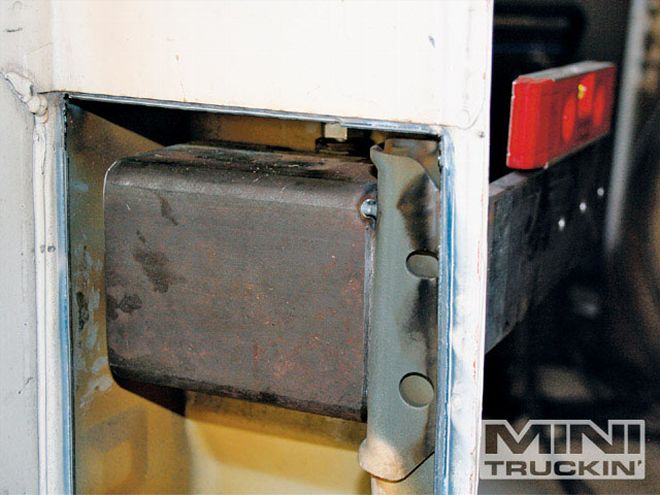
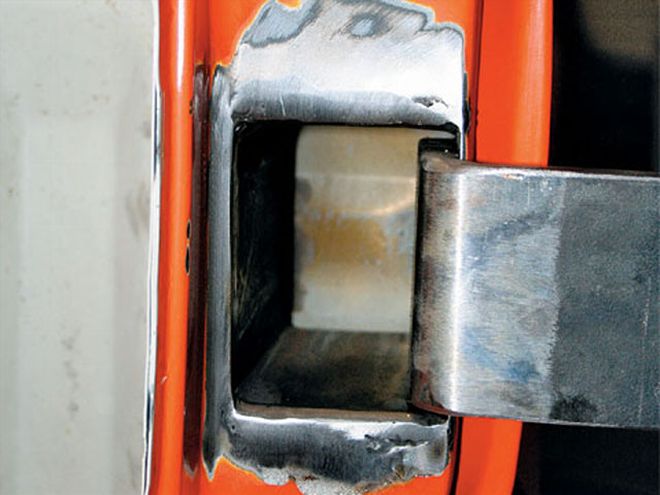
(6.)The hinge pocket will overlap about an 1/8-inch on either side of the hole. Center it up and tack in place.
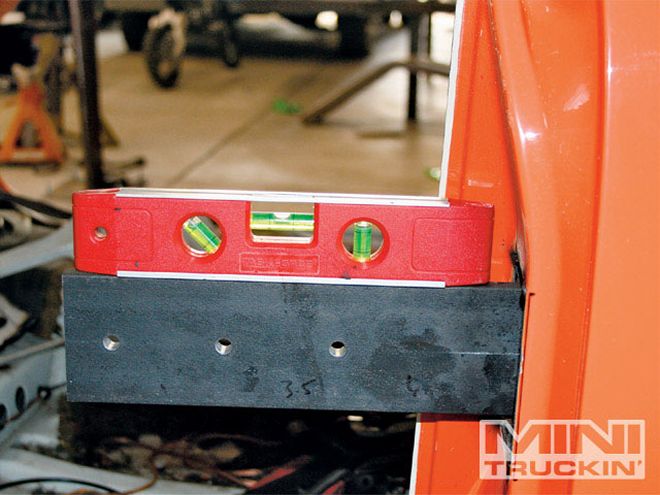
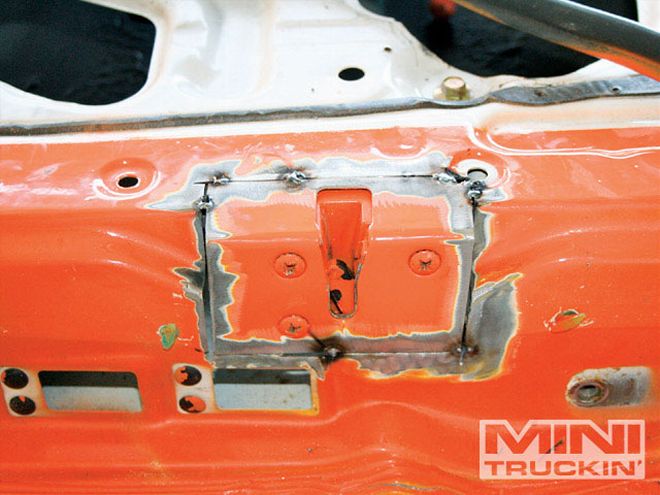
(7.)Level the hinge and then add a few more tacks to make the mount permanent.
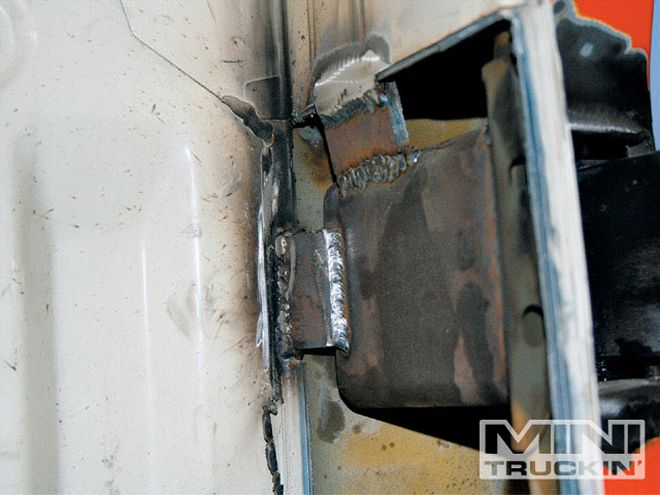
(8.)Once the hinge is completely level and secure, slowly weld it in place. Depending on your truck or vehicle you will need to make gussets to support the hinge pocket in place as shown.
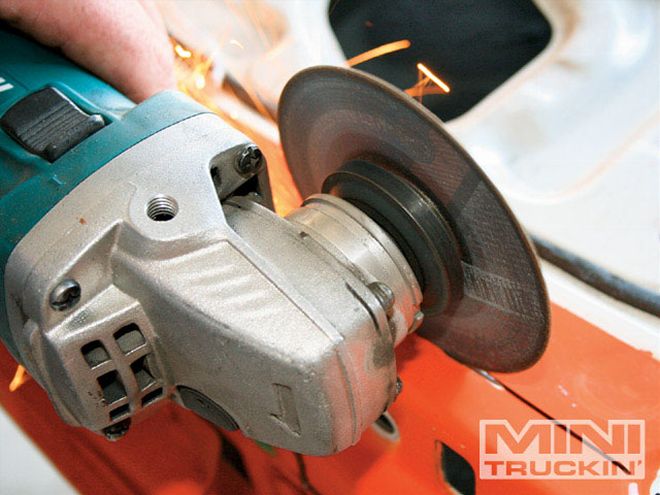
(9.)With the hinge pocket fully welded and secure, it was time to through a few sparks and clean up the edges.
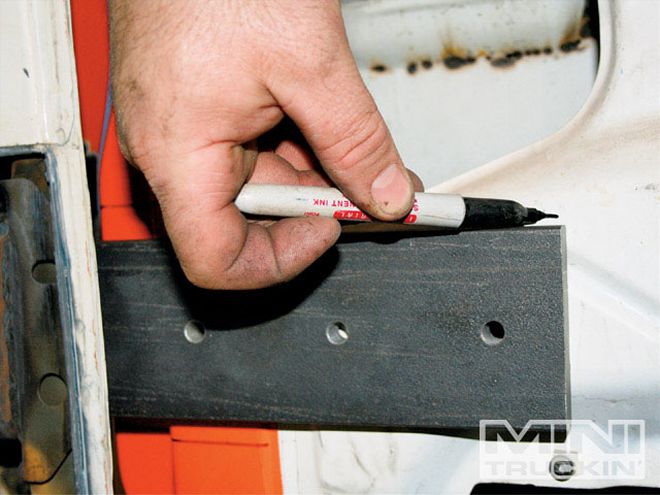
(10.)Keep the door attached through these steps. It is important to ensure everything lines up just like factory for the finished product. With the door closed the location of the door side hinge pocket is marked.
(11.)The Marked area is cut out and double checked for clearance.
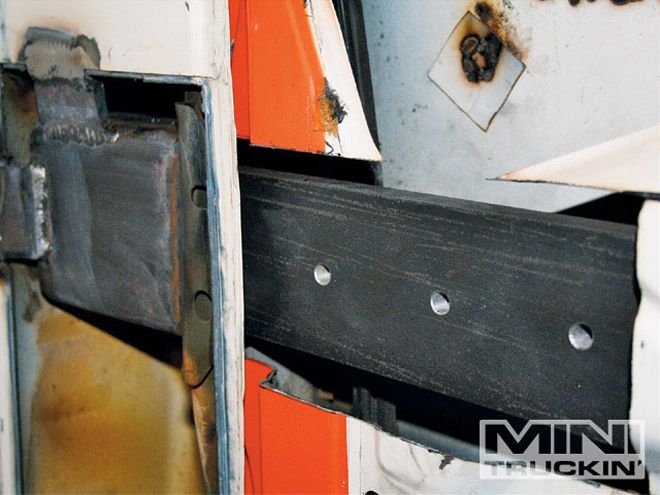
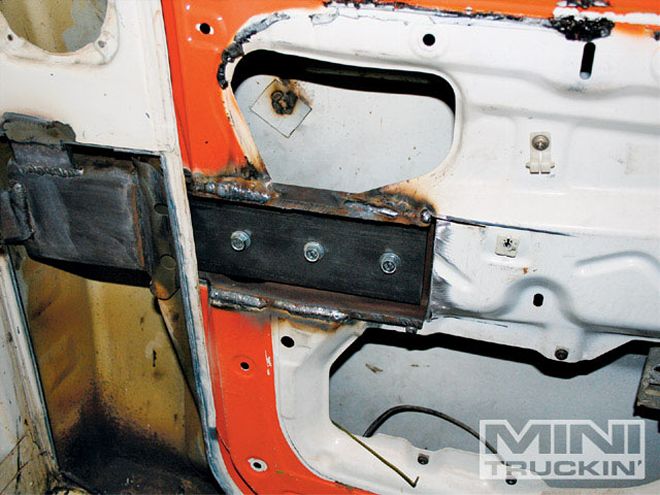
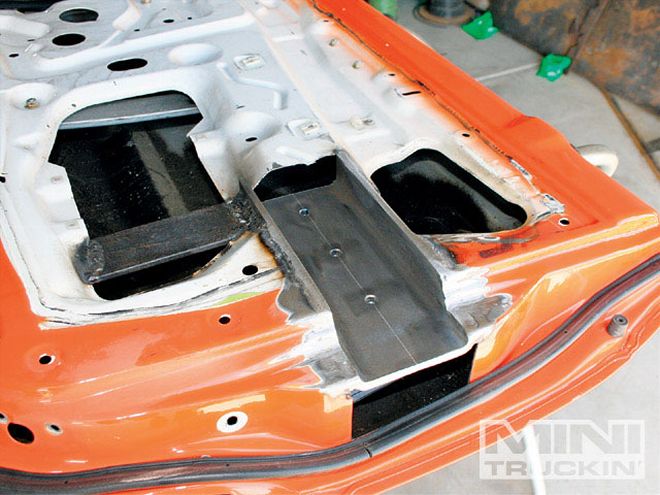
(12.)2x4-inch box is used to build this universal c-channel door plate which will match the curves of most inner door structures.
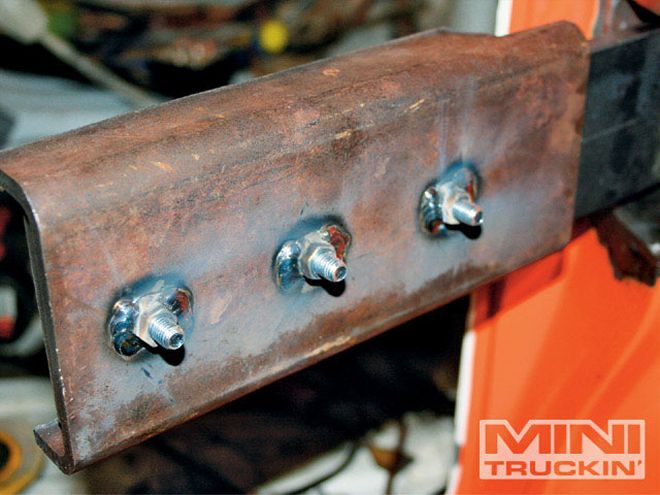
(13.)Holes come pre-drilled with nuts welded to the back for ease of installation.
(14.)The door is lined up while shut and the c-channel is tacked in place. Everything is double checked and then fully welded.
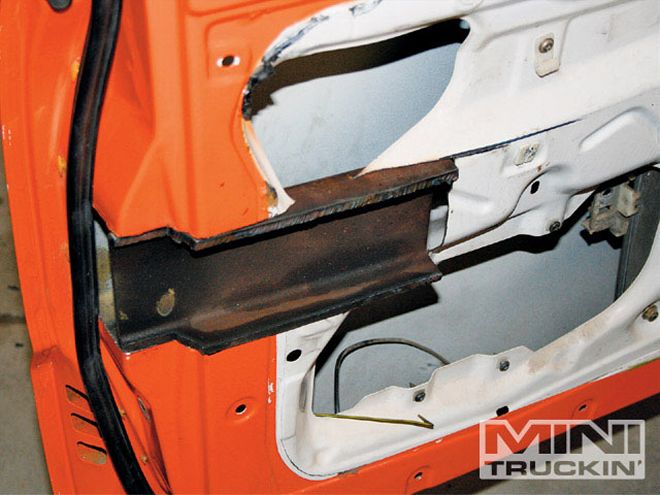
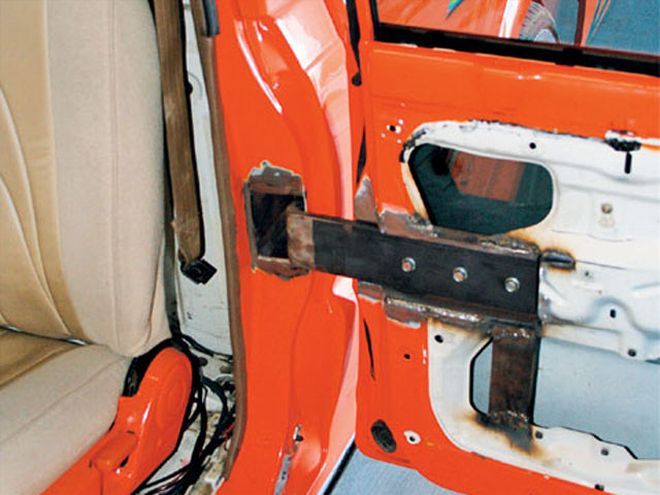
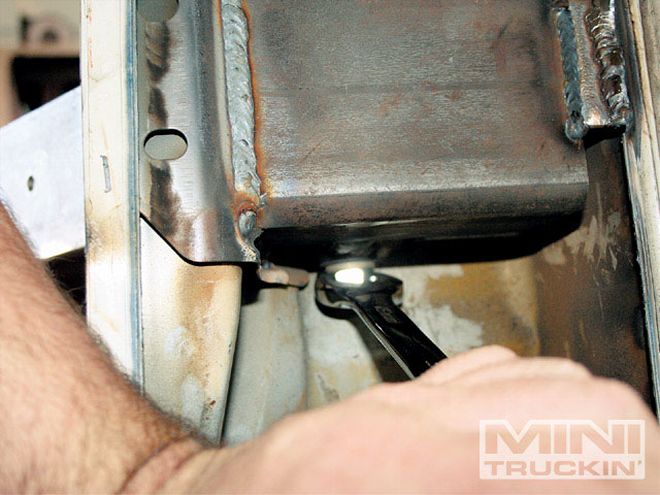
(15.)Each application is different, but for this Mazda a gusset plate was added below to help keep the door sag to a minimum.
(16.)Now the door can be taken off and finished up, beginning with grinding down and cleaning up the C-channel.
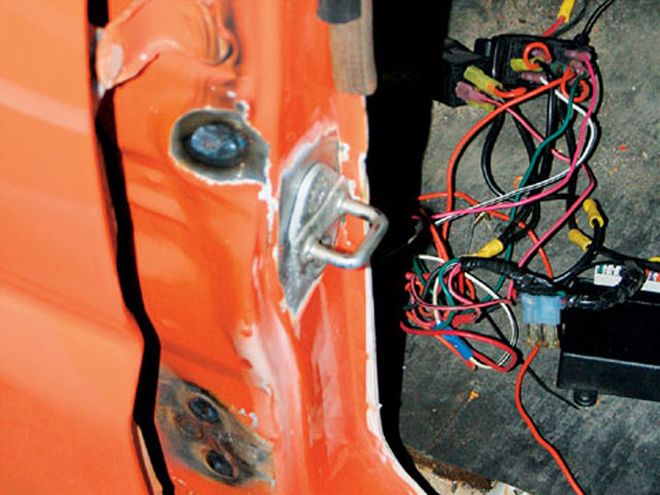
(17.)This hinge system allows the use of your factory latches. Use the previous marks to cut out your door latch pocket.
(18.)The door latch is lined up with the opposite side of the door and marked.
(19.)A pocket is cut out and the door latch plate is tacked in place.
(20.)After you unbolt the latch and reinstall it and test fit everything, the final welding and clean up can be done on the new latch side.
(21.)And there you have it! The stock latch is reinstalled.
(22.)The striker is also moved to match the new latch location with ease.
(23.)One final check of everything. Make sure the hinge is snug, but not too tight, and that everything opens and closes smoothly.
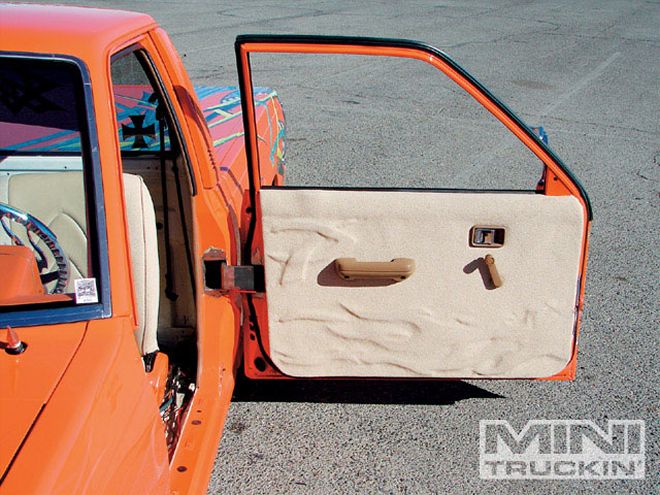
(24.)This kit gives an opening of 90degrees or more, and a smooth operating door system. Not bad for a weekend install!
(25.)After bodywork and paint you can proudly floss your new Single-Hinge System at your nearest show.
 | mini Truck Suicide Doors custom Truck
When it comes to heavy body mods that really make a big difference and help step up the status of your minitruck, the first two things that come to mind are of course a body drop, but next is suicide doors.
This modification has been done for decades, but some trucks are easier than others. In fact, some import minis really lack the necessary space to use the conventional dual hinge system. That's where Sadistic Iron Werks' new Heavy-Duty Single-Hinge system comes into play. It works perfect for tight door jambs that might not be able to use the dual hinge systems currently on the market. Whether you want to suicide the rear doors on your daily driver Chrysler 300C, or tear into your current minitruck, this kit is what you've been looking for! For more information visit myspace.com/sadisticiron and message them for all the details, or call the number in the Source Box.
