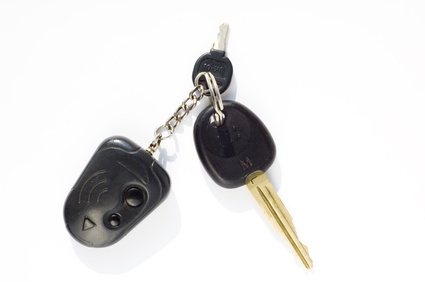
Many of today's automobiles come equipped with on-board security, ignition immobilizers, two-way multiplexing wires and a host of other complicated computer technology. Cars older than about 2002 are less likely to have many of these technological features. On a model that has an automatic transmission, no immobilizer and uses conventional wiring with regular 12-volt polarity, it is possible for the backyard mechanic to install a remote starter on his own.
Find a wiring chart for the year, make and model of the car. These can be found free of charge at such websites as The12volt.com and will tell you which wires to attach and the polarity of each. Find the correct wires in the starter instructions that correspond.
Remove the panel from under the dash on the driver's side and the cowling around the steering column. Examine the steering column and locate the ignition harness wires listed on the chart, finding the colors that correspond to each--ignition, starter, accessory, power. Study the wiring directions for your particular starter and you will notice that these correspond in most cases.
Position the remote starter unit under the dash and strap it in firmly, high enough to be out of the way of the pedals, using the large electrical ties. Drill a hole in the firewall using the 1/4 inch drill to run wires through to the engine compartment. Be extremely careful when drilling so as not to puncture any vital components or wires on the opposite side, such as the master brake cylinder.
Locate the ground wire from the starter and connect the ring terminal to the end. Use the self tapping screw to fasten it to a solid ground on the car. Feed the hood pin wire (if it comes with one) and the tachometer wire through the hole in the firewall. Strap these up out of the way of moving parts on the engine using the small electrical ties. Position the hood pin where it can be opened or closed with the car hood and attach the tachometer wire to the wire indicated on the chart, most likely the engine coil or an injector wire.
Strip the wires from the remote starter unit labeled starter, ignition, accessory and constant power. If the wire colors in the car are not correct according to the diagram you have, use the grounded test probe to test them.
Attach the wires from the remote starter to the corresponding wires inside the car (do not solder them). Find the brake wire above the brake and attach the brake wire from the starter. Locate the parking light wire (usually behind the light switch on the dash) and attach it. Feed the antenna cable from the starter up to the top left-hand side of the windshield and connect it to the stater unit. Fasten the antenna itself directly to the windshield.
Follow the programming instructions that came with the remote starter. If all the features you need are working properly, solder and tape each connection. Replace the panels and covers.