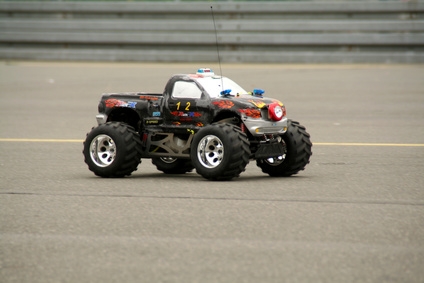
Remote-control vehicles, whether cars or trucks, run on a variety of surfaces. Whether asphalt, dirt, gravel or "blue groove" surfaces, the slipper clutch in an RC vehicle must be set to allow a certain amount of free-wheeling rotation, or slip, so the internal transmission components do not jam or break from stress. Slipper clutches also control wheel spin and how much bite the wheels have for acceleration and traction. Slipper clutch settings also aid during high jumps and landings, where traction must be regained at the precise moment. Any RC vehicle owner can set his slipper clutch to any desired setting for any driving application.
Charge the vehicle battery pack to its maximum limit. Remove the body of the vehicle, by unclasping the snaps or unscrewing the body from the chassis with a screwdriver. Place the RC vehicle on a flat, level surface. Have an assistant hold the rear wheels to the ground, so they will not move, but allowing the vehicle frame to kick or swivel upward.
Hit the trigger gun, only momentarily, and watch the front end of the vehicle. If the nose raises up more than 45 degrees, it indicates an overly tightened clutch. If the nose barely moves upward or fails to move at all, it points to a spinning or slipping clutch that fails to engage quickly enough.
Place the vehicle on the ground with the face or front hood facing you. Give the vehicle a stark shove backward away from you in a straight line. Hit the trigger button when the vehicle goes about 6 feet. Watch the reaction of the wheels and listen to the motor whine. A vehicle that engages slowly on its way back to you, points to a slipping clutch.
Remove the rear wheel with a nut driver, if it obscures access to the slipper adjustment nut. Use a nut driver to unscrew the slipper nut counterclockwise. Pull the nut off, along with the spring, spring perch (washer), outer slipper plate, spur gear that has the clutch pads, inner slipper plate and top shaft. Look at the clutch pads on both sides of the spur gear. If they looked glazed and shiny, use an abrasive pad to clean the surfaces on both pads.
Look at the contact surfaces on the inner and outer slipper plates --- the small black rings. Remove all black soot marks with an abrasive pad. Replace the clutch pads at this time if they look worn down inside the spur gear. Reassemble the components as you removed them, only in reverse: top shaft into the transmission, inner slipper plate, spur gear, out slipper plate, spring perch, spring and slipper adjuster nut.
Screw the adjuster nut all the way in clockwise until the spring has compressed. Turn the adjusting nut counterclockwise two to three full turns. Replace the rear wheel with a nut driver, if you have removed it. Place the vehicle on a flat surface.
Have your assistant hold the wheels down while you hit the trigger button momentarily. If the vehicle nose now raises from 30 to 40 degrees, you have made the correct adjustment. Too loosen the clutch for fine-tuning, turn the adjuster nut out, counterclockwise in 1/8-inch increments. To tighten the clutch for fine-tuning, turn the adjuster nut in, clockwise in 1/8-inch increments. Snap the body back on or use a screwdriver to secure it.