A broken tail light can happen anywhere---while parked outside a baseball stadium or when pulling out of a spot at the bank---which makes it a nuisance. It is an easily avoidable repair because it does not directly affect a vehicle's function, however, if you put off the repair for too long, you may be pulled over and issued a fix-it citation. Fortunately, fixing a broken tail light signal can be performed in minutes.
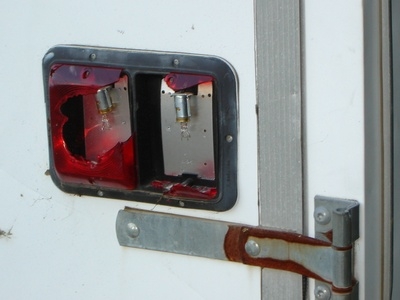
Open the trunk of the car. Find the tail light assembly on the interior of the trunk, located directly behind the tail light.
Remove the assembly using a Phillips head screwdriver, and set the screws in a safe place. Pull the assembly out gently as it is attached by wires.
Unscrew the old or broken bulb from the socket on the inside panel of the assembly. Use gloves if the bulb is shattered.
Wipe away any rust or corrosion from the bulb socket using a damp rag. Screw the replacement bulb into place and have an assistant operate the brake or turn signal to ensure proper installation.
Replace the assembly and screw it securely into place.
Remove the screws that secure the broken tail light or turn signal cover to the exterior of the car. These can often be found on the outside corners of the cover. Set them aside in a safe place.
Pull the broken cover out and discard it. Use gloves if the hard plastic is shattered.
Place the replacement cover into position. Ensure that it is oriented just as the old one was.
Insert the screws and tighten them. Wipe any dust or dirt off of the new covers if necessary.