Headlights are a vehicle's first line of defense when driving at night or in bad weather. As headlights get older they start to become dull and scratched. The sun's ultraviolet light causes plastic headlight covers to become fogged or hazy over time. Road debris also damages headlights by scratching the surface of the lens which affects the headlight's brightness. Most headlights are made from acrylic or polycarbonate, which is simple to restore. Replacement headlights are expensive. Use acrylic buffing compounds to remove sun damage and scratches, saving the cost of replacement headlights.
Wash the headlights completely with liquid dish washing detergent and warm water. Use a 100 percent cotton rag to wash the headlights. Paper towels, synthetic fabrics and wool scratch acrylic and polycarbonate, adding to the problem. Allow the washed surface to dry before proceeding to step two. Check for fogging.
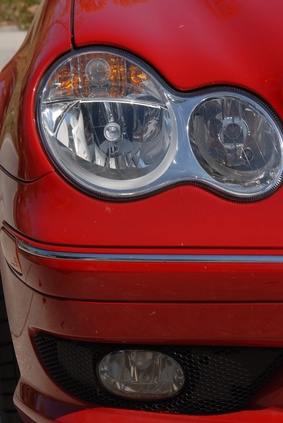
Fogging is a hazy area on the headlight that looks opaque. It is the result of long-term exposure to the sun's ultraviolet light. If the fogging is on the surface, buff it out. If the fogging is embedded too deeply in the headlight, the headlight needs to be replaced.
Apply painter's masking tape around the headlight, creating a 2-inch border that covers any trim or painted surfaces. Buffing compounds contain an abrasive that scratch or damage any painted or chromed surfaces. Scratches can be classified into two types, based on the extent of the damage.
Those scratch types are deep scratches and fine scratches. Deep scratches are those that will catch a fingernail in the gap when running the nail along the surface of the headlight. Fine scratches are those that can be seen but not felt when running a fingernail along the light's surface.
Apply a teaspoon of buffing compound onto a 100 percent cotton rag. Polish the surface of the headlight in a circular motion. Avoid repetitive back and forth motion because it creates noticeable divots or dips in the surface of the headlight.
These dips affect the spread of light from the bulb. If the scratches are deep, use a buffing compound designed for this type of scratch. Once the deep scratches have been reduced to the point where a fingernail does not get caught in the gaps, switch over to a buffing compound designed for fine scratches. Buff the headlight until there are no scratches remaining
Wash the headlight to remove any remaining buffing compound. While the buffing compound comes off easily during the buffing process, the sun bakes residual compound on to the surface of the plastic, making it difficult to remove. Dry with a clean 100 percent cotton cloth and the project is complete.