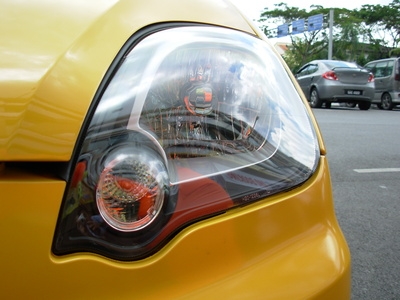
All vehicles must have functional headlights. Driving at night without them can lead to an accident resulting in injury or death. If a headlight is out on your Chevrolet Malibu, you can replace it yourself and save some money. Replacing headlights on a Chevy Malibu is a little time-consuming. Thankfully, it's a relatively straightforward process.
Park the Malibu on a level surface and turn off the engine. Put on the gloves.
Put the jack under the Malibu and raise the car until the headlamps are at a comfortable working height. If you are replacing the left headlight, remove the front left wheel, using the tire iron. Remove the front right wheel if you intend to replace the right headlight.
Use the pop rivet tool and screwdriver to take off all the pop rivets and screws holding the wheel well facing in place. Now that the wheel well facing is loosened, completely remove it from the vehicle by pulling it off.
Remove the two bolts holding the front bumper in place, using the socket wrench. Slide the front bumper off the vehicle using slight force. This will provide access to the headlamp unit itself.
Use the socket wrench to remove the two bolts holding the headlamp in place. Remove the headlamp from the vehicle. Rotate the old bulb and pull it away from the headlamp unit to remove it. Push the replacement bulb into the unit and rotate it to lock it into place.
Reattach the headlight unit into the vehicle and reattach the bolts. At this point, make sure to test them by turning the headlights on.
Push the front bumper back into the vehicle and reinstall the two bolts. Reattach the wheel well facing and make sure to put back all of the pop rivets and screws. Place the wheel back into its original position and secure it with the tire iron. Lower the vehicle from the jack.