The Oldsmobile Aurora vehicles come equipped with a serpentine belt that controls the water pump. The belt also controls the air conditioner pump, power steering pump, vacuum pump and alternator. The belt replacement process for the Aurora model cars is more detailed than that of a basic serpentine belt replacement. If the belt has excessive cracks or chafing, replace it as soon as possible before it breaks completely.
Open the hood and locate the engine mount on the passenger side of the engine bay. The engine mount must be removed to be able to slide the belt in and out of the front engine area. Unscrew and remove the two engine mount bolts with the ratchet and socket.
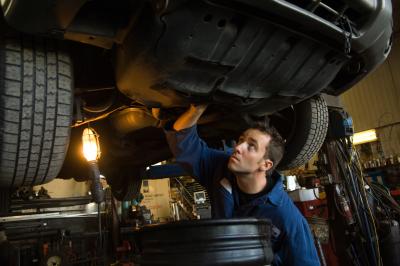
Slide the floor jack under the oil pan on the bottom of the engine. Place the small block of wood on the front of the jack between the oil pan and the jacking plate. The block of wood will protect the oil pan while jacking up the engine.
Jack the engine up until the top half of the engine mount is at least 1 inch above the bottom half of the engine mount. This will provide enough room to pull the old belt out and slide in the new belt.
Locate the belt routing diagram that is stamped to the black plastic fan shroud over the radiator. Use this routing diagram to route the new belt.
Remove the belt from the accessory pulleys by rotating the tensioner counterclockwise with the breaker bar and a socket. The tensioner has a spring loaded arm on one end and a small pulley on the other end. The tensioner can be rotated by the bolt in the center of the tensioner pulley. Then, slide the belt out from around the bottom side of the tensioner pulley. Release the tensioner and remove the breaker bar.
Pull the belt out of all of the pulleys. Then, gently slide the belt between the top and bottom sections of the engine mount. Place the old belt to the side.
Slide the new belt between the two sections of the engine mount. Then, route the new belt around each pulley as instructed by the belt routing diagram. Once the belt has been properly routed around each pulley, rotate the tensioner counterclockwise and slide the belt around the underside of the tensioner pulley. Release the tensioner and remove the breaker bar.
Examine the new belt to ensure that it has been properly routed exactly as the routing diagram has instructed. Also, make sure that the belt is completely inside of the grooves on each pulley. Lower the jack so that the two sections of the engine mount connect back together. Then, screw on the two nuts and tighten with the ratchet and socket. Pull the jack out from under the Aurora.
Crank the motor and watch the belt with the engine running. Turn the motor off and check the belt to make sure it still is seated in the pulleys. Then, close the hood.