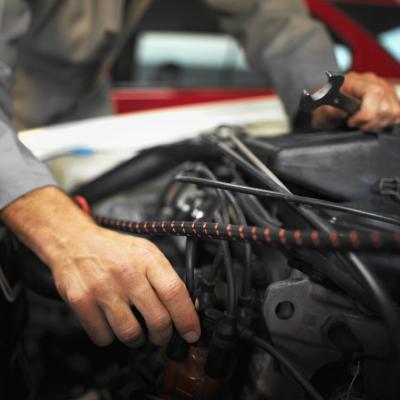
The coolant system of a car prevents the engine from overheating, which could destroy parts or even cause a fire. The reservoir holds the coolant liquid that passes through the engine, where the liquid absorbs the heat of the combustions. The coolant continues to the radiator, which dissipates the heat through the flow of wind outside the car as well from the internal fan. This system works in part by being pressurized, and any holes or leaks in your coolant reservoir will change the pressure and result in a loss of coolant. Fortunately, fixing minor holes in a reservoir is a simple task with epoxy.
Turn off the vehicle and let it cool for at least half an hour.
Pump out whatever coolant is left in the leaky reservoir with a syphon feeding into a draining tray, unless the puncture holes are directly visible. If that's the case, skip to Step 6.
Remove the bolts mounting the coolant reservoir to the vehicle. The bolts are most likely 10mm or 13mm. One should be attached to the side of the engine compartment; another near the bottom (but visible) of the coolant reservoir; and another on the opposite side of the first bolt. Place these bolts where they won't be lost.
Remove the delivery hose from the coolant reservoir.
Take out the coolant reservoir and inspect the surface carefully, looking for any cracks or puncture holes.
Clean the surface of the coolant reservoir and apply the two-part epoxy compound to the holes or small cracks in the coolant reservoir surface. Follow the instructions for the specific epoxy you bought. In general, degrease the cracked area, apply the two-part epoxy compound and let it harden. Reinstall the coolant reservoir, the delivery hose, and the mounting bolts. Add replacement coolant fluid.