Until the use of plastics in car construction became widespread in the 1980s, bumpers on cars were largely made of rubber or sometimes chromed metal. But with the advent of plastic bumper covers to reduce weight, increase efficiency and help improve the aerodynamic profile of the car, bumpers became a cosmetic part of the car, which were painted to match the car body. In very low speed collisions, plastic bumpers can deform and bounce back; however, they are fairly fragile and will break or tear in a collision with any real force, requiring repair and repainting. Repairing this type of bumper requires more work than repairing dents in the sheet metal of your car. The type of filler you'll use to repair your plastic bumper depends on the type of plastic the bumper is made of. Some bumpers are made of plastic, which melts when you grind it, and each requires special adhesives to make the filler material stick properly.
Remove the plastic bumper from the car. Some screws typically hold the plastic bumper cover to the real bumper. Read the manufacturer's guide for your model to find the location of the screws.
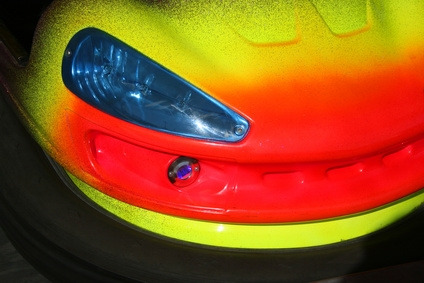
Look up the kind of plastic used in the bumper. Your car manufacturer's guide will likely contain this information, but it is also stamped on the back side of the bumper that you've just removed.
Purchase filler material of the right sort to match the plastic of your bumper from your local car repair shop. Kits for different types of plastic bumpers, which contain all of the necessary chemicals and materials to complete the repair, are also available at auto parts stores.
Sand both sides of the damaged bumper (inside and outside if the damage goes all the way through the plastic) with 80-grit sandpaper to create a rough surface for the adhesive to stick to.
Wash the roughened surfaces with the surface cleaner, then wipe dry.
Apply the adhesion promoter, or prep solvent, to the damaged areas with a cloth, wiping in one direction only.
Grind a shallow "V" shape over the damaged area using a disc sander or similar grinding tool after the solvent has dried. This will provide an even better surface for the adhesive to bond with.
Align the edges of the break or tear and use masking tape on the outer side of the bumper to hold them together.
Apply a layer of adhesive to the tear on the inside of the bumper cover, then stick a piece of self-sticking plastic reinforcing mesh tape over that and trim it to have rounded edges, which extend approximately 1 inch beyond the extent of the damage. Allow the adhesive to dry (approximately 20 minutes).
Apply another layer of adhesive over the tape and then stick on a second layer of tape so the tape's fibers run perpendicular to those of the first layer of tape. Allow the adhesive to dry again.
Unpeel the masking tape from the front of the bumper and sand down any adhesive that has come through from the back.
Fill any low spots or holes in the cut or tear with filler putty, and smooth it out with the squeegee. Allow the putty to dry, then sand it level with the surrounding area using the 80-grit sandpaper.
Apply a final light coat of the repair material with the squeegee to smooth any small surface imperfections, then wet-sand (while the repair material is still slightly damp, but not squishy) with 400-grit sandpaper and allow the putty to dry.
Rub on two coats of flexible part sealer with a cloth or squeegee, according to the sealer manufacturer's instructions, and allow to dry for 30 minutes.
Apply two coats of two-part primer-surfacer, allowing the first coat to dry before applying the second.
Sand the area with 400-grit sandpaper to remove imperfections in the primer.
Spray on the basecoat (which you should match to your car's paint color at a local auto shop) according to the paint manufacturer's instructions. This will require two or three coats for complete coverage. Allow to dry for 30 minutes.
Apply two coats of the clearcoat, again following the manufacturer's instructions, and allow to harden overnight.
Reinstall the bumper cover, and gently wet-sand with 1500-grit sandpaper, avoiding creases and seams in the bumper.
Dry the bumper cover, and look for areas that are still shiny, which require more fine grit wet-sanding.
Use a foam pad and a polishing compound to buff the repaired area of the bumper until the shine matches that of the surrounding paint.