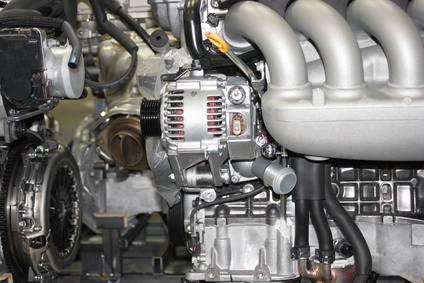
The Chevrolet Cavalier, like most other automobiles, uses a rotating alternator to provide electrical power to the engine and accessories. This alternator can wear out and require replacement, which has been standardized into a common process. The average backyard mechanic can replace the alternator in a Cavalier in about 30 minutes.
The alternator recharges the battery when the car is running, but while it is off the battery, it is the only power source. Disconnect the positive terminal from the battery to reduce the risk of electric shock. Turn the mount bolt in a counterclockwise direction and pull the terminal from the post. Set it aside, away from the battery. Be careful not to ground out the tool or yourself to the body of the car while removing this bolt, and don't touch the terminal post.
The wiring harness adapter plug allows the easy disconnection of the alternator from the car's electrical system. By disengaging the catch tab, the plug directly pulls away from the socket on the alternator. Set this plug aside, so that it does not get in the way. The primary belt that drives the alternator is held tight by the tension pulley arm, on the lower left of the engine. Push firmly onto the tension pulley arm to loosen the serpentine drive belt, then slide it out from underneath the idle pulley wheel. Release the arm, and the belt will have enough slack to be easily unwrapped from the alternator pulley wheel. It can be left hanging while the alternator is out; there is no need to remove it completely from the car.
The alternator is held to the mount arms with three long bolts. The bolts are secured with nuts on the opposite side, and if you prevent the bolt head from turning, you can loosen the nuts. Usually two socket wrenches are ideal, placing one firmly on the mount bolt head and turning the other counterclockwise on the opposing nut. Once the nuts are off, slide the mount bolts out of the mount arms. The alternator will come free, and can be removed from the engine. Replace it with a new unit and reverse the steps to install it.