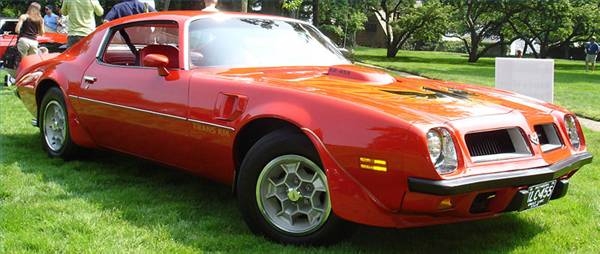
General Motors used several types of distributors for their 350 engine. However, from 1975 through 1980, Pontiac Firebird became one of the models equipped with the High Energy Ignition (HEI) distributor. The HEI system provided longer spark duration for the lean and diluted fuel/air mixture fed to the 350 block. In 1981, the HEI model was further improved with an electronic timing control, eliminating the vacuum or mechanical advance system. If you need to install a new unit on your Pontiac 350, follow this guide to replace the HEI distributor, whether it is the previous or improved model.
Detach the negative battery cable (black) using a wrench.
Unplug the feed and module terminal connectors from the distributor cap with your hand.
Disconnect the vacuum hose from the advance mechanism at the side of the distributor with your hand, if your model is equipped with this system.
Turn the four distributor cap-to-housing retainers around the distributor to free the cap. Use a standard screwdriver to push and turn the retainers. Then lift the cap off the distributor body. Do not disconnect the spark plug wires from the distributor cap.
Match mark the rotor, distributor housing, and engine block with a crayon so that you know the position of each unit in relation to the other components. These marks will guide you in setting the position of the new distributor during installation.
Unscrew the distributor clamp-mounting bolt using a ratchet, ratchet extension and socket.
Remove the mounting clamp, bolt and distributor from the engine.
Set the relative position of the rotor and distributor housing of the new unit by looking at the match marks you drew on the old distributor.
Install the new distributor on the engine block along with a new O-ring. Guide yourself with the match mark you previously drew to approximate the mounting position. If the rotor position is off by a few degrees once you seat the distributor on the engine block, lift the distributor off the engine slightly and turn the rotor manually a few degrees to align the gears on the distributor shaft and the oil pump drive shaft inside the engine block. Do this until you get the same position of the old rotor and distributor in relation to the engine block.
Install the distributor-mounting clamp and start the bolt with your hand. Then tighten the bolt with the ratchet, ratchet extension and socket.
Install the cap on the distributor and secure the distributor cap-to-housing retainers using the standard screwdriver.
Connect the vacuum hose to the advance mechanism at the side of the distributor, if your model is equipped with this system.
Plug the feed and module terminal connectors to the distributor cap with your hand.
Attach the negative battery cable (black) using the wrench.