The Acura RL is equipped with the most capable factory stereos available from Honda. RL owners who seek to upgrade their stock stereo units may find a suitable aftermarket head unit as a replacement. Before installing the new deck you will need to properly remove the factory radio from the Acura's stereo dock. You can enlist the services of a car audio professional, or you can remove the radio yourself. Owners with little or no experience can have to old stereo removed in less than one-half hour.
Lift the Acura's hood and remove the negative battery cable from the negative battery terminal. Loosen the bolt on the cable's clamp with the wrench and lift the cable from the battery. Rest the cable away from the battery terminals to avoid shorting the Acura's electrical system. Move to the RL's interior.
Pry the trim panel around the gear selector lever away from the center console with the trim panel removal tool. Set the panel aside.
Pull the ashtray forward and remove the two screws at the top of the compartment with a Phillips-head screwdriver.
Grab the two rectangular dash panels at the sides of the stereo assembly and pull them away from the dashboard. The panels will snap off to reveal the stereo bracket bolts.
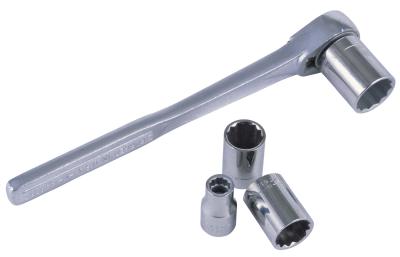
Remove the two bolts on either side of the stock stereo with the 8-mm socket and drive. Remove the two screws at the bottom of the stereo assembly with a Phillips-head screwdriver. Slide the stereo from the dashboard.
Disconnect the two plastic stereo wiring connectors from the back of the Acura's stock stereo unit. Unplug the antenna cable from the back of the unit to finish the removal.