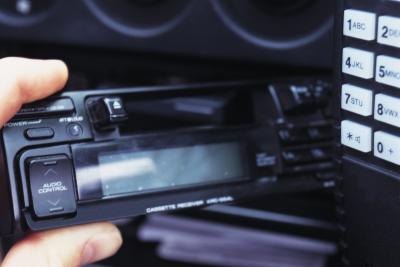
The 2002 Dodge Durango has a fairly complicated dash setup, which makes the radio removal procedure more difficult than in some other vehicles. The radio itself is simply attached by Phillips screws; however, accessing the Phillips screws makes up 90 percent of the work. The 2002 Dodge Durango shares its dash with the Dodge Dakota pickup truck. The same procedure also applies to 2002 Dakota models.
Lower the column gearshift selector to neutral and set the parking brake pedal. Open the hood and disconnect the negative battery cable (--) with the pliers to prevent shock. Wait 10 minutes for the power reserve to discharge (you'll be working near the steering column and airbag).
Remove the two 7 mm bolt-screws from the odometer cluster hood using a ratchet or a Phillips screwdriver.
Remove the three Torx screws (T-20) from the lower steering column panel. Pull the panel off when the screws are out. Remove the three Torx screws (T-20) from the lower dash panel beneath the steering column, and then pull off this panel.
Grasp the entire front dash panel (it extends from the left edge of the dash to the radio) and pull sharply. The panel is held in place by three clips. If necessary, start above the steering wheel and work your way down to the radio. Pull the front dash panel out and to the right.
Reach behind the front dash panel and unplug the electrical connections (A/C control panel). Maneuver the panel toward the passenger side of the Durango, and then lift it up and over the steering column to access the radio.
Unscrew the four Phillips screws that mount the radio. Carefully slide the radio out and unplug the wiring harness and antenna cable behind it.