The Eclipse has served as the entry level sports coupe for Mitsubishi since the late 1980s. The first generation Eclipse came with a standard AM/FM cassette deck. Later models included an optional CD player. Over the years the Eclipse has been fitted with factory installed CD players, Mp3 players, satellite radio receivers and most recently, DVD navigation units. Eclipse owners who wish to replace their factory radio with an aftermarket unit can do so with little previous car audio experience.
Raise the hood of the Mitsubishi Eclipse. Use a 5/8-inch wrench to loosen the bolt that holds the negative battery cable clamp to the negative lead post of the Mitsubishi battery. Move the negative battery cable away from the battery until the installation is complete.
Pull the dash panel that surrounds the stereo and the pocket beneath the stereo, away from the dashboard by hand. If the trim panel is difficult to remove by hand, pry the trim panel away from the dashboard using a flat screwdriver or trim panel removal tool.
Remove the four screws at the corners of the stereo, mounting bracket with a Philips-head screwdriver.
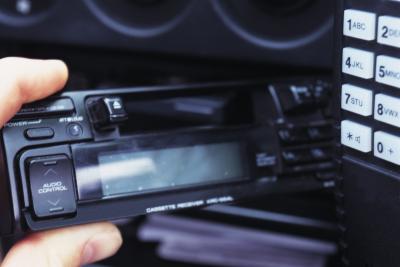
Pull the factory stereo from the stereo mounting dock of the dashboard.
Reach behind the factory stereo and disconnect the wiring to the back of the stereo; including the antenna wire, the speaker wires (grouped together by a white plastic wire binder) and the amplifier signal cable. The speaker wires and amplifier wires can be pulled straight from the back of the factory stereo by hand.
Insert a double-DIN (a standard of measurement for stereo decks twice the height of average car stereos) faceplate adapter into the vacant stereo mounting dock of the Eclipse.
Pull the speaker wires, antenna and amplifier signal cable through to the front of the faceplate adapter. Connect the stereo wiring to a wiring harness adapter. The wiring harness adapter will have clear indications as to where the appropriate connections are to be made (either color-code or abbreviation).
Connect the leads of the wiring harness adapter to the back of the aftermarket stereo. Slide the aftermarket stereo into the space provided by the faceplate adapter.
Replace the dash trim that surrounds the stereo. Align the trim with the dashboard and press it into place.
Place the negative battery-cable clamp over the negative battery-terminal lead. Tighten the bolt on the clamp with a 5/8-inch wrench.