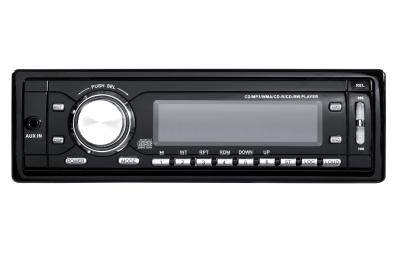
The reincarnation of the Ford Thunderbird (after a seven year absence) did not last long (2002 to 2005), but the vehicle was praised for its performance and retro-styling. The Ford Thunderbird came with either a standard radio or an upgraded Alpine unit (multi-disc); the procedure to remove both radios is the same. Because the 2002 to 2005 Thunderbird shared most of its components with the Lincoln LS, the radio removal procedure also applies to the LS.
Unhook the negative cable (--) from the battery by loosening the nut, and then pull the cable away. This prevents a short circuit and eliminates the possibility of shock.
Pry off the air conditioning vent trim above the radio. Insert a flat-bladed trim tool (see Tips) into the corner of the panel; push the handle back, and then work your way around the trim to unhook it from the dash. Unplug the connection from the rear; set the trim to the side.
Remove the two 10mm bolts from behind the trim (above the radio) with a socket wrench or ratchet.
Pry off the trim piece surrounding the ashtray door (beneath the radio). Insert the trim tool into the corner; push the handle back to unclip the corner, and then work your way around the trim piece. Some models are equipped with heated seats; if so, there will be a connection behind this trim piece. Unplug it, if applicable.
Remove the two Phillips head screws behind the ashtray trim piece. These screws secure the ashtray. After they're out, pull the ashtray door and compartment away from the dash.
Remove the two 10mm bolts behind the ashtray compartment (these are the lower radio bolts). Pull the radio and climate assembly out of the Thunderbird; unplug the two connections behind the radio.
Examine the side of the assembly to find four Phillips screws (two on each side). Remove these screws to separate the radio from the climate assembly.