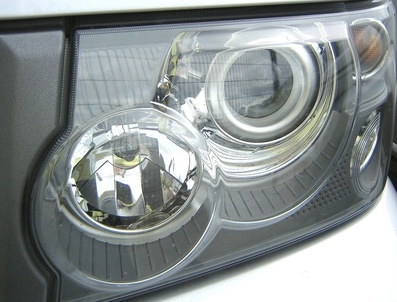
If you are unsatisfied with the current look of your headlights, consider painting the headlight housing. Painting the headlight housing can give your vehicle a unique and more aggressive look. The job involves separating the clear plastic lens from the housing itself, so take care to avoid cracking or otherwise damaging the lens or housing. For quality results, you should take as much time as needed when prepping and painting the housing.
Open the hood and disconnect the negative terminal cable from the battery. Disconnect the electrical connector at the back of the headlight and remove the bulb from the housing.
Locate and remove the bolts securing the headlight housing to the body of the vehicle with a ratchet and socket. Pull the housing out of the body of the vehicle.
Preheat your kitchen oven to 275 degrees Fahrenheit. Place a cookie sheet on the lowest available rack.
Place the headlight housing in the oven and allow it to bake for 5 to 10 minutes. Carefully remove the housing from the oven and separate the plastic cover and reflective lens portions from the housing with a slotted screwdriver.
Mask off any areas you want unpainted with masking tape and newspaper. Lightly sand the surfaces to be painted with 400-grit sandpaper. Thoroughly clean the housing of any remaining debris.
Apply three light coats of black primer to the headlight housing. Allow the housing to dry for at least 15 minutes between each coat. Apply 3 light coats of high-temperature spray paint in the color of your choice, allowing 15 minutes between each coat.
Let the housing dry overnight. Remove the masking tape and newspaper if used. Reassemble the plastic cover and reflective lens portions.
Use a clamp to hold the plastic lens to the headlight housing. Place the housing in the oven and allow it to heat up for 5 minutes. This will cause the glue on the lens and housing to flow again. Remove the housing and allow it to cool down. If the housing and lens fail to stick, use a slotted screwdriver to scrape away the old glue and apply high-strength glue to the housing. Clamp the lens to the housing and allow the glue to cure overnight.
Slide the headlight housing into the vehicle. Reinsert any bolts used to hold the housing in place and tighten them with a ratchet and socket. Reinsert the headlight bulb into the housing and reattach the electrical connector to the back of the bulb. Reconnect the negative terminal cable to the battery.