A boost gauge in your Dodge Cummins will allow you to monitor the amount of air delivered to the engine by the turbocharger. The boost gauge mounts on the dashboard of your vehicle. Different mounting pods are available that will allow you to mount the gauge on the A-pillar, under the dashboard, or on top of the dashboard. Purchase a pod that suits your needs the best. The gauge can be installed in about an hour using simple tools.
Place the gauge into the pod. If the pod requires mounting, mount the pod with a screwdriver using the screws that came with the pod.
Route the red wire from the gauge into the fuse box. Attach the wire to the fuse that is marked "headlamps." This will allow the light on the gauge to come on only when the headlights are turned on.
Thread the NPT fitting that came with the kit onto the 1/-8-inch hose. Attach the fitting to the connector on the back side of the gauge. Tighten the connector with a wrench.
Route the 1/8-inch hose and the black wire from the gauge through the hole in the firewall which is located on the drivers side of the vehicle.
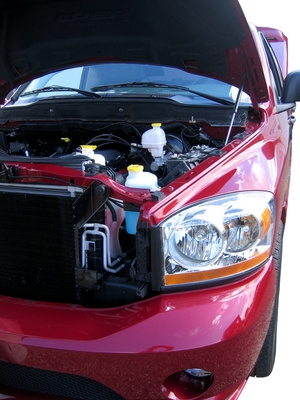
Route the black wire from the gauge to the battery in the engine compartment. Connect it to the negative battery post.
Route the 1/8-inch hose to the intake manifold. The intake manifold is the metal intake bracket mounted on the top side of the engine. The large hose from the turbocharger connects to the intake manifold on the drivers side of the engine.
Remove the intake manifold by loosening and removing the bolts that secure the intake manifold to the engine with a wrench. Remove the intake manifold and place it on a work surface.
Drill a 5/16-inch hole into the intake manifold. The location of the hole does not specifically matter; however, it is best to place the hole on the flat section because it will be easier to drill straight.
Tap the hole for threads using a 1/8-inch NPT tapping tool. Reinstall the intake manifold onto the engine. Tighten the bolts with a wrench.
Slide the connector that came with the kit onto the end of the 1/8-inch hose. Thread the connector into the hole in the intake manifold. Tighten the connector with a wrench.
Start the engine and check for any leaks. Verify that the gauge pressure increases when the throttle is depressed. Turn on the headlights and confirm that the light on the gauge illuminates properly.