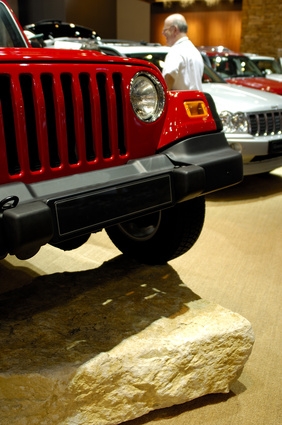
Jeep introduced the Liberty in 2002 to a market that had fallen in love with its Cherokee XJ predecessor but wanted something a little more modern and comfortable for daily driver duties. But unlike many of its competitors, Jeep's newest offering lost very little to nothing in the translation from hard core off-roader to part-time crawler. The Liberty's suspension remained in the typical mold for Jeep, which had always made a point of keeping their designs simple for ease of modification. As such, lifting your KJ (first generation, 2002 to 2007) or KK (second generation, 2008 to present) chassis may well be a matter of minutes instead of hours.
Slide a floor jack under the center of your Jeep's front crossmember and raise it until both wheels dangle off of the ground by about two inches. Insert the floor jacks underneath and lower the frame onto them. Remove the wheels and set them next to the truck so you can use them as seats.
Remove the slider bolt that holds the bottom of the front strut to the steering knuckle. Have an assistant hold the lower control arm while you tap the bolt out with a hammer so that the brake rotor doesn't crash to the ground. At this point, the strut will be dangling from the body.
Open the hood and remove the three nuts that hold the strut to the chassis. Have your assistant slowly lower the strut from the chassis and lay it on a table.
Slide your strut extension (spacer) over the studs atop the strut. Put a drop of blue threadlocker on the stud threads and install the nuts hand tight. Torque them 75 foot pounds. When installed, the strut will have rotated by 180 degrees so that the former inside of the tube now faces out.
Reinstall the strut in the reverse order of removal. Torque the upper and lower strut bolts to 75 foot-lbs. and 85 foot-lbs., respectively. Reinstall the wheel and repeat this procedure on the other side.
Remove the bolts that hold the shock absorbers to the rear axle. Remove the bolts that secure the coil spring clamps to the axle and/or body, depending on exact year and model.
Kick a set of wheel chocks under the front of your front tires to keep the truck from rolling forward.
Slide your floor jack under the center of the rear-most part of your frame and start lifting. Continue lifting until the axle swings free and the coil springs fall out. Jack the frame up by another three inches or so to make room for the longer coil springs.
Hold one of your springs on top of the rubber isolator on your axle while your assistant holds the other one.
Lower the jack slowly and carefully until the tops of the coil springs sit centered in the top rubber isolator. If the isolator fell out while you were removing the spring, just pop it back on top of your new springs and line the assembly up with the upper spring pocket in your chassis.
Lower the frame enough to slightly compress the spring and reinstall the spring clamp bolts. Reinstall the shock absorber bolts and torque them to 30 foot-lbs.