You can replace the injectors in your 24V Cummins diesel engine yourself. Whether you are replacing your injectors with replacements or upgrading to increase horsepower, you can complete the job in a couple hours. Diesel performance companies offer a wide range of horsepower-increase injectors for a reasonable price. These injectors allow more fuel into the cylinder to increase power. Adding injectors should be combined with a larger exhaust to avoid over-heating the engine.
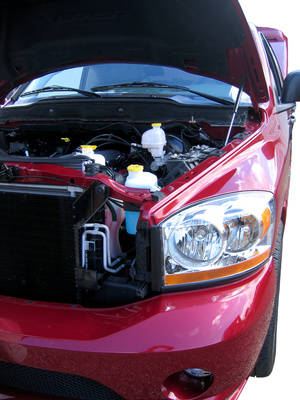
Park the vehicle and allow the engine to cool. Open the hood. Place a step ladder in front of the vehicle to reach the engine.
Remove the valve cover located on the top of the engine by removing the bolts. The valve cover has a Cummins decal on the top. Place the valve cover aside.
Remove each fuel-supply line. These are gold-colored lines that feed into the engine. These require a 3/4-inch wrench. The injector closest to the firewall may require a crows-foot wrench to remove.
Remove the injector hold-down bracket using a ratchet and socket. The injector is located under the injector hold-down bracket. There are six injectors that need to be replaced. Replace injectors one at a time to avoid confusion.
Grasp the injector body with pliers. Gently pull the injector out of the engine.
Replace the injector with the replacement injector by sliding it into position. Replace the injector hold-down bracket and tighten the bolts using a ratchet and socket.
Continue with the remaining five injectors, one at a time.
Replace the fuel-supply lines into the injector housing. Use a 3/4-inch wrench to tighten each supply line. Confirm each line is tight to avoid fuel leaks.
Replace the valve cover and tighten the bolts using a ratchet and socket.
Confirm that all bolts are tight before starting the engine.