As many cars age, the headliner material on the ceiling of the passenger compartment will begin to sag. Sometimes the situation becomes so bad that the material will rip and fall and could obstruct the driver's view, becoming a safety hazard. Even if it may not get to this point, it can be an irritation when the windows are open and the headliner is flapping in the breeze. This problem can be fixed with a small amount of money and some time to do the job.
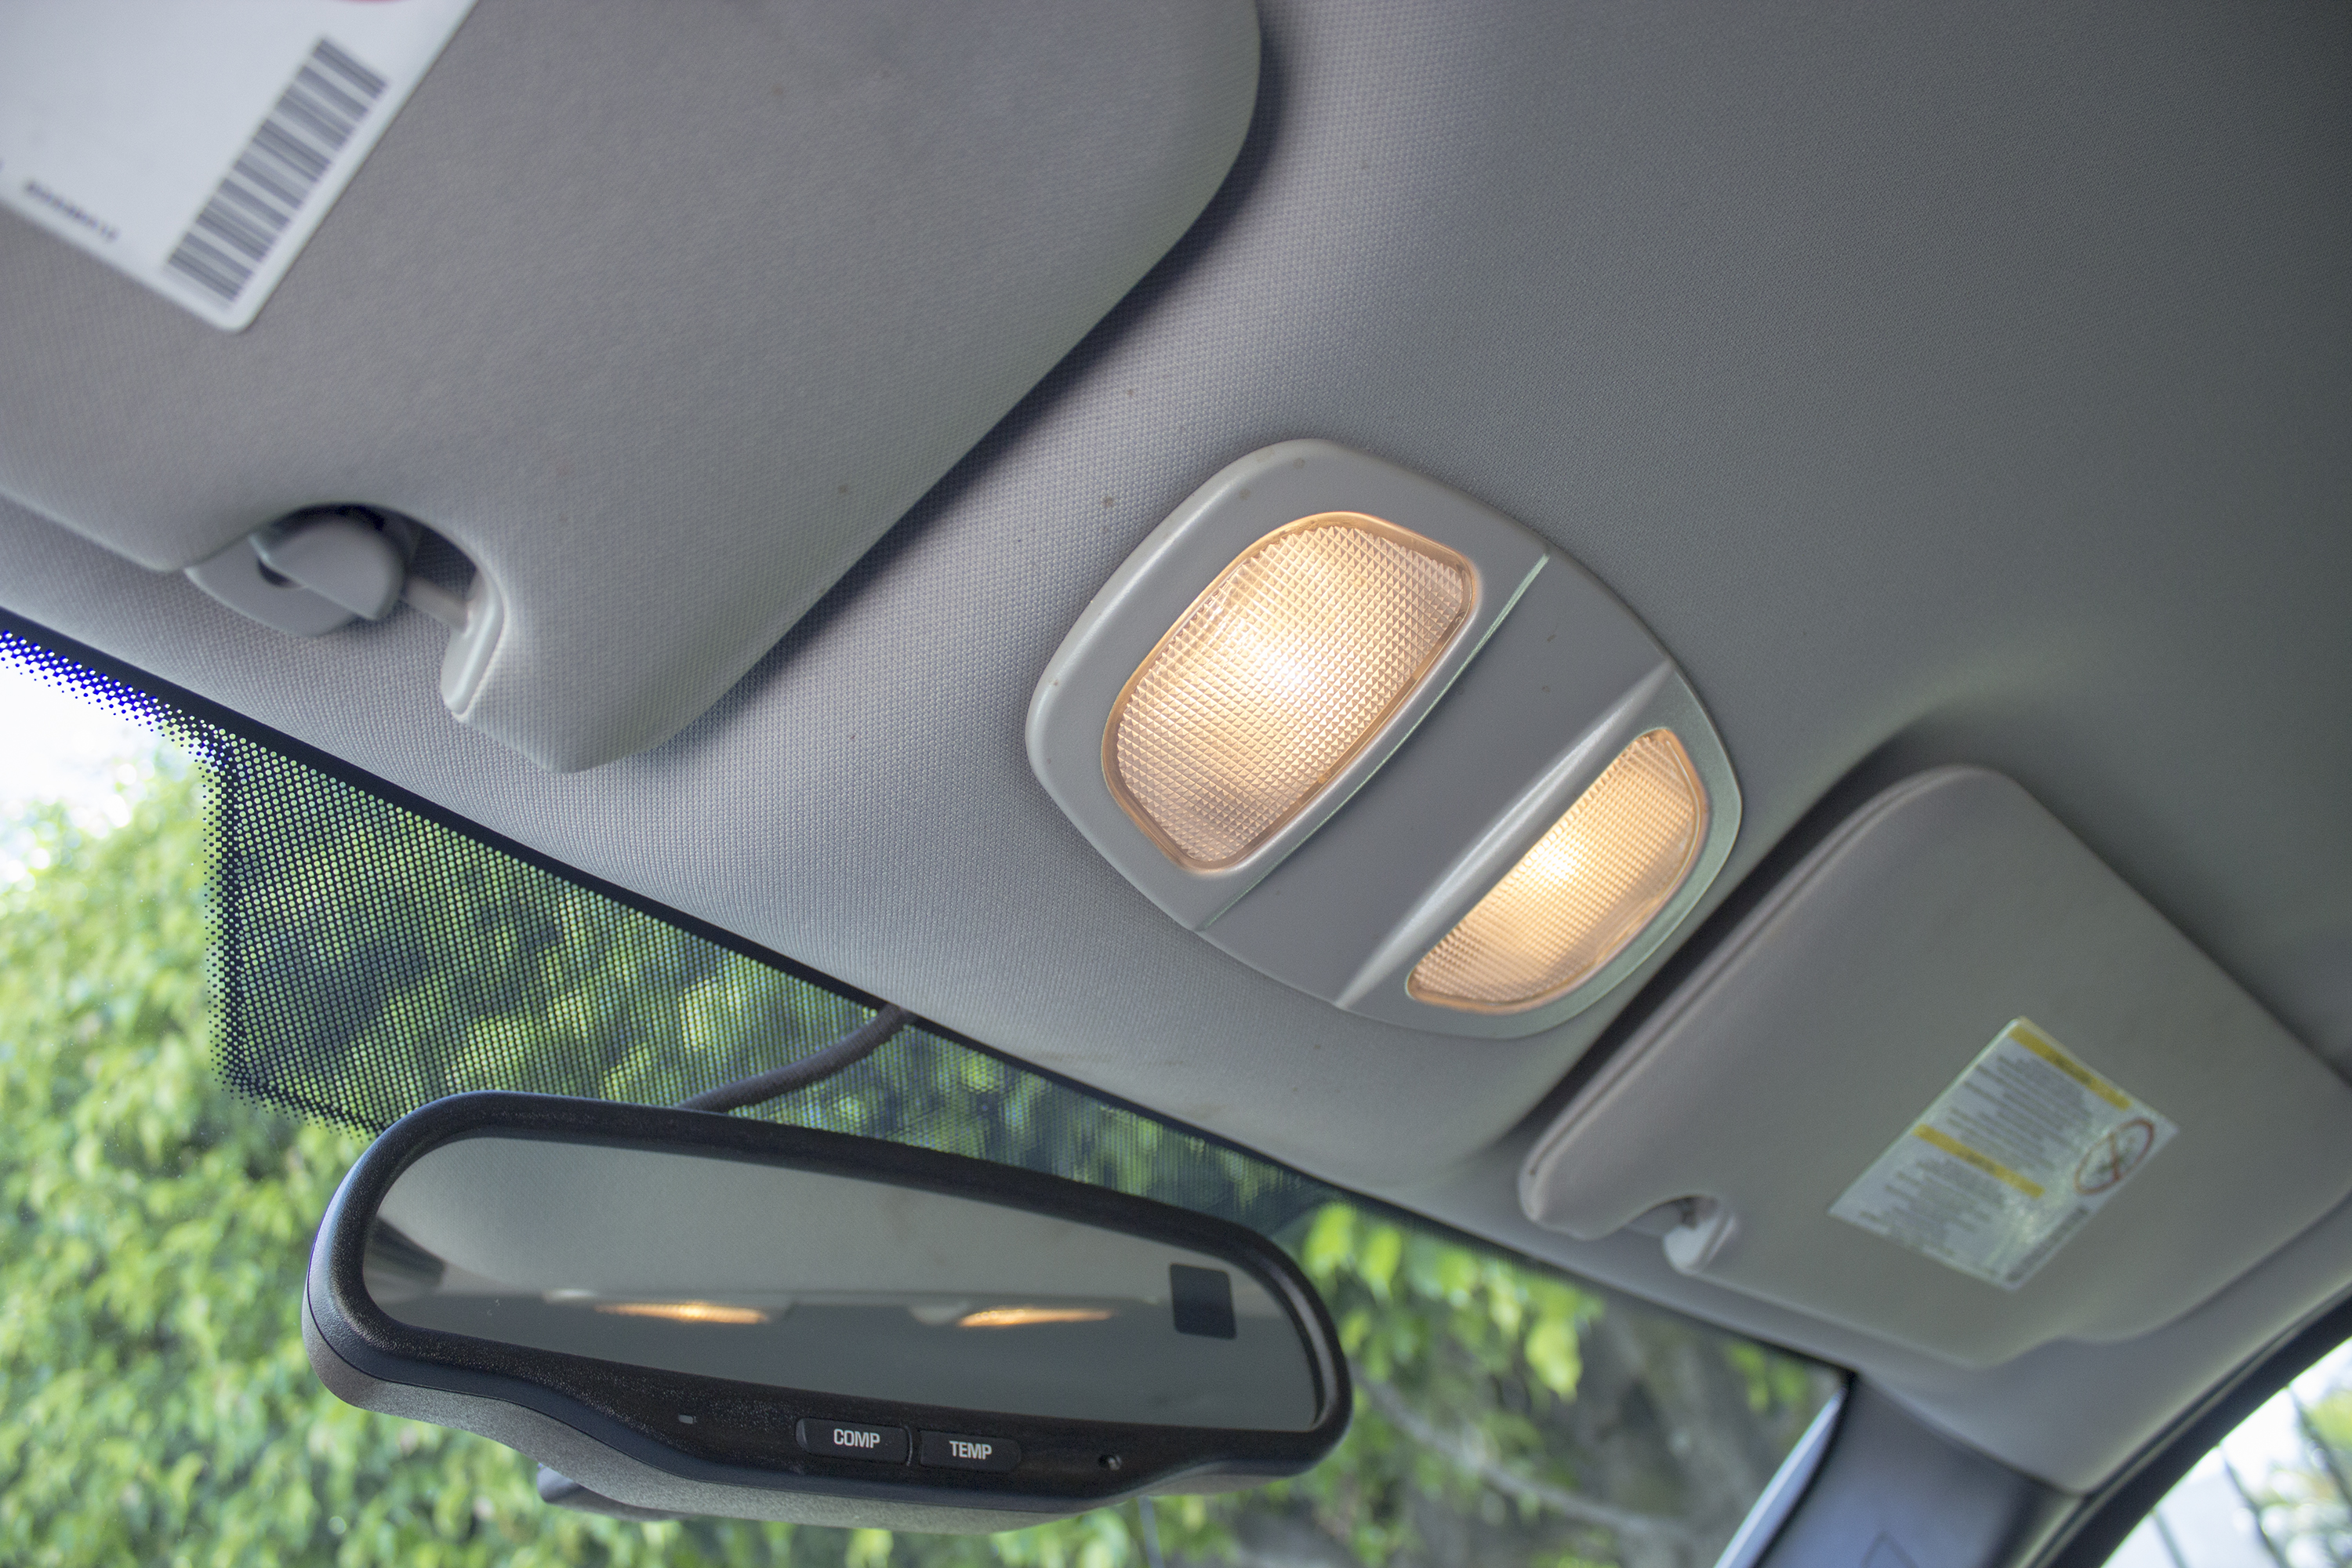
Remove the dome light from the ceiling of the car by gently squeezing and removing the plastic cover over the light bulb. There should be several screws that can be removed, allowing for the light fixture to dangle by its wires. The wires can be removed by disconnecting them from the wires coming out of the ceiling. Usually, they are connected with snap connectors, which can easily be disconnected.

Remove the trim all the way around the headliner. Some of the trim, such as that by the pillars, may have screws that need to be removed. Most of the trim can be pryed off with a flathead screwdriver. Remember that the object is to remove the headliner board that is held in place by the trim pieces, so the trim may not have to be completely removed, but only lowered so the headliner board can be removed.

Remove the seatbelt hardware by prying off the plastic cover with a flathead screwdriver. Remove the bolts using a 3/16-inch sparkplug wrench. Also remove the visors and clothes hangers using the torx screwdriver. Depending on the car, the rearview mirror may also need to be removed. Double check that nothing else is holding the headliner board in place.

Remove the headliner board from the car. This may be a little tricky and may require two people, one to hold any trim out of the way and one to wrestle the board out of the car. The old fabric on the headliner board should come off fairly easily. Sand the headliner board thouroughly to remove any old glue and divots. Apply the adhesive to the headliner board according to the instructions that came with the repair kit, and apply the new fabric. Smooth any wrinkles out of the fabric with something flat.

Allow the headliner to dry in a warm place for a few hours, depending on the instructions for the type of adhesive that came in the repair kit. Reinstall the headliner board carefully so as not to snag it on anything and cause a rip. Refasten the trim and any hardware that may have been removed in order to take out the headliner board. Reconnect the dome light. If done properly, the headliner should be tight against the board with no sags or wrinkles.
