Headlight alignment is crucial for proper vision during night driving. Not only will it help you see what is on the road in front of you, it also assures that errant headlight beams do not shine toward and distract oncoming traffic. Before beginning this process, make sure that all headlights are matched together with the same bulb type. Different bulbs throw out different light patterns, so for proper headlight alignment, the bulbs must be matched.
Park your vehicle on a flat surface with the front nearly touching a light colored wall. Any wall or garage door will work here, as long as the surface is level.
Draw a chalk line or put up a piece of masking tape that corresponds to the center-line of your vehicle. Do this easily by turning your low-beam headlights on and making a horizontal chalk line between them, using a straight edge for a more accurate line. If you don't have chalk, stick up a line of masking tape.
Mark a vertical line on the end of the horizontal center-line. This cross mark, "+", indicates the upper and lower illumination and the side-to-side illumination of the low-beam headlight. The center of the beam of light will be directly on the center of the cross mark.
Move your vehicle 25 feet backward. Use a tape measure to measure this distance. Keep your headlights on.
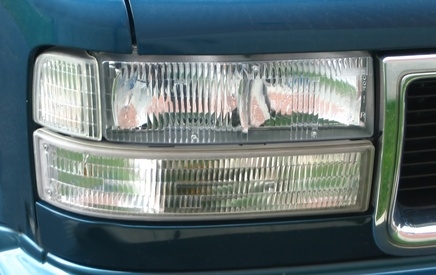
Adjust the low-beam headlights so that they fall 2 inches lower than the marked center-line, "+", on the wall. The left headlight must be adjusted to the immediate right of the "+", so its light circle just touches the vertical line. The right headlight must be adjusted to the immediate left of the +", soits light circle also just touches the vertical line. Most modern vehicle headlight adjustment screws are located directly next to each headlight and can be accessed from the front of the vehicle. In some cases the headlight covers may have to be removed, and in other cases the hood must be opened to access the adjustment screws. Use a regular screwdriver to do this.
Adjust high-beams so that they fall directly below the horizontal center-line. Then adjust them so that they fall inward of each circle of low-beam light.